
How to Use 3M’s Large Hole Repair Kit to Fix Holes in Your Drywall, including holes made from doorknobs
NOTE: We worked with 3M to create this how-to blog on drywall repair, and received the 3M products mentioned and compensation for sharing this blog and our thoughts about the products.
Disclaimer: If you live in a busy household, you may eventually need to know how to repair drywall.
Drywall repair is one of those projects that tends to pop up frequently in active households, and it’s usually a surprise project. While solving the cause of the surprise is out of our DIY home blog hands, we can help you fix the wall damage.
Often drywall repair involves little nicks or nail holes, but it also includes bigger damage like from a doorknob. Fixing a small hole may require just a little spackling compound and sand paper, but a bigger job requires a little more work. Filling a large hole with just spackling compound doesn’t work, as the compound needs to attach to something to be strong enough to sand and withstand day-to-day living.
We have a hole behind a doorway that’s made by repeated doorknob impacts, and decided to try out a drywall repair kit from a popular brand for this DIY project.
Keep reading to find out all of the steps, a few drywall repair tips, how long the repair takes, and how this DIY project turned out.
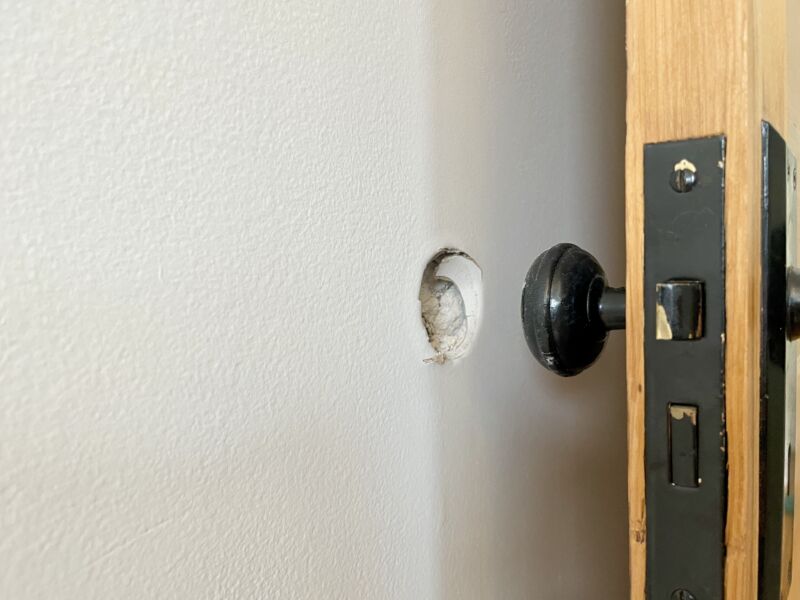


Supplies for this project
To repair a hole like this one made from a doorknob, all you need is one kit:
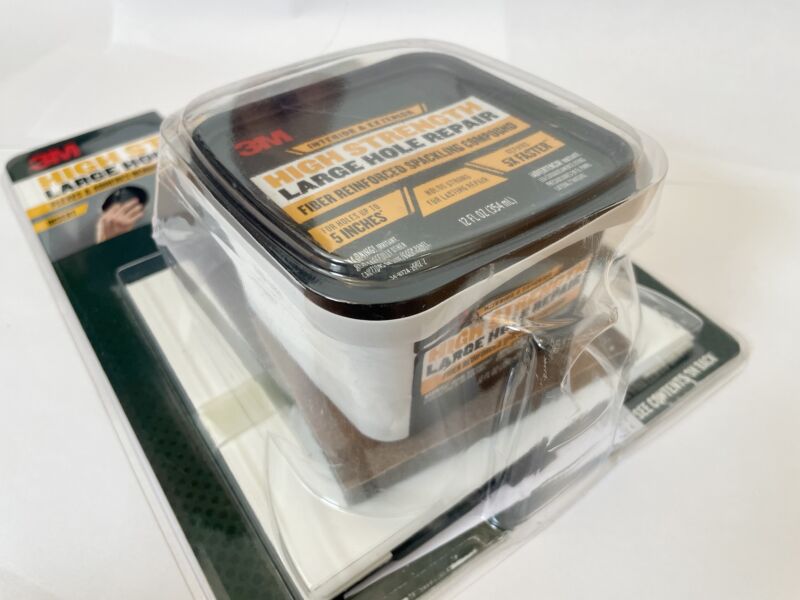
3M High Strength Large Hole Repair Kit 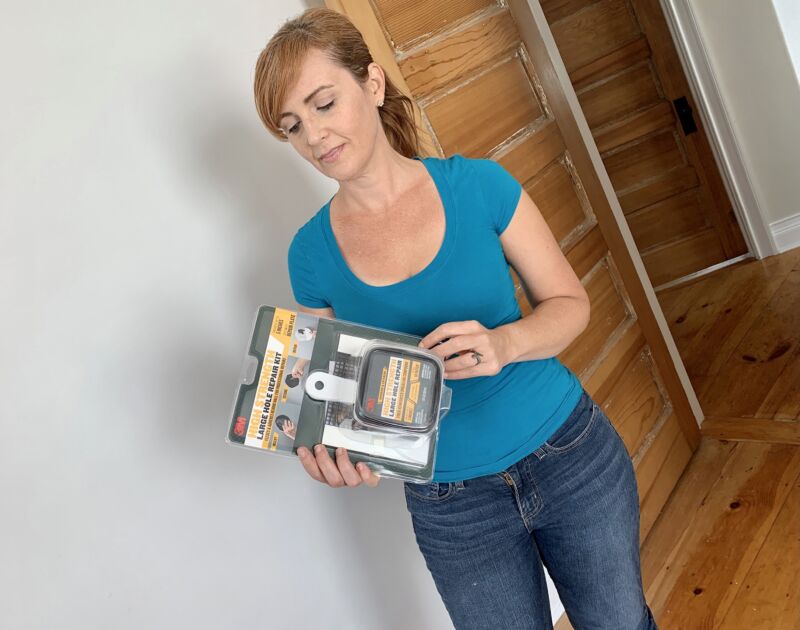
What I like about the 3M large hole repair kit is that it includes the necessary tools needed for a wall repair that’s up to 5 inches in diameter: there is a 6-inch putty knife, fiber-reinforced spackling compound, 5.5” by 6” repair plate screen, fiber tape, and sanding pad.


How to repair a hole in drywall
1. The first step in this project is removing the damaged drywall.
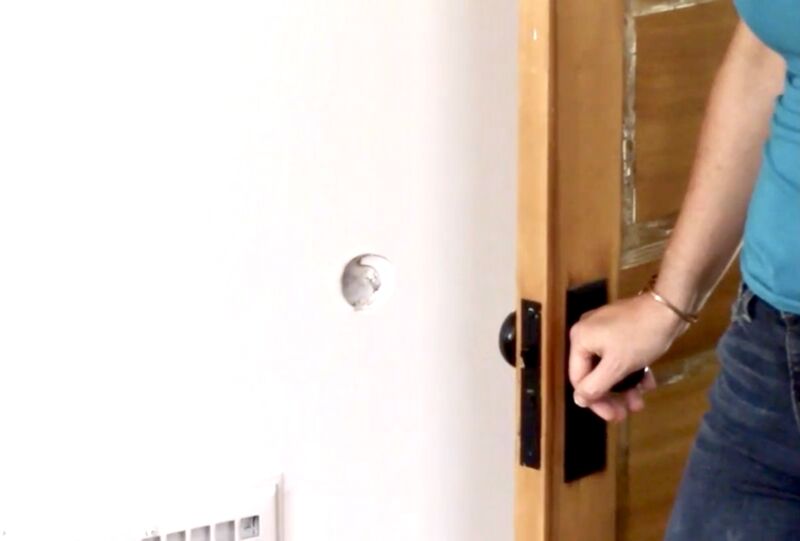


2. Next with a damp, but not wet cloth, wipe any dust off the back of the drywall (the inside part) so the double sided tape on the repair plate can stick inside the wall. Smooth any outside edges.
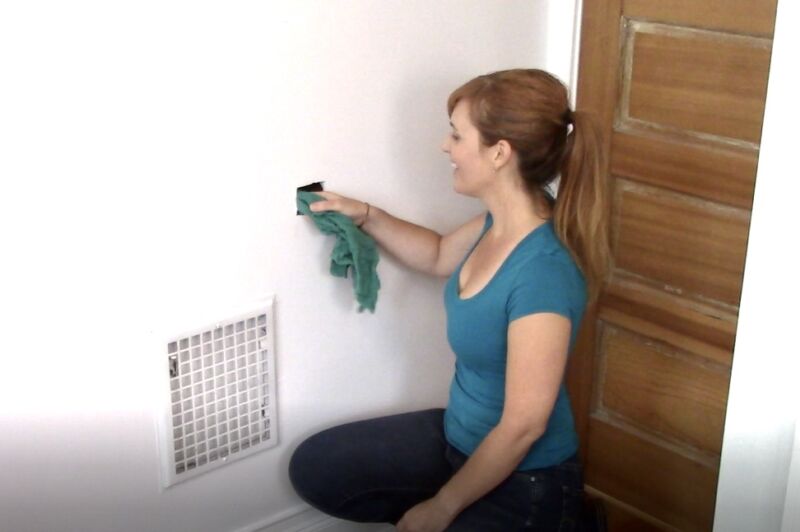


3. Then flex the repair plate and place it inside the hole.
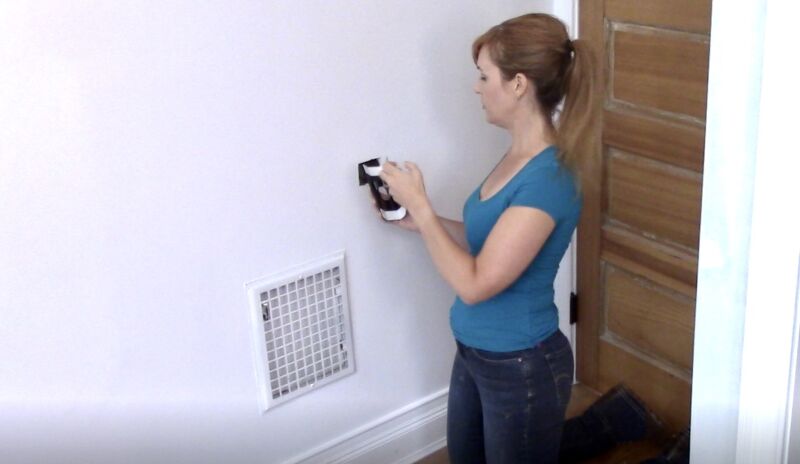


4. Center the repair plate inside the hole, pull the strap and hold it in place for 30 seconds, using firm and even pressure.
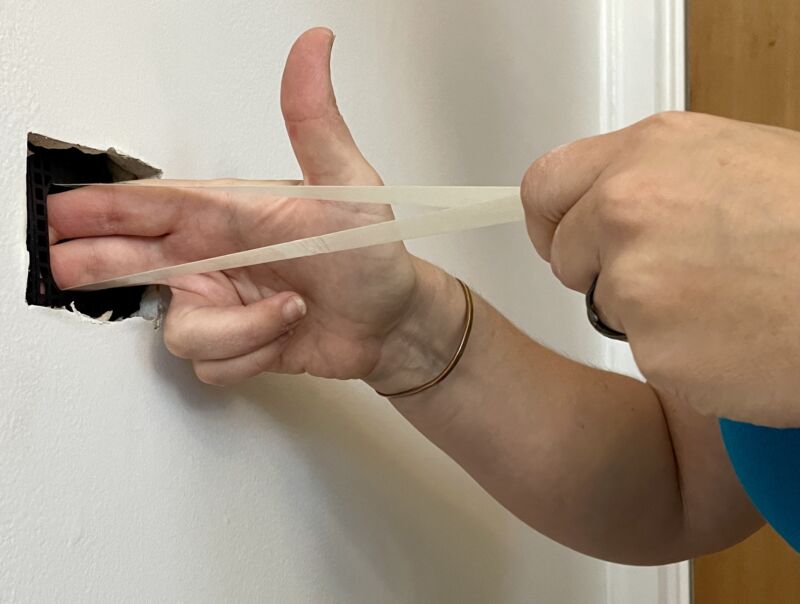


5. Then push the strap into the hole.
6. Cover the hole with the included tape.
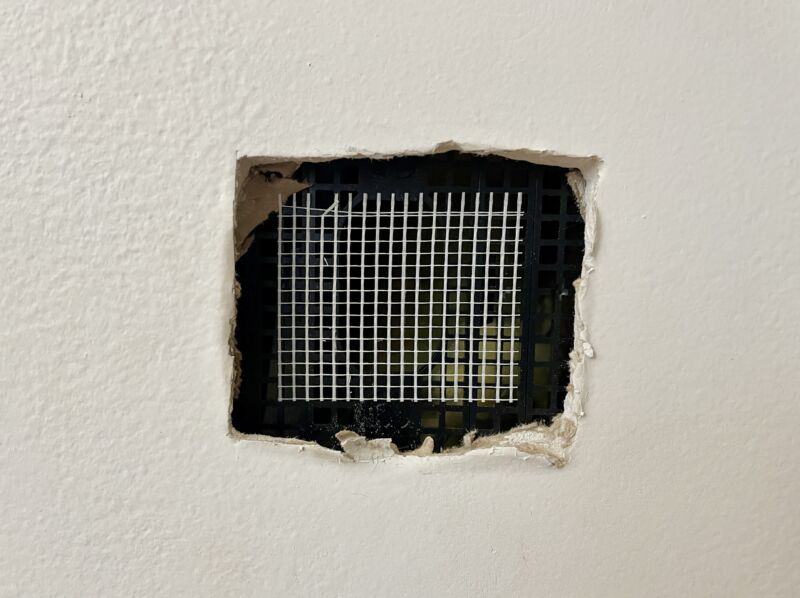


7. Use the putty knife within the 3M Large Hole Repair Kit and fiber reinforced sparkling compound to start filling the hole. I used the top of the spackle container as a hawk.
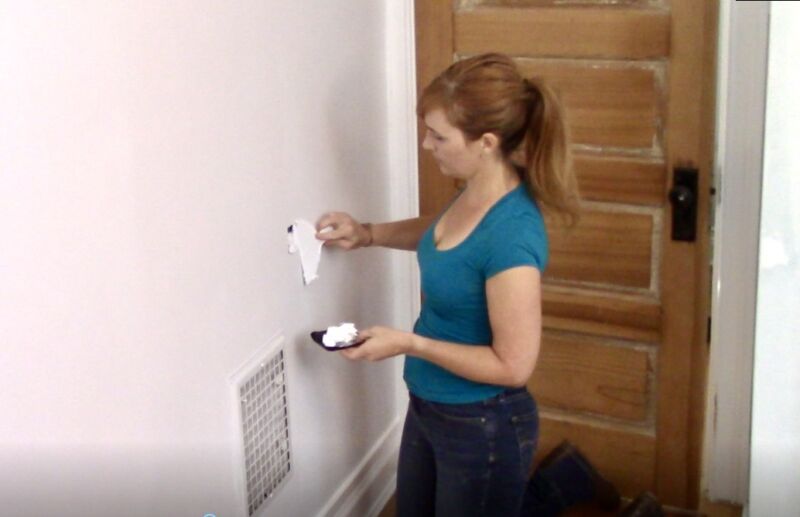


8. Let the compound completely dry. You may need to wait overnight.
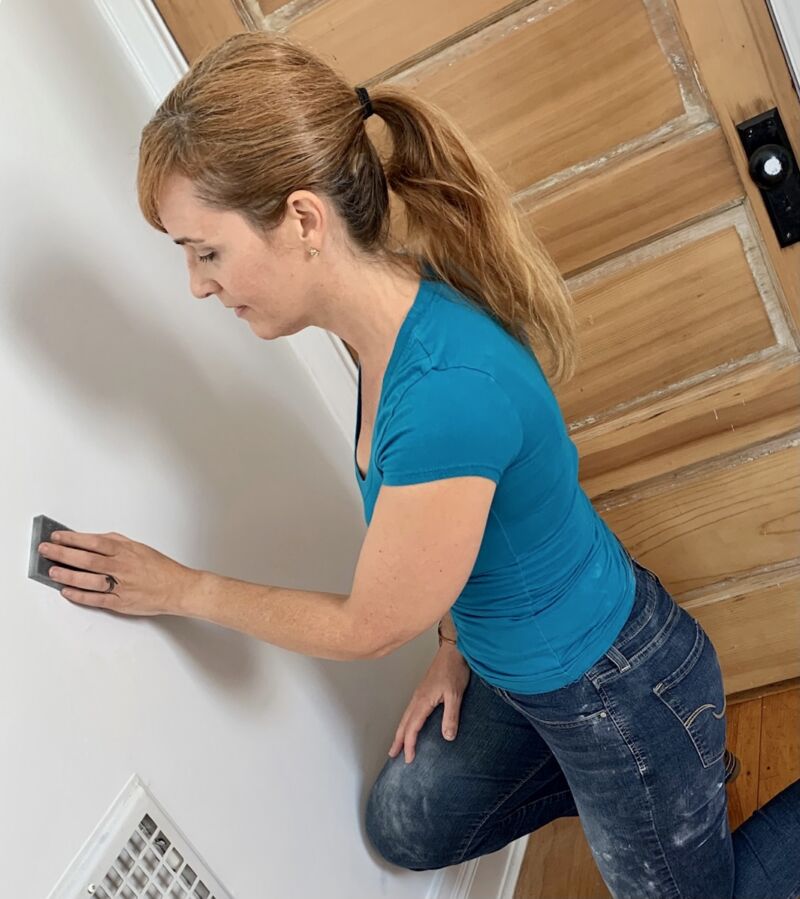


9. Once dry, sand smooth with the sanding pad from the Large Hole Repair Kit.
10. If the finish isn’t perfect, add another coat of spackling compound, wait for it to dry, and then sand smooth.
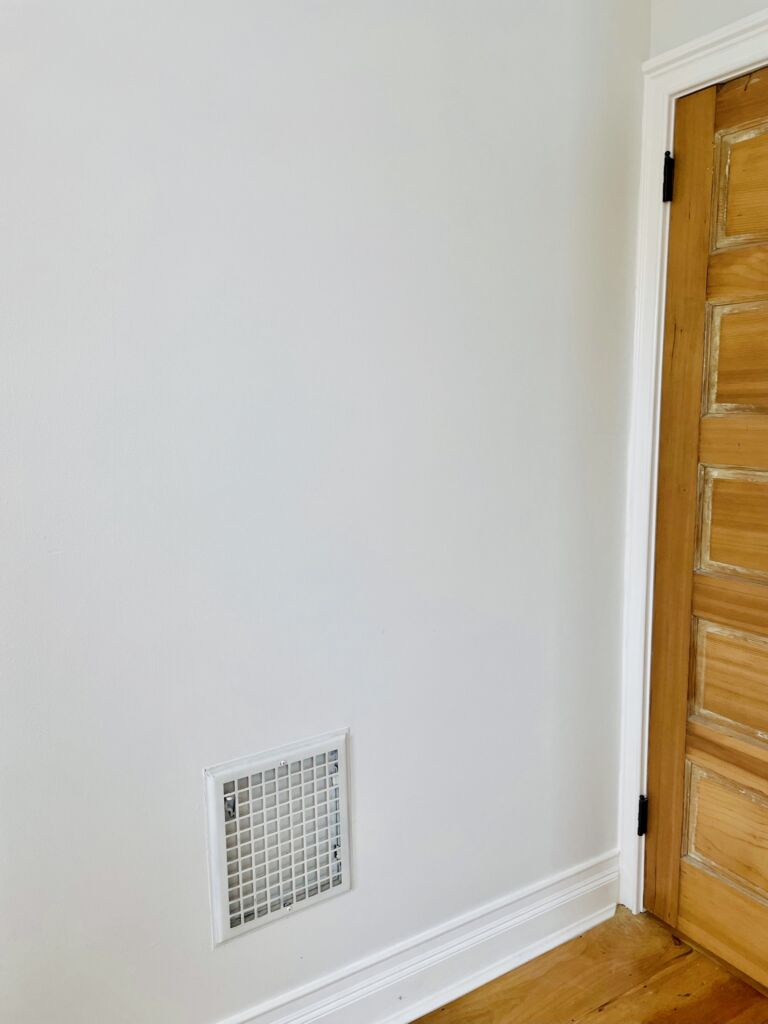
11. Now it’s ready for primer and paint. Even though the work was over two days due to dry time, the total repair took less than an hour to fix the hole.
The 3M High Strength Large Hole Repair Kit was easy to use and helpful that all of the needed tools are in one package. It’s a clever system that provides just enough material to fix a hole that’s less than 5 inches in diameter, and the finished repair blends in well with the rest of the wall.


A few tips for a smoother finish
1. Wet knife blade with water.
2. Take your time.
3. Use the knife at a low angle.
4. Slightly overfill the hole to allow for flat sanding.
We hope this drywall hole repair how-to helped. If you are looking for more quick tips and how-to help with your DIY projects, keep reading more MyFixitUpLife.

