
This winter garden makes me happy. The landscape design is a little out of the ordinary—which makes it a perfect winter yard project.
Don’t let the cold and short days keep you—or your tools—inside. Get out there and get it done.
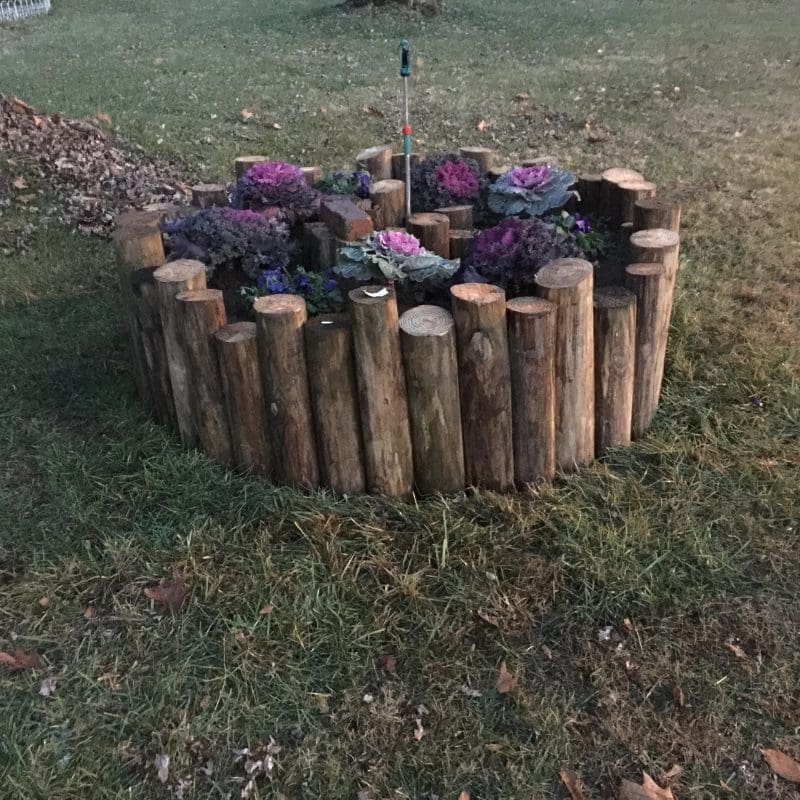
Even though the leaves are down, I think this is the perfect time of year for a landscape project I call the winter garden. I love adding color—we’ll use ornamental kale and flowers—in the yard. I also love adding texture, for which I’ll use round poles instead of dimensional lumber. This project will also help get the yard ready for Spring at the same time. Plus, I get to use my chainsaw.

This yard is ready for a MyFixitUpLife landscape intervention.


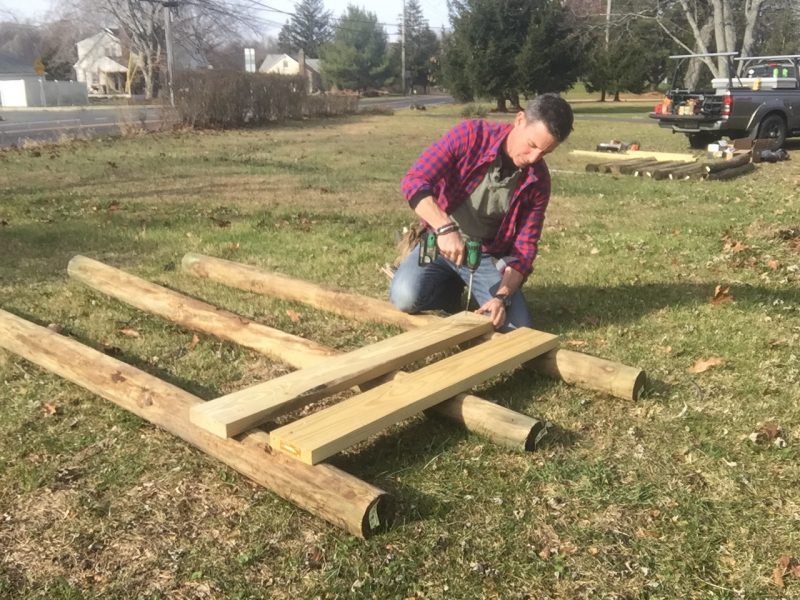
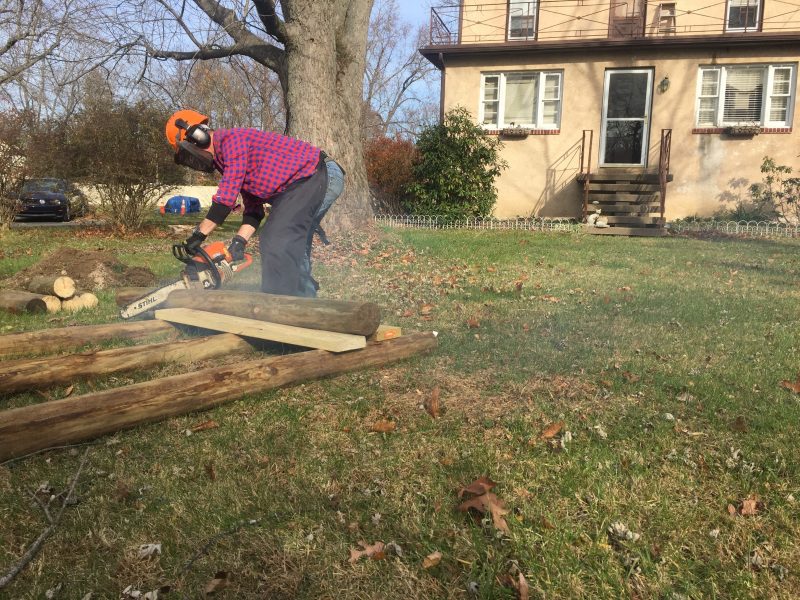
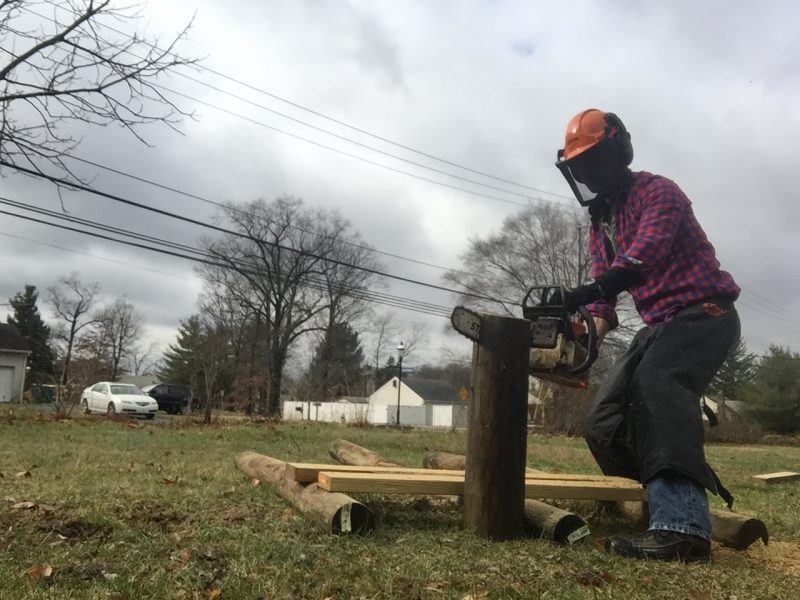
I love this project’s blend of carpentry and landscaping. My go-to cutting tool for these pressure-treated Southern Yellow Pine round poles is my Stihl chainsaw. To get the poles off the ground and to keep them still while cutting them, I fashioned a sawbuck. It worked great to keep the wood stable and secure while I made the cuts and kept the saw’s chain clear of the ground.


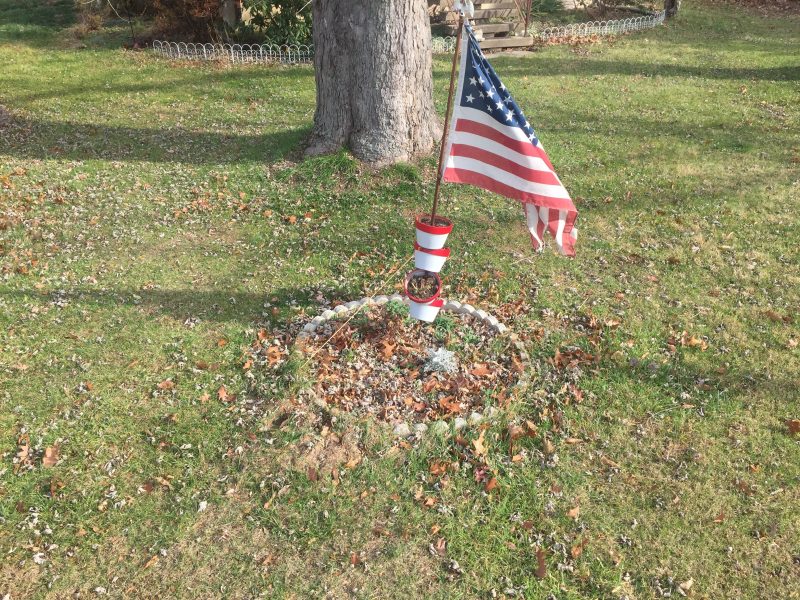
To lay out the winter garden circle, I positioned a big screw in the center of the garden bed location. I used 1/4-inch x 6-inch Spax PowerLags on this job.
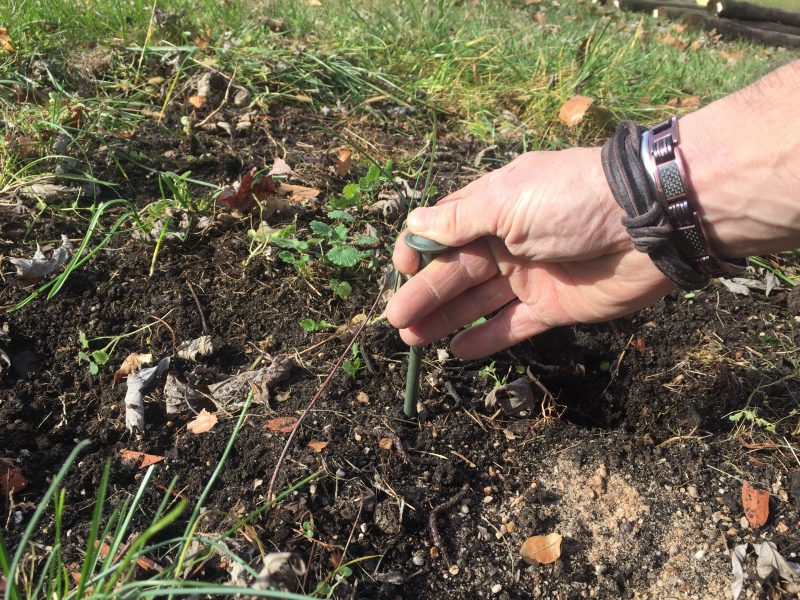


My mighty multi-tool and tape measure are next. For a 6-foot diameter circle, I extend the tape to 3-feet then use the multi- to gouge a line in the grass. It ain’t pretty but it works.
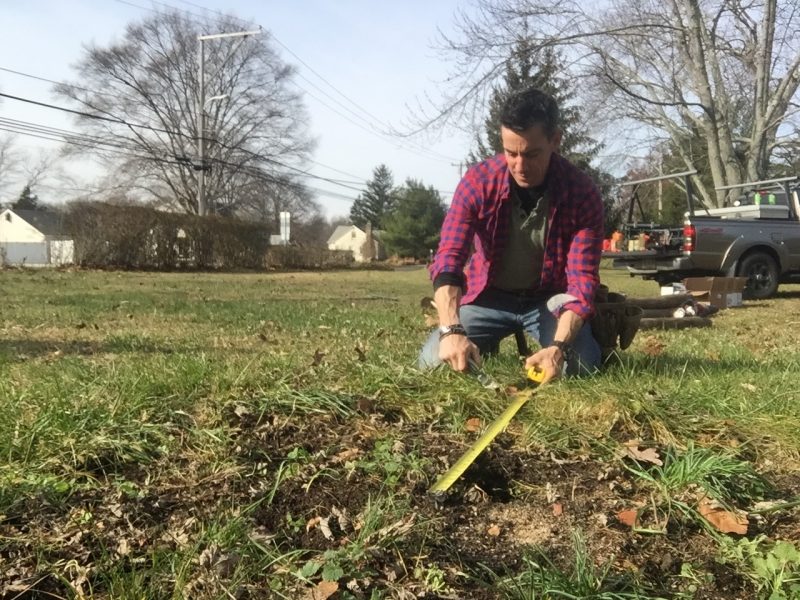


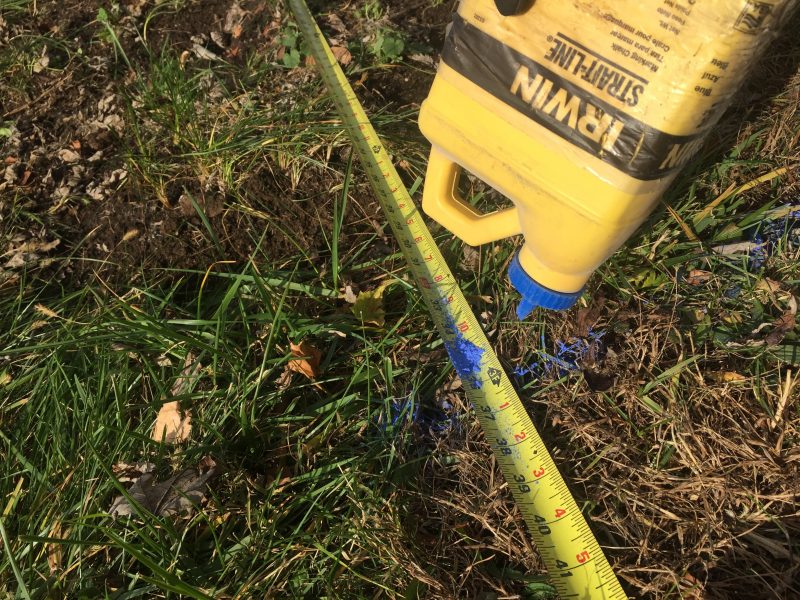
If you have help (thank you Doyle Remodeling for the location), someone can follow the tape measure with marking chalk or spray paint. It’s easier. If it’s just you, follow the gouge line with chalk to make the line easier to see from ‘shovel height.’


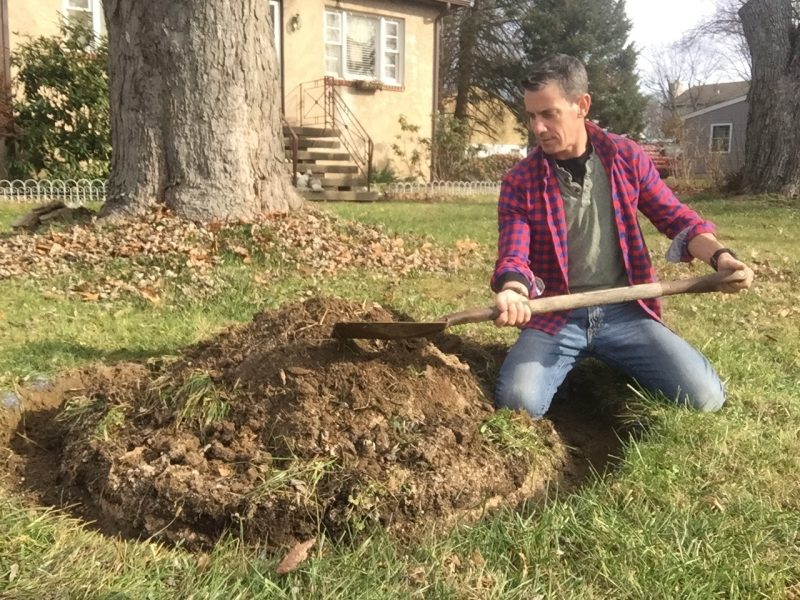
A crisp edge cut with a spade makes setting the poles easier. Dig a moat, (not really a moat, but you get the idea) with the spade. Pile up excess dirt in the center.


I love this part. If you’re new to chainsaw DIY this is a great starter project.
I cut the poles between 22 and 27-inches long, making sure to get four of them from an 8-foot pole. By the way, my lumber yard stocks these poles so getting them was easy. They’re Southern Yellow Pine. They’re pressure-treated and safe, too. They’re awesome for creating this rustic—maybe even slightly medieval—look and for lasting for a long, long time.
I love combining landscaping and carpentry—and a reason to use my chainsaw. To make it even safer, Stihl sent me chaps, a cutting helmet and I wore gloves while cutting.


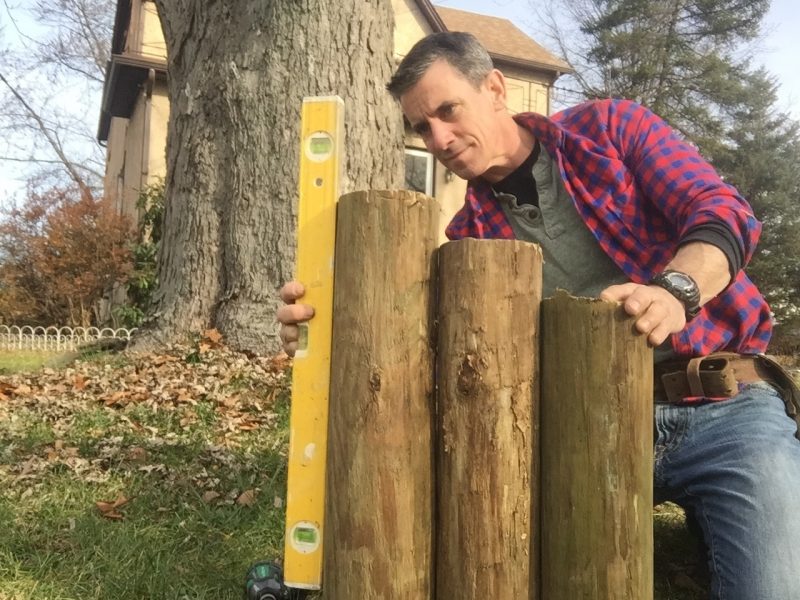
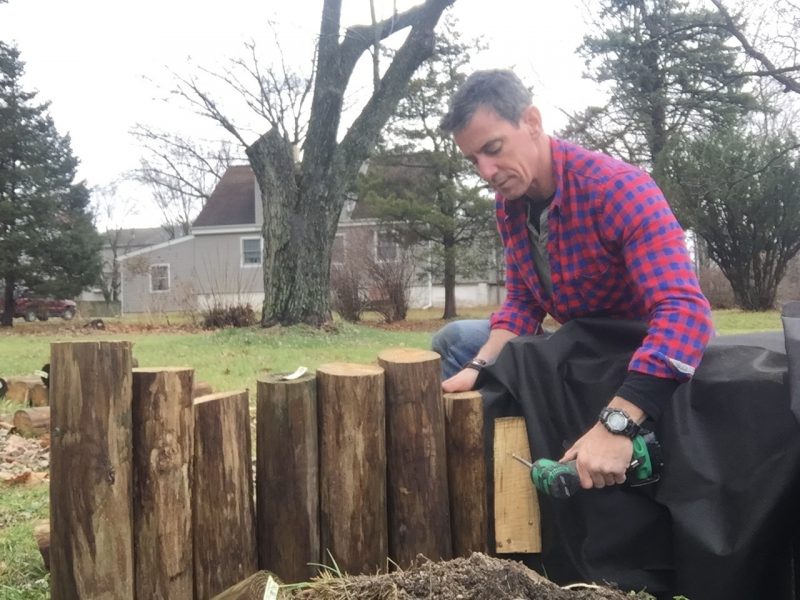
After cutting the poles to random-ish lengths, I use a level to set the fist post ‘plumb’ (straight up and down). Next I locked them to each other with structural screws. I used 1/4-inch x 6-inch screws and they worked great for this project.
As the poles form the the circular shape of the winter garden, you may have to get creative on which angle to fasten from. Otherwise, we locked them all together no problem. More on this below.
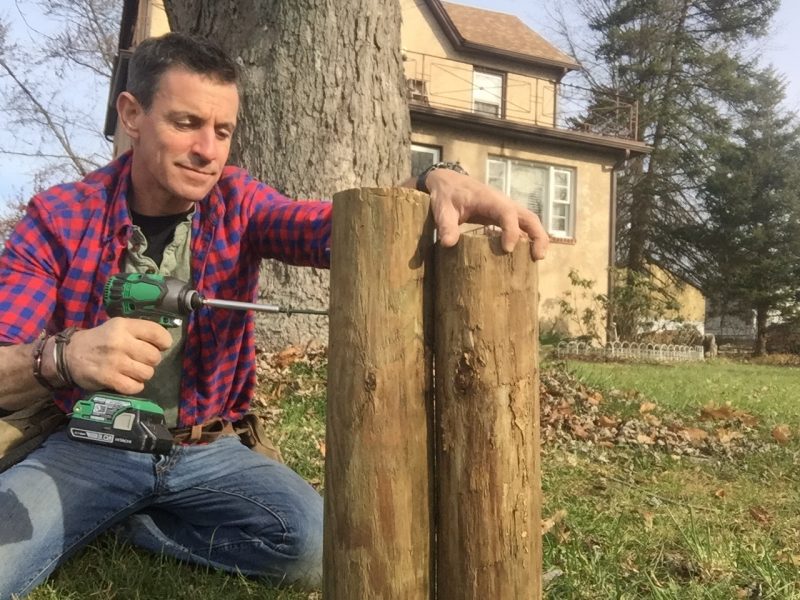


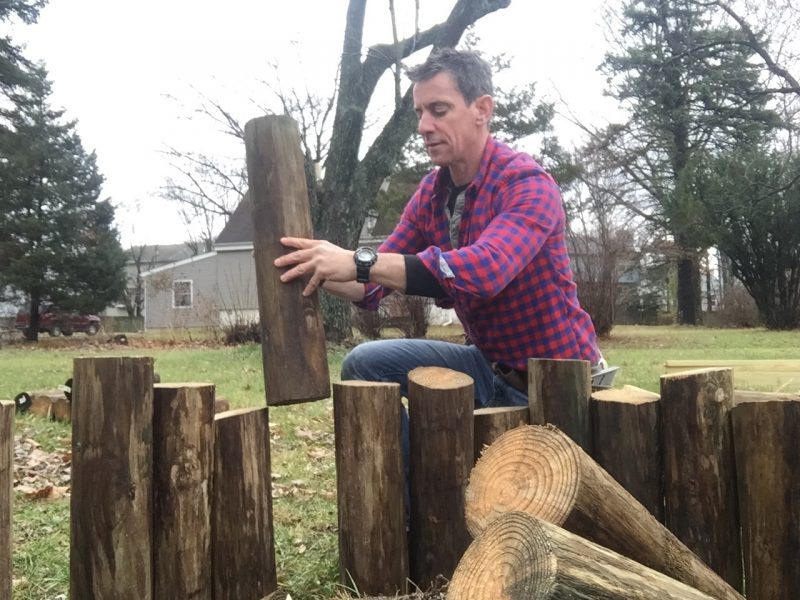
As you work your way around the circle, check each post for plumb. Also, even though these poles look ‘stepped’ I ended up using a random up-down pattern. I also recommend stepping back and just taking a look to see if it looks ‘right’. The poles are tapered and rustic and a level is just a guide. Rack things into shape as you go. Trust your eye.


The sprinkler will be positioned in the center circle—this is starting to sound more and more like a mini-Stonehenge—so I cobbled together some 2×6 as a chase to pass the hose through at ground level. Once I know the finished length, I’ll trim it with the chainsaw.



It seems kind of random, but to fit the last pole, start arranging poles of different diameters to make them fit. Kind of like a jigsaw puzzle. I only had to test a few combinations to make the last one snug right up.


For this cut, the bottom of the post is secured and stable so I can make a rip cut as shown. It occurred to me as I was wrestling with the landscape fabric (next step) and making sure everything was well-connected that I could make wedges to serve both purposes.


The 1/2-moon-shaped rip cuts I made fit between the troughs of adjoining timbers. About 8-inches long, they stiffen up the connection between the poles and are perfect for holding the fabric in place. Four deck screws lock ’em and rock ’em.


The center circle in the winter garden has a chase for the garden hose to run under the soil and is held together with 1/2-moon wedges. I made the center circle in two pieces outside the garden. I lifted and placed them inside the big circle, then screwed them together. Also, the garden doesn’t need to be full of expensive topsoil. To fill the voids, I was lucky enough to find some rubble, which also helps the soil drain.
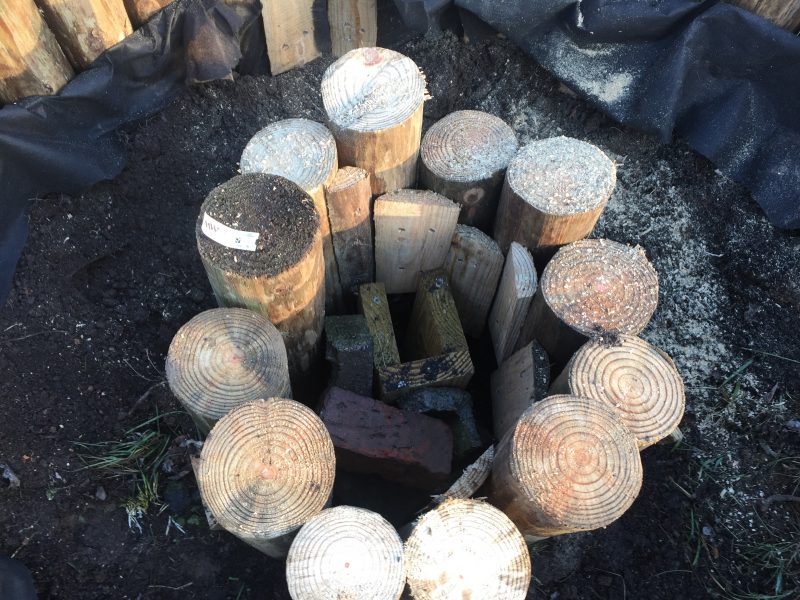


For the pole above the chase, I screw it to both the posts on either side and down to the hose chase. Tip: I also added a vertical hose chase inside the center circle. Before filling with dirt, make sure they line up all nicey-nice so the hose passes through easily.
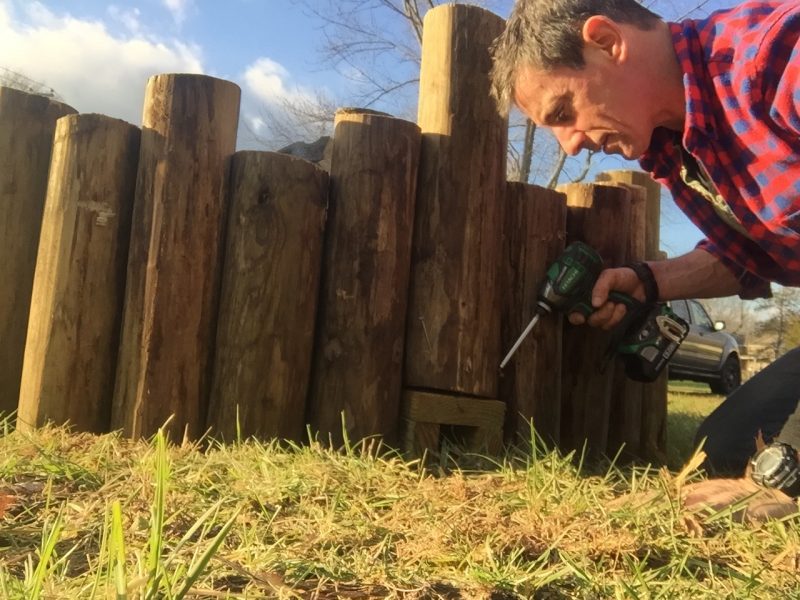


To keep the look I like, lopping the final posts set on top of the hose chase was easy. It’s funny how a chain saw can be a precision tool sometimes. Note: Be certain the fabric is clear of the cut area.
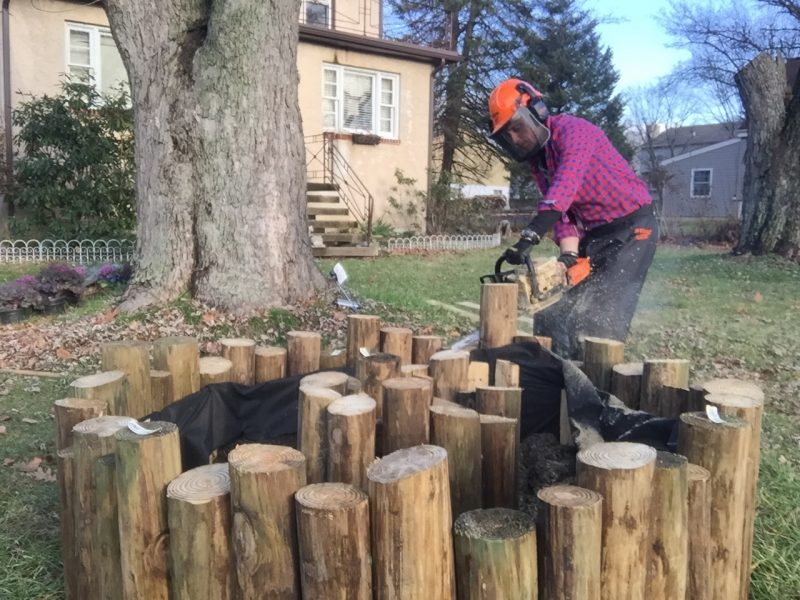


I know the winter garden doesn’t make sense, but I love it anyway. And it is also my favorite place to think Spring. Reason is: The best time to plant Spring flower bulbs say my friends at Burpee Seeds is now.
So while I placed the pots to check color variation and plant-spacing, I also dropped flower bulbs in the soil as I went. This garden may see deer, so instead of tulips—deer snacks—I planted daffodil. And they were a great price at the end of the season.
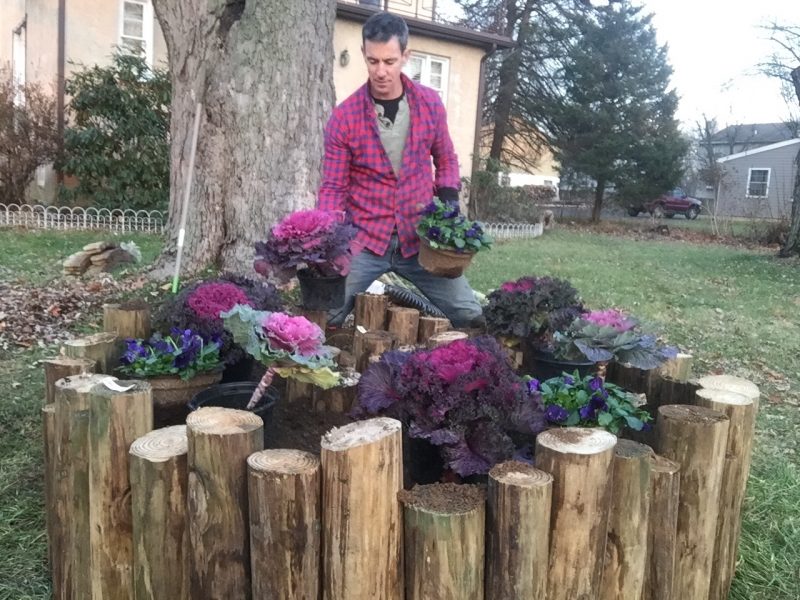


Couple things here. Yes, I realize it is cold, so I am more setting this sprinkler to see how it fits. It’s a Gilmour elevated sprinkler and I thought it, along with a nice Gilmour hose and brass fittings (yes, I am a hose snob among other things) was a perfect match for this style of garden. Shame is, I only got to use it once because the kale and pansies only need to be watered-in after planting. Rain and snow will take care of the rest because they’re more just there than actively growing. The garden center I bought the flowers from suggested plucking old petals off the pansies from time to time to spur new ones to take their place.
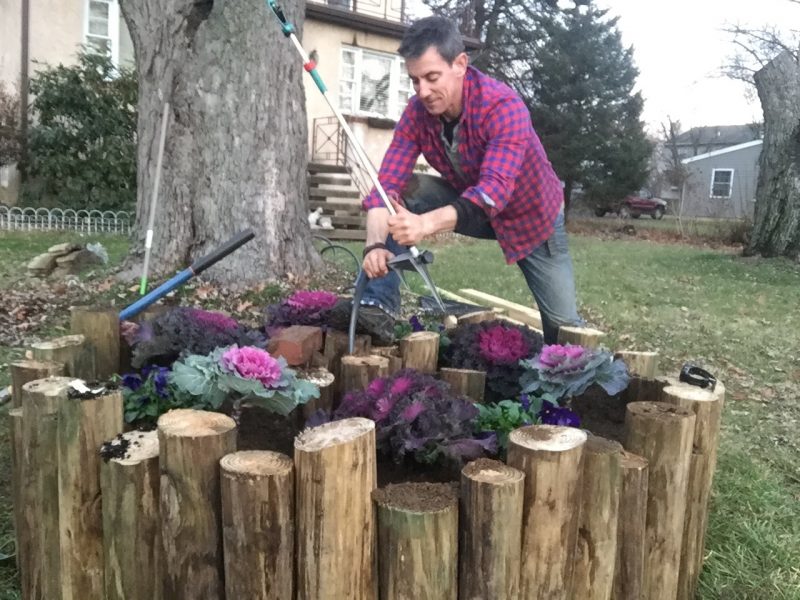


Who says winter has to be bleak? Bring me the color!
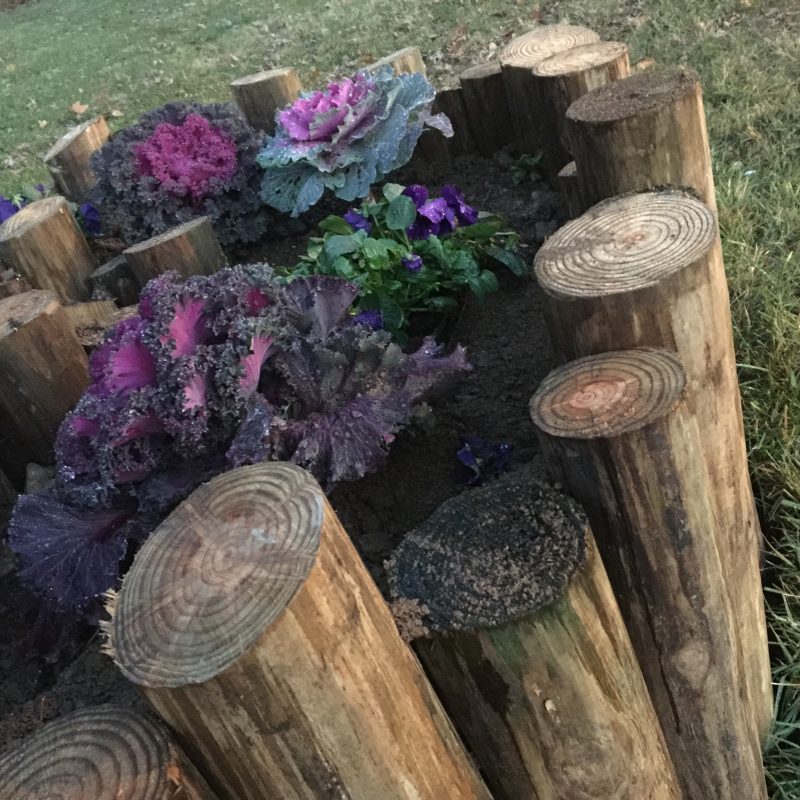


Don’t forget to take pride in your work. Or a hero shot of yourself in action.


