Cutting sheet plastic should be easy, but instead, is the DIY equivalent of herding cats and, as such, requires it’s own tool hack. Behold.


*OLFA sponsored this post. The tool hack how-to is all MyFixitUpLife.
The problem with sheet plastic is, just when you think you’ve got it—the knife is all but effortlessly gliding through the visqueen—you don’t: The plastic catches on the body of the knife; a fold opens up; the roll moves.
You’ve been there. I can feel it.
Next thing you know, you’re hacking away at it—only millimeters thick—and when you do get it free, it looks more like the hem of a sweater from some dystopian bleak-scape movie than what it almost was: A nice, clean cut.
So whether you’re using it for a vapor barrier in a basement man cave, covering openings to mitigate dust migration for demo, or draping over furniture before you paint a room, here’s a tool hack that’ll save you time.
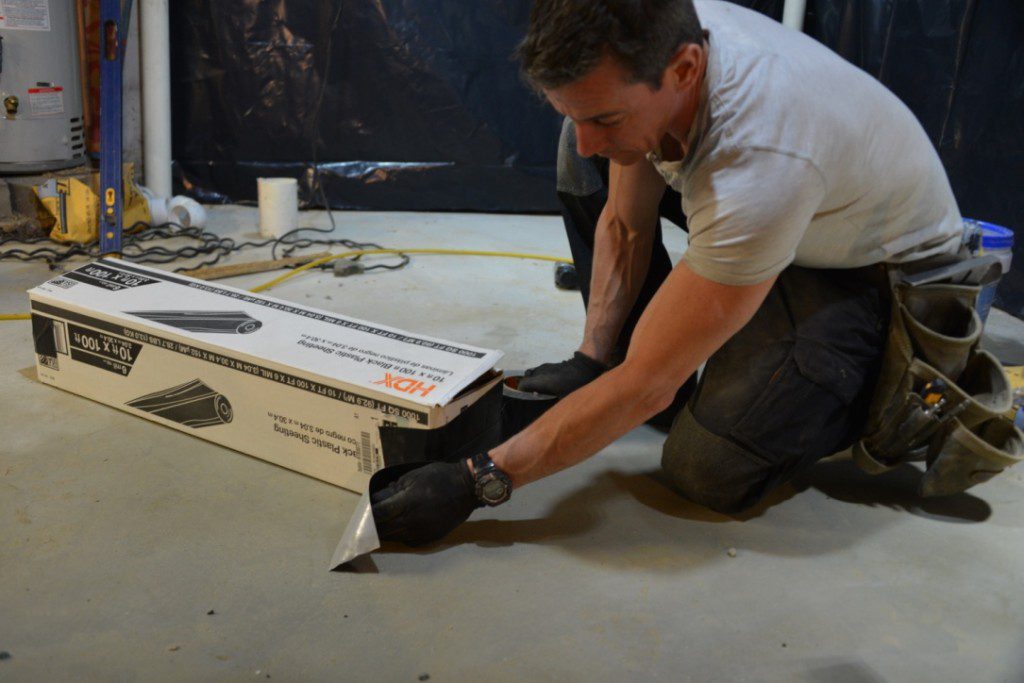
The Box. Open the box without destroying it. I cut a ‘lid’. Next thing, I reinforce the sides with what I call 100-mile-an-hour tape. In this case some rippin’ Gorilla Tape did the trick. Also, because the box isn’t wrecked, I can close it up and contain the remaining roll of plastic when I’m done.
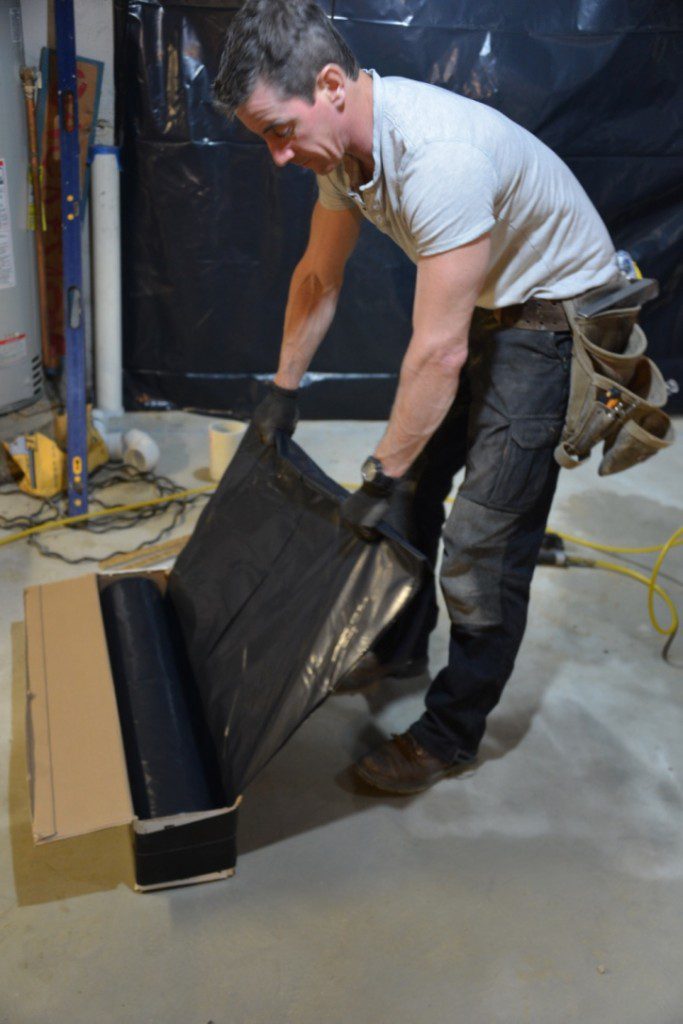
The Pull. Grab the corners and pull the piece out gently, keeping it as flat as you can. Like Saran Wrap in the kitchen. Have enough work area to draw it out to length. Tip: The rolls are 10-feet wide un-folded, so the length you’re pulling out of the box in some cases (like hanging a vapor barrier in a basement reno, right) is the height plus some extra for fastening.
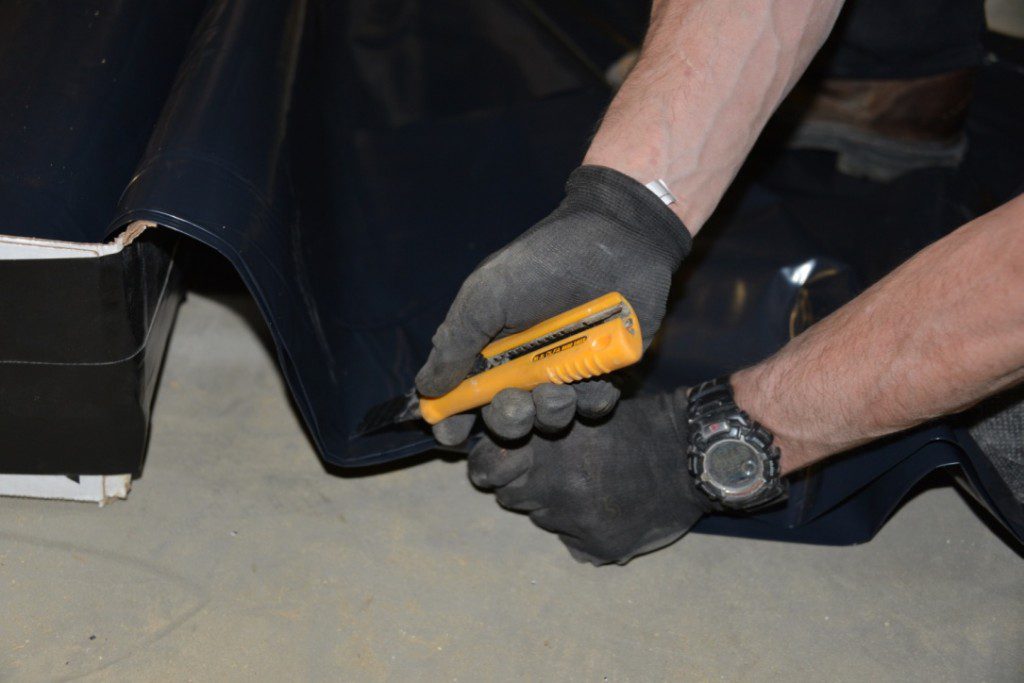
The Knick. To start the cut, first knick the piece in the reverse direction of how you’re going to cut it. This gets the cut started. If you don’t do this, I don’t care if you have a light saber, starting the cut will be a nightmare. Once you’ve made the starter cut—1-2 inches from the edge seems to work—then pinch the open ends in your fingers and start cutting the remainder.
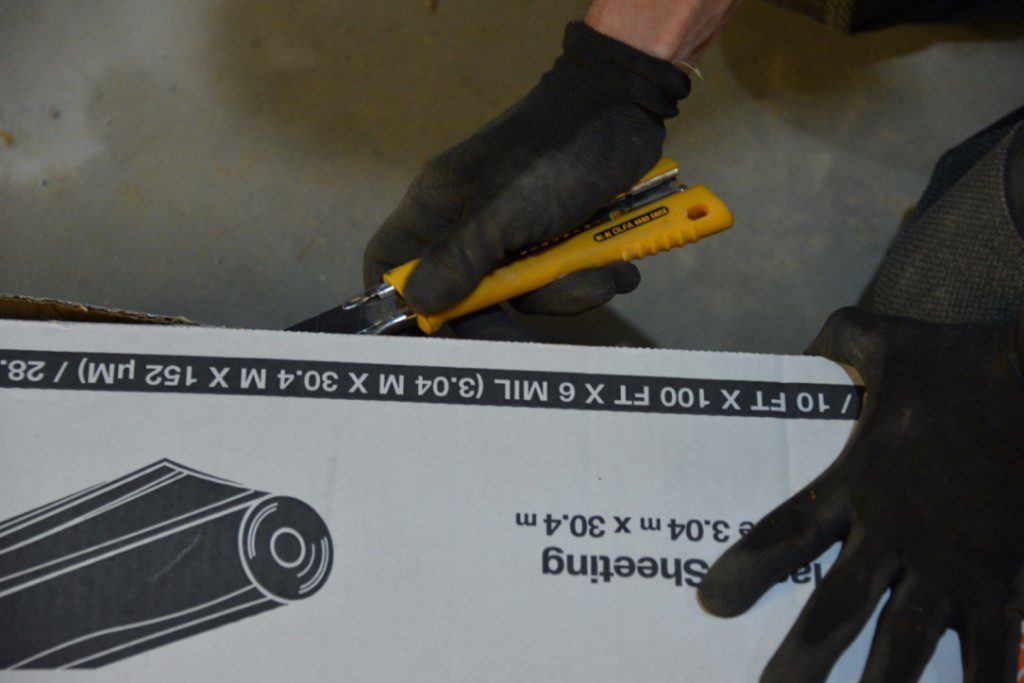
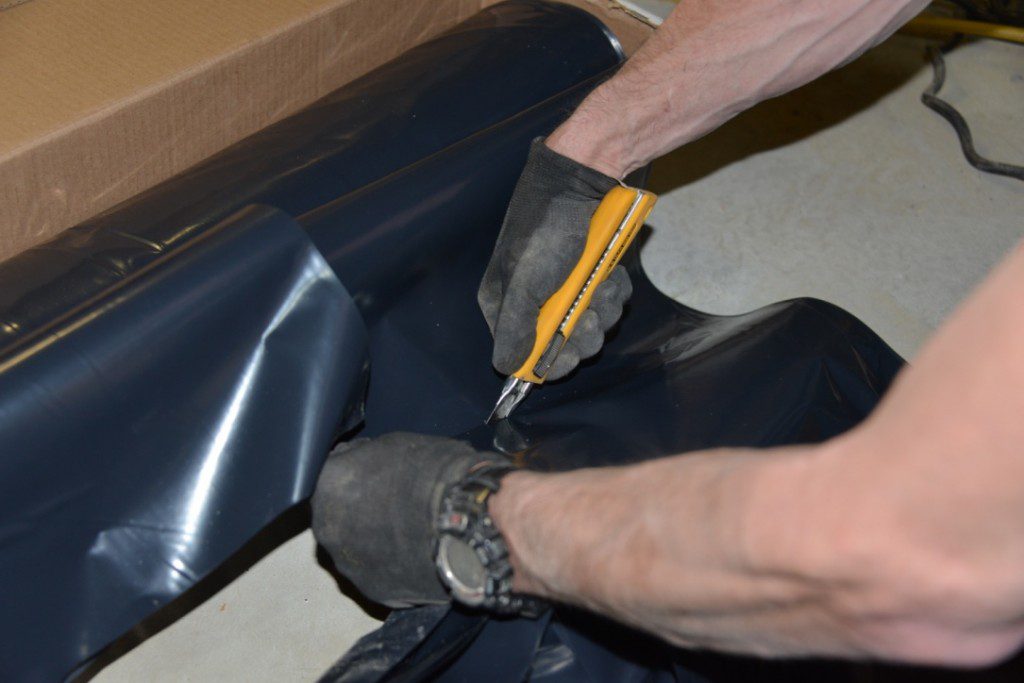
The Cut. This is the convergence of technique and tool and where the long blade of the OLFA utility knife we’ve been using has earned a spot in our toolboxes. I extend the knife blade a few inches (only possible with this type of knife) and begin the cut. A long blade means more edge to slice plastic that is trying to unfold as you cut it.
It also means that I can keep the angle of the knife at the optimum position to the work as I move my hand for nice, smooth cuts.
Option. I cut plastic for this tool hack successfully by passing the blade through the plastic sheeting. You may also try putting a board down parallel to the box and cutting on it to help keep the plastic from unfolding.
Is this a perfect solution? No. The plastic is still the plastic; it lives to defy us. It’s slippery and really likes to stay in one piece.
Plus, you can still cut it the old fashioned way—‘jagged-edge-wrestling-match-style’—but with this hack you will save yourself some time and trouble with a dialed-in triple threat of tool, technique and tape.
Now about those cats…