If you are having trouble installing molding in your home, there are a few ways to know it’s happening before it’s a really frustrating problem.
The key to happy molding is making it work in places where odds are against you—weird angles, sinking houses, undulating floors, wavy ceilings.
The trick is, whatever you do to cover up these nightmares, it should look like it was intended all along, ‘like it grew there’ as some carpenters say.
Door and window molding
All too often carpenters build doors and windows too close to something—usually another door or a wall. And this means that the trim (casing) doesn’t fit.
So the first thing it makes sense to do, is rip the trim down on the table saw so it does fit. Sometimes this works, like where a door meets a wall and there’s no other trim close by.
Where trim meets trim, however, you’re doomed. Molding usually has too many contours. What can work, however, is running your trim across the head (top) of the door or doors. If it turns a corner, miter it and continue the head trim around to the other door. Then install casing on the outside jam legs. At the inside jamb legs where you have the ‘molding smash,’ we install flat stock, usually 1-by material. You may have to rip the back of the flat stock so it’s thinner than the casing. This masks the transition with simplicity. It doesn’t make sense, but it works.
Crown and Ceiling Angles.
When crown molding meets another angle—other than the horizontal ceiling or
cabinets you’re installing it on—what do you do?
The answer: returns. Returns are a graceful way of terminating crown molding almost anywhere you need to.
For example, you want to stop the crown you’re installing in the foyer, but there’s no wall to run it into because the stairwell is there. What we do it, cut an outside miter on the crown a few inches away from where the stairwell meets the horizontal ceiling. Then run a little piece back to the wall. It’s called a return and they work great to transition crown, chair rail, window aprons and in all kinds of other spots.
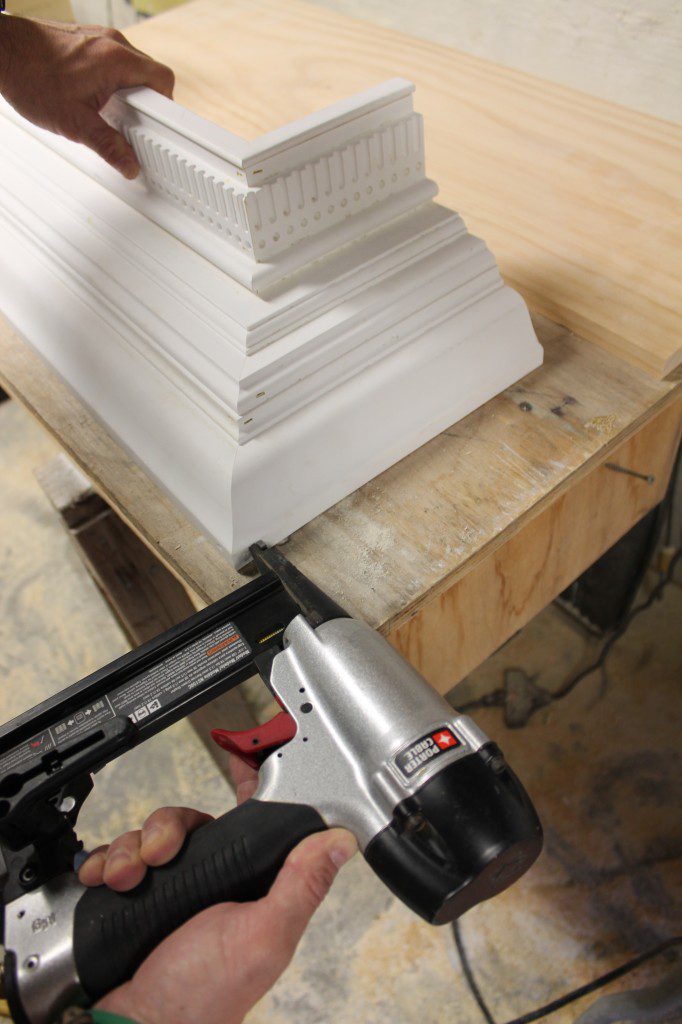
If you are having trouble installing molding, sometimes using caulk, a pinner, a brad nailer or narrow crown stapler instead of nails is better for fastening small pieces.
Thresholds.
So there’s a new kitchen floor or new patio door and the transition between spaces has changed. You’ve stood at the home center looking at all the “saddle thresholds” and millions of other little pieces that look like they should work.
But not in your house.
What we do is head to the lumber aisle instead. We grab a piece of wood that matches the flooring species and make our own threshold. It’s usually a bit of measuring and table saw action, but it works. Cut a rabbet on one side so the piece covers flooring surfaces that are set at different heights. Rip bevels to create a graceful transition. Sand out the saw marks before installing and you and your trim will be happy.
If you are still having trouble installing molding, maybe we can help. Share in the comments below or send us a note.


[…] each leg into an ‘L’. We used 2 ½-inch cabinet screws. Awesome sauce. We also used the miter saw fence and bench as a support during […]
You could also mention that gluing the outside miters will keep them from opening up over time as the wood expands and contracts. Glue is also good for small pieces.
[…] measuring and cutting two pieces from the same board, it’s easier, faster and more accurate to measure […]
Great article and tips Mark! I still think this is hard work but the results bring satisfaction.