I loved doing this wood wainscoting project on Theresa’s nursery makeover. It’s like the ultimate carpentry-DIY-home improvement project. Fun, fast, easy—and I never say that unless it’s uber true—and awesome looking. Here’s the highlight reel.
Tools and supplies
Your inner carpenter will love this because the main tools are: miter saw, table saw, and nailer. You also need a level and some 1×4 wood trim. The wood wainscoting is solid Southern Yellow Pine made by Prefinished Wood Accents. Here we go…
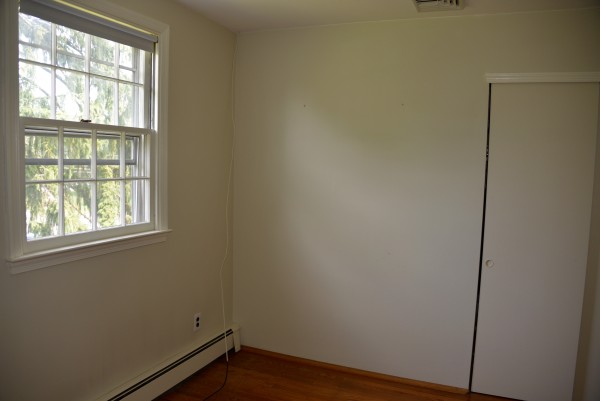

This room is 100% lacking both wainscoting and a pulse.
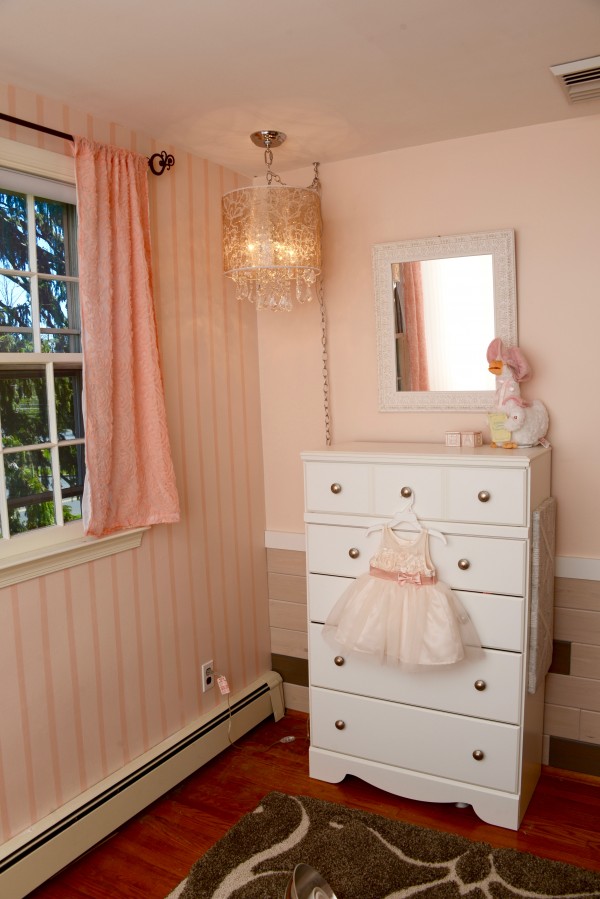
Prefinished Wood Accents is like CPR for this room, instantly bringing it back to life.

This is the same room. I checked the color. It’s officially called: Boring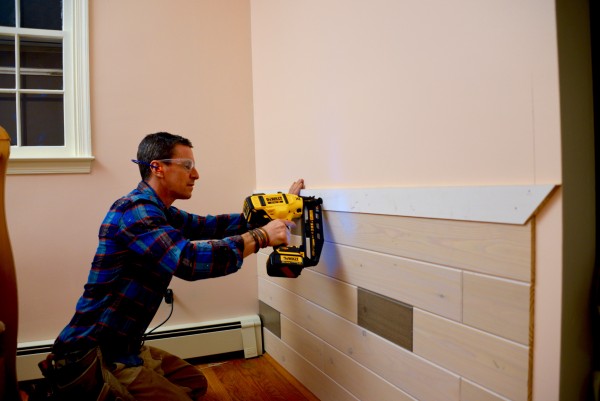
I love how Theresa got several different finishes. I randomized them during installation. 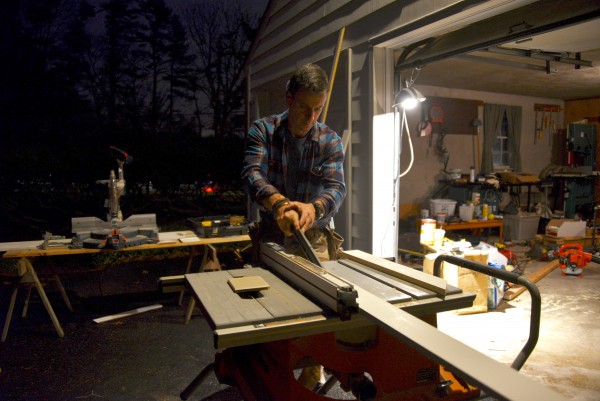
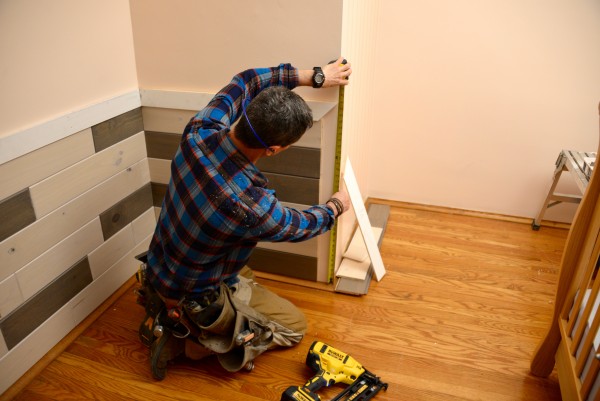
I used the table saw to cut a small notch in the solid 1×4 pine trim to ‘trap’ the top and sides of the wood wainscoting.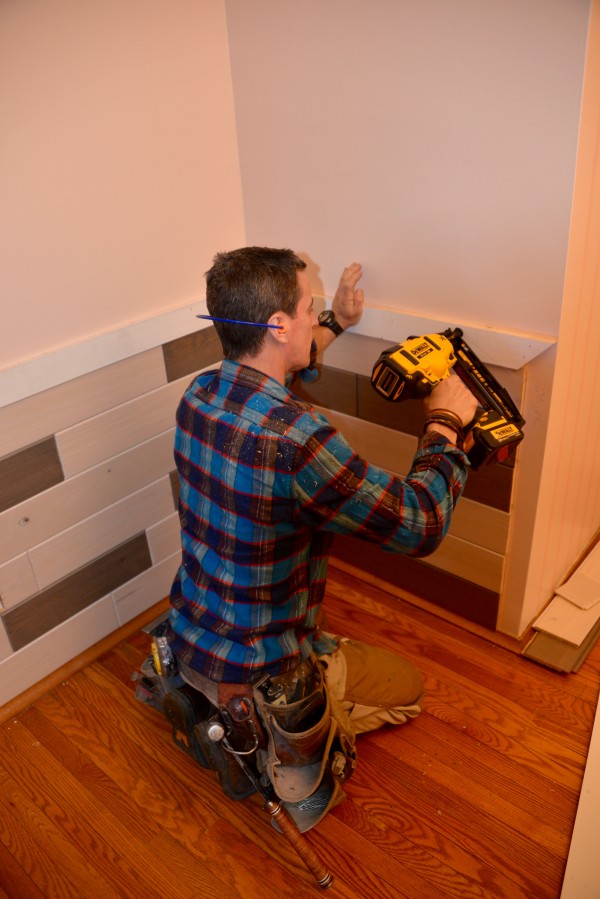

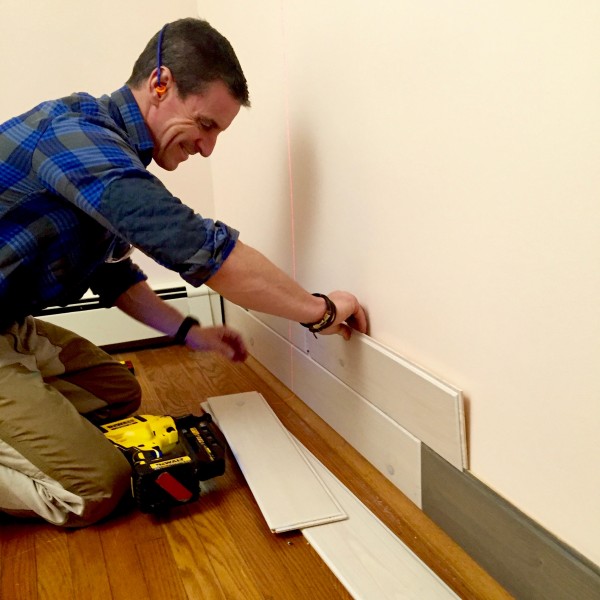
A pneumatic or cordless nailer is awesome for installation. While you should mark the studs and nail into one when you can, it doesn’t always work out. However, because the Prefinished Wood Accents is T&G it all locks together and nail gun nail popped into plaser (that’s what we had here) or drywall is sufficient for holding power.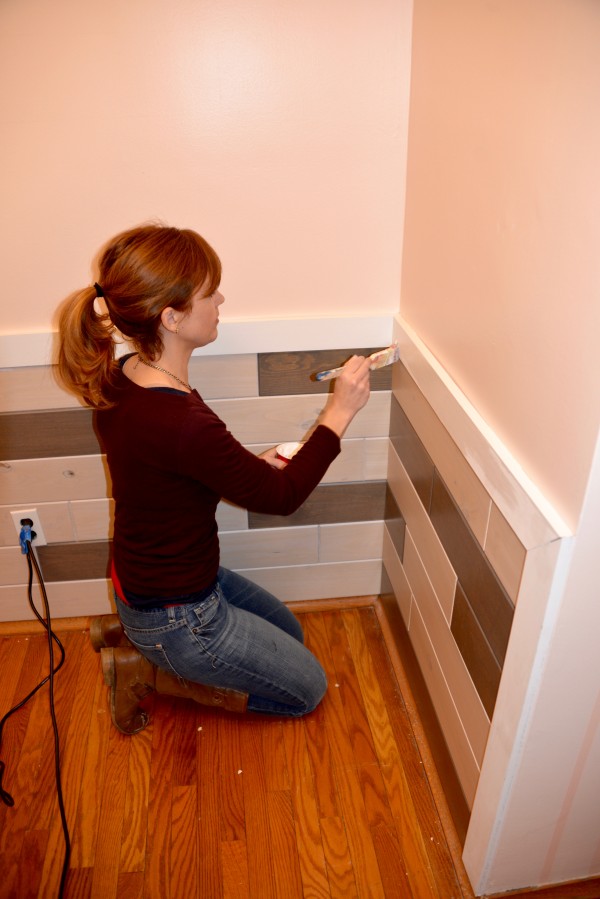
Factory-primed wood molding holds both nails and paint. 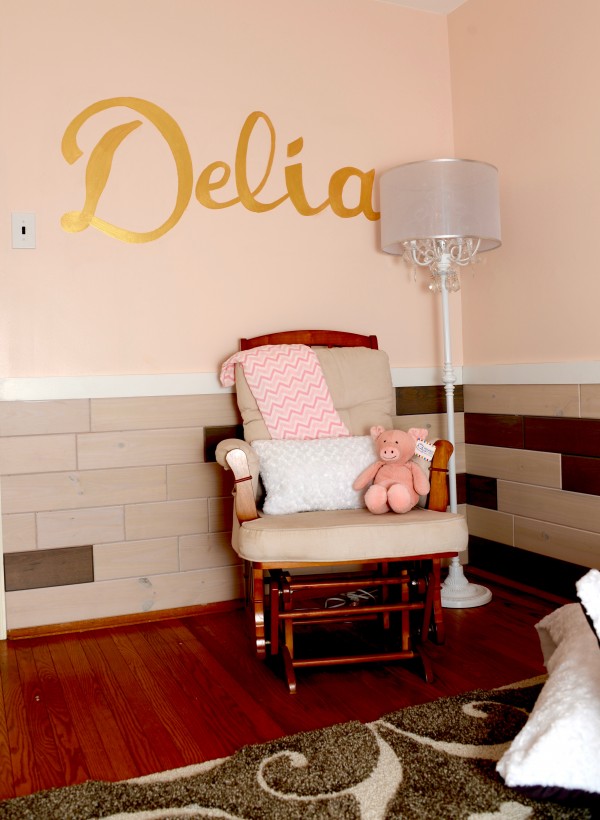

Theresa’s signature: Artist, designer, color expert.