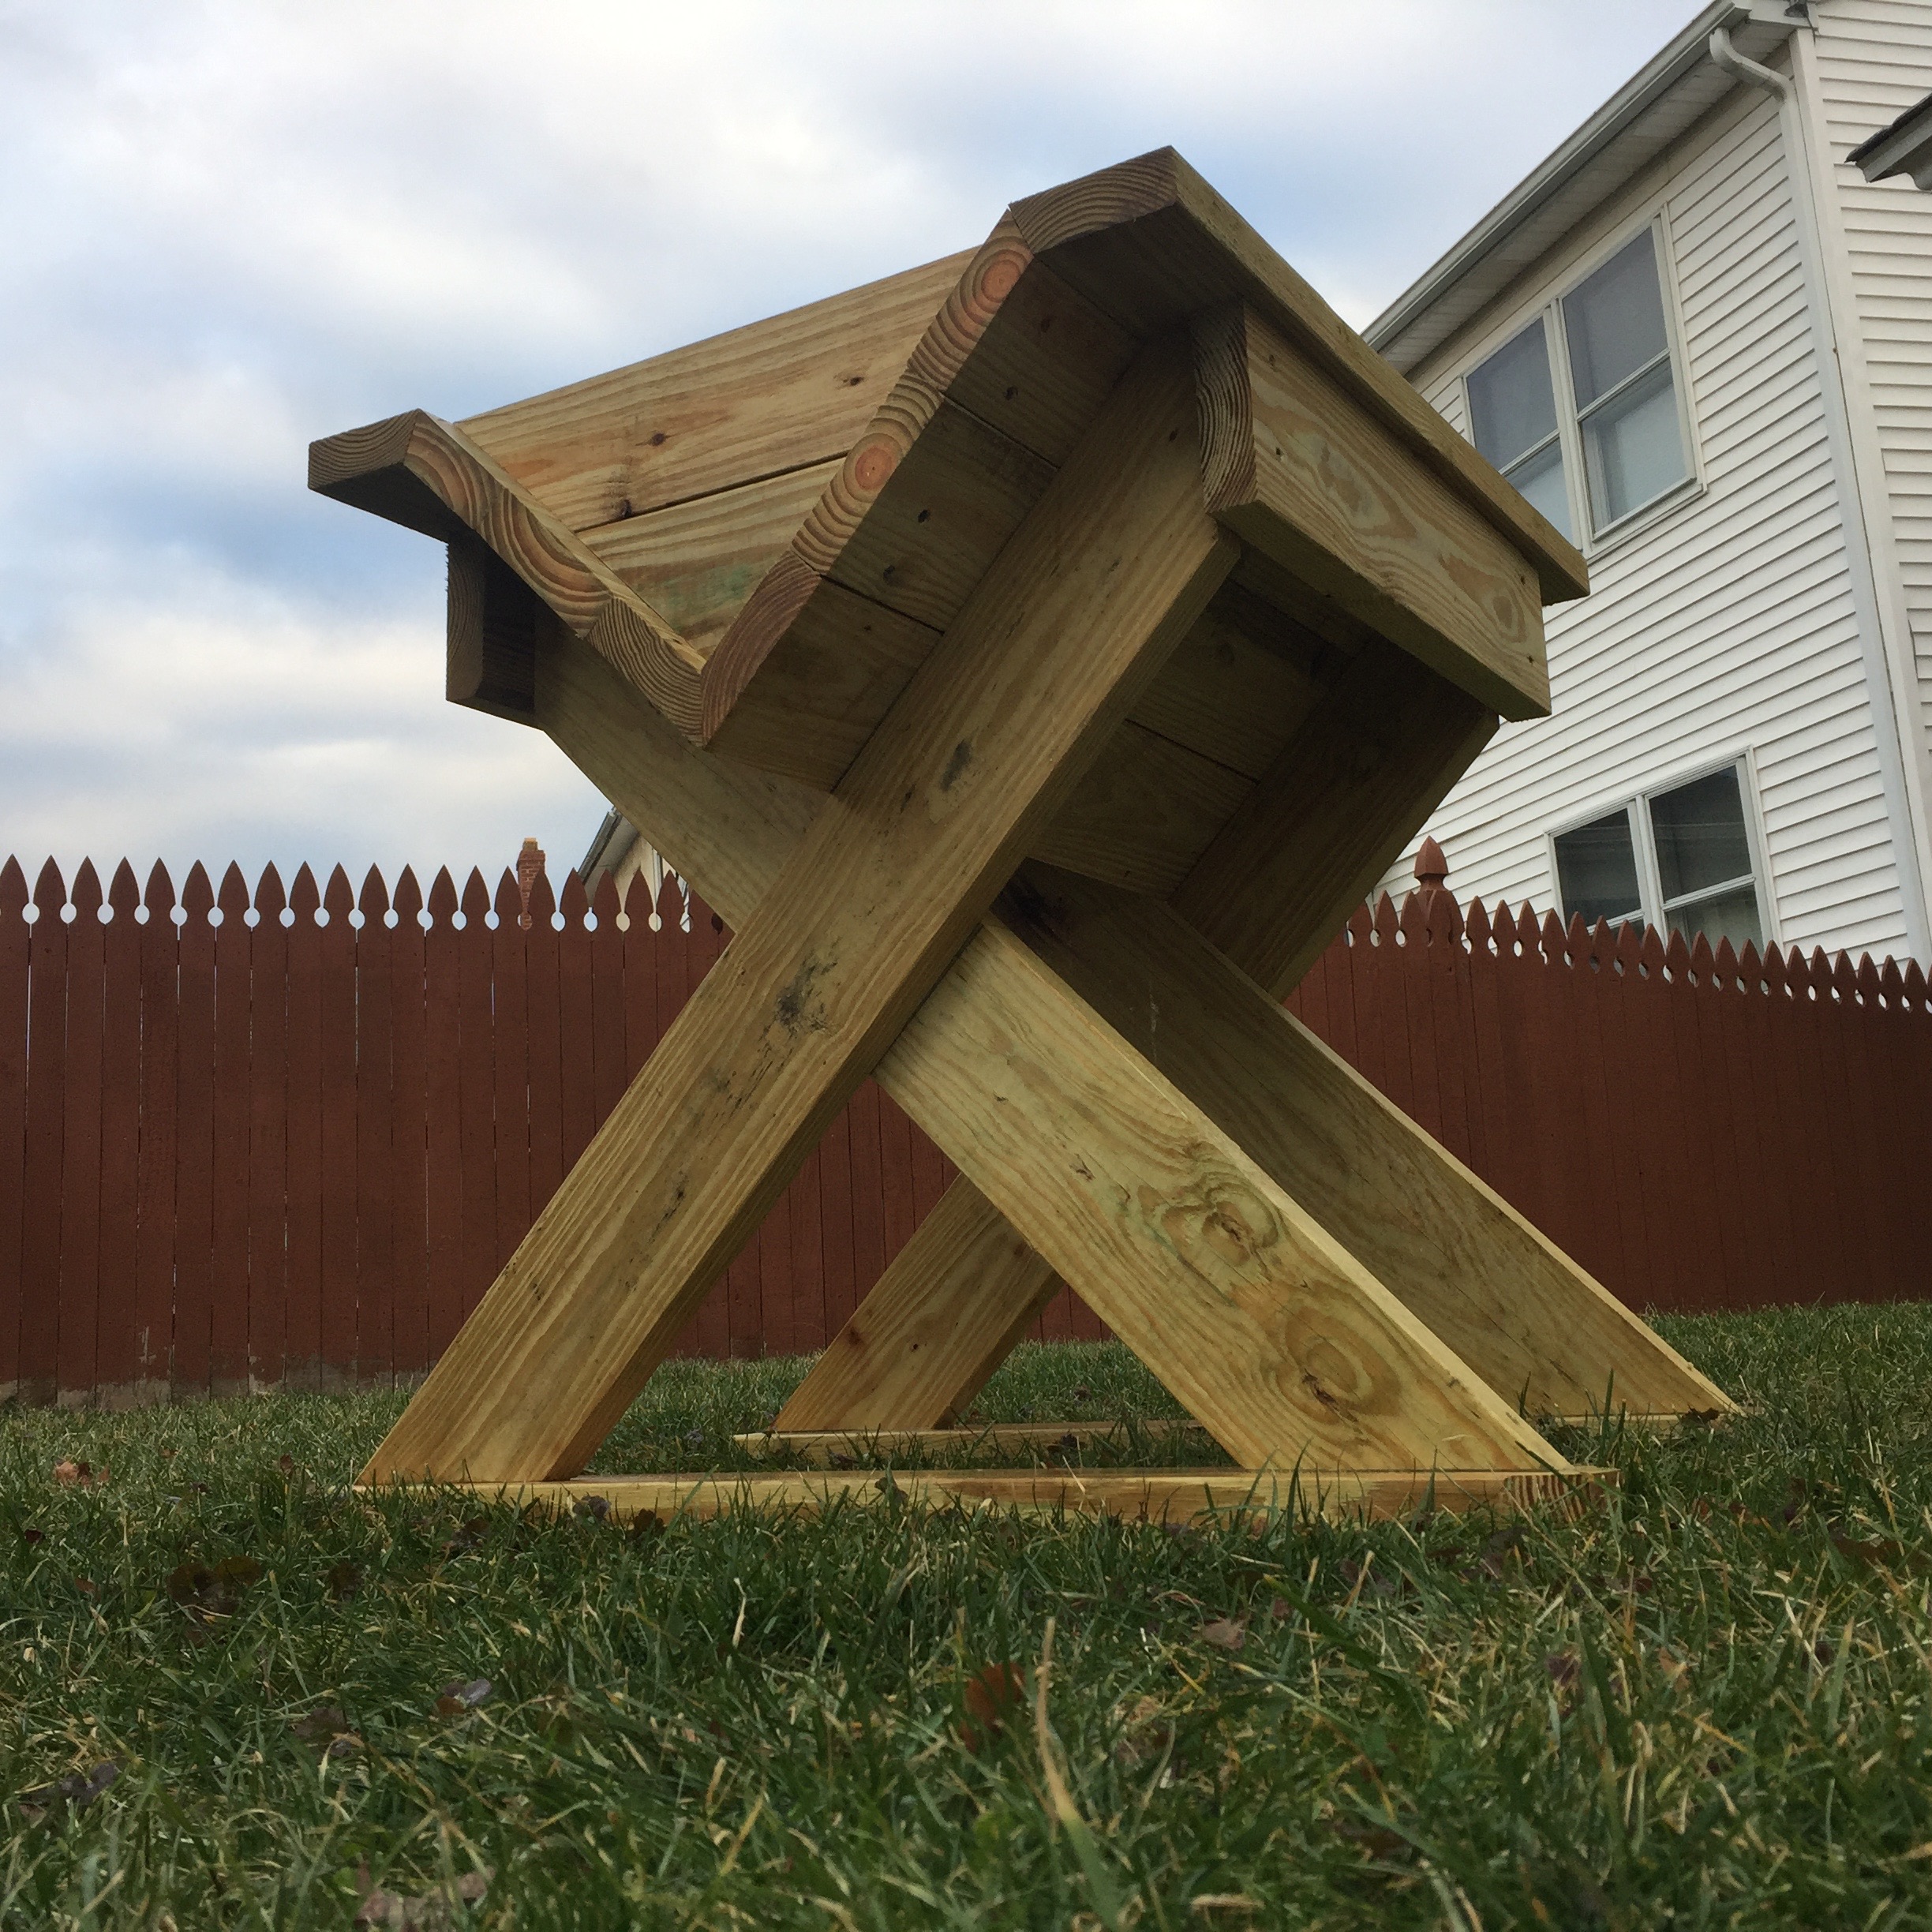
I love woodworking projects for the yard. This one (two) will get a ton of use from benches to tables to even DIY fitness and storing lumber.
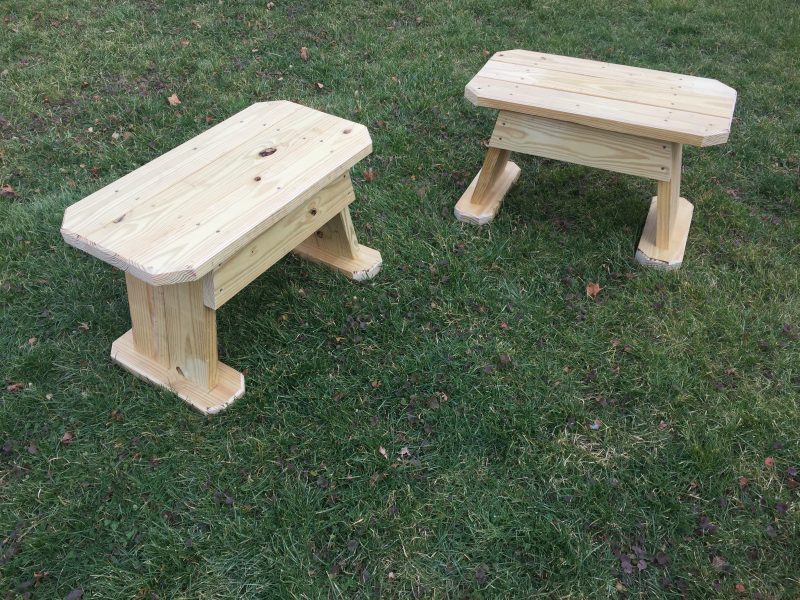
It’s rare on woodworking projects, remodeling, or home improvement that I cut all the pieces of a project at once, but this best-ever-garden-bench is one where I did.
- Top: (3) at 32-inches
- Legs: (4) at 16-inches (long-to-long, 12-degree bevel)
- Feet: (2) at 17-inches
- Stretchers: (2) at 22 1/2-inches (long-to-long, 12-degree miter)
You could—and I’ve done it—make this with a circular saw. It’s faster and easier to use a miter saw for most of the cutting. I use a circular saw and router at the end.
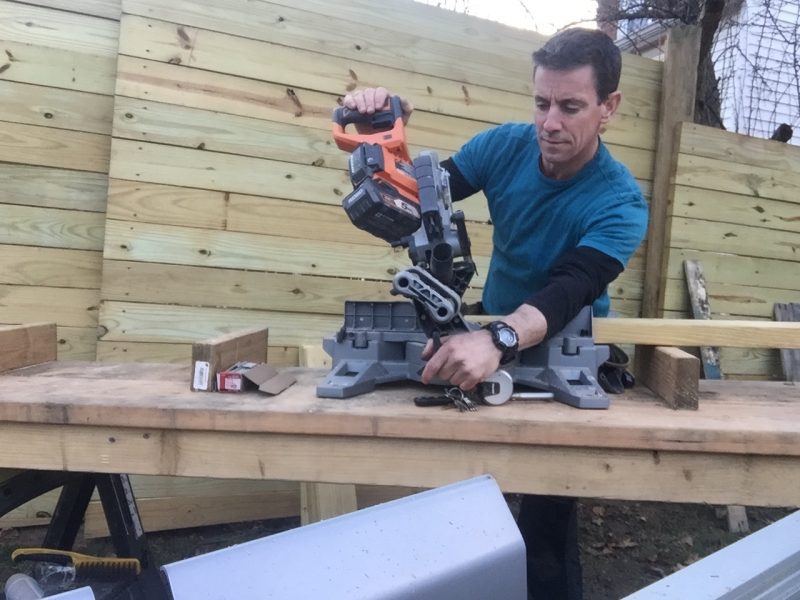


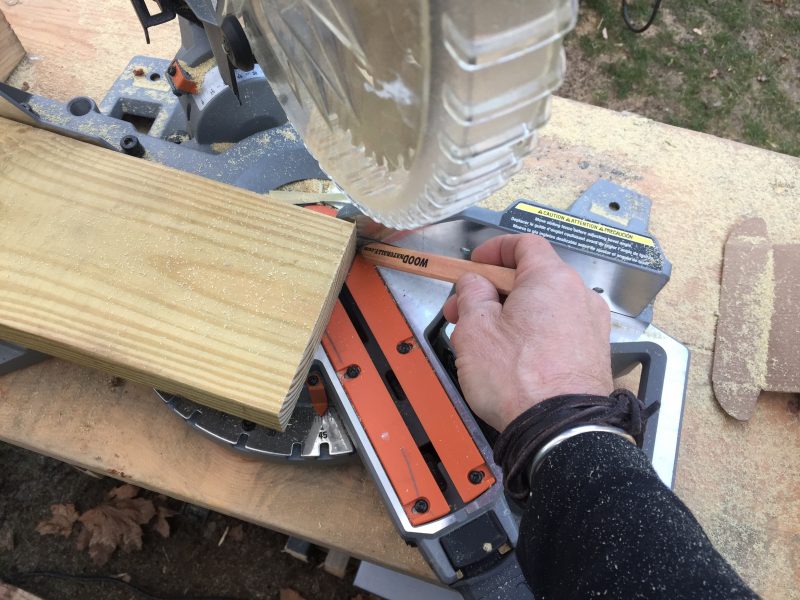
Look carefully at the feet above. The corners are ‘clipped’ to ease the edges. To make them all the same I mark the miter saw deck—and I don’t measure anything on the wood. One mark. No measuring. Just register the corners with the pencil line and cut a 45.


Assembly starts with the feet and legs. Layout is the trickiest part.
I mark the center of the foot, 8 1/12-inches. One leg goes on each side of that mark. And to center the legs inside the feet, I hold them 2-inches away from the front and back edges. It’s kind of important that the legs touch all the marks so they’re as straight as possible when you connect all the pieces below.
A bar clamp helps stabilize everything—without it, it’s like trying to make a snowball with a glass of water. Once stable, screws up through the bottom of the feet into the legs gets everything locked up tight.
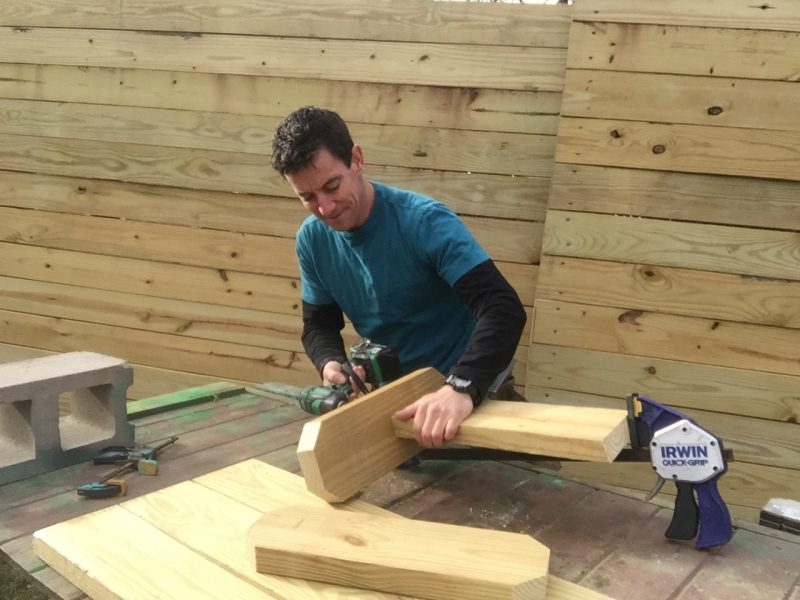


Tip: I use one leg assembly to prop up the other while I fasten the stretcher flush. I make sure to keep everything on the same angle.
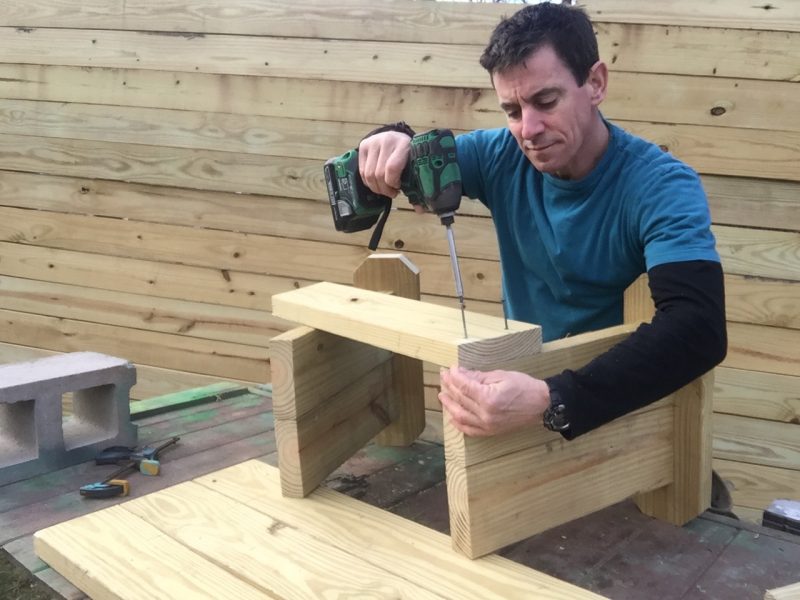


Dry-fitting the top onto the leg assembly enables you to check the reveal. In other words, that the top pieces extend the same distance past the bottom on all four sides. I like to measure at the corners. Here, it ended up being 6-inches on the sides and 1 1/4-inches front and back.
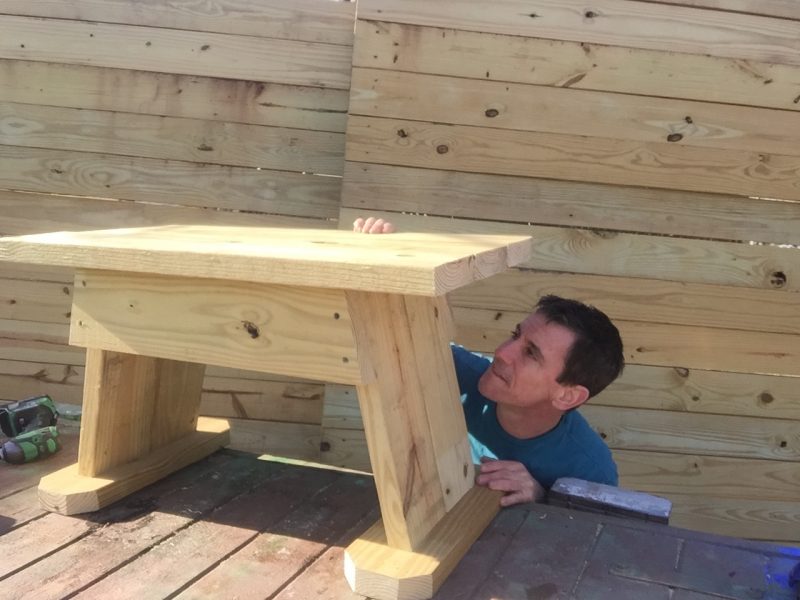


Sock a few screw into the stretcher to lock in the first top piece. The stretcher’s edge-grain will really grab the screws. For the center piece of the top panel, you only have end-grain to fasten into. I find that operating the impact driver slower—back off the trigger so it spins about 1/4 of the max rmp—the screws threads can bite better on wood fiber. If that doesn’t work, add a cleat behind the the leg and fasten into it instead of the end-grain.
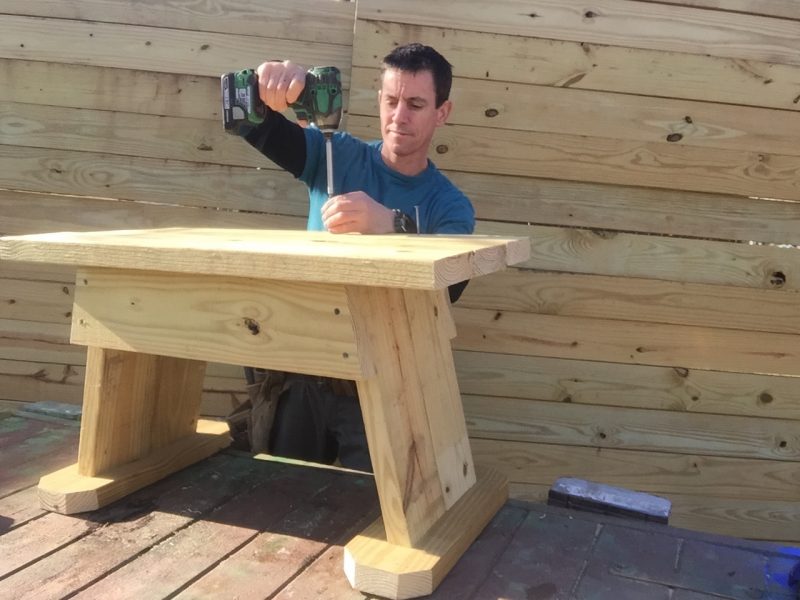


This is nowhere near Norm Abram’s woodworking projects in scope, detail or complexity. His lifetime of skill and practice never ceases to amaze. Nevertheless, I don’t want this bench to look like it fell off the back of a truck either, so I clip the corners to soften the edges.
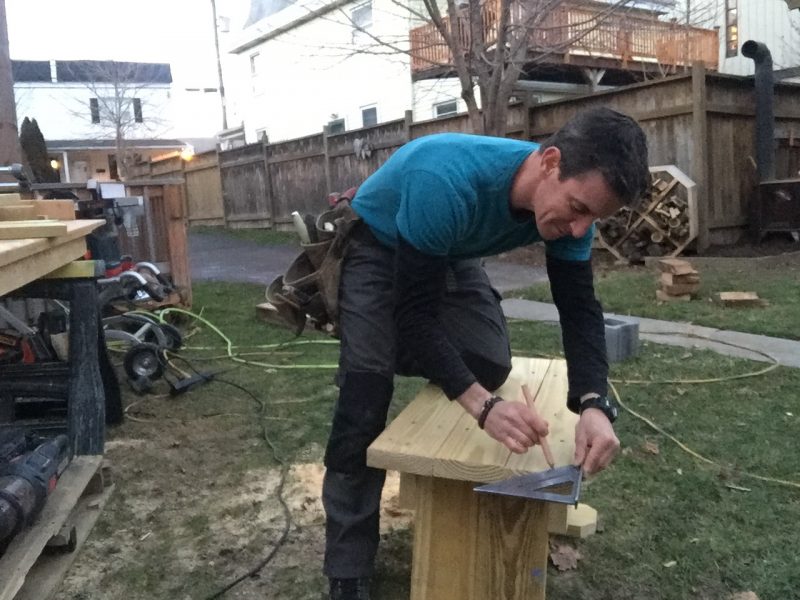


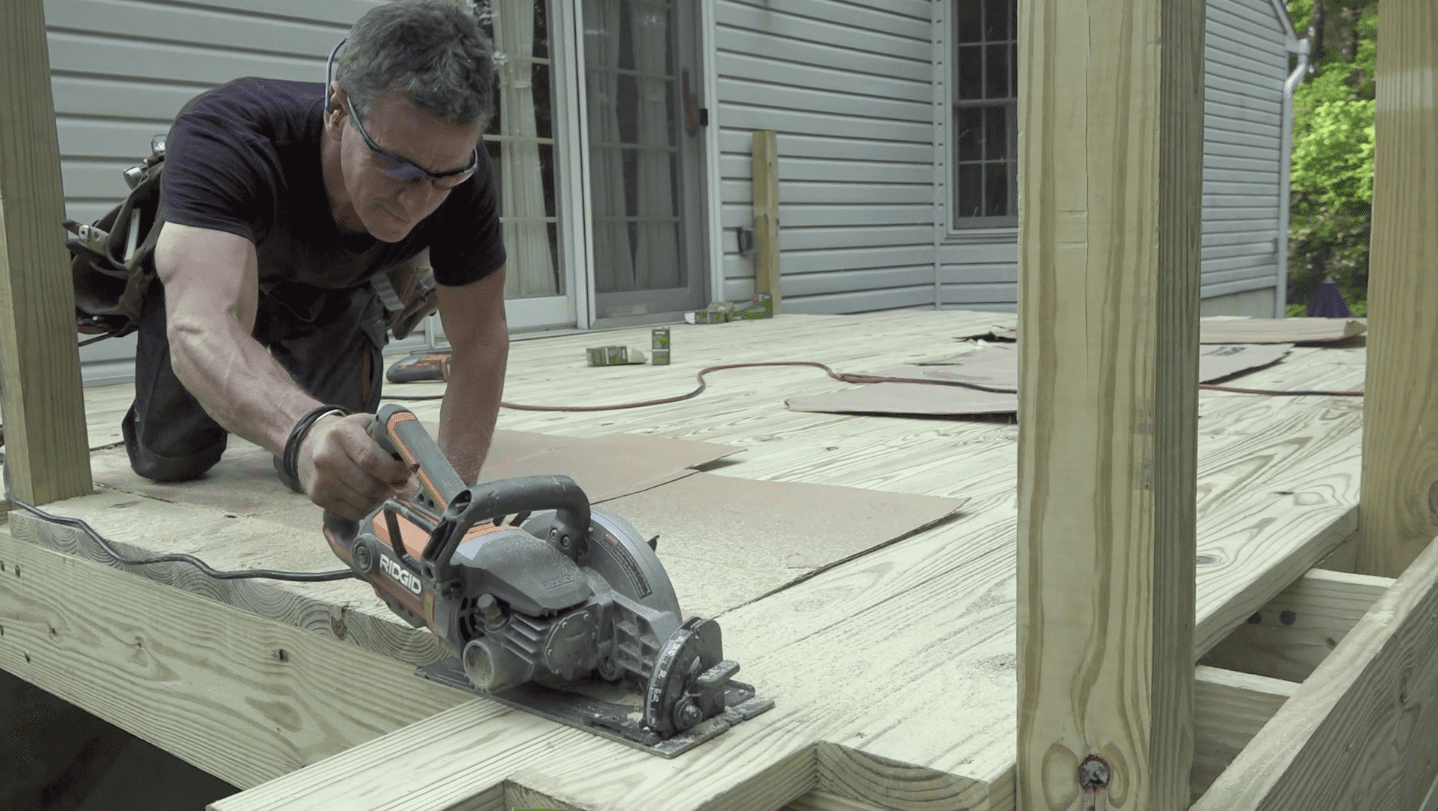
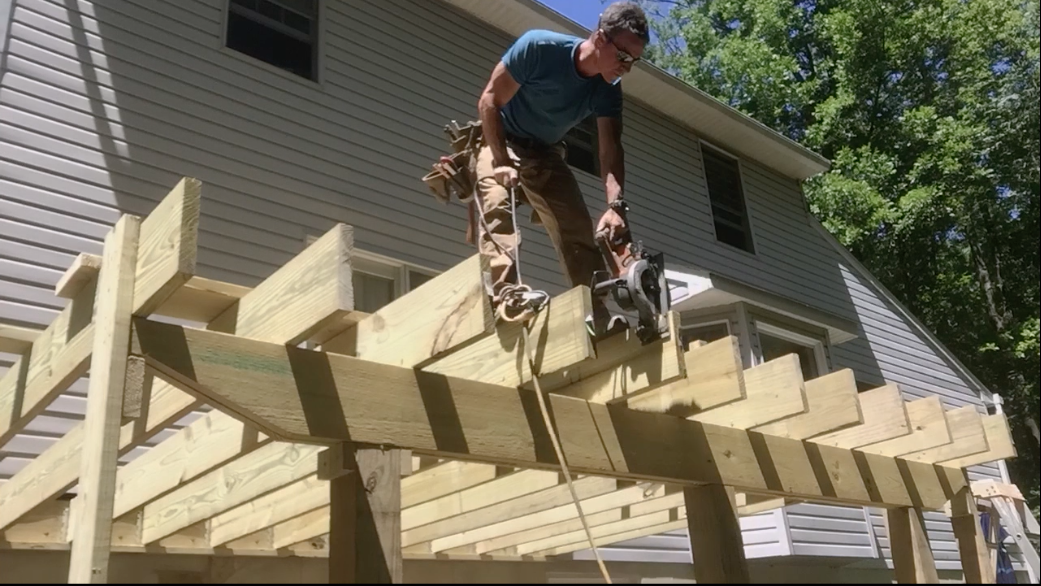
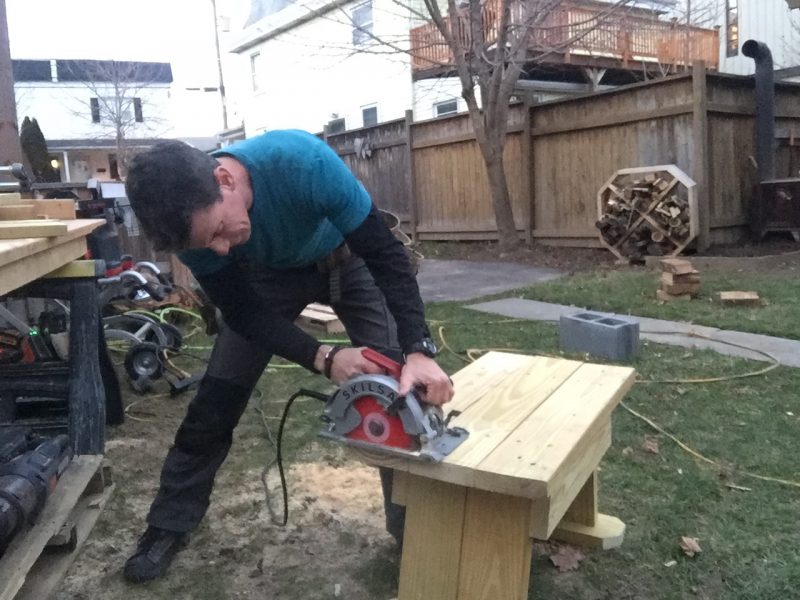
Again with the ‘I don’t want this to look like it fell off a truck’ mojo. I flush-cut the edges of the seat after they’re installed. It’s near impossible to hold everything perfectly flush during assembly. No problem. Just trim it all after the fact. Kind of like building a fence or a deck…Watch this video to see what I mean.


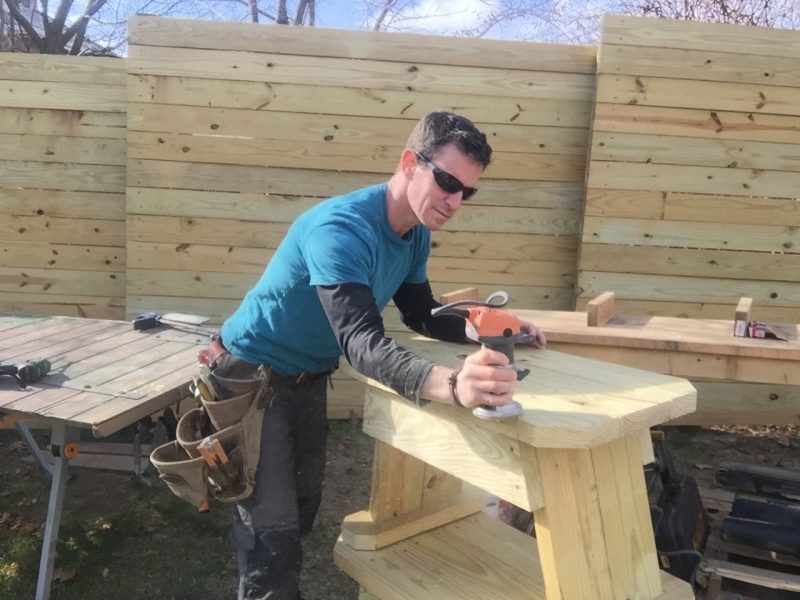
Oh, how I love you beveled router bit and trim router. Thank you for caressing the 90-degree edges of my woodworking projects and adding that level of refinement—even though a circular saw was the last tool we used—that makes a little magic.


For more projects and information about using Southern Yellow Pine, visit www.WoodItsReal.com.

