
This is one of those woodworking projects that started as one thing—a raised garden planter—then took on a new life as the cooler deck cooler.
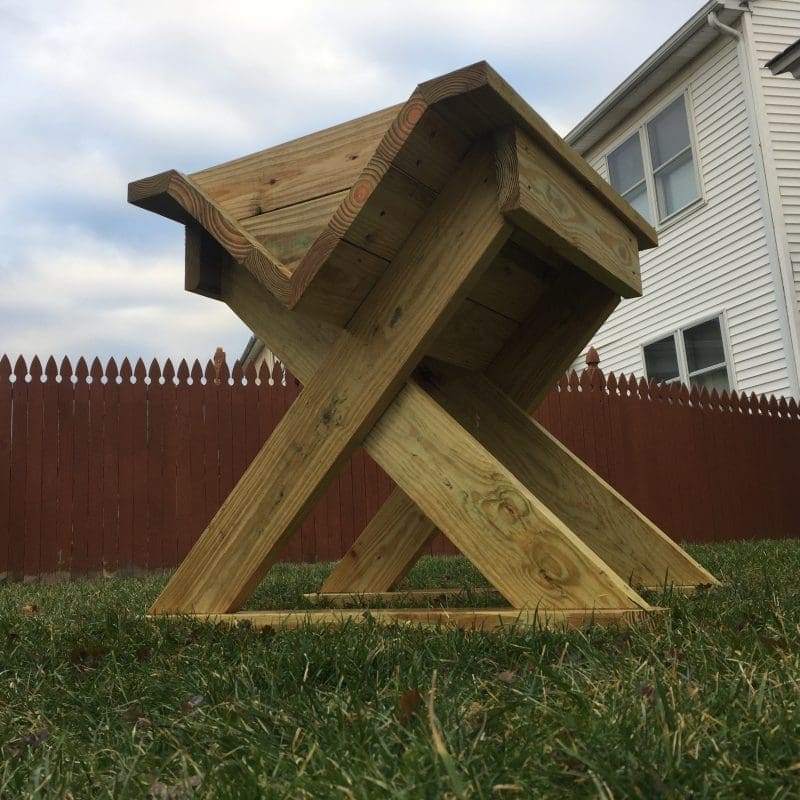
The raised planter design is intended to get the dirt and plants up to what I call ‘bench height’. This minimizes kneeling and reaching and scrounging around in the dirt. In other words, it brings the work to you instead of you to the work, which could help with all kinds of gardening and gardeners. (Note: I already want to build these for people everywhere when I grow up).
To make it stable and sure-footed, we start with an ‘X’. Each leg is 44-inches long-to-long with 45-degree miters on each end. The result is a raised planter that’s 34-inches tall. You can tweak the measurements to customize your situation.
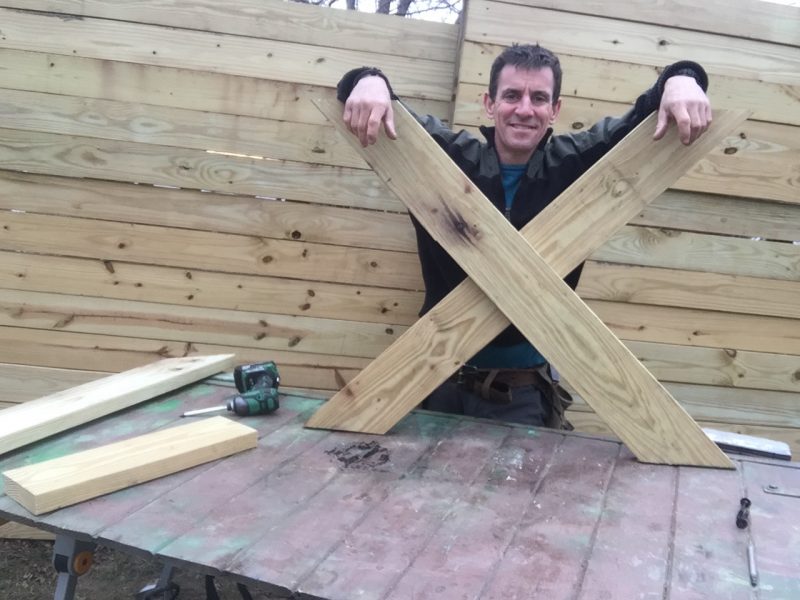
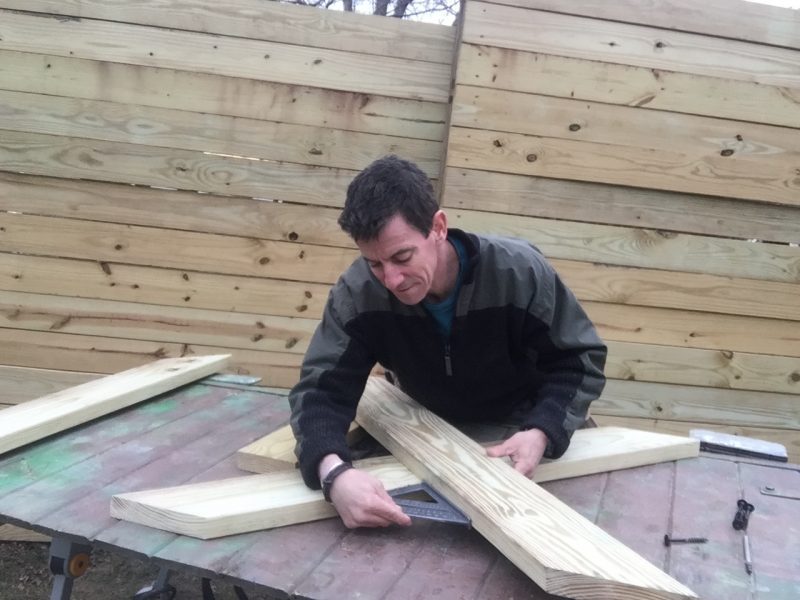
I use a square to make sure the legs of the X cross each other in the middle. Then, I bomb them together with 1 1/2-inch structural screws.


A ‘foot’ across the bottom of the X locks it together. And, if you’re thinking about placing this on a deck for example, you could easily add rolling/locking casters—check this woodworking projects video for installing casters—so the project can be somewhat mobile.
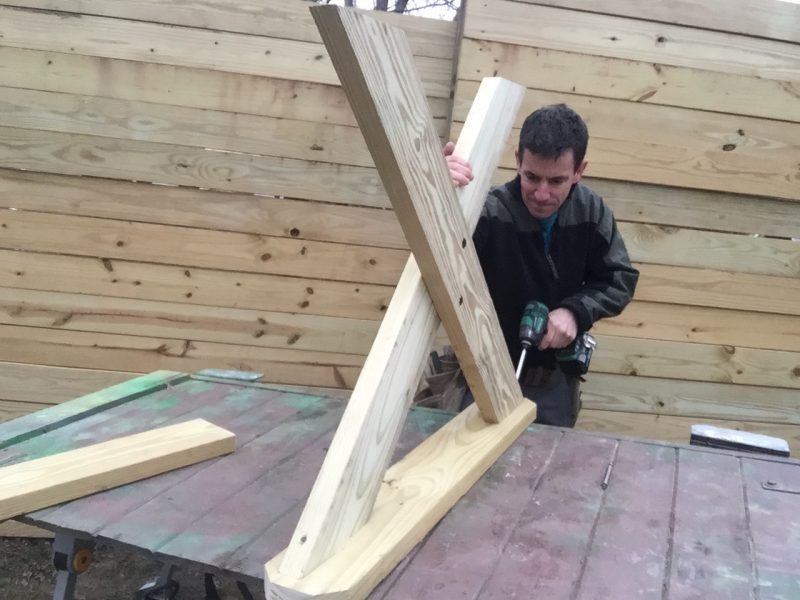


Miter the bottom two pieces of the planter/cooler so they fit together like ‘V’ (see below). While it might be temping to stack one on top of the other in an ‘L’, it’ll mess you up later because one side of the planter will be shorter than the other.
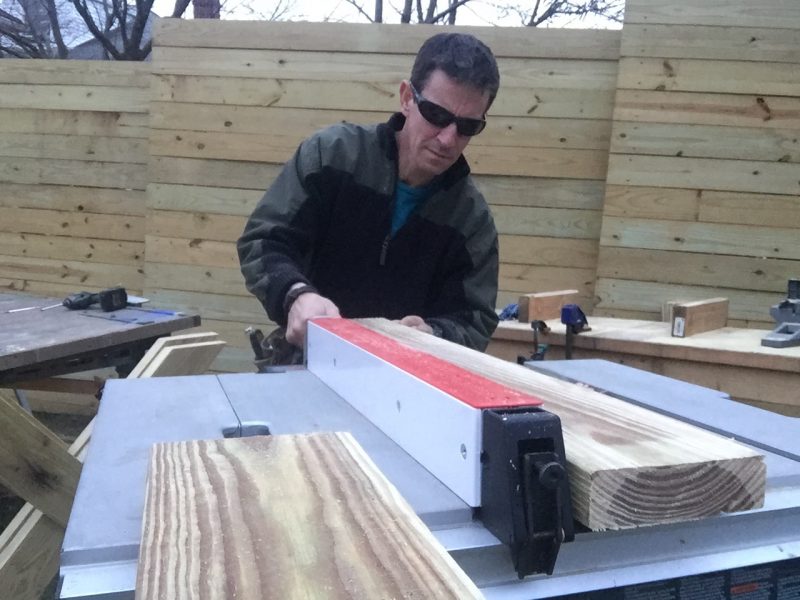


As I can see while posting this photo, it apparently got dark while I was working. Anyway, a tip on fastening mitered pieces. I like to use my miter saw fence and saw table as a way to keep the pieces as still as possible while fastening them together. Pre-drilling pilot holes helps too. Otherwise, the pieces just want to slosh around and it’s hard to keep the miter closed.
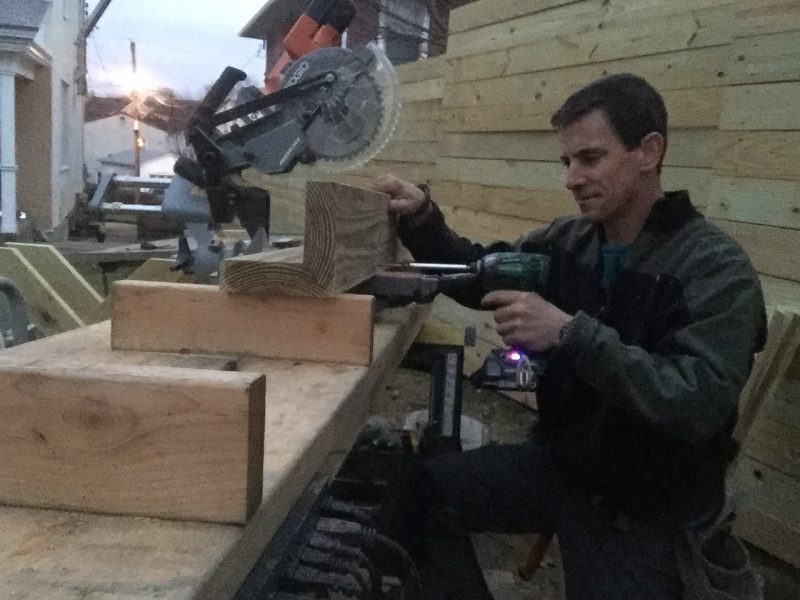


A better woodworker might have tried to figure out how to transition from the V to the cap piece ahead of time. I’m sometimes more of a build-a-solution type. Besides, woodworking and home improvement wisdom I’ve learned is to not be too careful—sometimes. Sometimes you have to let it play out because you simply can’t predict every little thing. It’s about knowing the principles to solve problems, not the individual steps.
Short story long, I figured out my angles on scrap pieces. I marked the back of the V’s top piece. Along that line, I ripped a 22 1/2-degree bevel on the table saw. I ripped the same angle on the adjoining piece that sits on top of the legs.
One reason for the balance between careful planning and improv is: Reality. In a perfect world, this angle is 22.5 + 22.5 = 45. In reality, 23.5 + 23.5 worked better. Then that showed me something else.
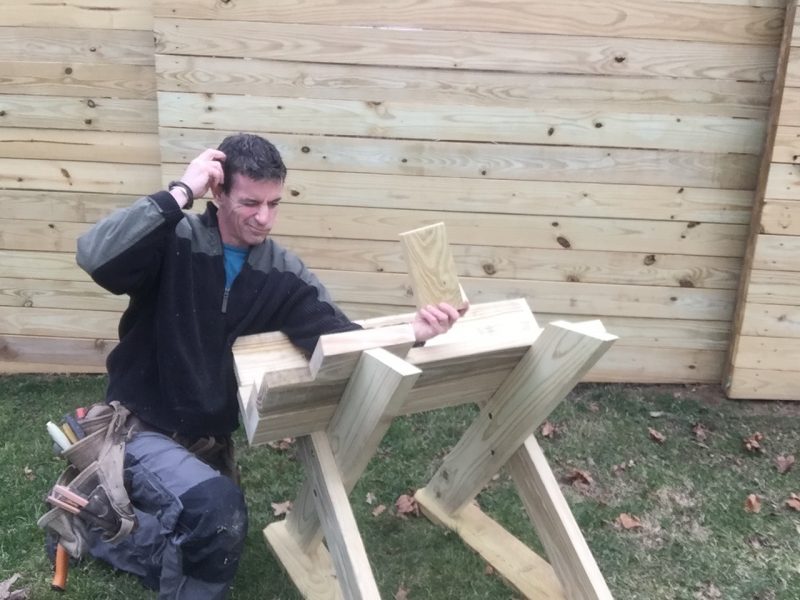


The tips of the X stick out past the cap piece. To clean them up, I place dry fit the top piece and mark the X. Then I take off another 2-inches and cut in place with the circular saw.
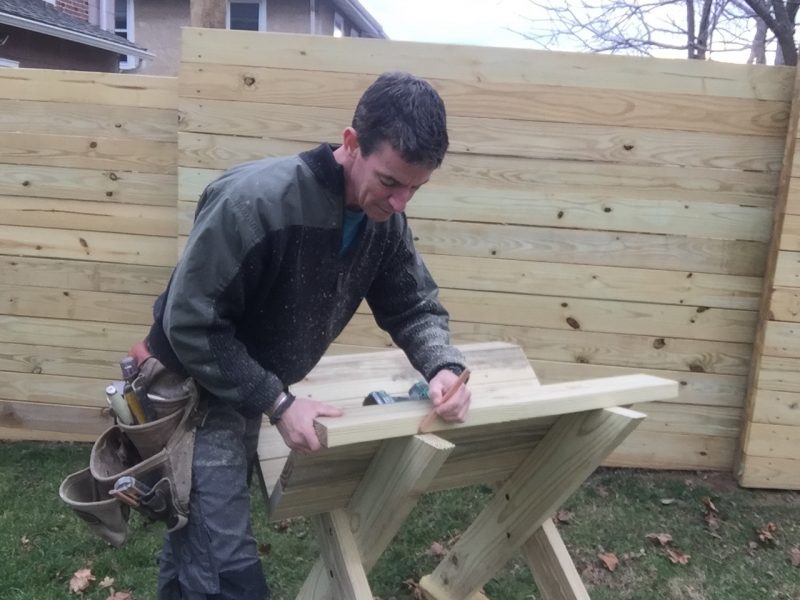


I installed an apron under the cap piece. It’s not really necessary but it seemed right.
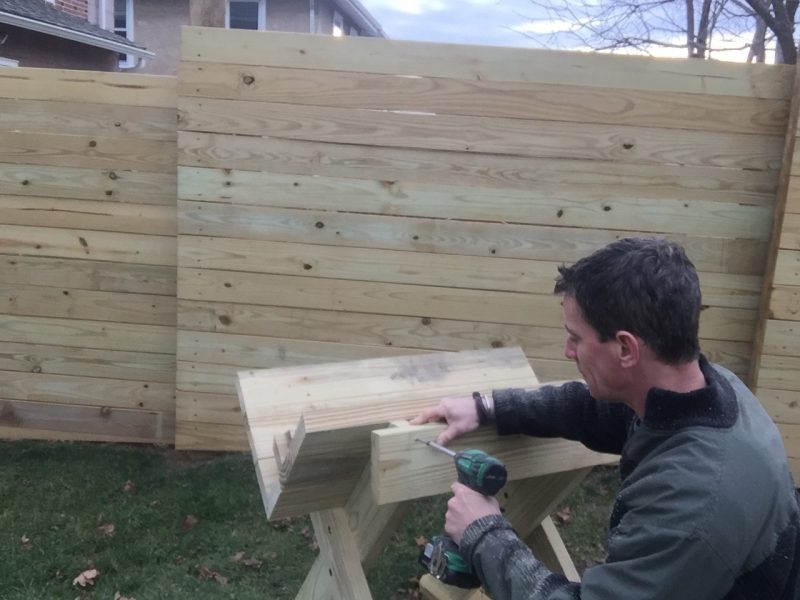


Installing the side panel was fun. The long side of the first triangle is the short side of the second piece.
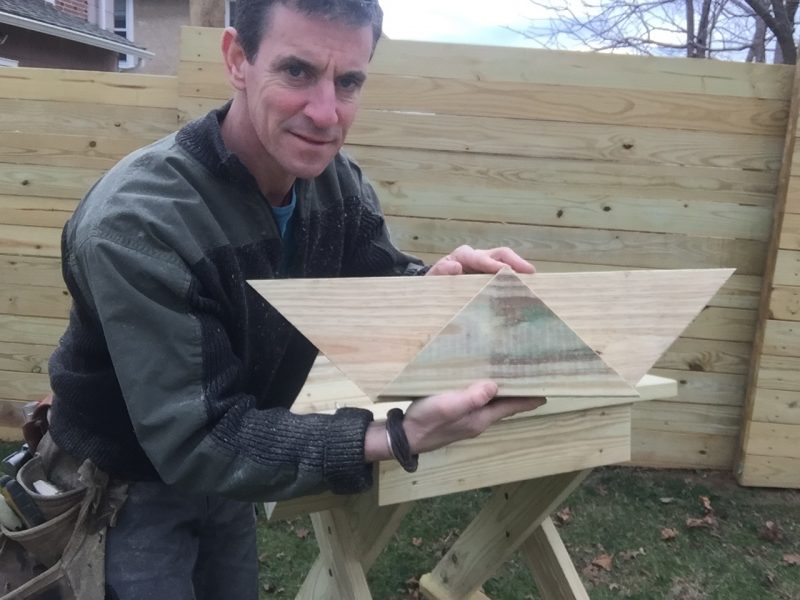


It’s easy for the side panels to get crooked quickly. A few square lines keep things primo-rific. Notice the complimentary angles between the V and the cap-piece and how the cap covers the apron. Almost like real woodworking.
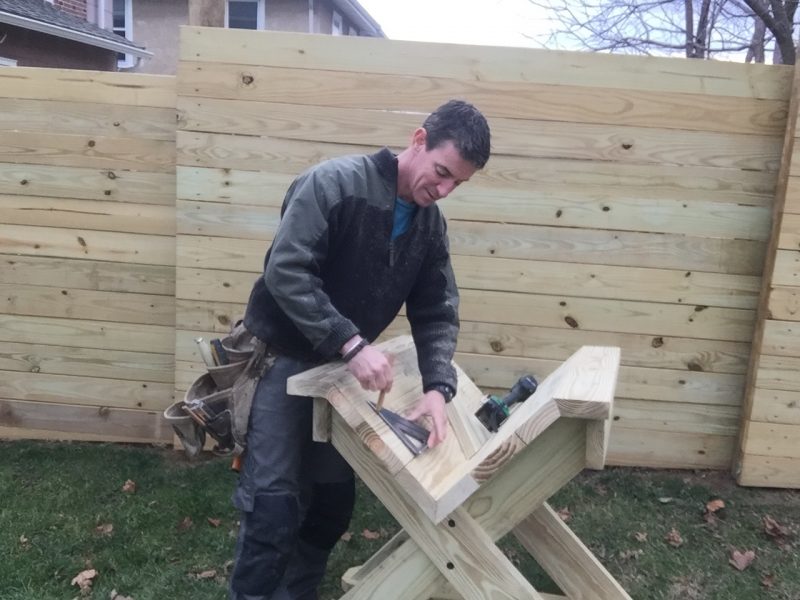


This raised garden planter/deck cooler is 36-inches long. It could be made 8-feet long. Or longer (I’d add a few X-braces if you go longer).
It’s one of those back yard woodworking projects that can be made however best fits your yard and garden. It’s one of the reasons I choose to build stuff like this out of wood.
I think growing some cold ones out of this might be worth a try too.
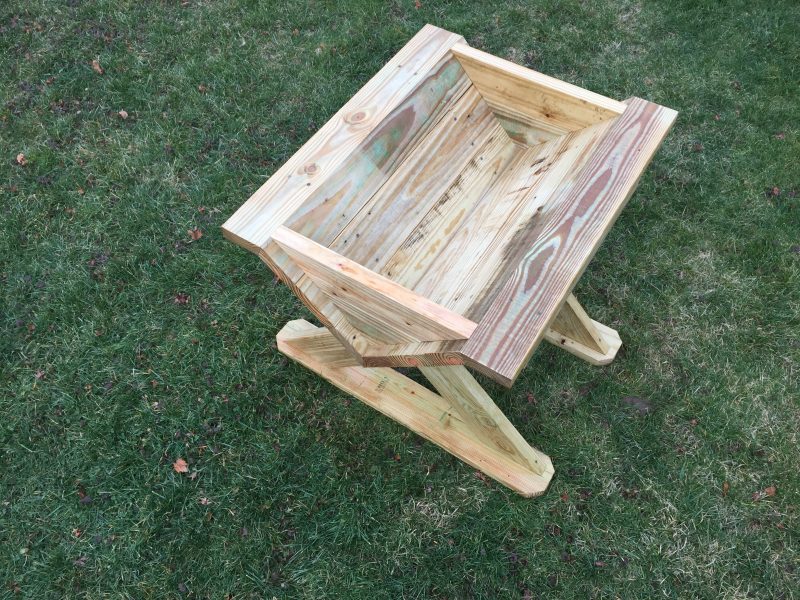


For more woodworking projects and home improvement ideas using Southern Yellow Pine, visit Wood It’s Real.

