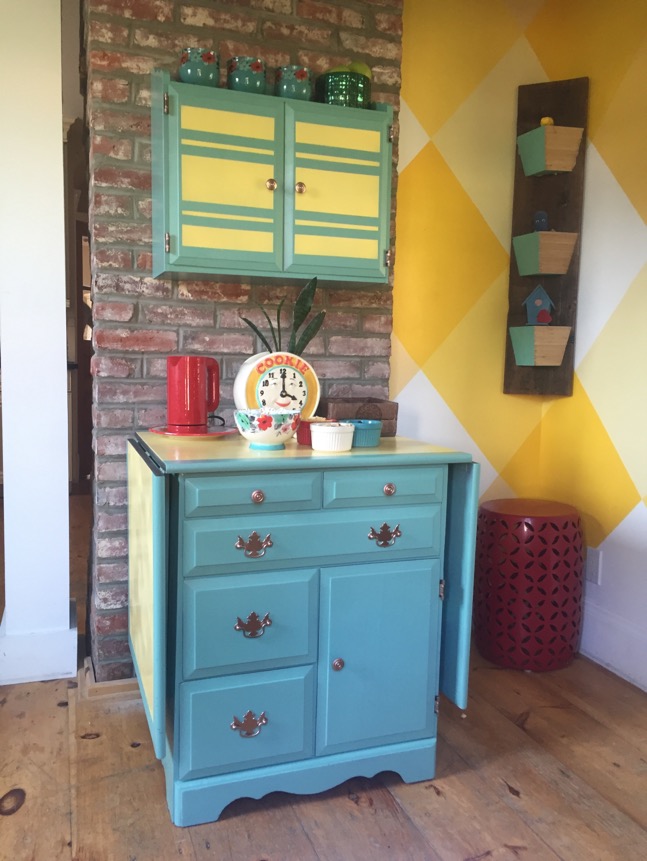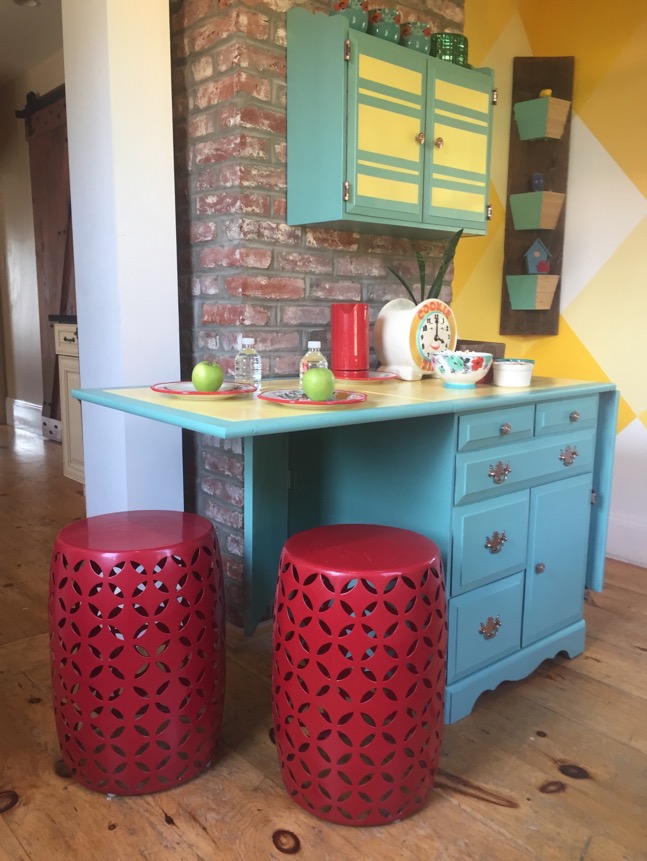
After-school snack time is even better with a custom snack bar upgraded with fresh paint.
I’m a lucky mom because I usually get an answer to the question we all ask: “How was your day?” And I know that when I can sit down for a snack after school, I’ll get an even better answer.
So as the school year approaches, I was thinking it would be fun to have a little snack spot that is stocked with treats perfect for an after-school convo with the kids. In search of a cabinet or little dresser or desk to repurpose into a snack station, I went to a local Habitat for Humanity Restore.
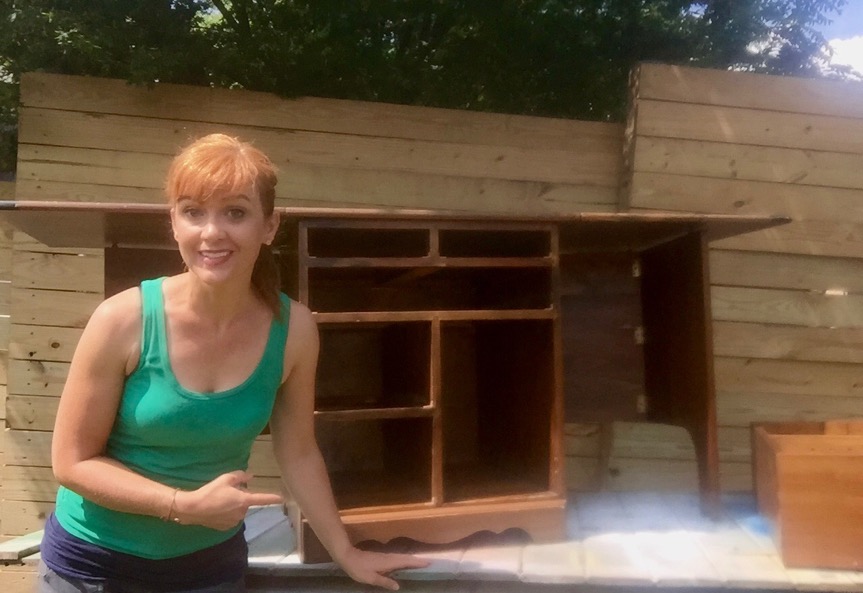
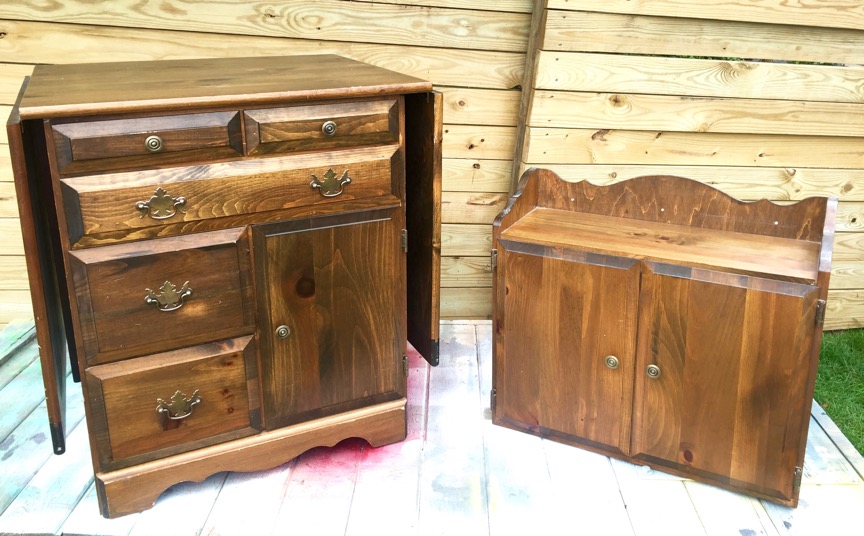
I spied a roll-top desk, a dresser that could work, but when I found this transforming cabinet into a desk, I was hooked.
The base and the top wall cabinet were only $40. There is so much versatility and storage potential in both pieces. I can easily envision this as a compact crafting station, too.
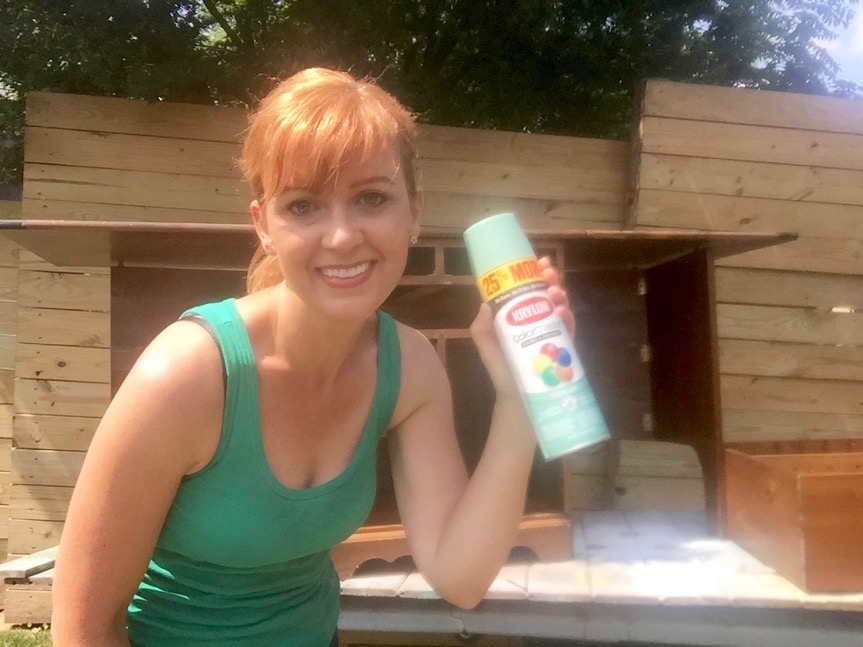
For this project, I’m planning to refresh the finish with two new cheerful colors and update the color of the hardware, too. Since I want to be done in just an afternoon, I am using Krylon® Spray Paint . I chose ColorMaster® Paint + Primer -25% More in Gloss Bright Idea and Satin Jade to give us the happy face mojo. You can find Krylon ColorMaster Paint + Primer-25% More at your local Walmart.
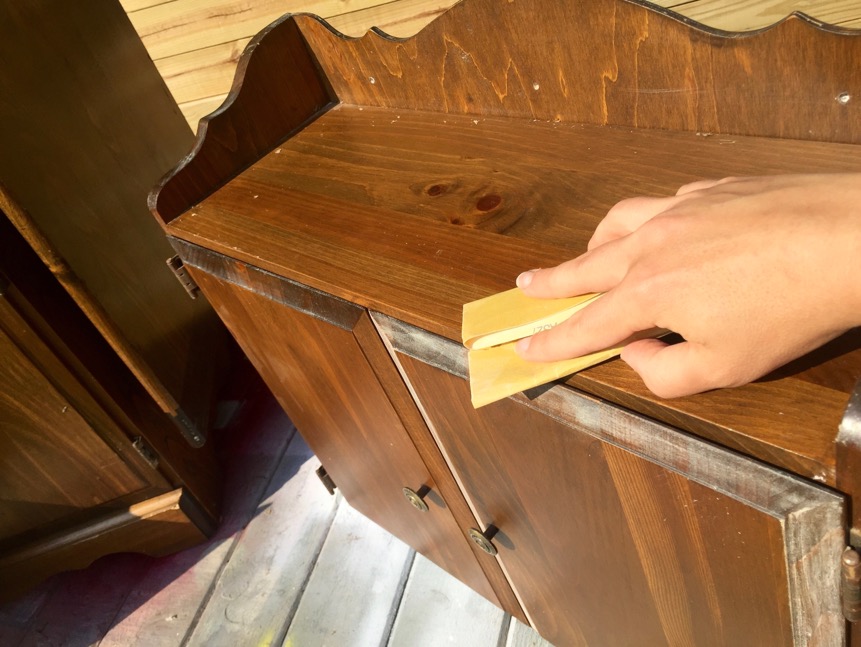
The first step to the project is lightly sanding the surfaces. This furniture is in really good condition, and there are only a few imperfections from regular use. I was expecting to have to do a little carpentry to get the snack bar of my dreams, but it doesn’t look like it’s necessary.
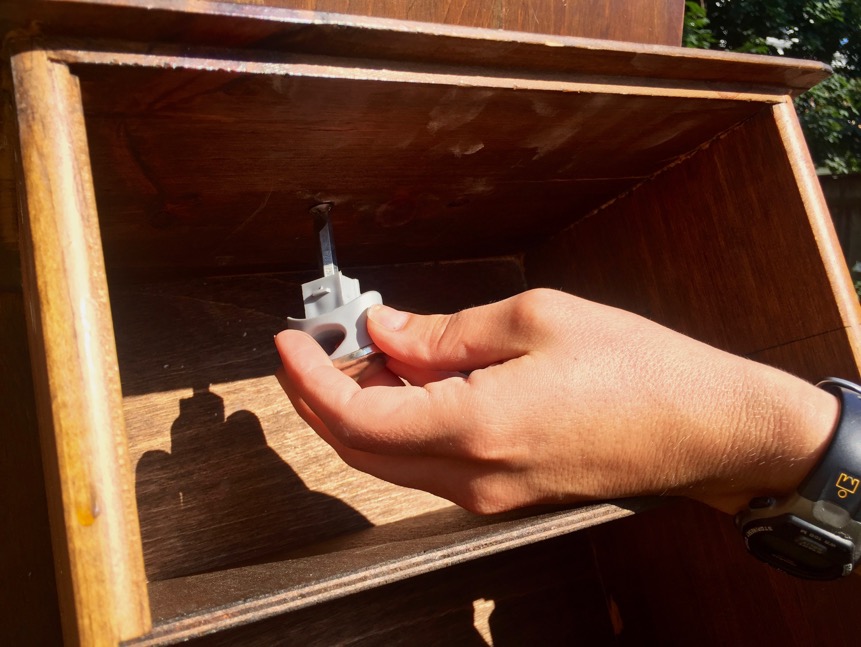
Actually the first step is removing the hardware. I jumped ahead of myself with the sanding, so I took a little sanding break and removed the hardware. There are a variety of kinds of screws on this piece, as happens with older furniture that’s been well loved. It’s good to have both a flathead and a Phillips screwdriver handy when repurposing old furniture. My multi-tool has both kinds neatly inside the handle.
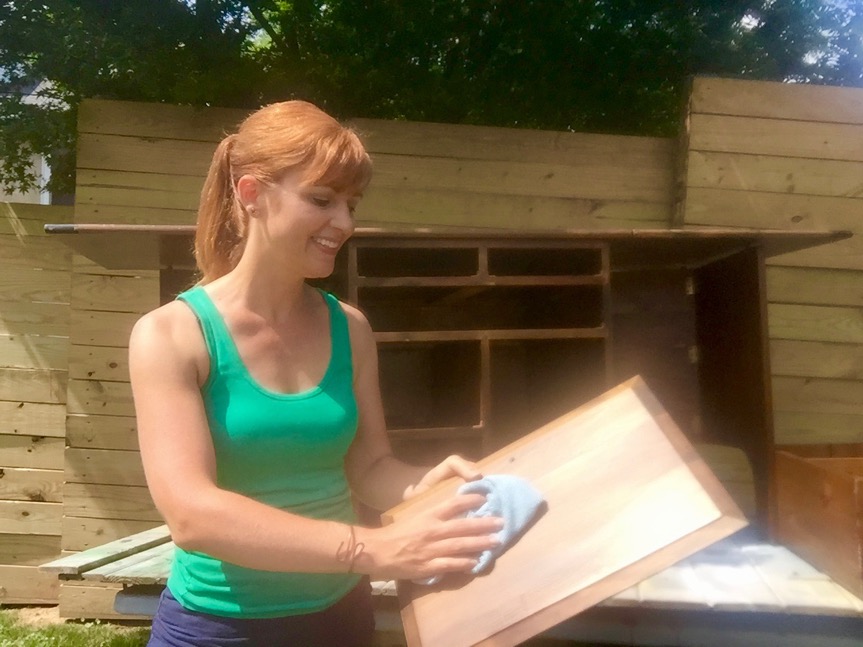
Wiping off the sanding dust is not a glamorous job, but I like to channel my inner Mary Poppins and enjoy the task I’m undertaking. It’s important to get all of the dust off, as this will allow for a smooth, even surface when you paint.
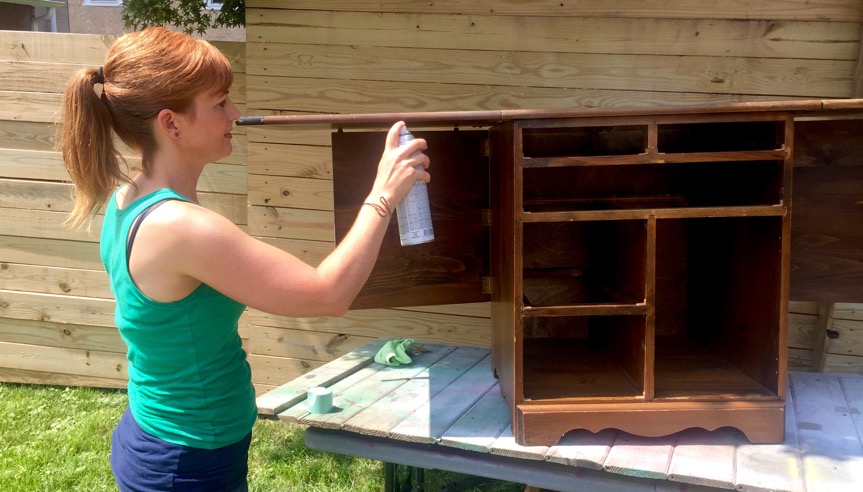
My favorite step is painting. Before I begin painting, I read the safety and application instructions on the can. I love seeing the color from the spray paint can cover the surface. I use light sweeping coats to cover the wood with Krylon ColorMaster Paint + Primer-25% More in Satin Jade Green. With light sweeping coats, the paint adheres quickly and more coats are easy to apply.
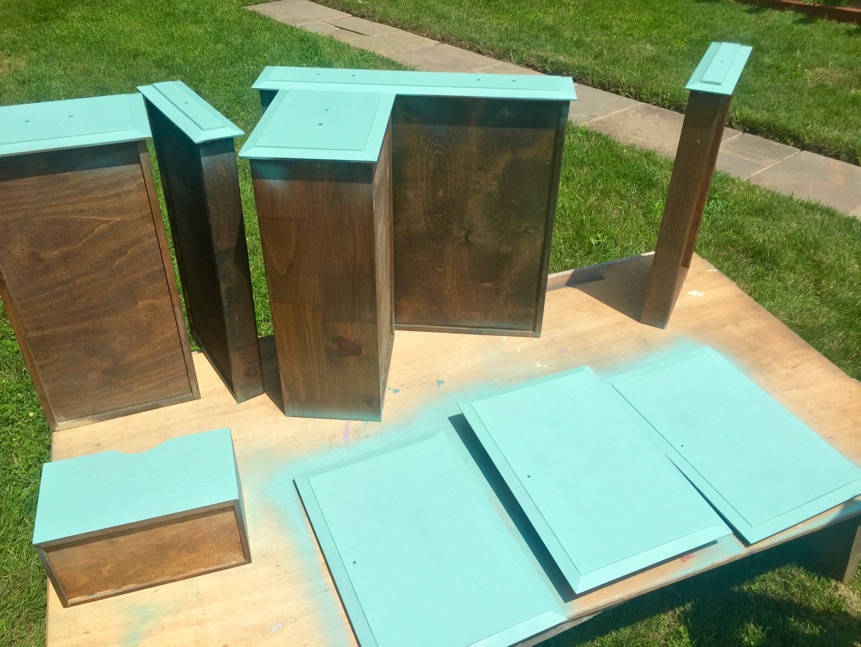
Door and drawer town is happily getting a fresh coat of ColorMaster Paint + Primer-25% More in Satin Jade. To get this finish over the entire surface of the furniture, I used 4 coats of paint with 4 cans of paint.
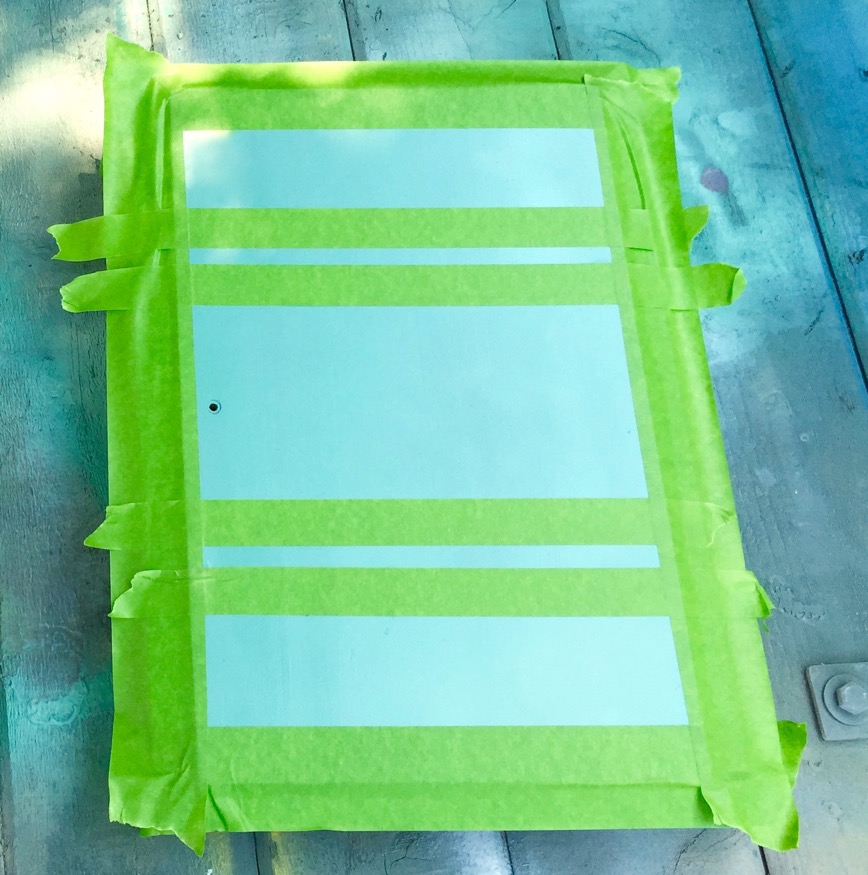
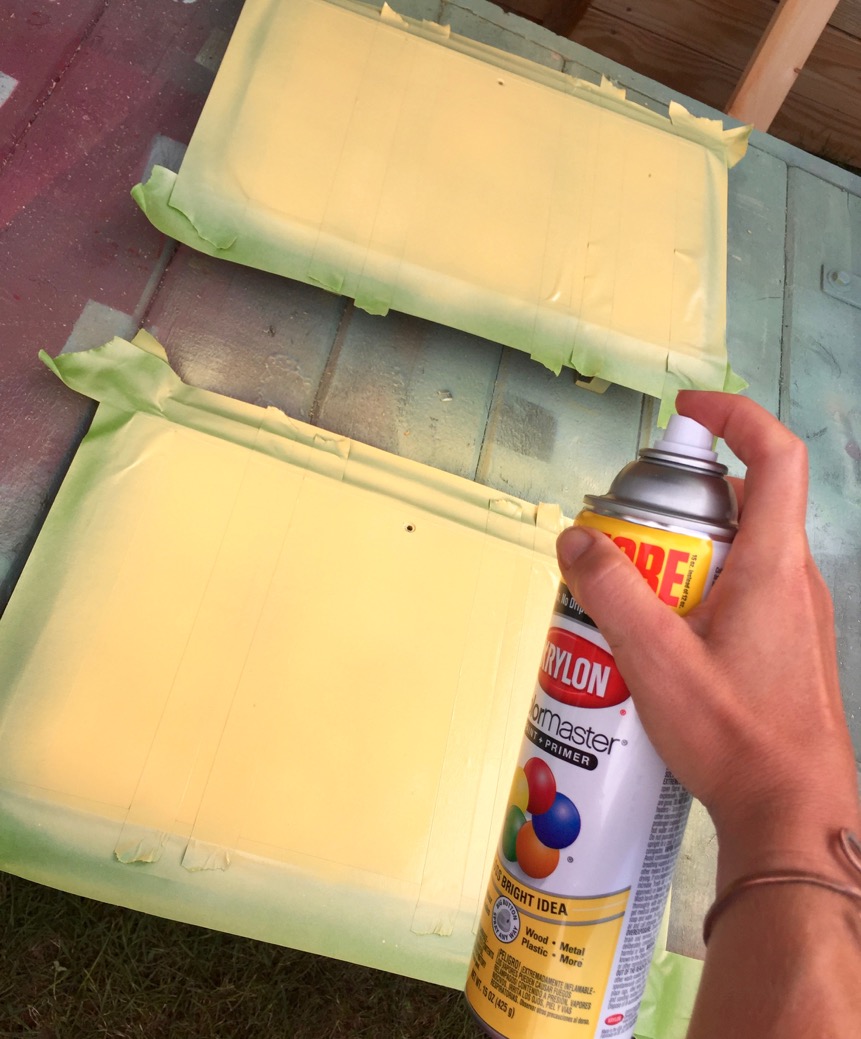
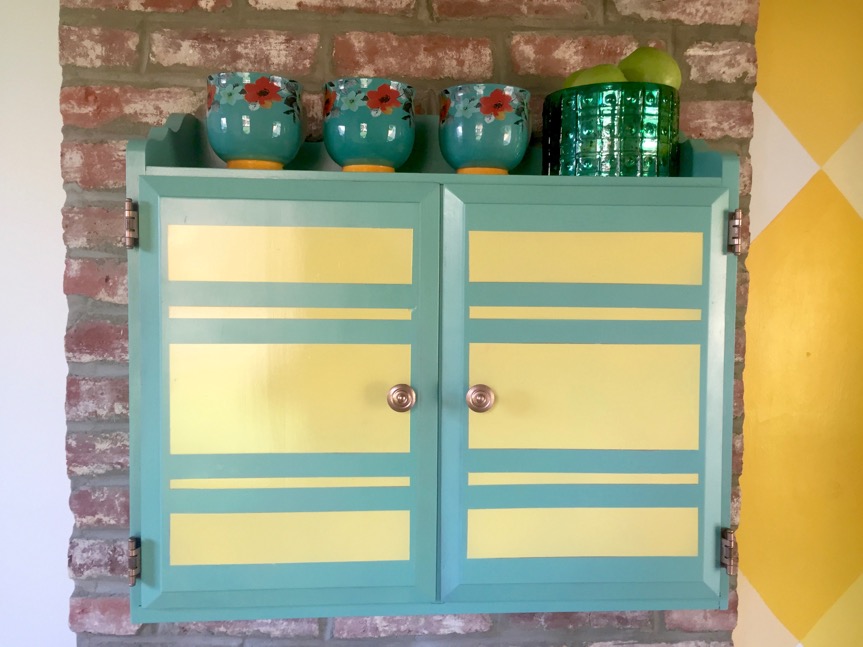
After I painted the furniture, I had an idea. The top cabinet looked like it needed a little something special. Once the surface was completely dry, I used painter’s tape to mark off a pattern of stripes.
Then I painted the surface with Krylon ColorMaster Paint + Primer- 25% More in Gloss Bright Idea to give it a bold pop. For theses cabinet doors, I used 3 coats of paint and not even a half of a paint can.
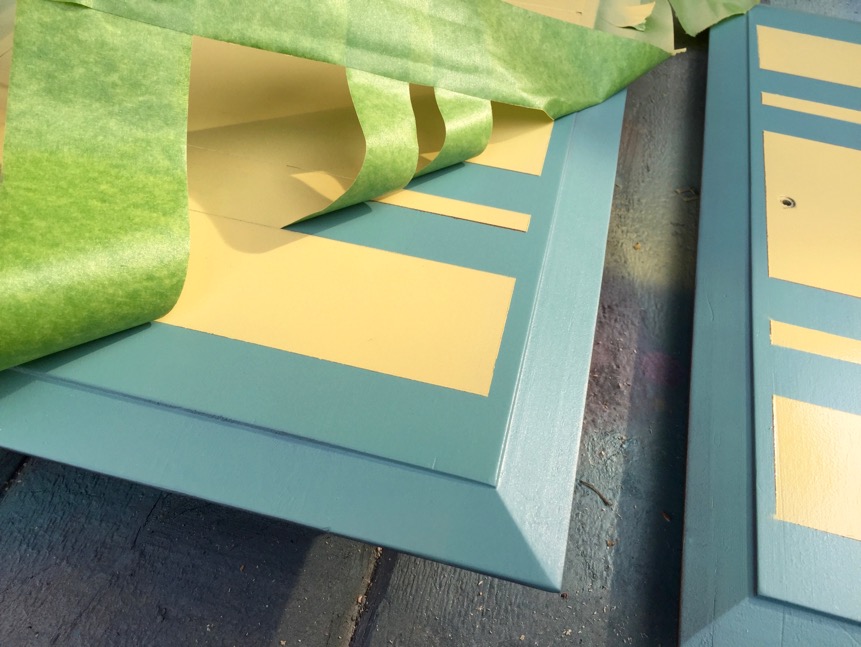
There’s something about removing tape from a painted surface that makes me ridiculously joyous. Look at those crisp lines. The tape should be removed when the paint is dry to the touch to avoid peeling any paint off with the tape.
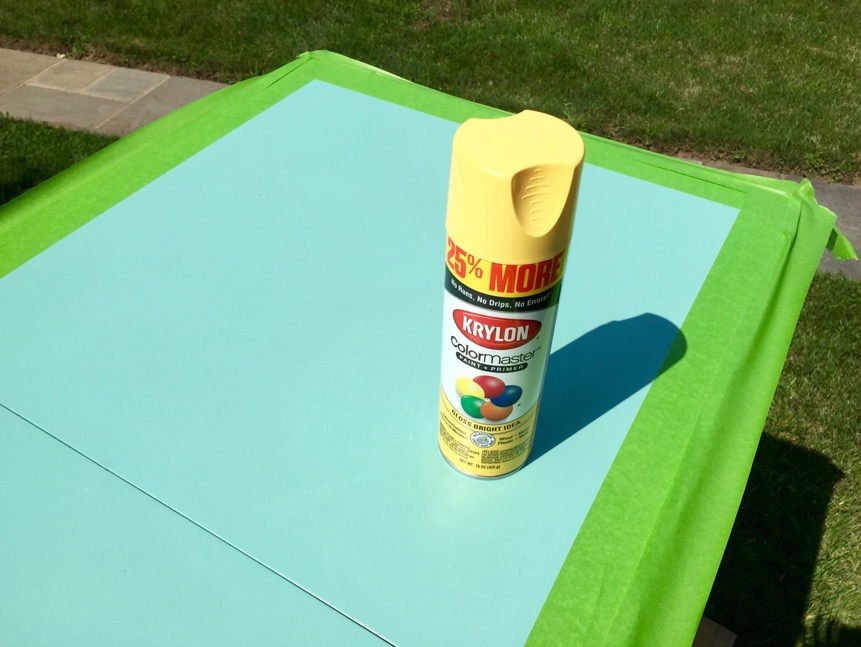
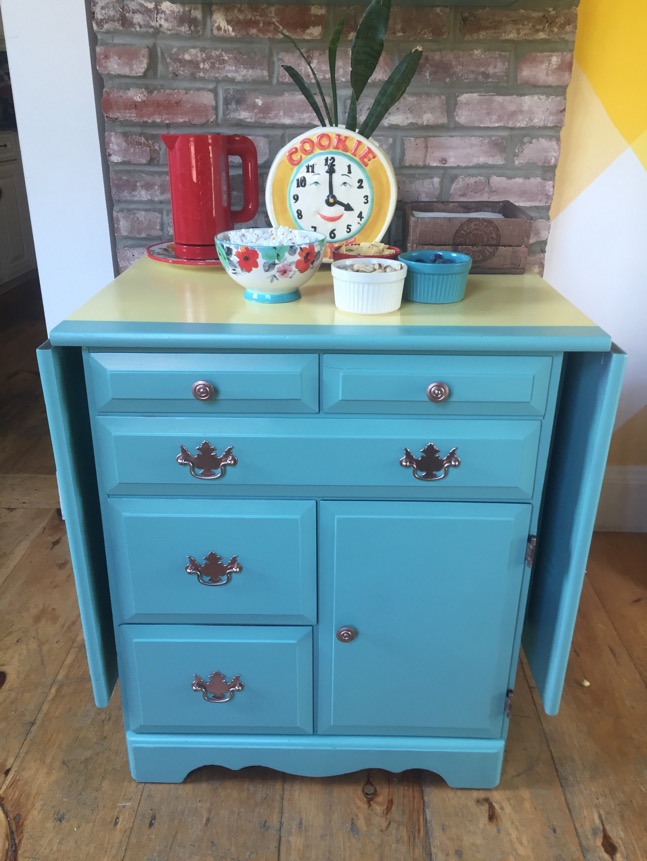
The top of the base cabinet needed a bigger pop of yellow. I taped off a border and filled the inside with yellow. To achieve the perfect color match of the paint can lid, I used 4 coats of Krylon ColorMaster Paint + Primer -25% More in Bright Idea and 1 ½ paint cans.
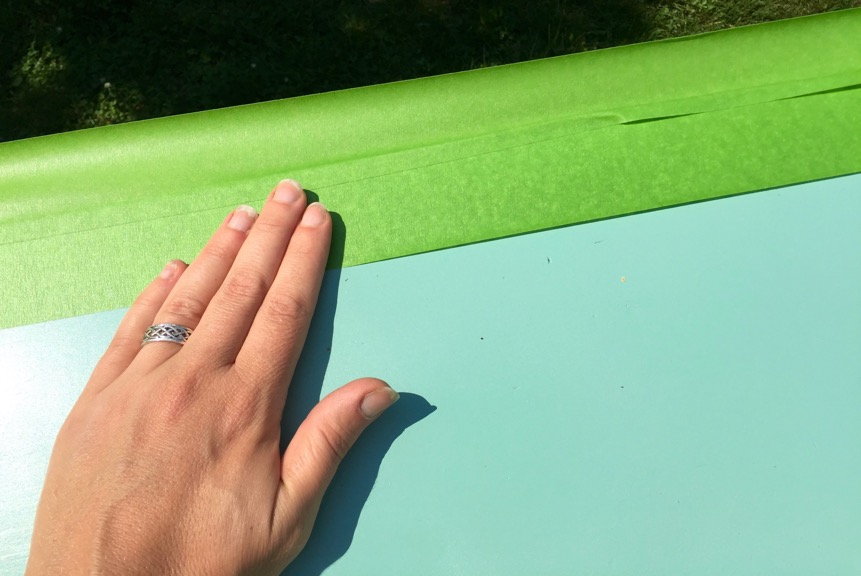
Whenever I tape off an area to paint, I make sure the edges of the tape are adhered by running my hands across the length. This makes sure the paint goes exactly where I want.
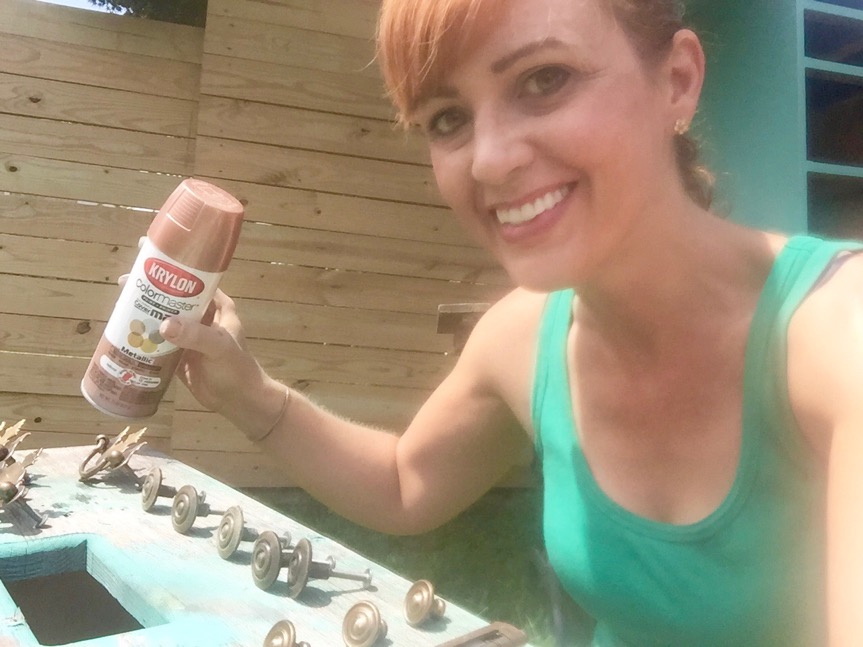
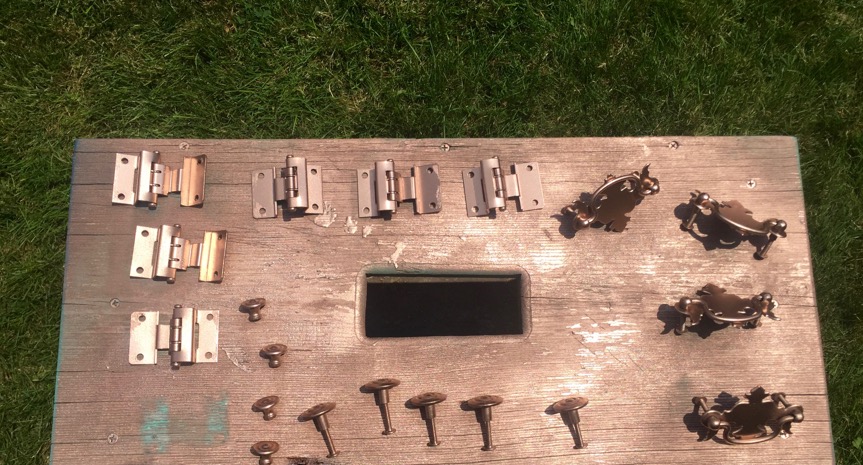
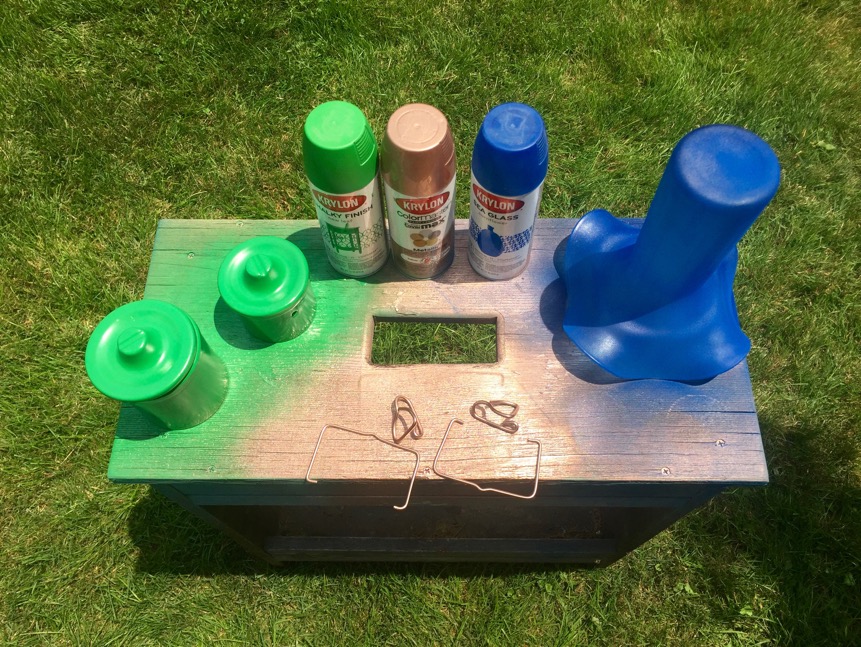
I have a ton of different Krylon products at home from previous projects, so I decided to use some of my collection to add some color to the old hardware. I used Krylon ColorMaster Paint + Primer in Rose Gold to give the hardware an updated look.
I used three coats of Rose Gold on the hardware, and waited until it was fully dry to put it back on the freshly painted cabinet.
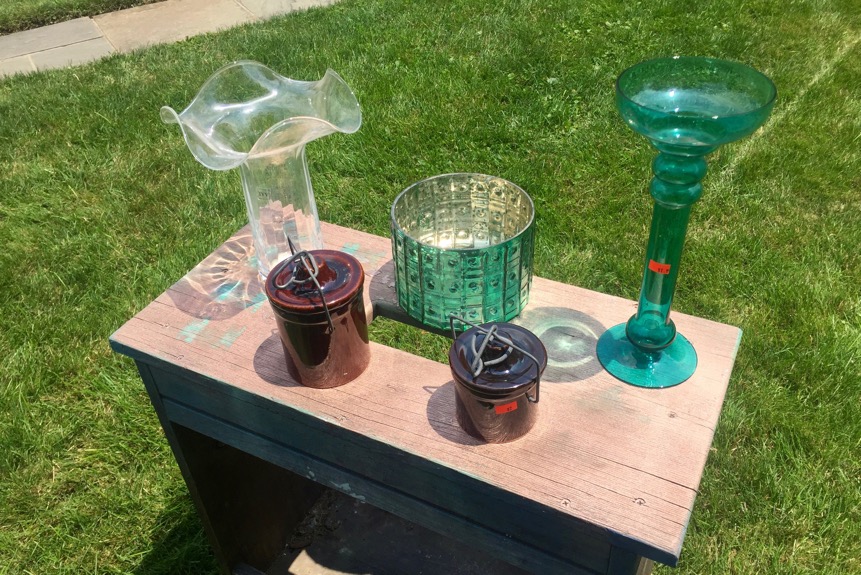
I picked up a few accessories at the Habitat ReStore, thinking the snack station could use little containers for organization of treats. All of these together cost $8.
I used even more paints from my Krylon collection for these accessories! For the jars, I used Krylon Chalky Finish in New Leaf. The jar hardware is now very pretty in Krylon ColorMaster Paint + Primer in Rose Gold. And I used Krylon Sea Glass Paint in Cornflower for the vase.
Thinking again about practicality, I know that it would be good to have a writing surface at the stack station. There’s always something that pops up in conversation with the kids that I need to remember. And I try not to have my smart phone with me at any table where our family gathers.
So I covered the upper cabinet doors with Krylon Chalkboard Paint in Clear (another product I had handy in my vast Krylon collection!). I used three coats, just to be sure it’s ready for us. Since I didn’t use an entire can, I turned the spray paint can upside-down and sprayed until it was clear, to clean out the nozzle. This will make it ready to store for the next project.
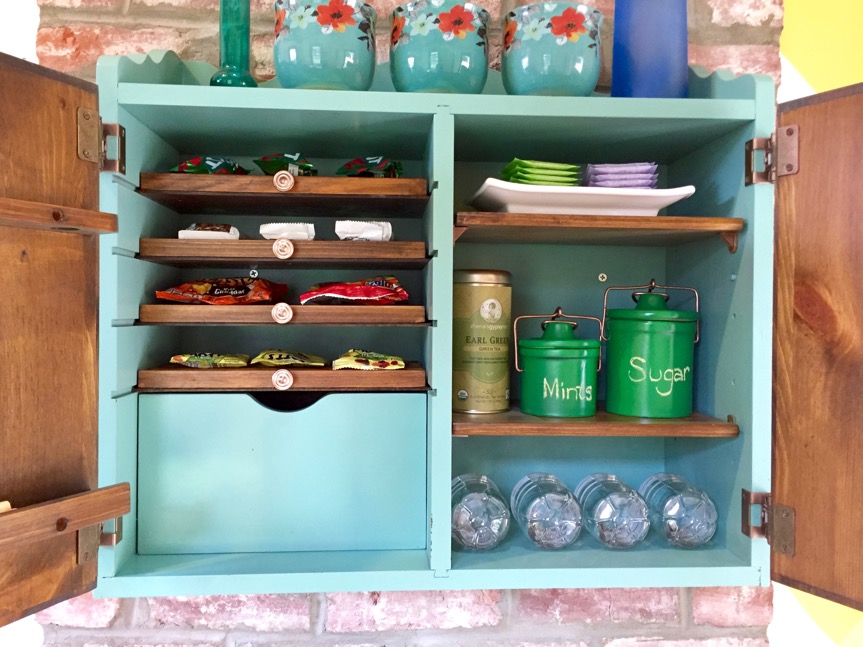
I’ve loaded the inside of the upper cabinet with treats, water, and tea for me. Those little New Leaf green canisters are on the second shelf. I also used the Chalkboard Paint in Clear on them, so I can change up what’s inside.
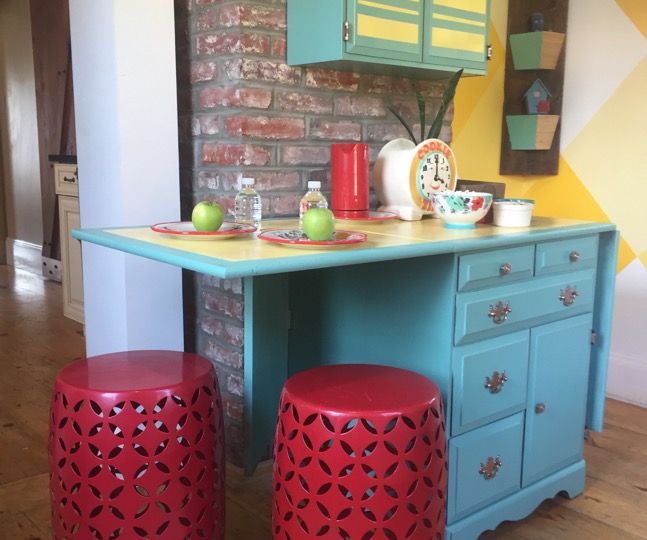
The new snack bar is a fun spot, ready to create a good after-school fuel-up.
With little stools and the flip-out counter, this snack bar is ready to greet hungry bellies and a mom who curious about her kids’ day.
