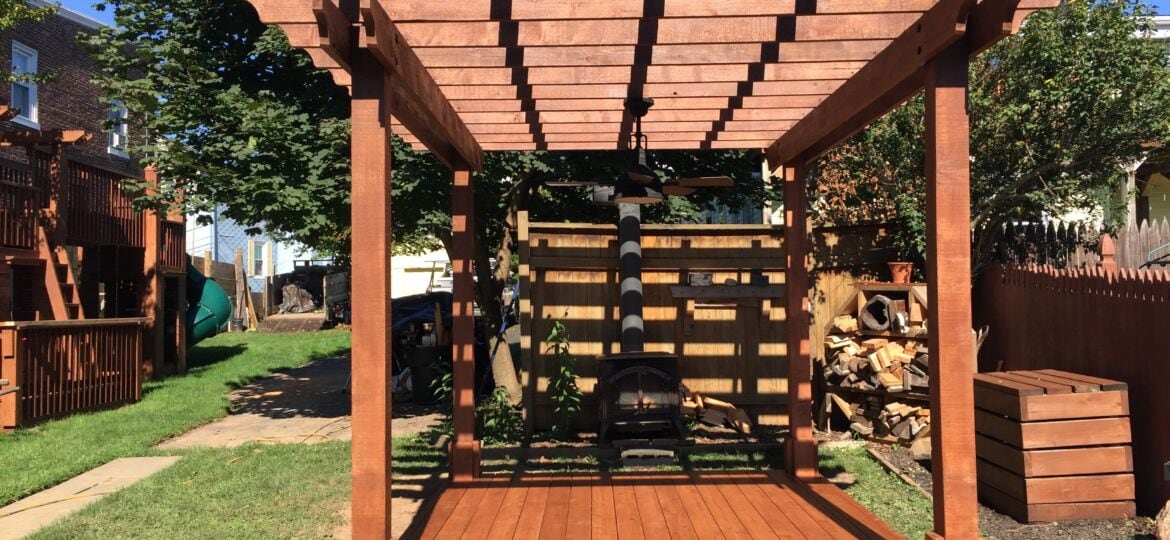
I love how this pergola makeover came out. Clean, pretty, and a LOT better than before. We made the base out of wood and we love it. Here’s how we did it.

Note: We partnered with Real Cedar to produce this how-to video and blog. The decking is theirs. The design, how-to, and full-tilt love affair with how it turned out are 100% ours.

Adding a wood base to our home out of doors was fun and—despite a fair bit of digging—an easy and rewarding project. How-to follows.

This is what what running out of excuses looks like. While I had high hopes for a grassy base, not enough light was getting through the furniture and my hopes turned to weeds and mud. And, you know how much fun muddy hope is.

First step for this makeover was to break a sweat and dig up my dreams. Good thing there’s a quarry being refilled down the street from my house so I had a gigantic muddy pit to shovel them into.
Hey, check out that sweet cedar compost bin in the background. It gets some TLC by the end of this project too.

I pre-stained the framing on all 6-sides. I didn’t need to, but I always like to add a bit of belt-and-suspenders where I can. Use ground contact rated pressure treated lumber for this part.
Beneath the framing, I dug a shallow trench (this keeps coming up), lined it with landscape fabric then filled it with gravel. I covered the gravel with the fabric and buried the whole thing. It’s not really necessary, but it’ll give water and snow melt somewhere to go and I think lumber likes that. Combined with the pre-staining, this will last a really long time.

I pinned the joist hanger on layout with my scratch awl—you have a scratch awl, right?—then sunk some super sweet Spax HCRx screws to hold everything in place.

The key to the band joists is getting them level and making sure they integrate into the existing slope of the yard. I also used a bunch of transition blocks around the base of the posts.
Now, we’ve fully transformed from a landscaping project into a carpentry project. Tool up!

I cut the fist pieces of decking to exact length, then I rough-cut the rest prior to installing it. We’ll trim it all to length once it’s in.

We used cedar 2×6—whenever I can, I prefer a full 2-by board for my decking and pergola projects—and cedar is kiln dried. As a result, you should gap each board. A nail or screw works perfectly to set the gap. Also, if you’re using screws like we did, take a minute or two to turn the heads all in the same direction, that way they all come out of your hand or pouch pointed the same way.

Just like a typical deck, the first few deck boards are cut to length. The rest are run long. To get them all even, I snap a line across and cut them all at once with a circular saw.

To dress this pergola up, I made some fun trim pieces for each post-base and I re-graded the the lawn surrounding it.


Thank you for sharing this informative article about pergola installation. I hope there are a lot of contractors who could read this and be guided accordingly.