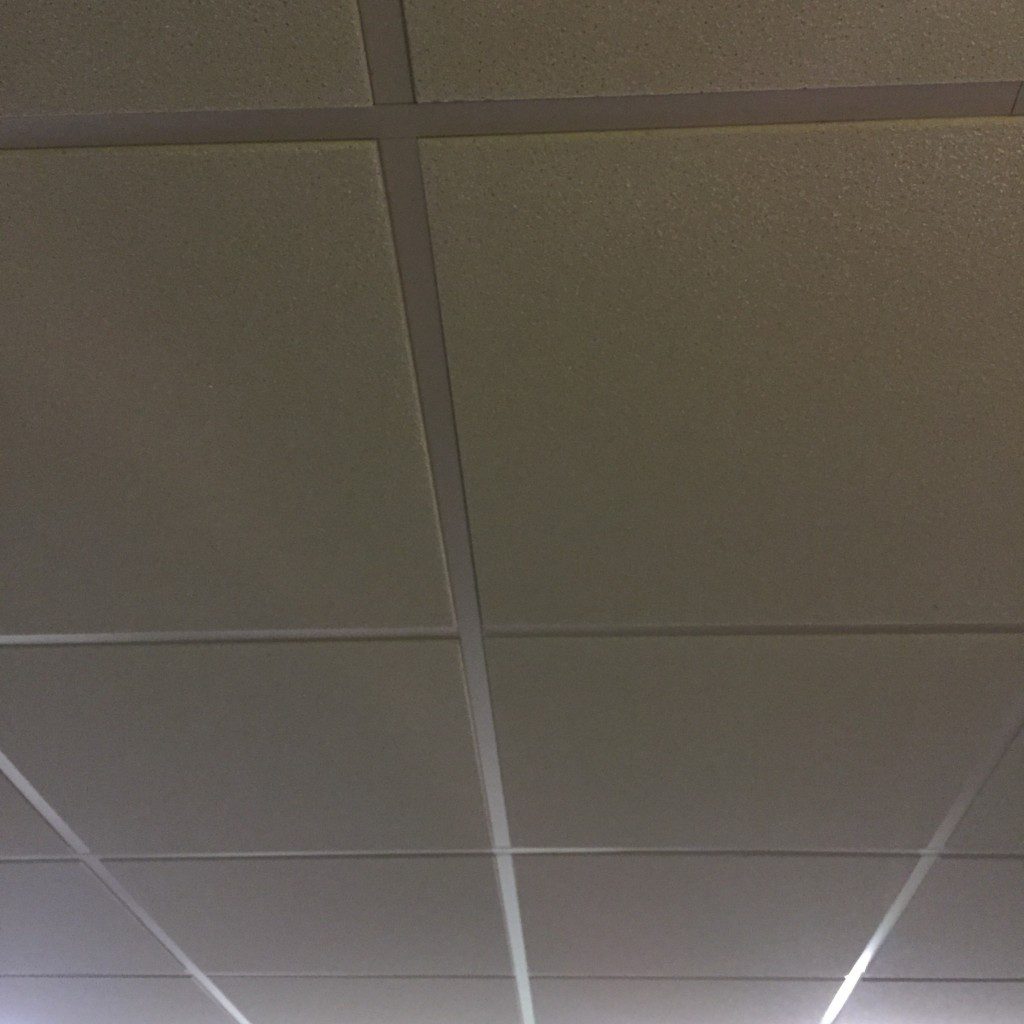
When pros cut the ceiling tile reveal, which is that little offset in suspended ceiling tiles that enables the tile to sit just below the grid, they go fast, like drywall guys.
Yeah…I tried that. Let’s just say for ‘not every dayers’ and DIYers, we need a Plan B. Here it is.
Professionals who work with suspended ceilings and drywall use their tape measure, utility knife and hands as a cut guide. They extend the blade to whatever the measurement is, then with the other hand hold the tape on the edge of the tile. In the other hand they hold the end of the tape blade and the knife. Then they drag both down the tile at once, getting a straight cut.
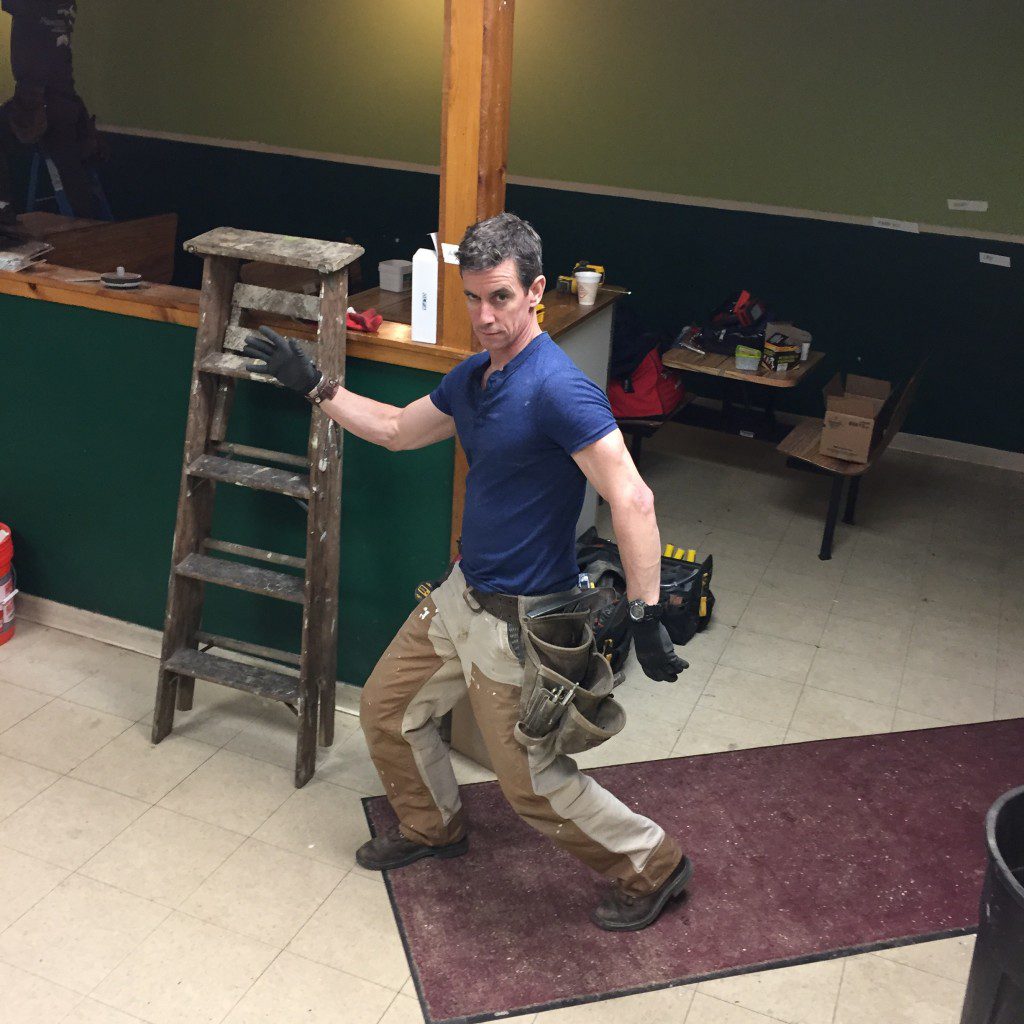
It is awesome to watch a suspended ceiling pro in action like this. Problem is, I can’t do it.
Here’s how I can still get straight, even cuts with nice reveals.
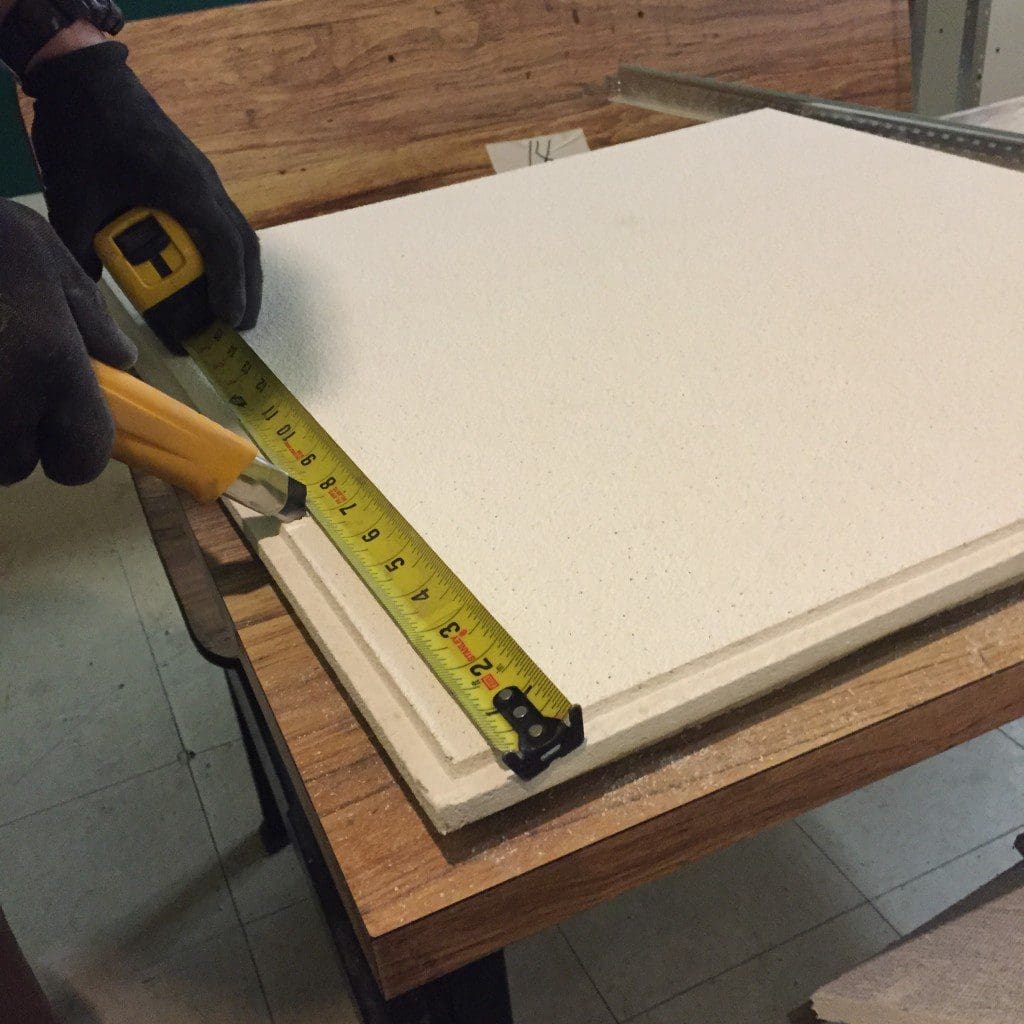
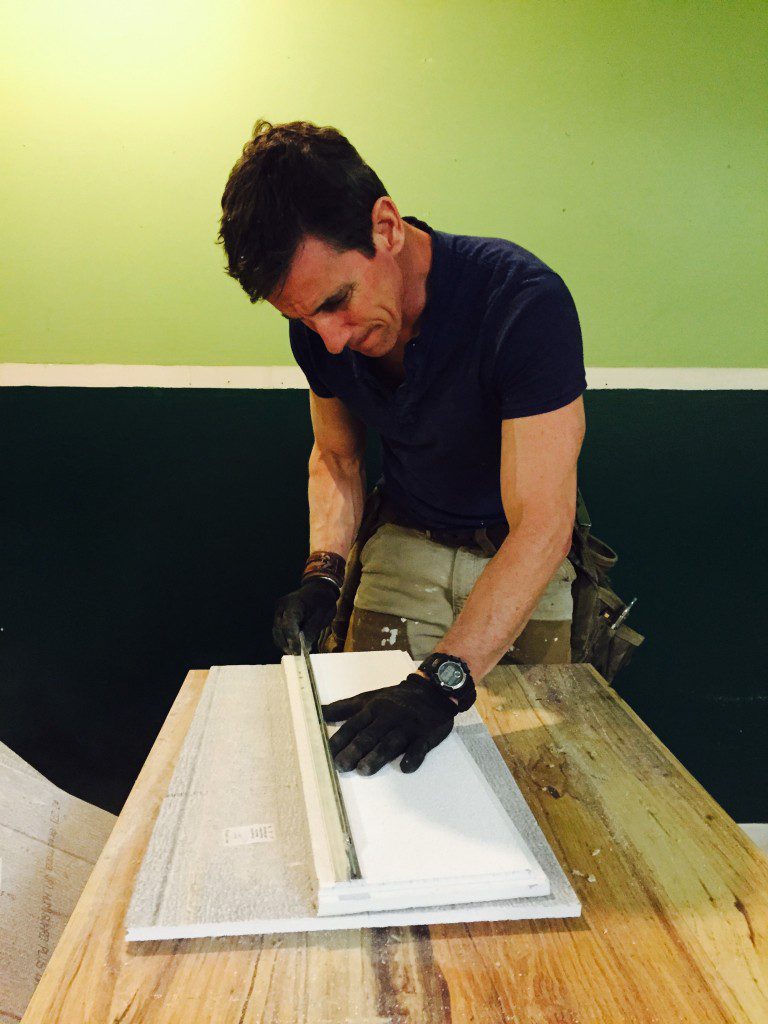
1. Cut tile to size.
This can actually be tricky since you can’t really see what you’re measuring. Typically, I measure from the inside edge of each grid piece. Whatever that number is, I add 1/2-inch (different tiles will have different off-sets; this is an Armstrong ceiling). Then on the tile, I hook my tape on the edge of the reveal and mark the tile using my knife blade instead of a pencil.*
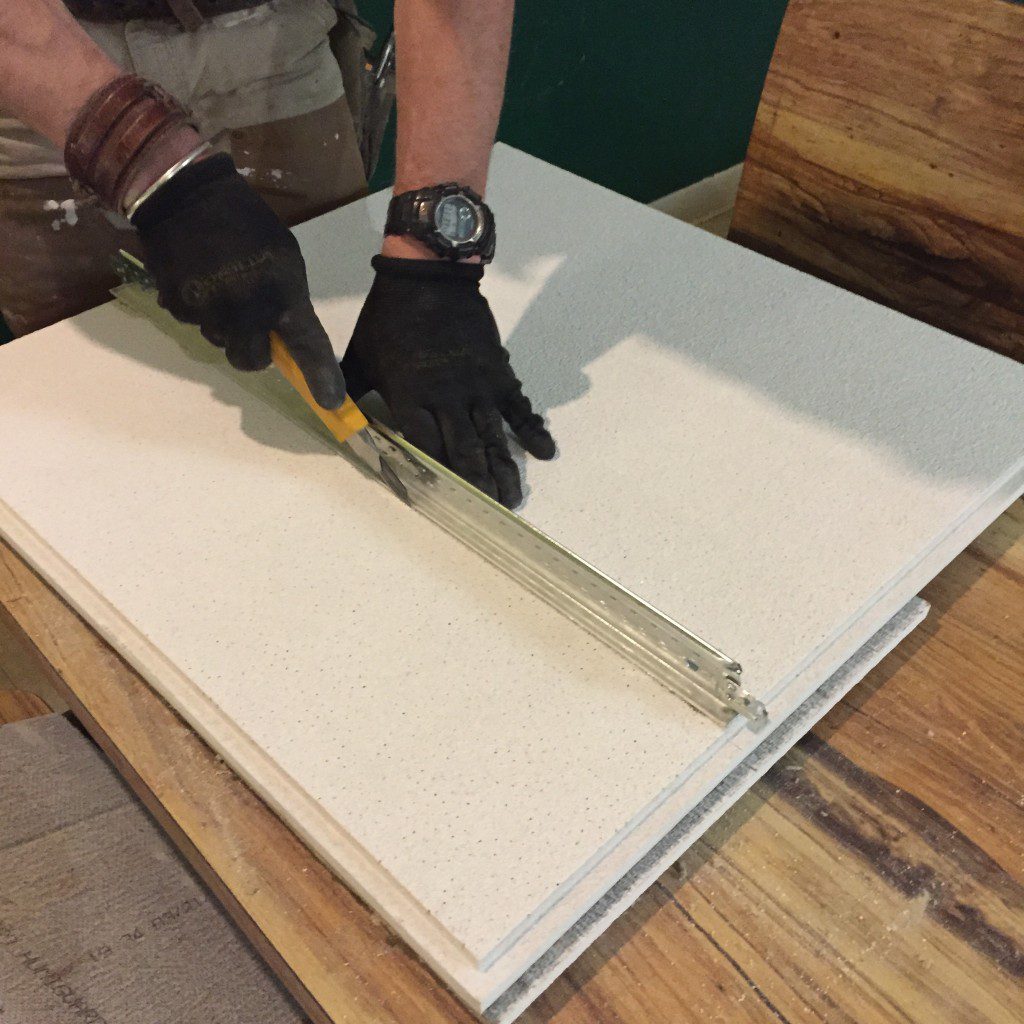
2. Next, I use a 2-foot cross-T.
Us it as a straight edge guide then score the tile 2 to 3 times with my knife. Sometimes it cuts through, sometimes you need to break the tile off. It’s easy.
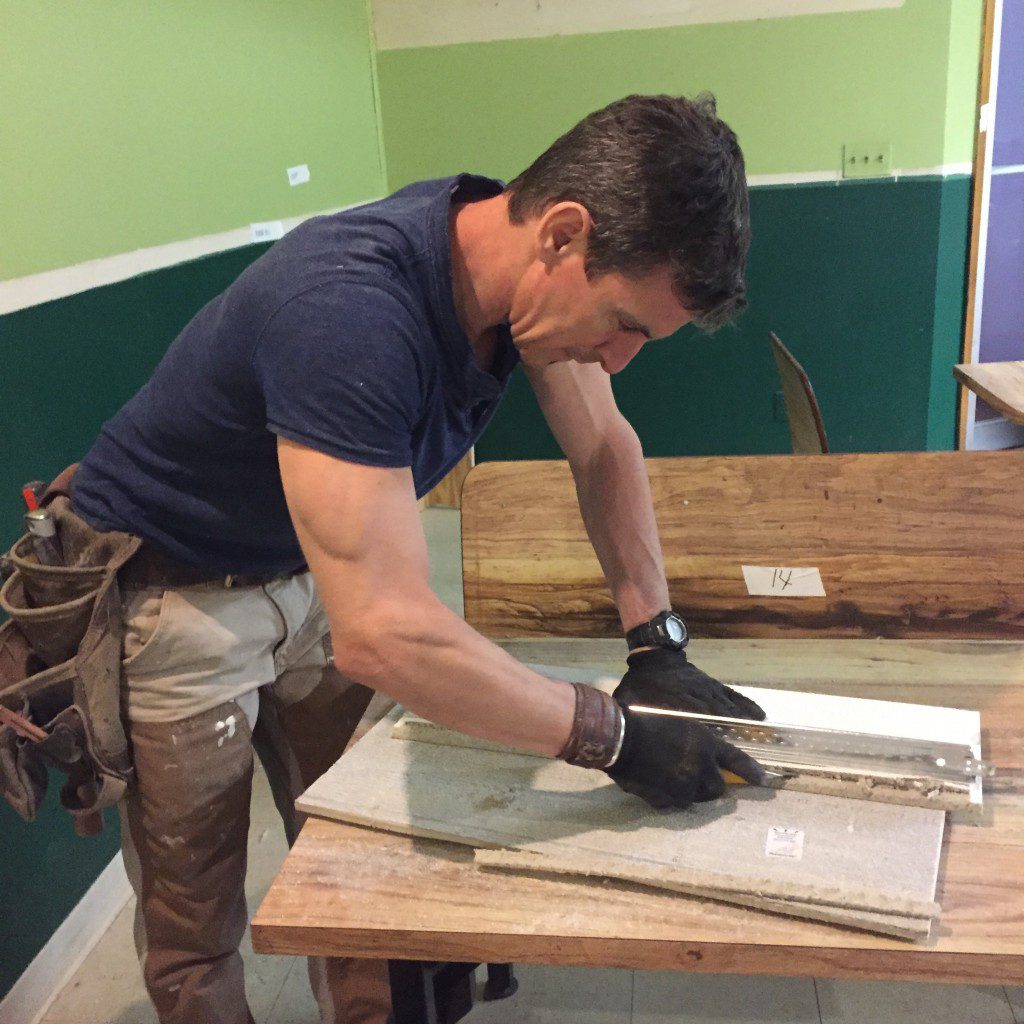
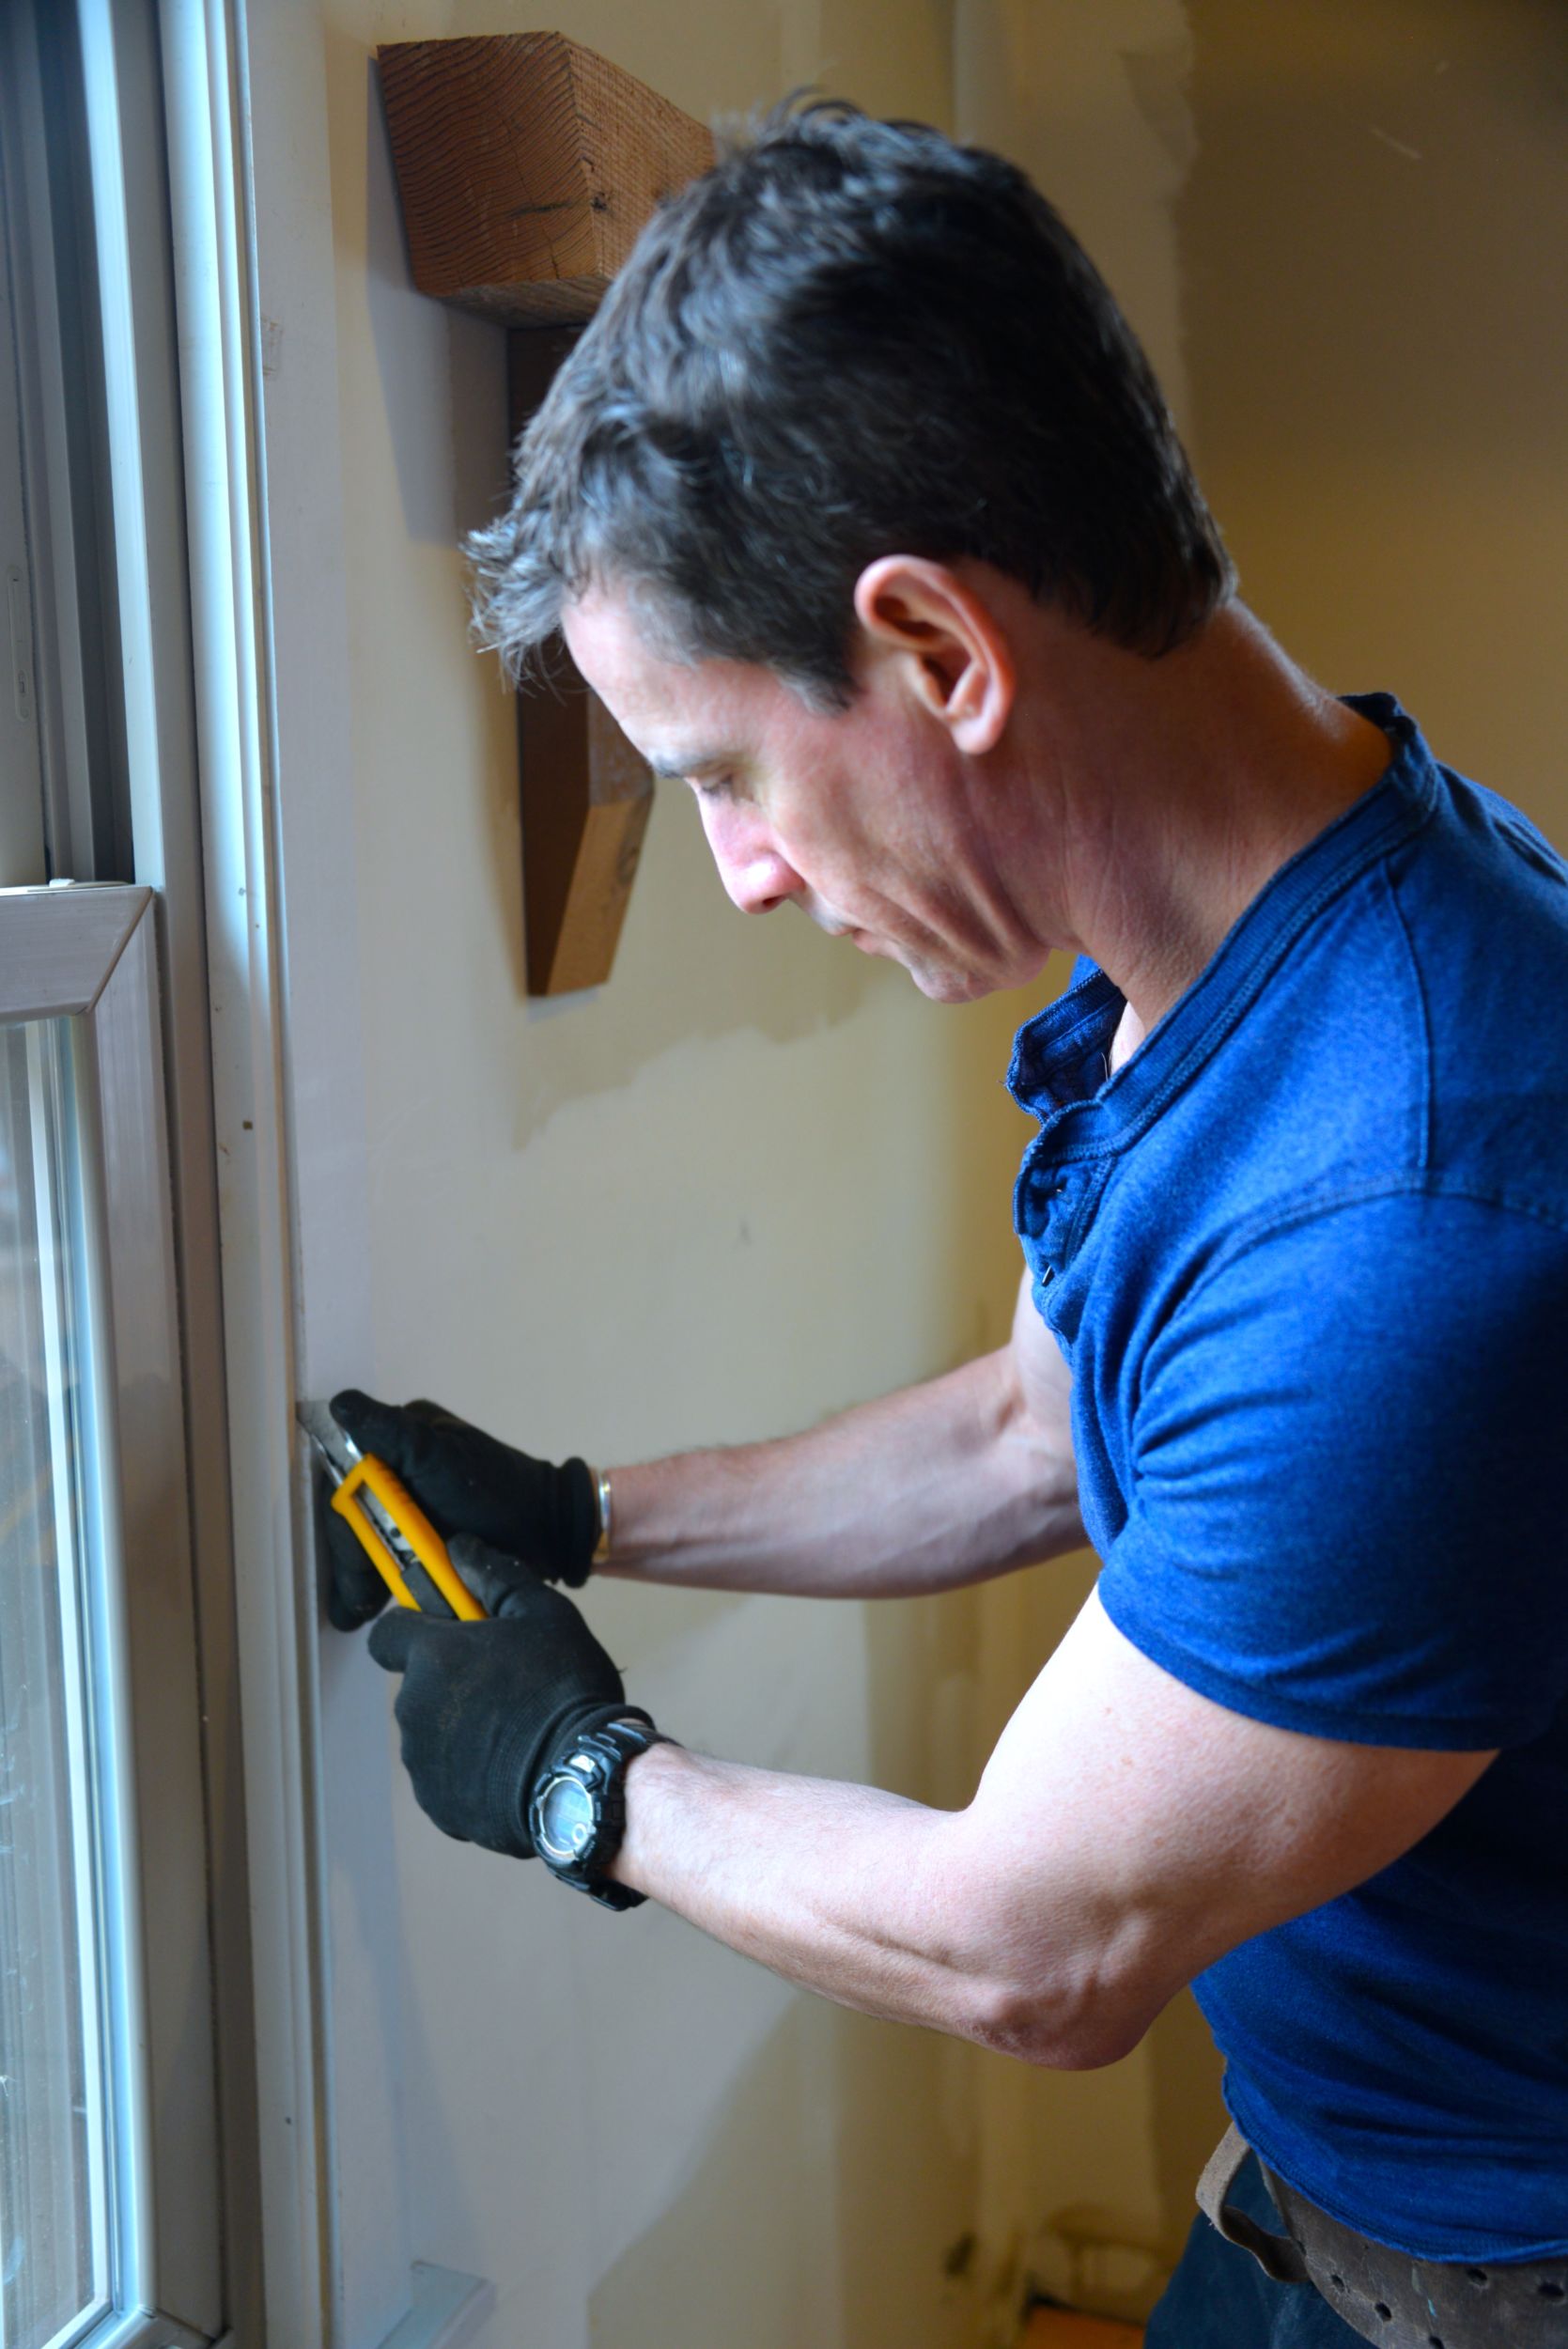
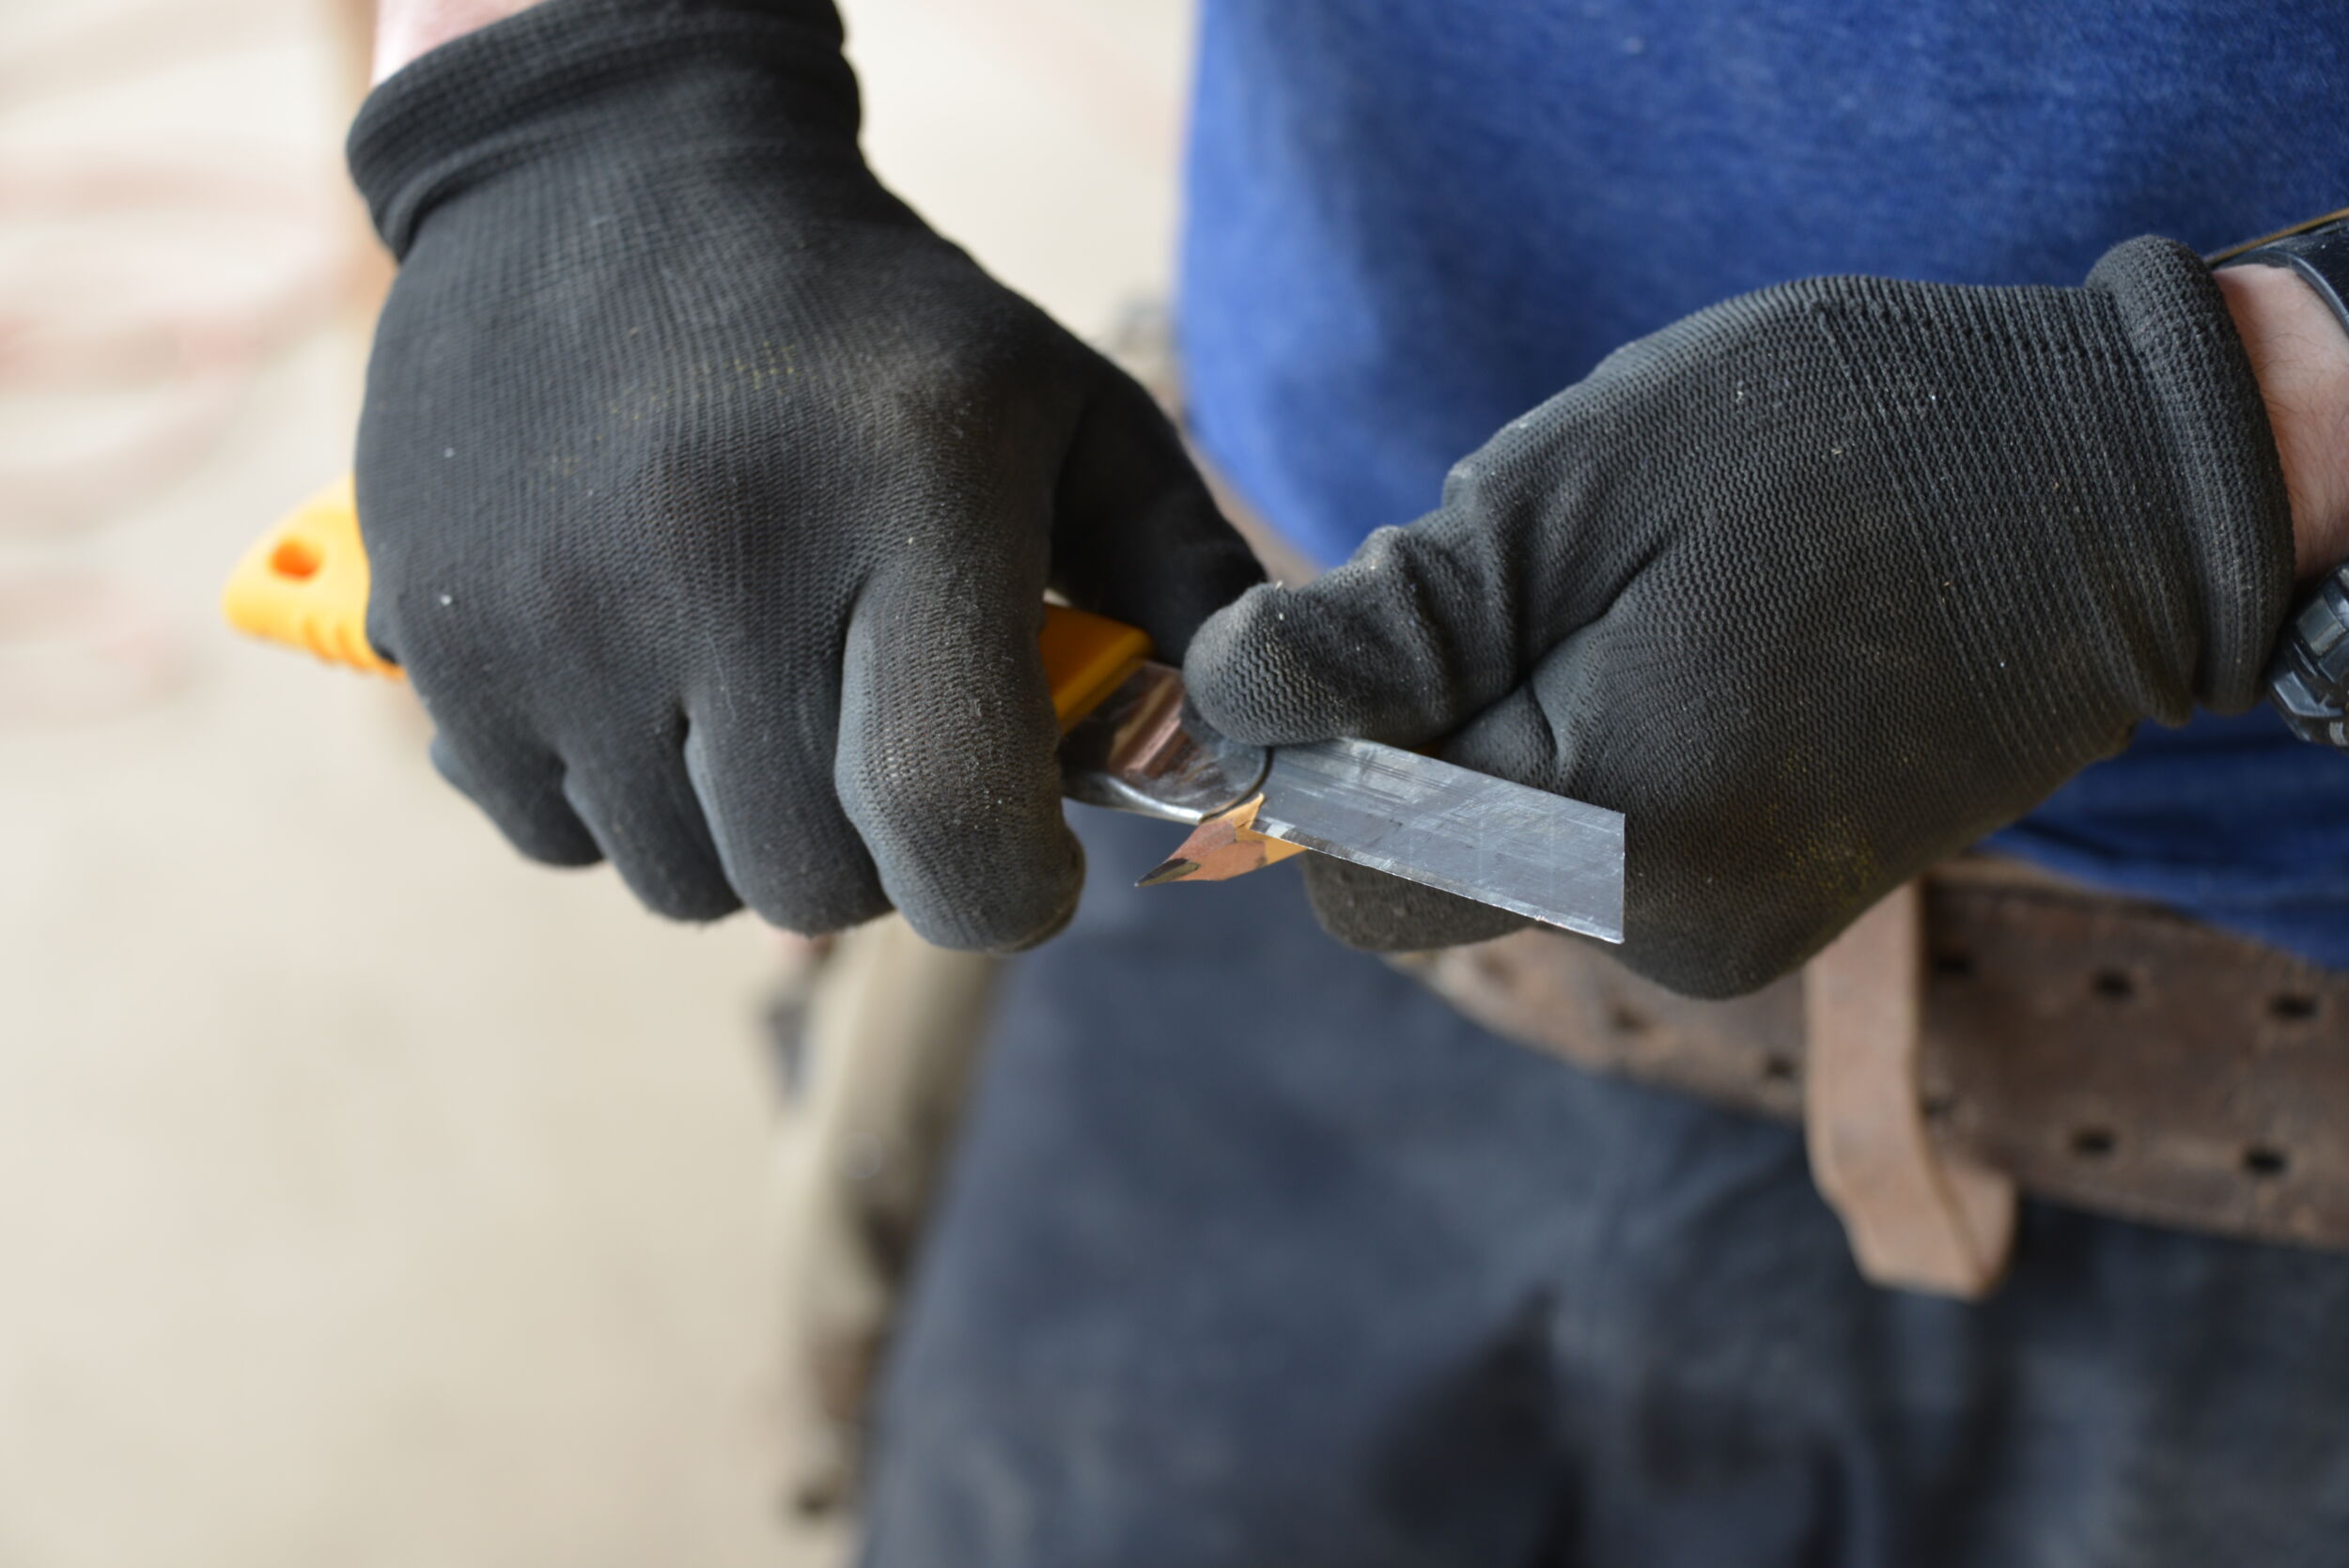
3. Make the side cut.
With the tile cut to dimension, I lay my knife on my work table and make the side cut for the reveal. Note: If there has been a place having an OLFA utility knife has saved me time and aggravation, this is it. Reason is, I can extend the blade further than a typical knife and change the angle the knife blade cuts the ceiling tile as needed. This minimizes any granule build-up between the tile and the knife and optimizes what pros call the ‘angle of attack’. In short, it kicks a++ for this cut.
4. Make the down cut.
For the rest of the reveal, I back the cross-T off 1/2-inch from the un-chamfered edge and make the down cut. One pass usually takes care of it. Again, being able to extend the blade a little sometimes helps here. As does a rippin’ sharp blade, which the OLFAs have (the black ones especially hold an edge).
5. Test fit.
Ceiling pros measure a different way. Much like the proficiency ace drywallers have, these guys are fast. And they can deal with the inevitable imperfections of out-of-square, lumpy walls with nary a second thought. But for those of us who don’t do this every day, we need to be a little more deliberate. So once I’ve cut the tile, I test fit it. If adjustments are required, they’re required. If not, great. And I know that I’ve got a cleanly cut reveal that I don’t have to mess with.
Check out the how-to steps in photos below.
*This post is sponsored by OLFA. The how-to is all MyFixitUpLife. In other words, this is how we really cut suspended ceiling tiles.
About the Author


[…] With water damage and years of wear-and-tear in the diner, the ceiling was sad. We worked with Armstrong to make the entire diner look incredibly more polished and, well, clean. If you want to know the […]