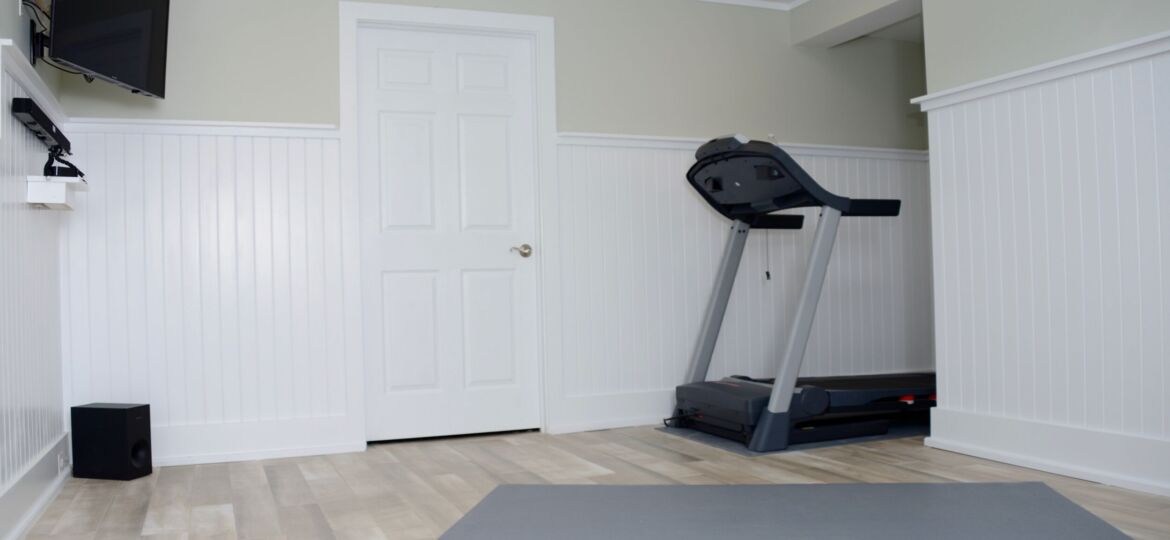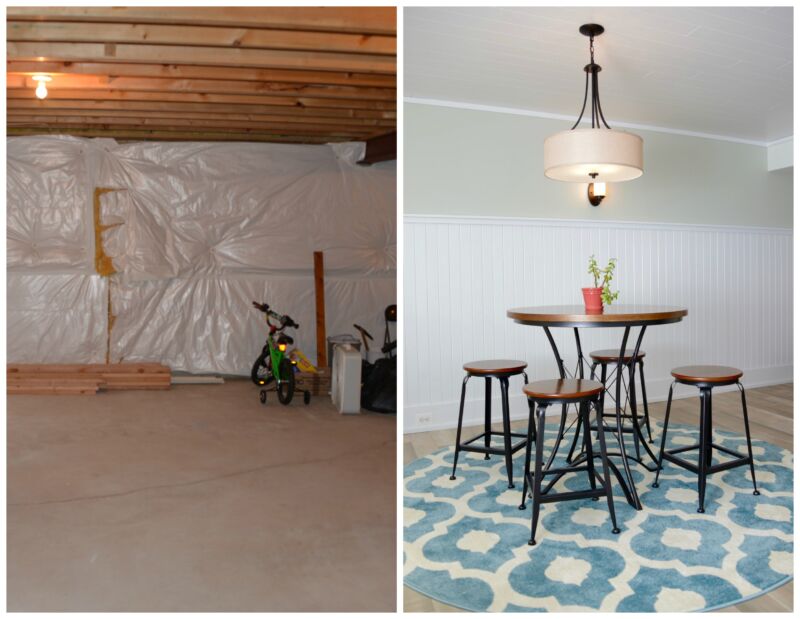
We installed a plank ceiling in a basement makeover, and it has gotten some rave reviews. Best of all, the homeowner has shared with us that the finished basement helped them get top-dollar for their home when they sold it.
It’s a polished way to finish a basement ceiling, and like every how-to that’s shared online, it’s hard to provide every detail in a video or blog. Recently we received a question about trimming the plank ceiling, and are betting that it’s a question that other DIYers might have, too.
So below is the question-and-answer about trimming the Armstrong Woodhaven plank ceiling.
DIY ceiling trim question
I watched your video where you installed the Armstrong Woodhaven Planks on a basement ceiling. I am considering installing them myself and was curious what you used for the molding?
You didn’t mention anything in the video you can only see it in the finished versions during the video. It looks like just a 2″ x 2″ square molding of some type?
Any direction would be much appreciated.
Thanks,
Stephen


Here’s how to trim it
Stephen,
Thanks for getting in touch. I love the Woodhaven Plank ceiling from Armstrong.
It’s been a while, but I recall that the first piece needs to be face-nailed. A finish nail from a gun hit it a little too hard, so I’d try a brad nailer there.
As for the plank ceiling trim, it’s a 1×2 FJP (primed finger-joint pine). They are available at big boxes and lumber yards.
If you’ve got lights going in, drilling the recess with a 6-inch hole saw after the fact would work, but I’d find that nerve-wracking because a mistake can’t be repaired. Then, I cut the recesses as I went, as I recall.
Let me know if this helps, and if you have any questions along the way. After you finish the ceiling project, we would love to see how the trim and ceiling turns out.
Mark


