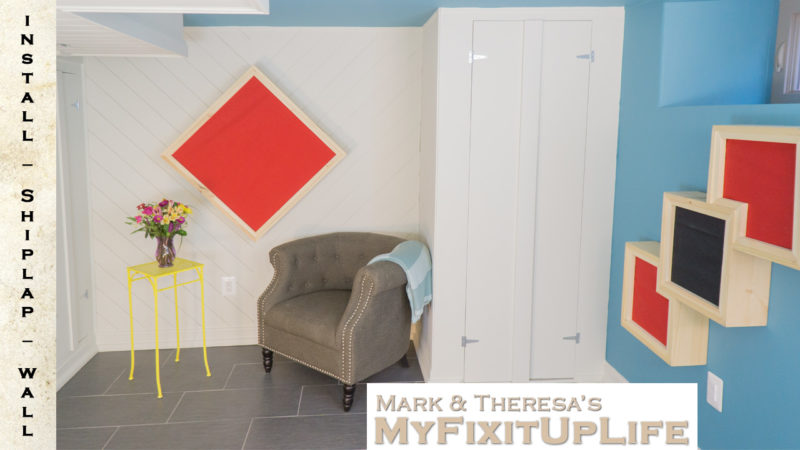
We created a shiplap wall in a “V” pattern for our basement remodeling project.
This project is a super favorite part of our finished basement. It’s hard to describe how the subtly awesome feeling that just a little wood and a few shadow lines of texture and organic-ness can make, but it’s real. I feel it every time I’m in the room.
If you want to get right to the how-to, watch this video for our other shiplap wall project, which we also love the heck out of.
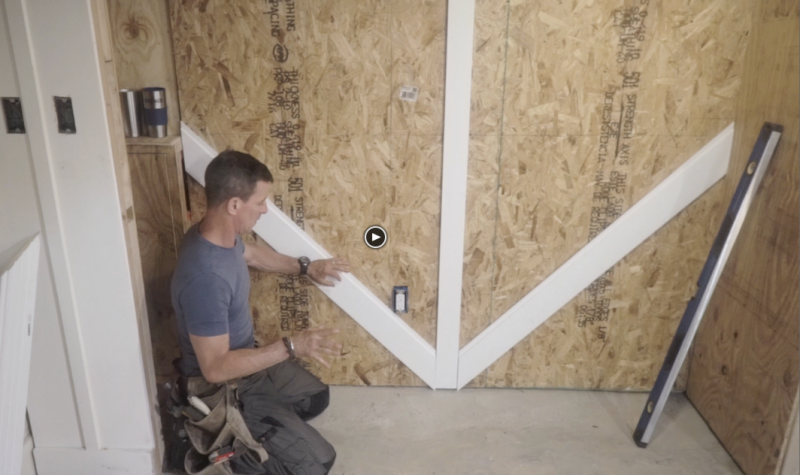


OK, here’s the how-to for the V-Joint shiplap.
A shiplap wall V design starts with the first piece, what I call the “starter strip.”
– To make sure there’s always a suitable surface to nail to, we installed OSB (plywood) over the existing studs. I call this a “continuous nailing surface.” It’s not always necessary, but it makes life easier on some jobs.
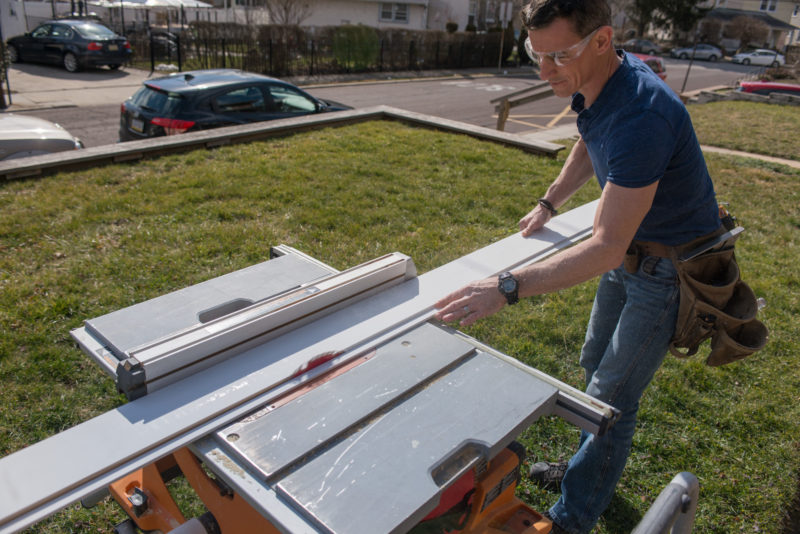
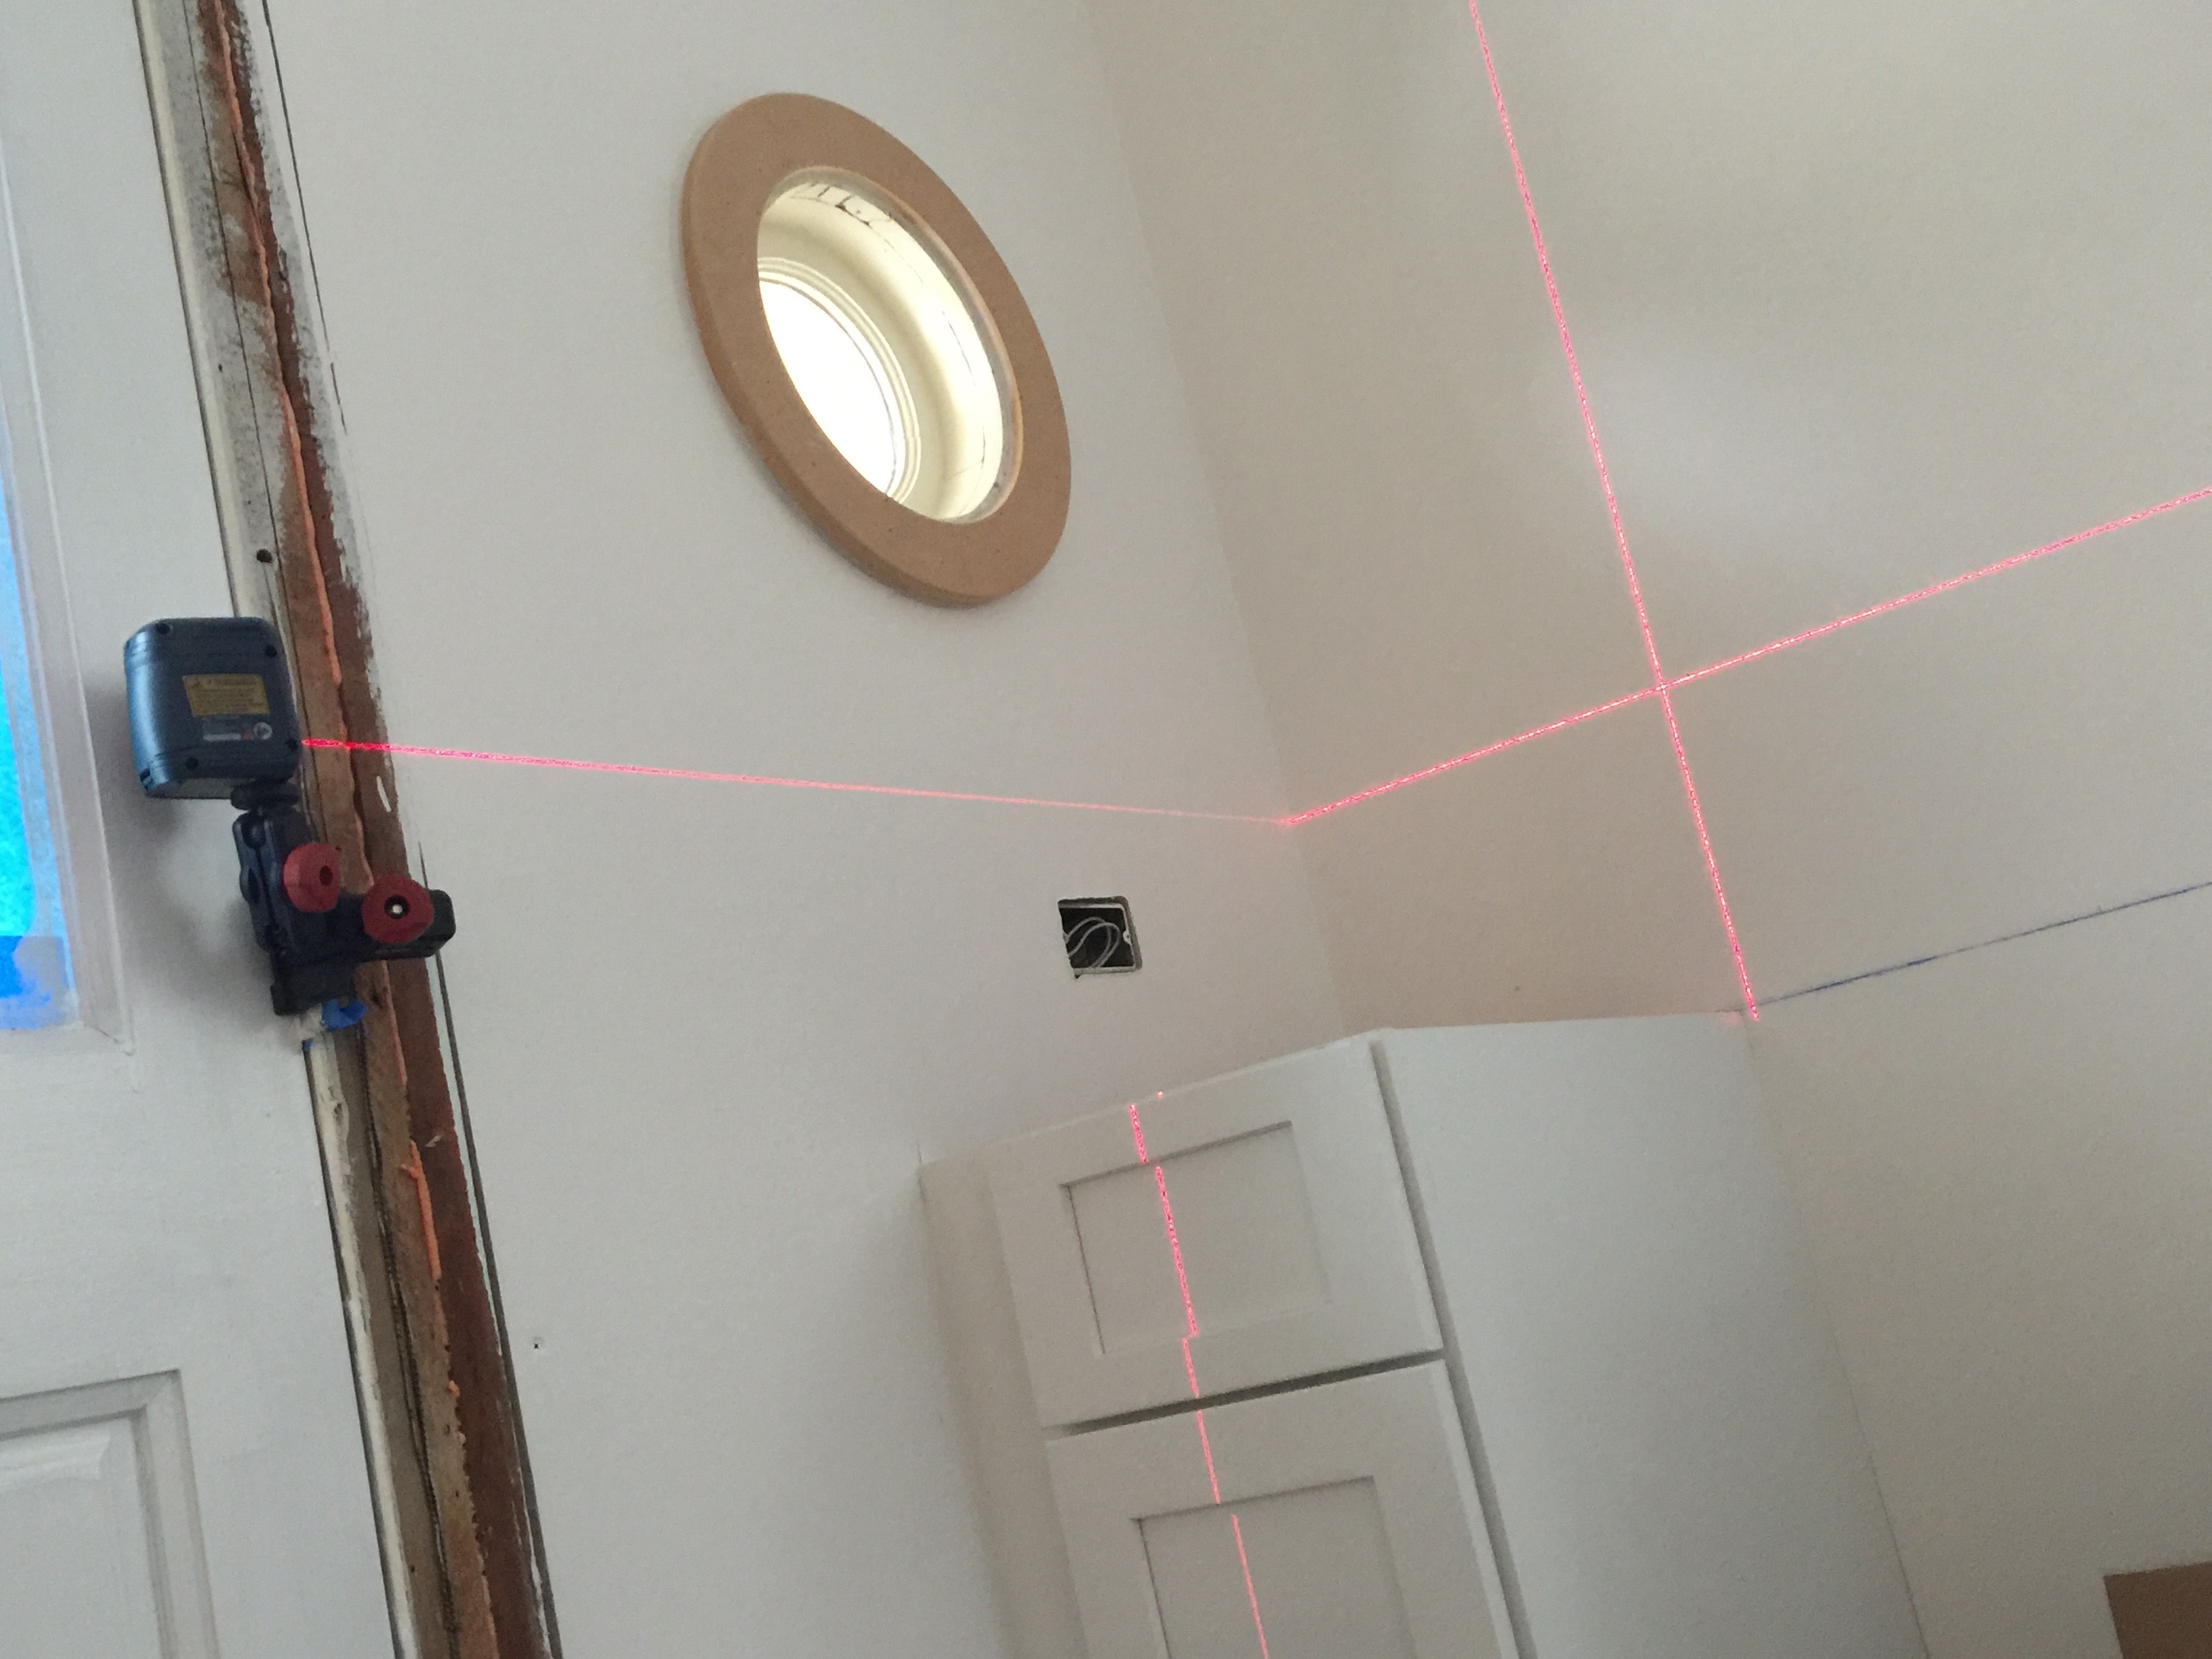
– In the center of the wall, install a vertical strip. I made mine from shiplap on the table saw. It is important that this piece is “plumb” (straight up and down).
– Mark a level line across the room.
– Start with full pieces. We chose a 45-degree angle for our shiplap wall. Watch the video for detail.
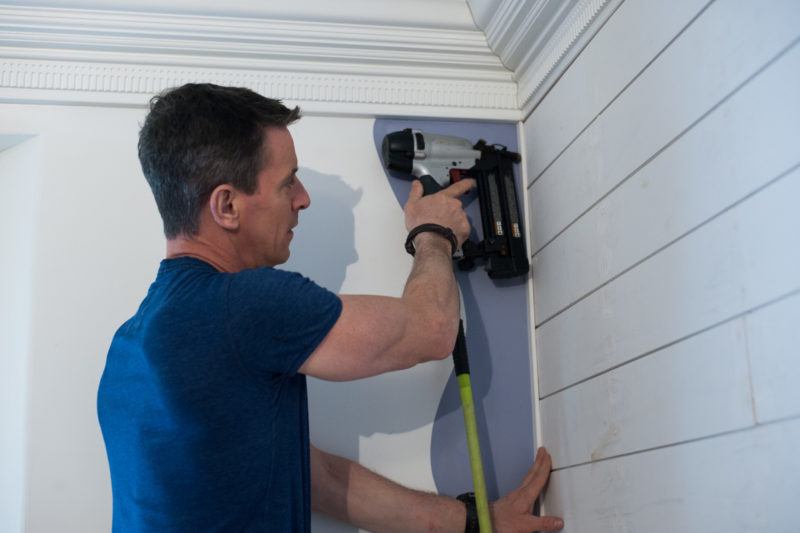
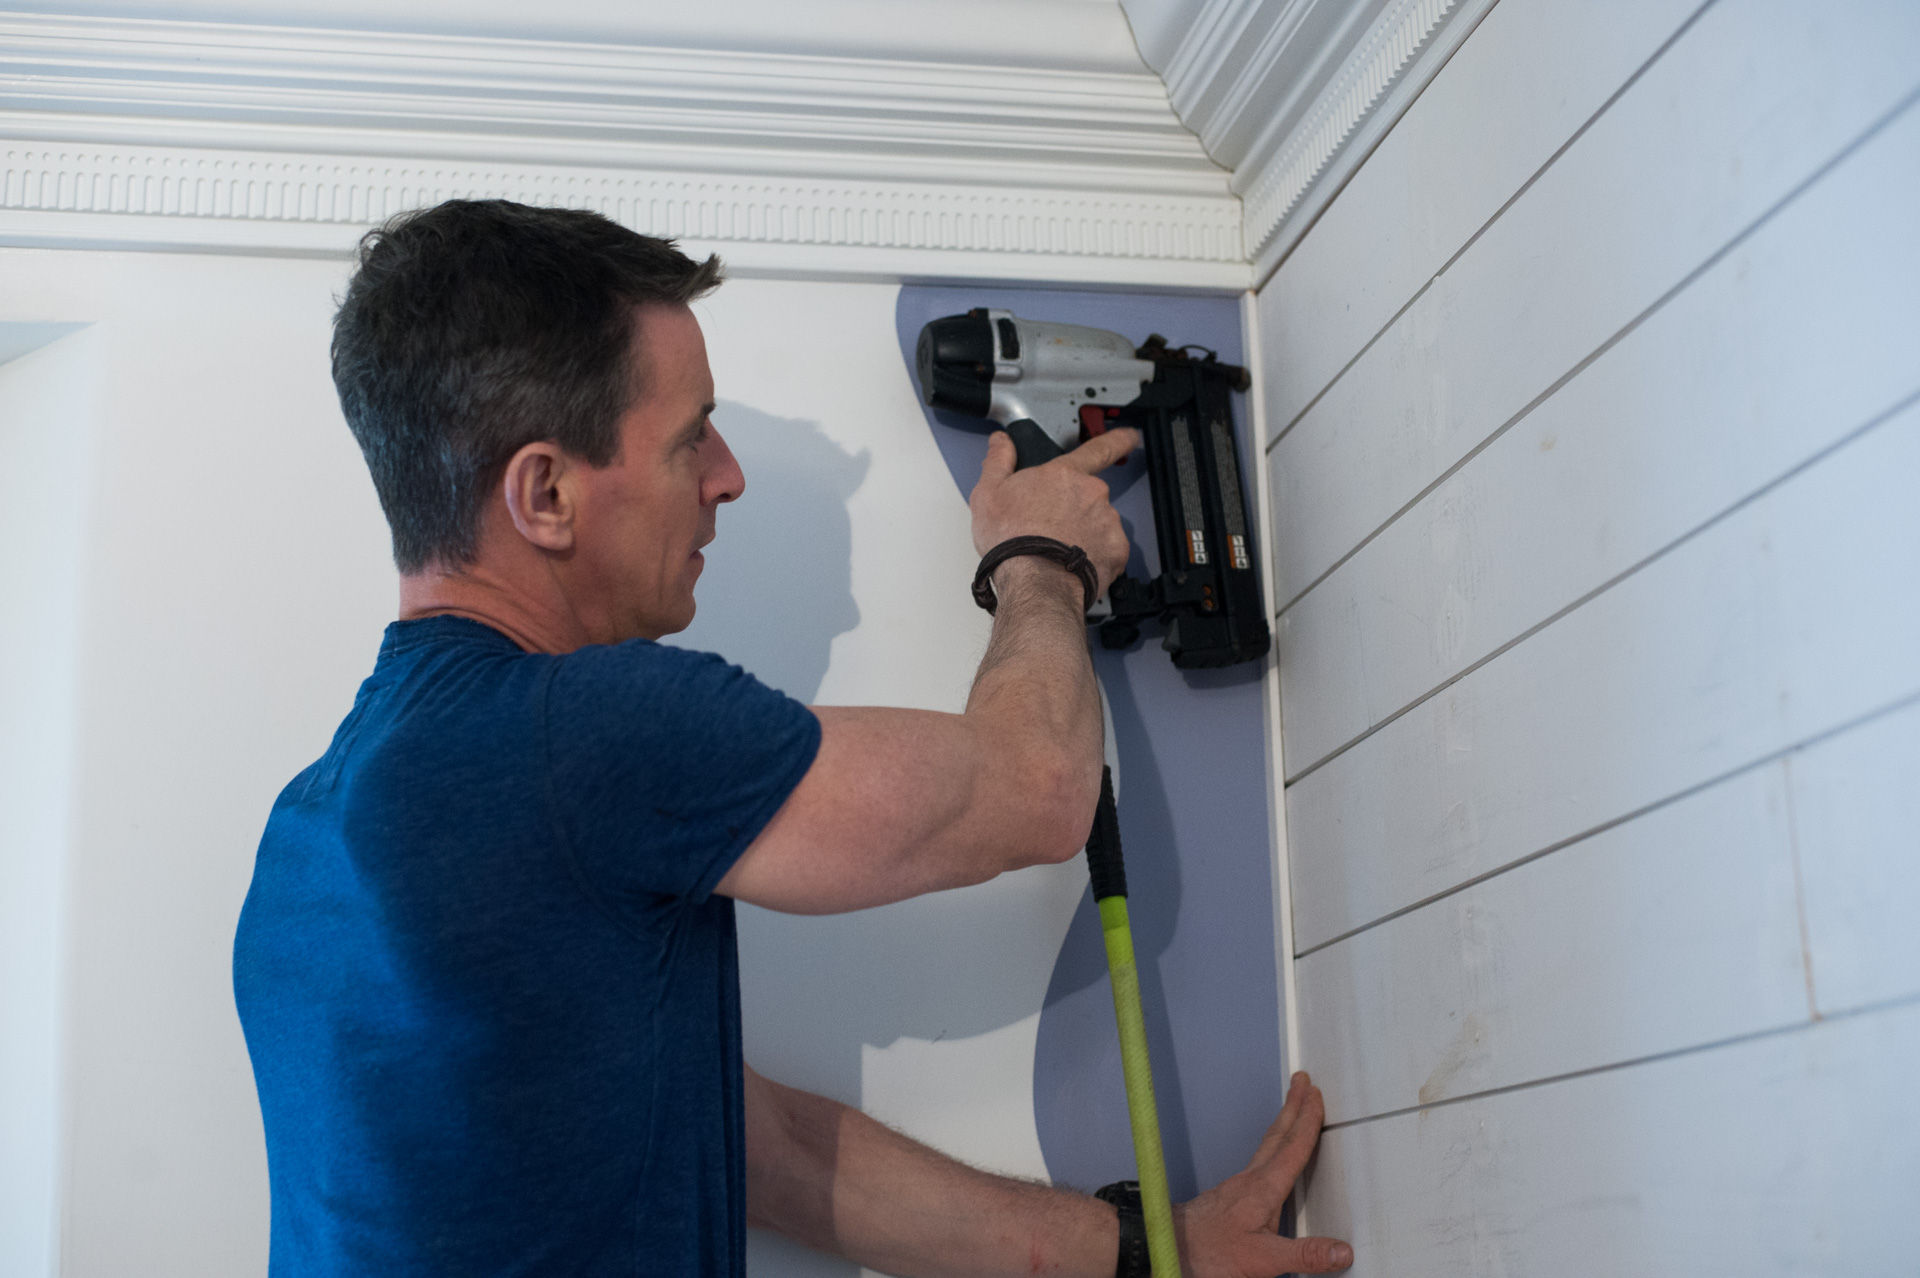
– A pneumatic finish nailer is awesome for this project.
– Make transition strips from the shiplap to cover end-cuts. Fasten with a brad nailer.
– We used shiplap as base molding on this project too.
– Fill nail holes and paint.
Painting tip: For some projects like basements, dust is a hidden enemy to primo paint. It’s masked by dim light. True story. Check carefully before painting. A bright work light will help. Make sure to brush the dust off and sand down filler. Oh, it’ll be there.
– The material we used is on this project is Arauco primed shiplap and available at The Home Depot.
If you liked this video, please subscribe to our YouTube channel for more home improvement and DIY how-to videos.






Thumbs up for this video tutorial, well explain all the important things.
Thank you so much!