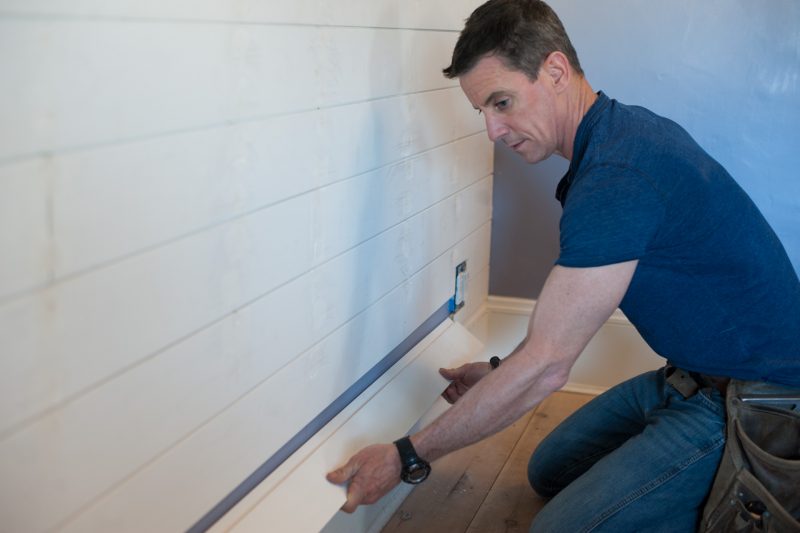
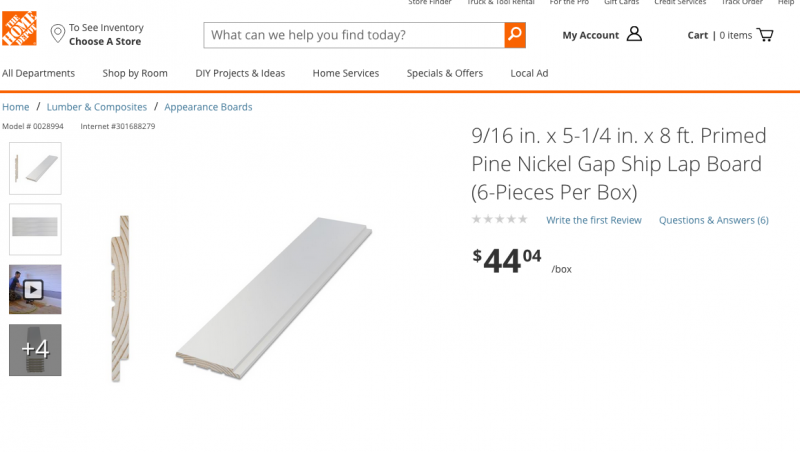
Here’s how to install shiplap, and make over a room with Arauco’s primed pine nickel gap ship lap boards.
Selecting a primed product helps when installing shiplap.
While the detailed step-by-step instructions are in a video posted on The Home Depot website, there are a few details below that will help make sure your shiplap project is a success. If you want more details on shiplap installation, check out this blog.
I love the rhyme ‘nickel gap ship lap’ and the Arauco primed boards we used for this makeover rocked.
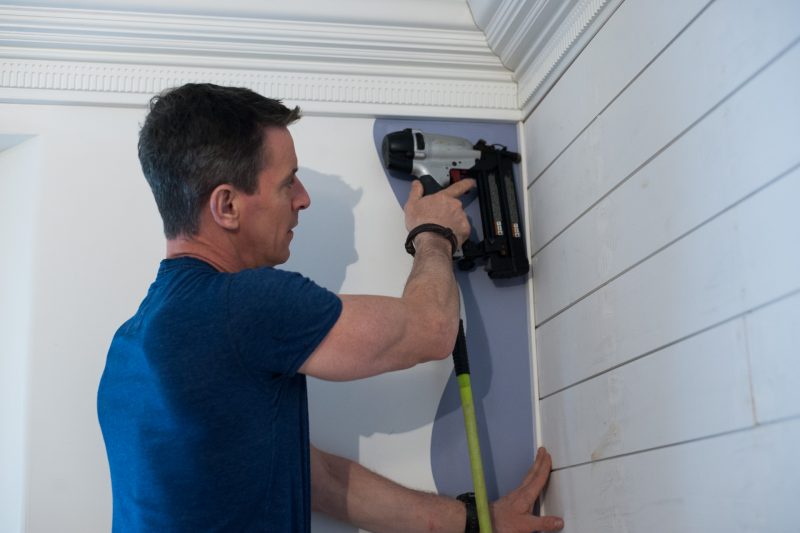


Tip 1: Covering the ends.
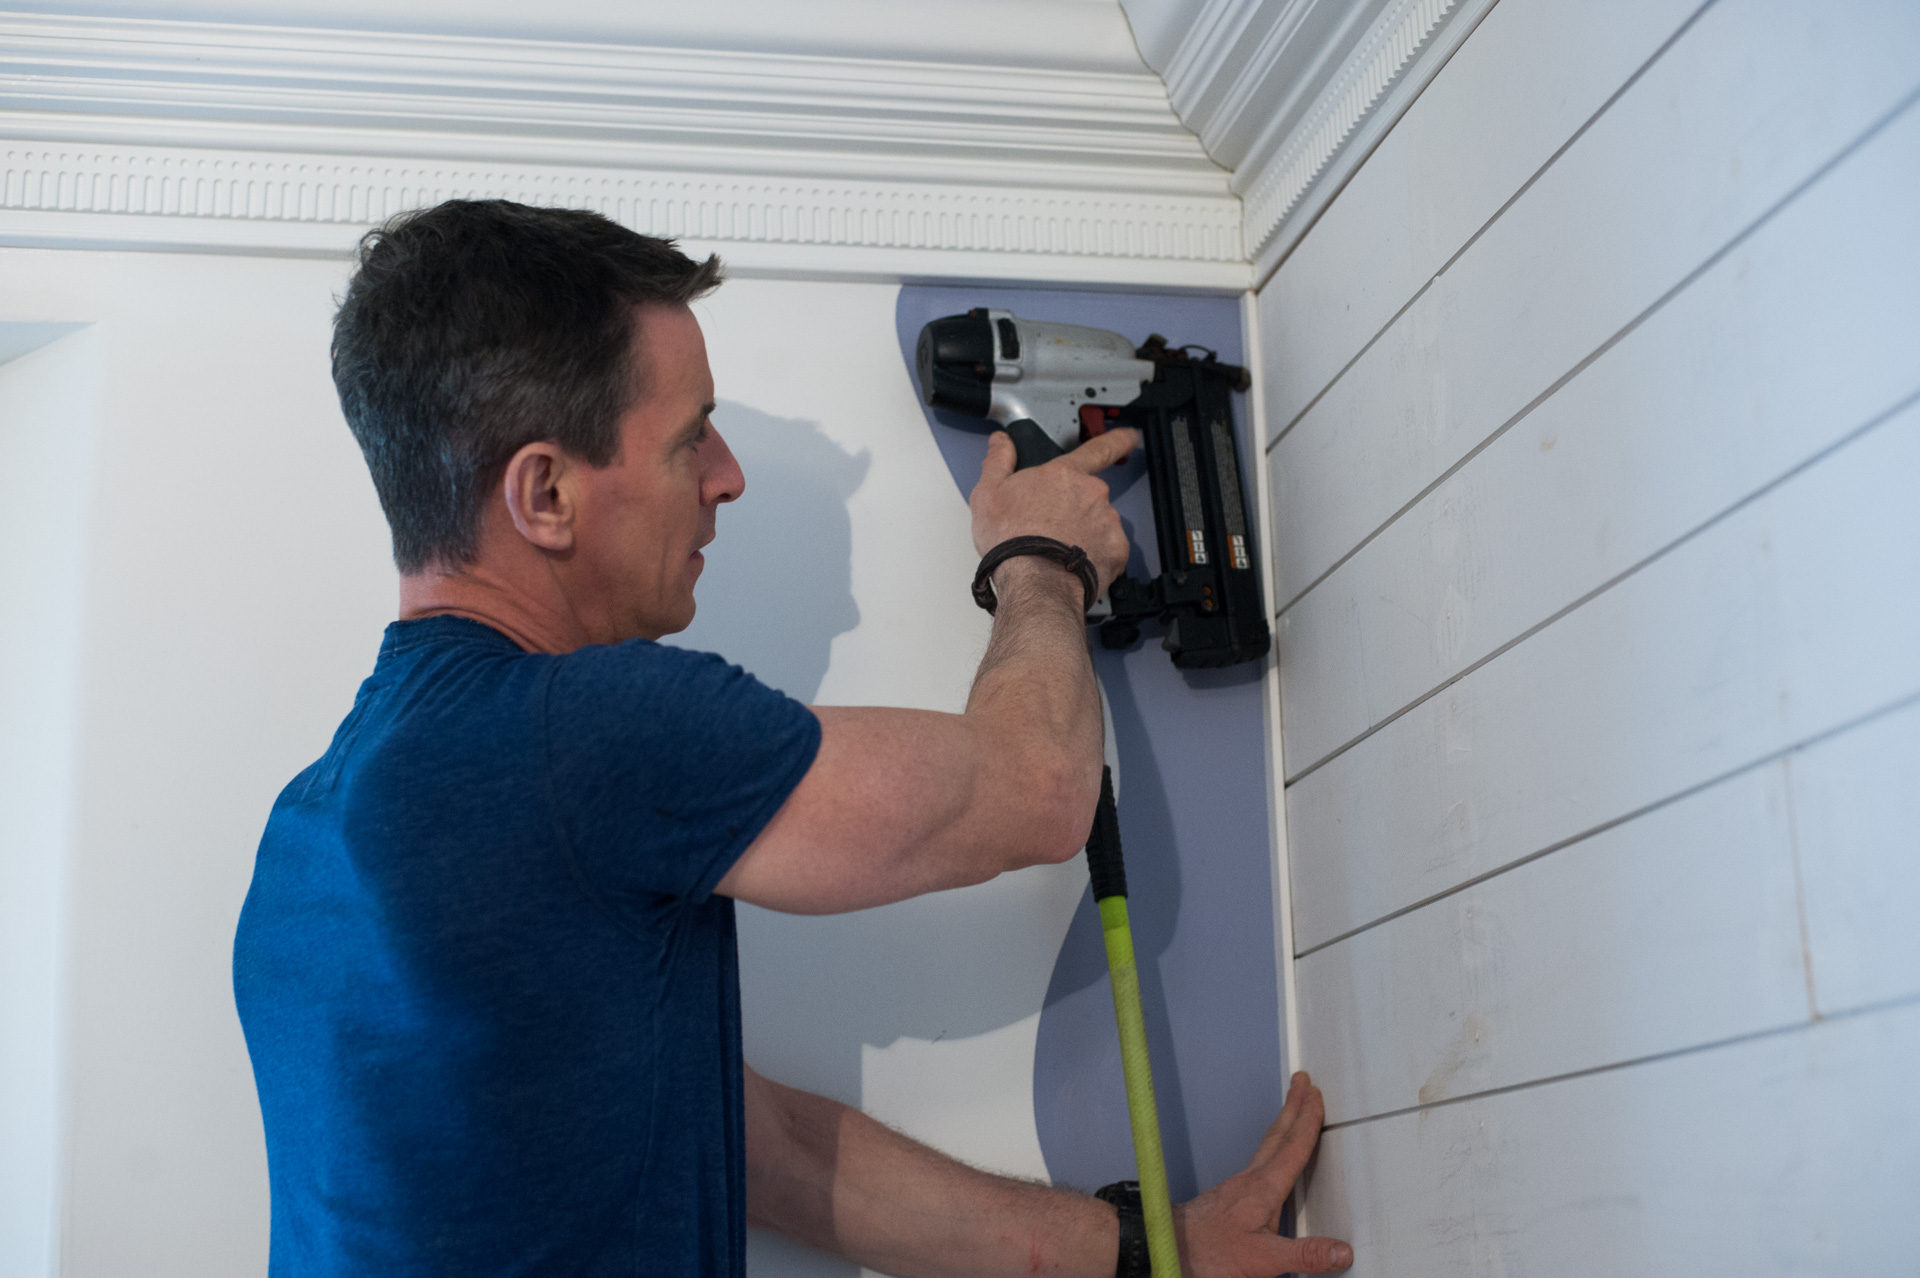
After installing the shiplap, there are ends that need to be covered. Here, I’m covering the ends with a molding strip. I simply cut the tongue off the molding on the table saw. Easy.
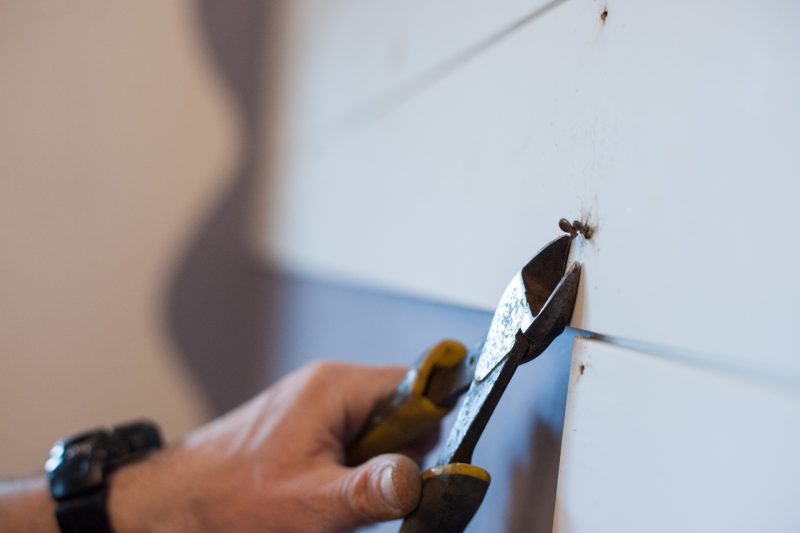
Tip 2: Nail removal.
I popped a nail right on top of a drywall screw when installing a board of shiplap. It’s almost inevitable. I pried it out with my ‘dikes’ (diagonal cutting pliers)…a tool pouch must-have.
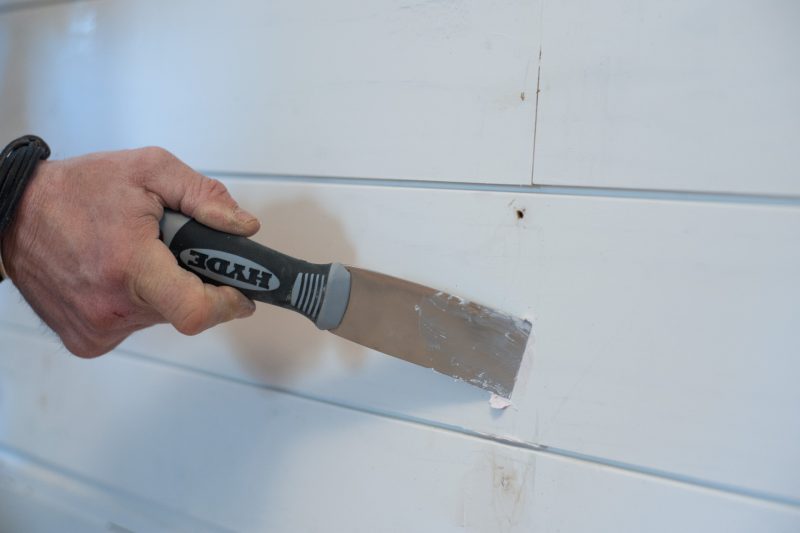
Tip 3: Filling and sanding nail holes
I don’t actually sand them, I wipe them down with a damp rag. Filling and sanding is easier than finishing drywall every trip of the train.
Arauco ship lap is double-primed at the factory, so it takes paint really well.
I really, really like how this job looks too. I’m using this shiplap again in a basement renovation. Love, love, triple love.
I’d love to post the ‘how to install shiplap’ video directly, but it lives on the product page at The Home Depot. Click here, video is the third thumbnail on the left. I also love the rhyme ‘nickel gap ship lap.’ It’s fun to have a little corner in The Home Depot universe.



I would like to do a weathered look on these boards. But it doesn’t explain how anywhere.
Thanks.
Hi Debra,
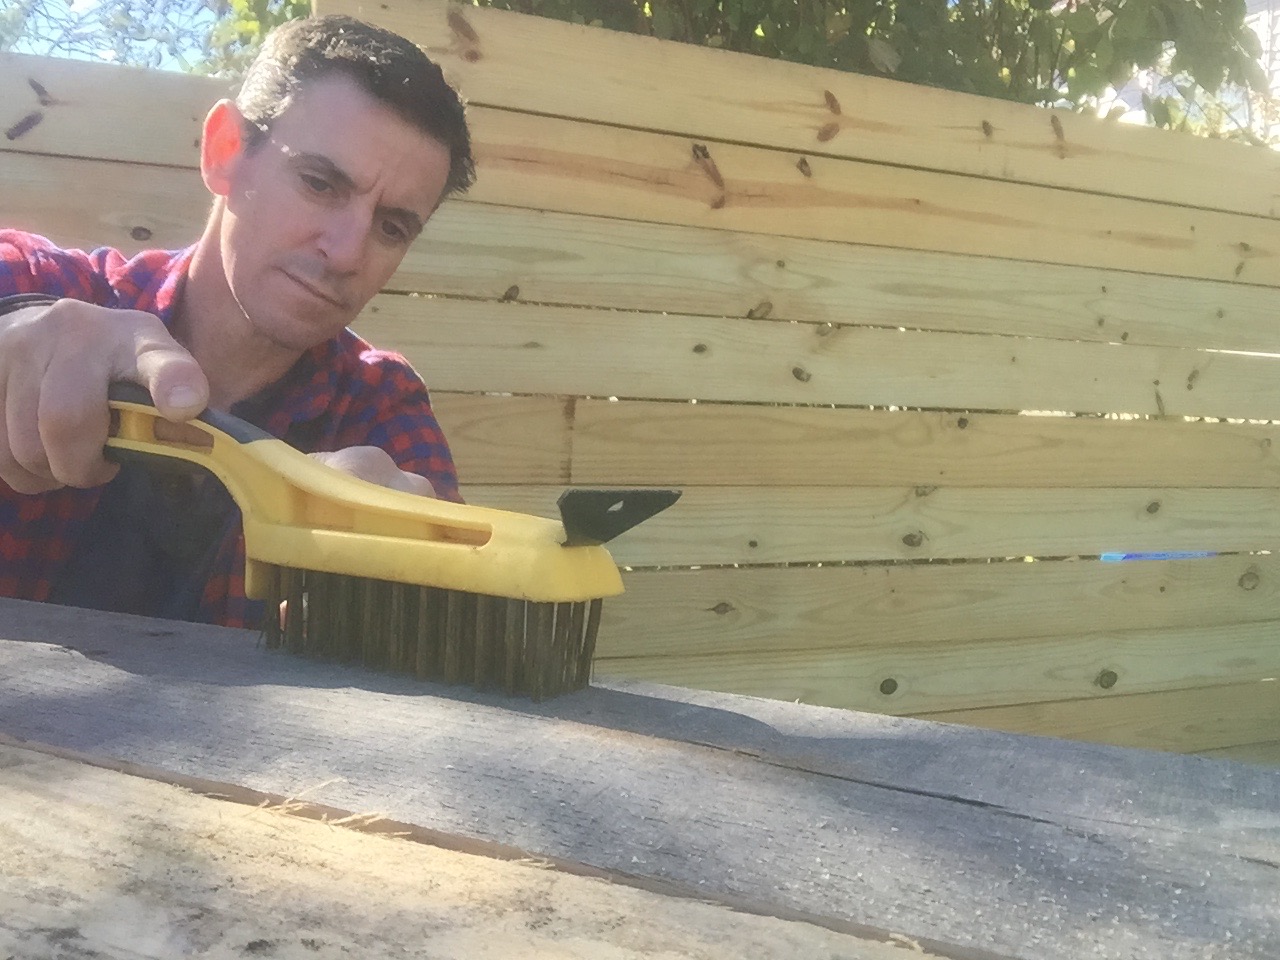
There are a few ways to achieve a weathered look. You could mix equal parts water and paint, and then applying it to wood with a brush. You can spot sand the wood after it dries, and then apply another mix of paint and water, using a different color. Some use chains or other heavy items to strike wood before painting, so the surface looks worn.