Attention parents of baseball fans: Check out this kids room decorating idea, purpose-built for your favorite baseball fan.

FACT: Your children want your time, not your money. Money is freaking awesome and I love long romantic walks to the bank, but they want you. This is a way you can give it to them.
A cool kid’s room decorating project, to me, is about making something. Not just buying one more disposable thing that’s disposable.
My buddy—non-carpenter—built his kids a tree house. Sure, he was addled with night sweats it might collapse, but still, that’s getting after it for kids room decorating. Bravo! For this 8-year old Philadelphia Phillies fan, here’s how to make Theresa’s baseball fan project.
Fan-bats, plywood, staples, screws, and some 1 x 4…you’ve probably got most of it laying around if you do DIY. How long till pitchers and catchers?
Shopping List—Kids room decorating—GO!
Fan bats, as many as you want, we used 12.
Backer – 1/2-inch pine plywood
Top / bottom rails – 1×4 pine
Baseballs
Screws
Staples
Gorilla glue
How-to
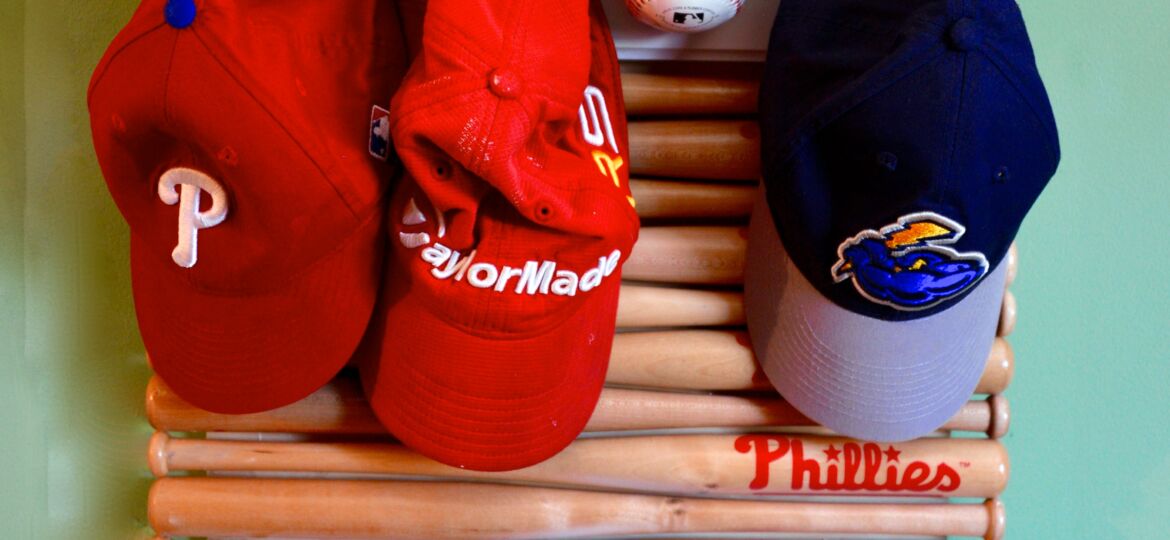
This kid’s room decorating project has a function: Hang hats, jackets, socks…whatever from it. The tricky part is that I did most of the fastening from the back. This takes a little hand-eye-coordination. Here’s how to make it:
– Lay the bats end to end, tight to each other like you’re racking pool balls and get a measurement. Knock off 2-inches and that’s the width of the plywood backer.
– However long your bats are, add 4 1/2-inches. That’s the length (height) of the backer.
– Cut the backer.
– Cut the top and bottom rails the same length as the bats. Clip the corners like I did if you like the look. That’s miter saw work. Router an edge if you want for extra awesome.
– Install the bottom rail and bats. I used a ‘stop’ on one side so I could keep the round, tapered bats straight. It’s like herding cats but it works.
– There’s not much holding the bats in place, but since boys are boys, I dab some Gorilla Glue for a little extra hitting power.
– Then I pop two staples from one of my favorite unsung tools, my narrow crown stapler.
– Be careful to make sure your bat logo is where you want it before stapling.
– Lay out the ball location, mark it, drill a pilot hole from front to back.
– Place the ball and drill through the pilot hole from the back into each ball.
– Fasten with a 3-inch screw.
The bats are gapped and a perfect place to sneak a couple of screws through and install on the wall.
Hang your hat and gloves, then get your hat and gloves. Kids room decorating—done. Play ball!


