Our old barrister’s cabinet is now sitting pretty in crimson red stain.

The barrister cabinet story.
When we bought the American Foursquare about a dozen years ago, there were many items left behind by the previous owner, Mrs. Fabiani. The previous owner’s family is the original owner of the home, and Mrs. Fabiani died during the process of purchasing the house. Her 60+year-old children asked if they could leave some of her things. Beyond her clothes, family photos, and personal items, it was all here. But that is a long story for another day.
One of the items is a barrister’s cabinet. I fell in love with the little cabinet that held old books, from the moment I spied it in a sitting room. Beyond its simple charm and vintage appeal, the little cabinet takes up little space, considering the amount it contains. I’ve used it to display family photos and little art gems from the kids. We’ve remodeled almost every inch of the home since we moved in, taking out plaster, old knob-and-tube, building new walls so we could insulate, replaced doors with original doors found in the attic, and so much more.
The few vintage pieces of furniture, like this cabinet are the last of hers. And so when I was asked by my friends at Minwax to share a story for the Made With Love. Finished With Minwax campaign celebrating how the beauty of wood is enhanced when there’s a personal story behind it, I knew that it is now time to update the cabinet, giving it a more modern color.
After looking through the color options for stain, we decided to go with crimson red. The original cabinet has a warm orange wood look, and I wanted to stay in the same neighborhood of color, just to make sure to respect the original intention of the piece.
How did we makeover the barrister cabinet in crimson red?
Sanding. The first step was stripping the finish. We used a belt sander, random orbit sander, and detail sander. The belt sander is ideal for the first and second pass on straight material like the sides of this barrister’s cabinet. Course belts and good power can really knock down an existing paint or coating. For polishing, more precision, and weird shapes like the rounded corners, a random orbit sander with a finer grit (80, 100, 120) took care of the remaining finish. The detail sander, a Rockwell SoniCrafter, goes where others can’t: into corners and other tight spots.
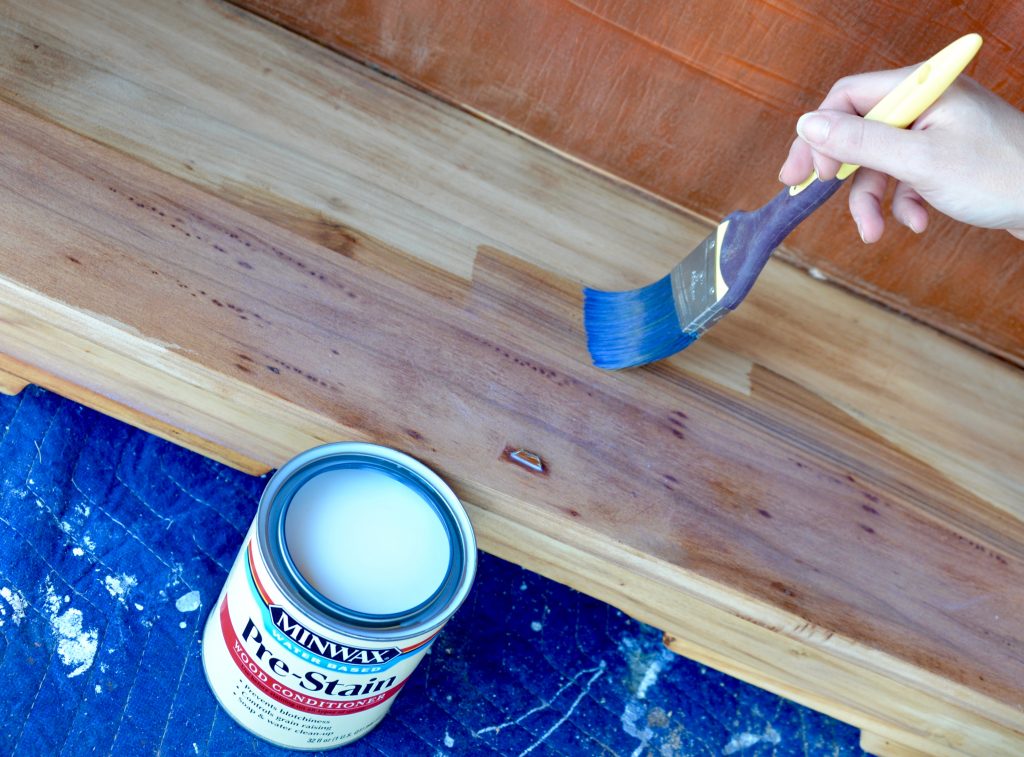
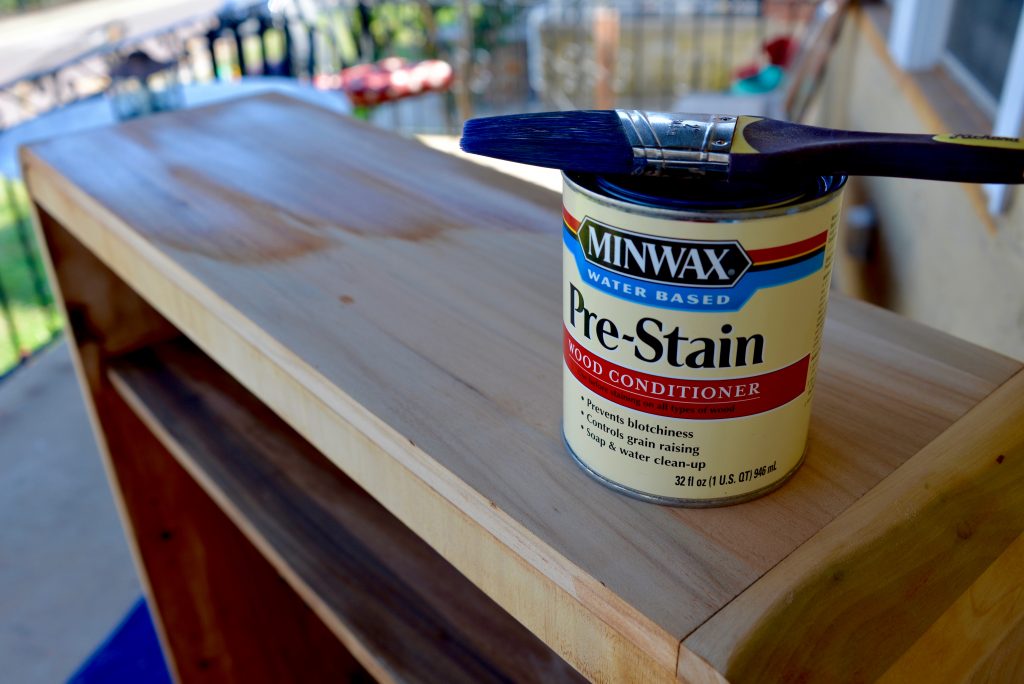
Prepping. After sanding, we blew off the dust, then wiped down all of the surfaces. When the entire cabinet was clean, we applied Minwax water based pre-stain wood conditioner. This step helps prepare the wood for the stain that is coming next. We applied the conditioner in the direction of the grain, working from bottom to top, inside to outside, with a good quality paint brush.
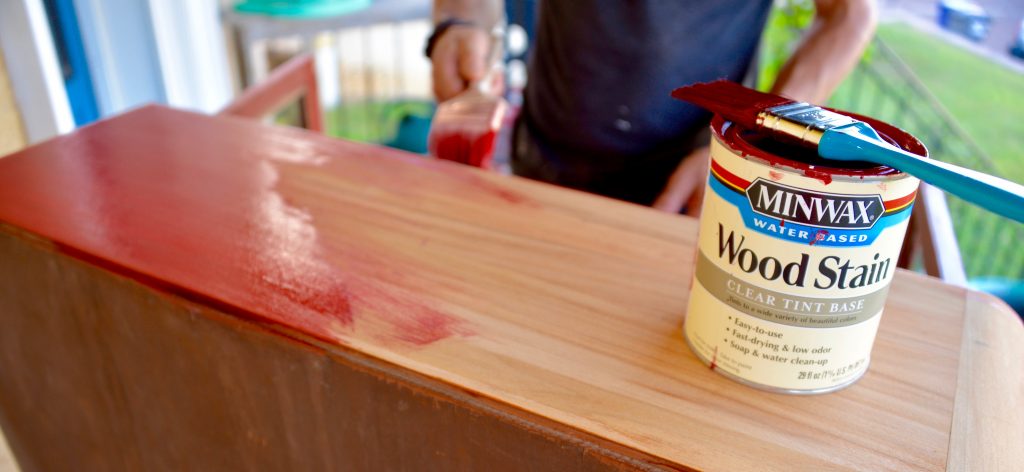
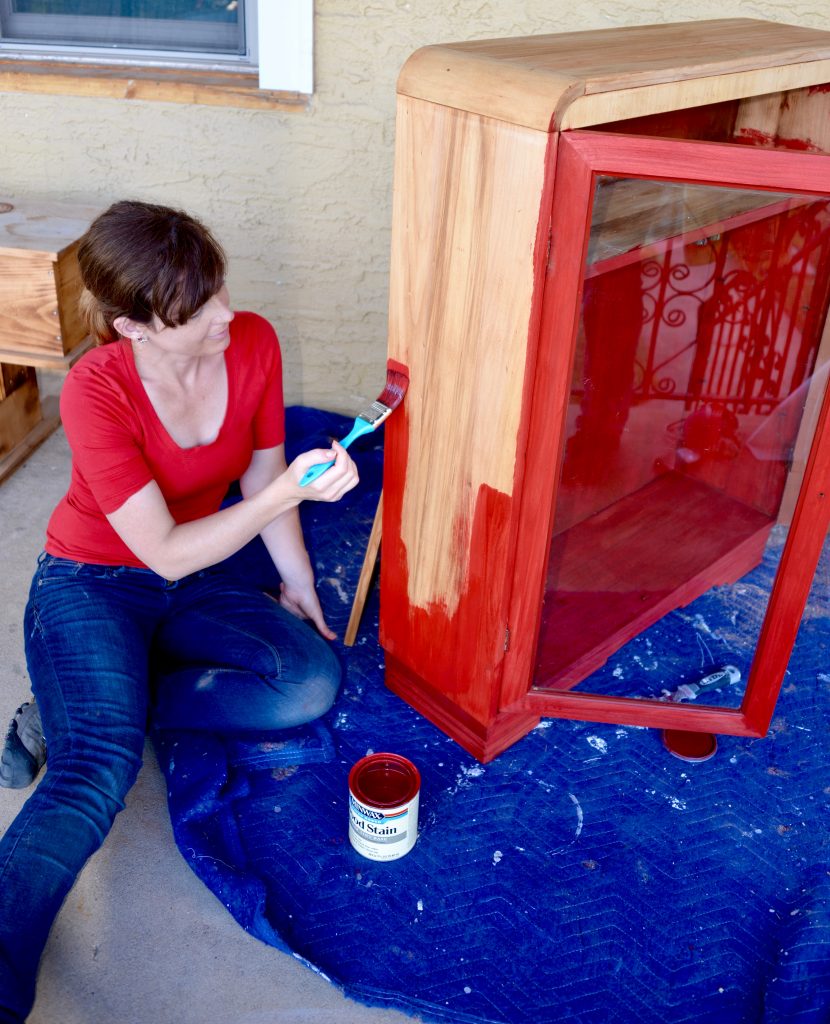
Staining. Ah, the best part! The rejoice of opening the can of red stain makes me so happy. The first dip of the brush into the can and then applying the color to the bare wood is a delight. We worked together, applying two coats of Minwax’s water based wood stain in crimson red.
I’m crazy about the result. What do you think?
If you’d love to see more personal stories of makeovers with Minwax, check out their Made With Love. Finished With Minwax website to learn about the inspiration for celebrating projects like my barrister cabinet makeover. Minwax will have new projects posting throughout the year, and we’ll be sharing a few more of our Made With Love makeovers on our website, too.
Before: An antique barrister’s cabinet, extra brown with damaged finish and dingy coating are hiding some beauty underneath.
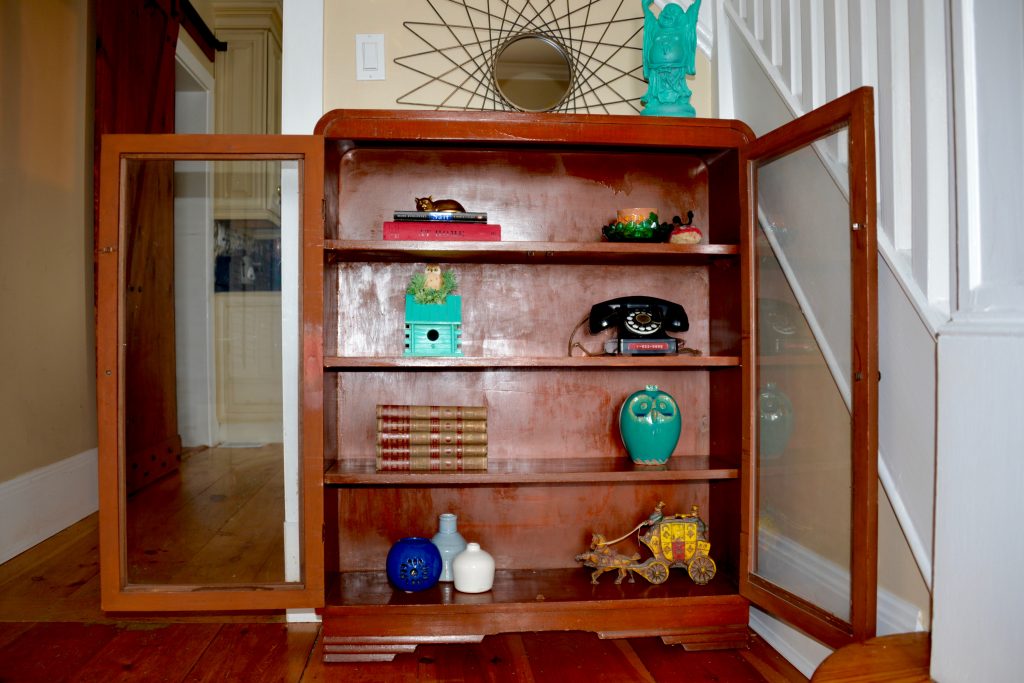
Opening the barrister’s cabinet reveals…more brown!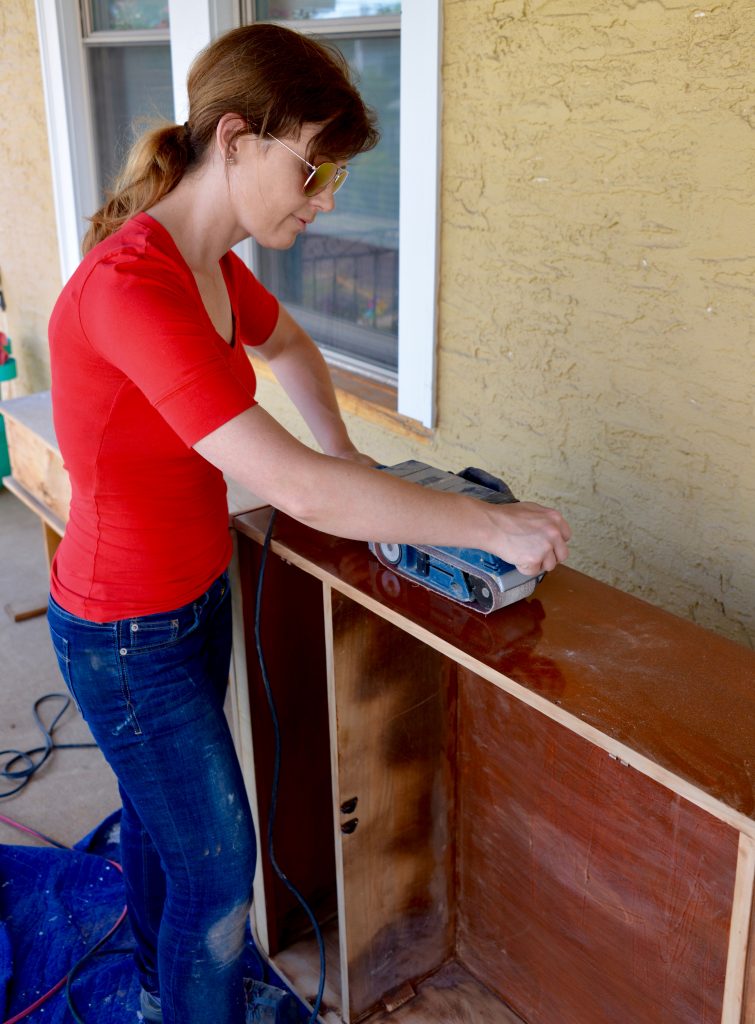

A belt sander is great for long, flat runs and getting through the first layers of finish.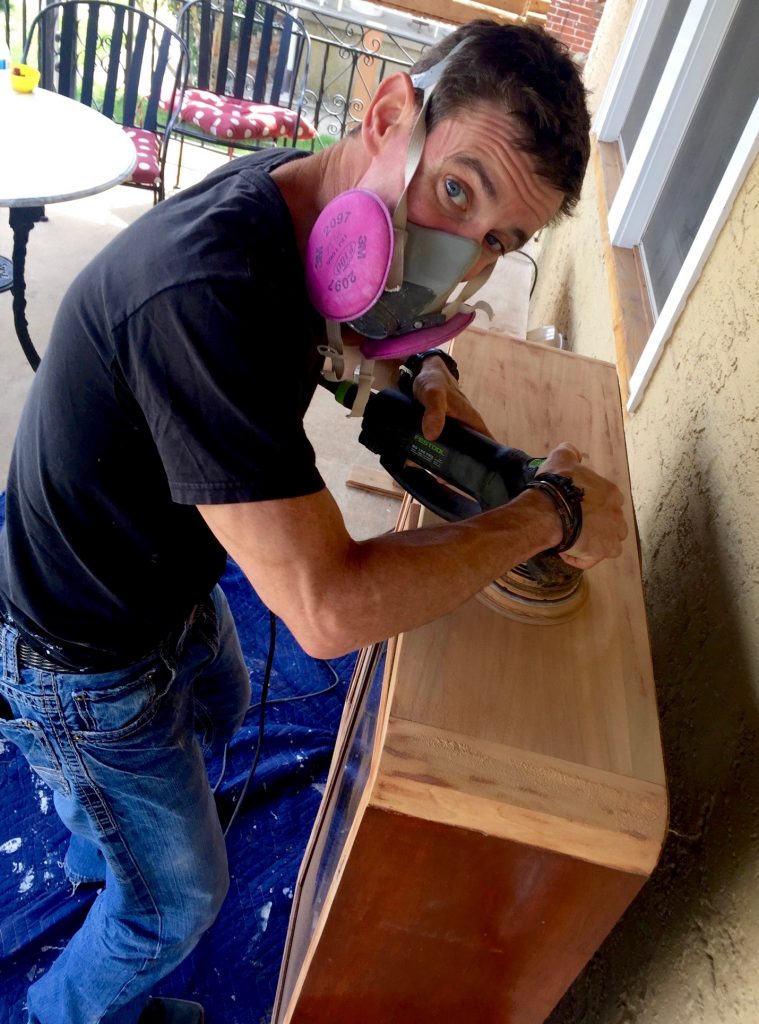

A random orbit sander is also a powerful tool like a belt sander. Mark likes it for ‘polishing’ the wood and sanding odd shapes quickly, like the rounded corners on this cabinet.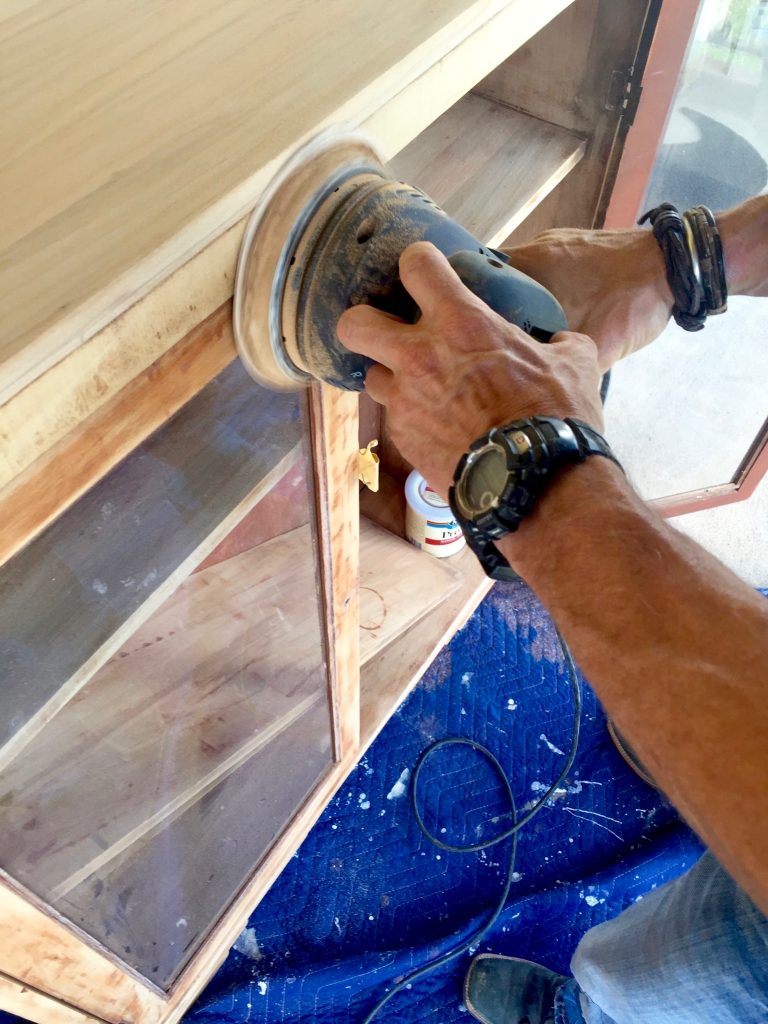

Sander tip: Try to keep the sanding pad as flat as possible on the work, even when sanding smaller areas.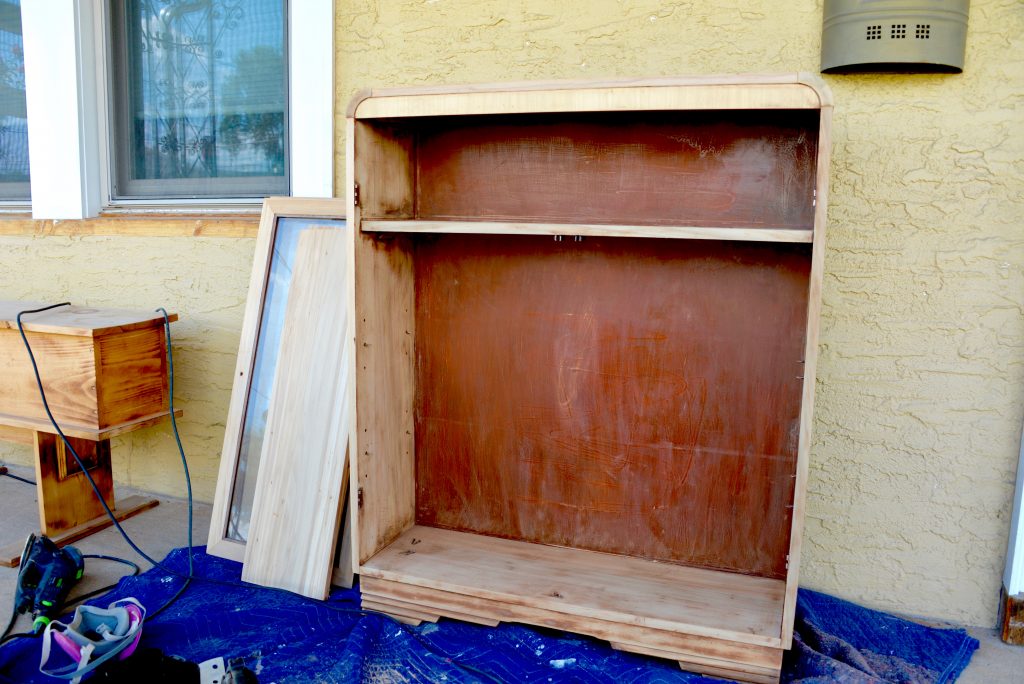

The back of this cabinet was plywood. Sanding the stain off would have ruined it. Scuffing it with the sanders enabled it hold stain nicely.
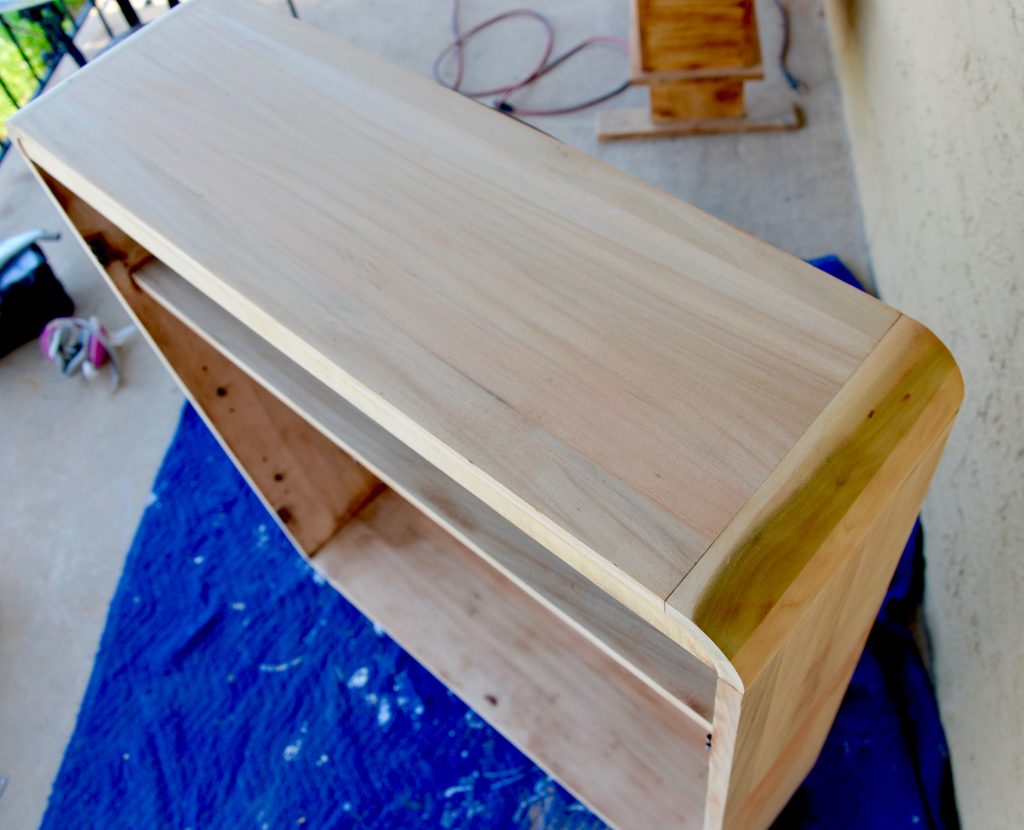

Sanding all the way through the finish opens the grain of the wood, ideal for Minwax pre-stain wood conditioner.
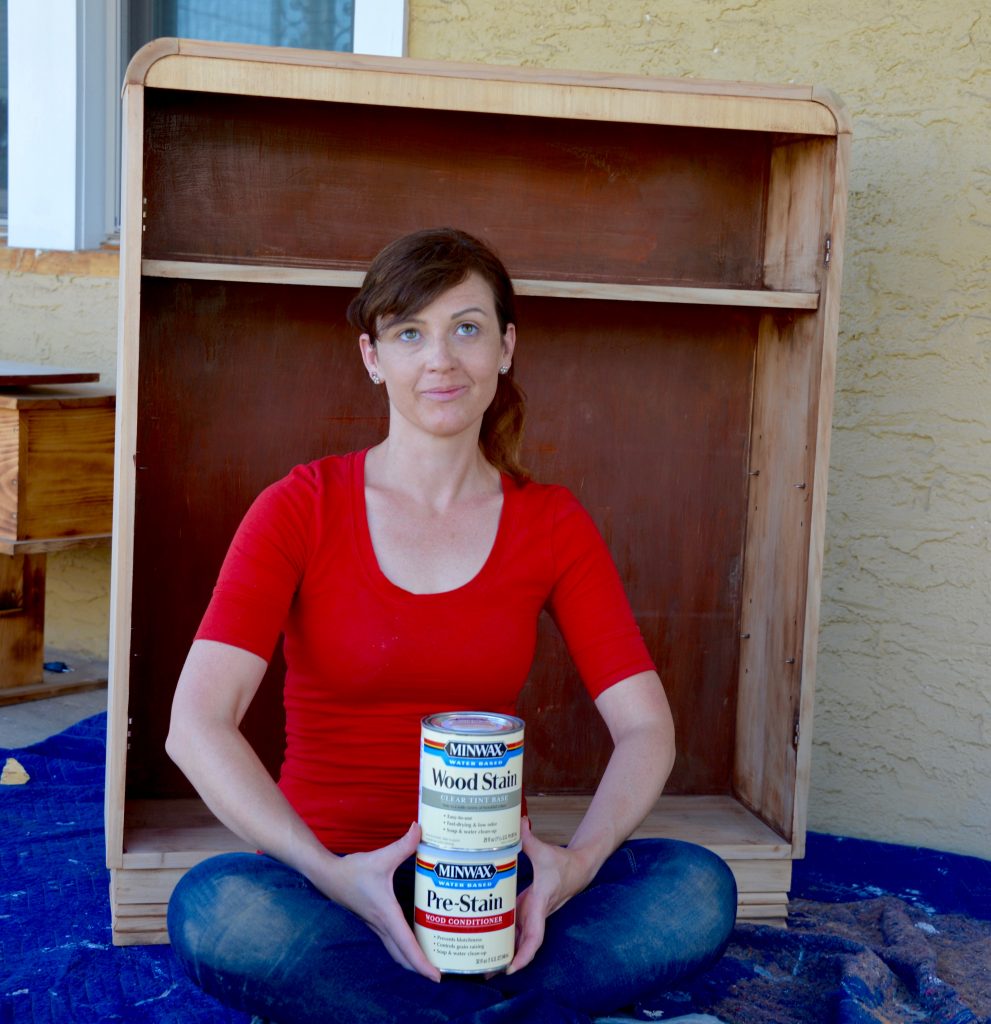

I like staining furniture now and Zen.
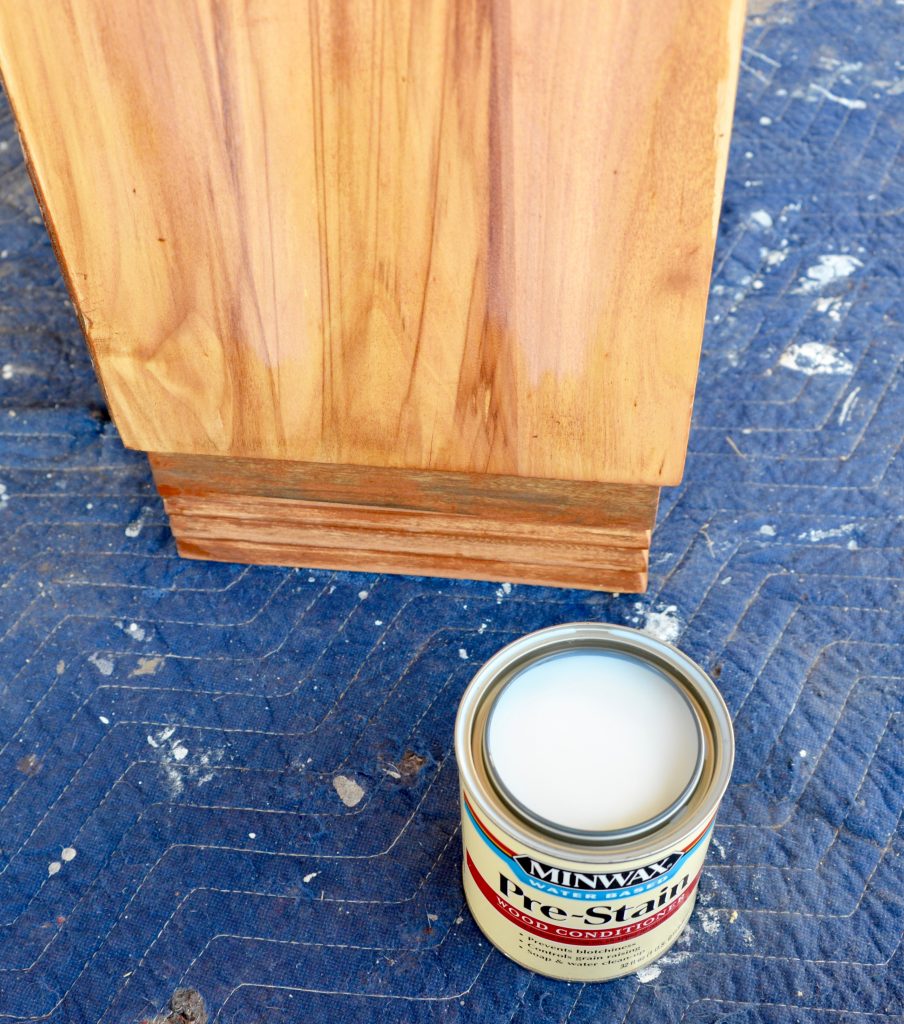

Using Minwax Pre-Stain Wood Conditioner dries quickly and enables the wood to take the stain more evenly.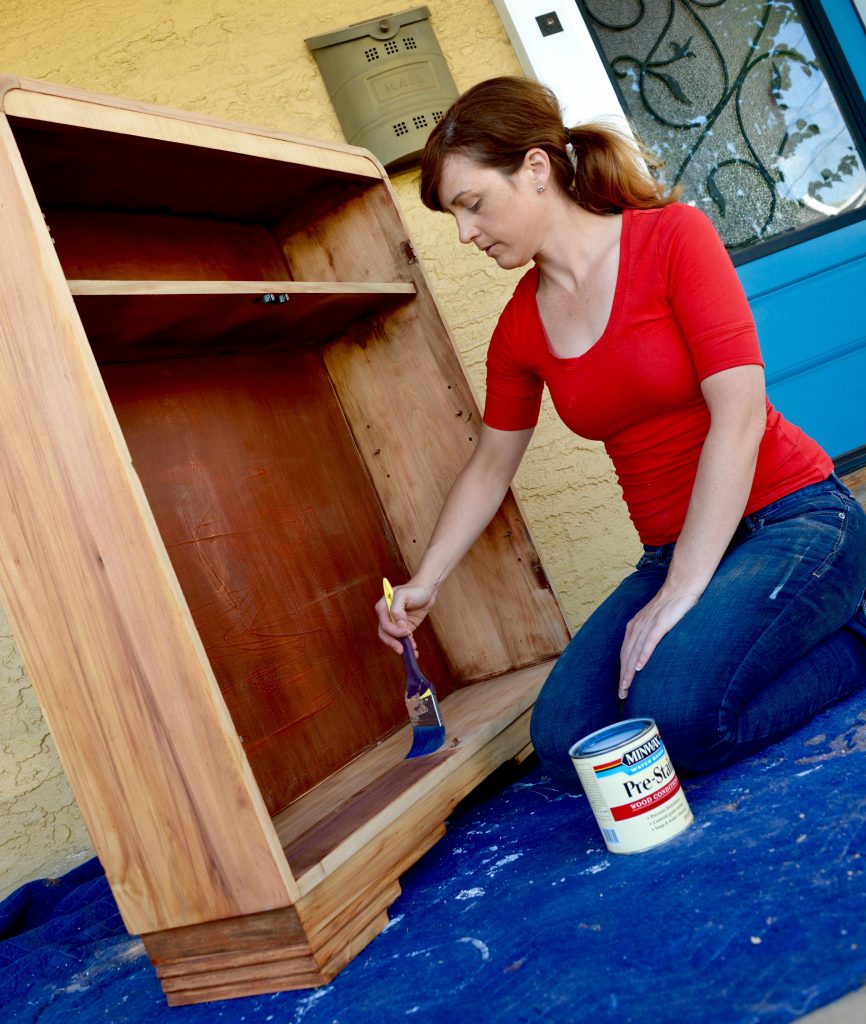

Tip: A moving blanket makes a great drop cloth.
When I stain a cabinet, I like to start at the bottom and work my way up to the top.
A synthetic bristle brush is best for brushing out conditioner.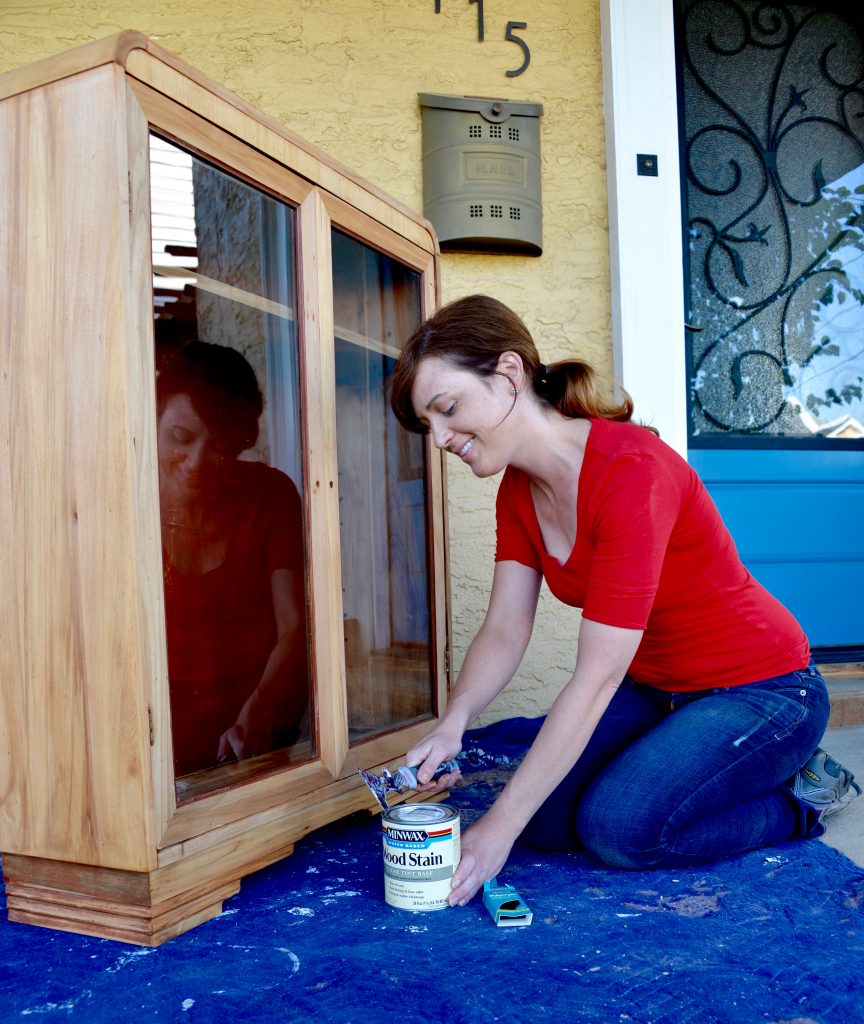

Our Hyde painter’s multi-tool is our go-to for opening stain cans.
Hello color! Stain is best applied with the grai o