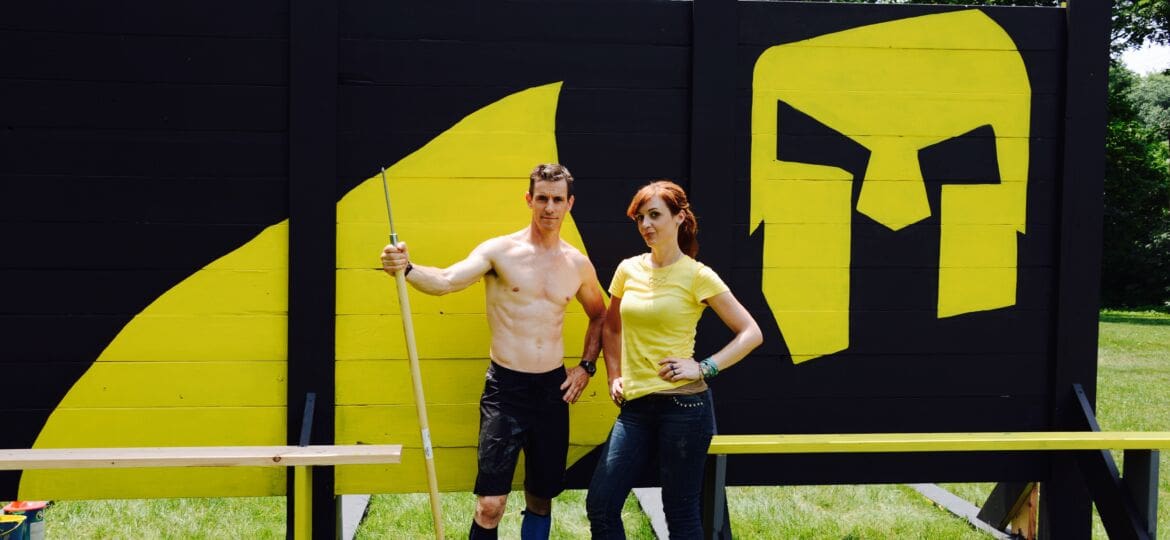
Thinking about building an obstacle race training wall, spear throw or rig for your next race? We were lucky and got to design one for our local YMCA. Here’s how we made it obstacle course race tough (and a few other things you might want for the one you build). AROO!
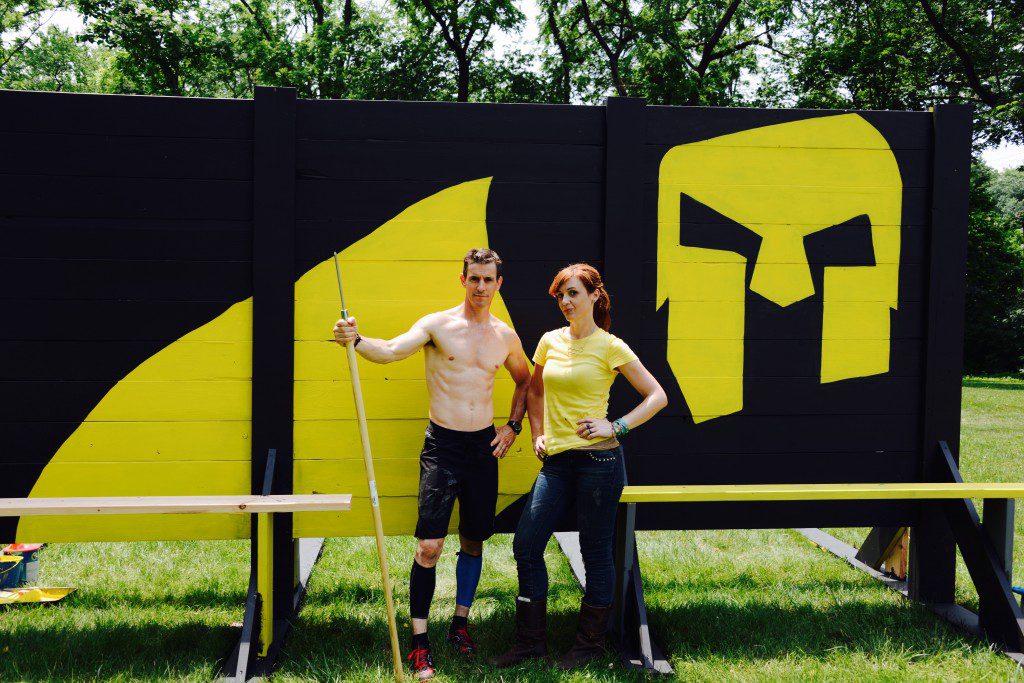
Our obstacle race training wall is made of channels of built-up framing lumber and wall slats. You can configure it in different ways and to do different things. It also has a log walk and traverse wall.
We painted it both to awesome-ize it and to protect it both from the weather and storage. If you decide to build it, here are a few extras that we hope help.
Channels. The channels (or posts or uprights…whatever you want to call them) are one 2x4x8 centered and sandwiched between two 2x8x8 boards. Because I am anal (aka, a good carpenter) and because boards are often slightly different lengths, I flush the ends of the boards on one side before I start fastening them together and make that the bottom of the post. This helps when you connect the bases.
All the wall channels are the same so there is no left and right or end-pieces. This is good if you set up and break down the wall (like the YMCA will, or you might in case it takes over your back yard) or want to add on another section.
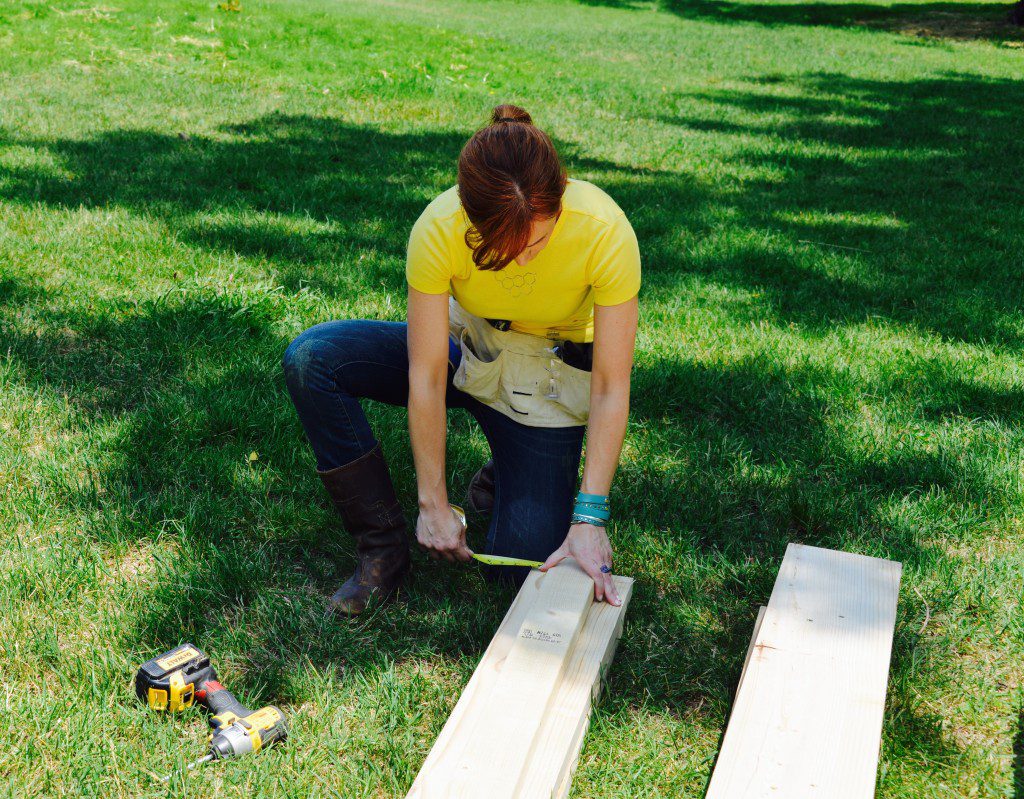
Bases. The bases are 2x8x10 laid flat with 2×8 diagonal braces fastened in the center of the board. I screwed the boards through the top, down into the flat 2×8. Then, when they were secure, I laid them down and shot screws up through the bottom for extra stability. With one angle brace in, I was able to then add the post and the other angle brace. In the video, it shows me fastening a triangular support to one of the braces. I’ve used that approach before on another obstacle race training wall but made them as described above for this one, mostly so this wall could be added on to without there being a brace in the way.
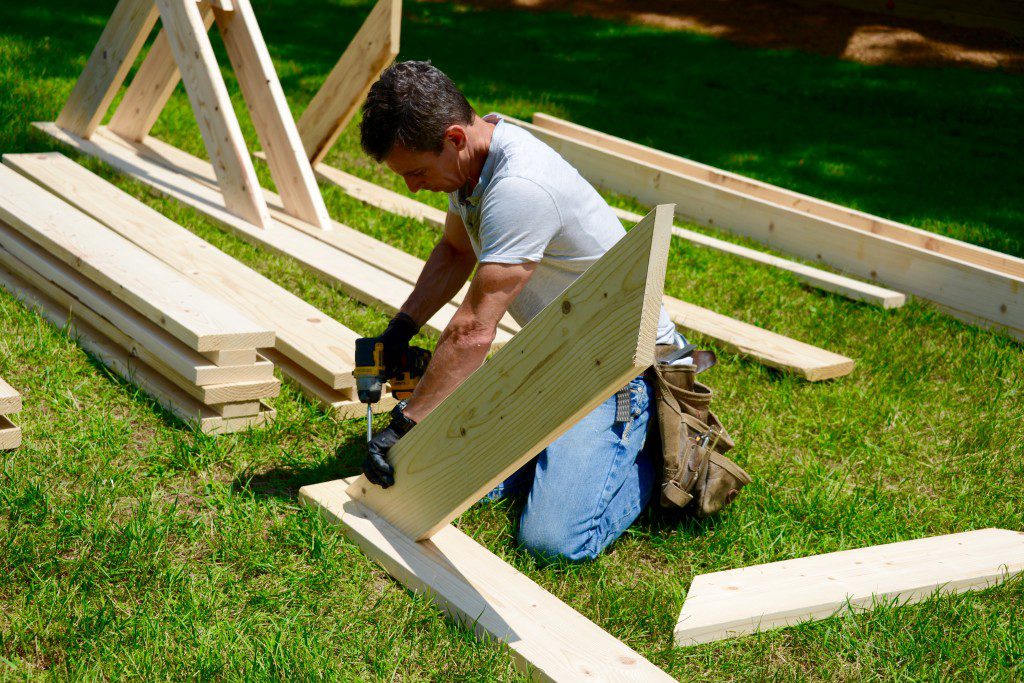
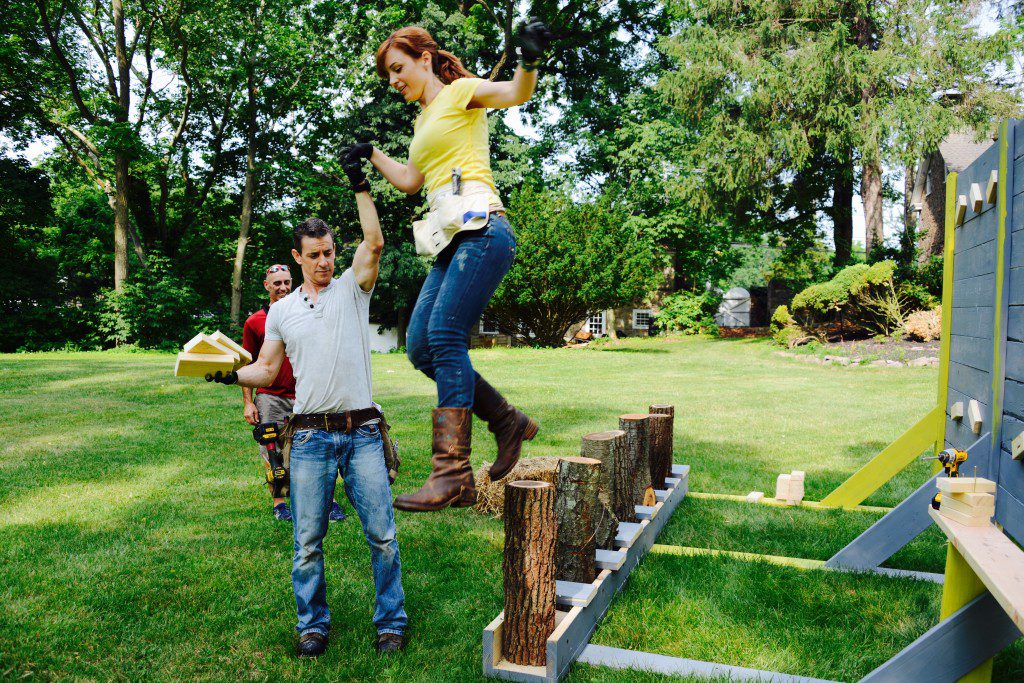
I installed the wall on one end of the 2×10 base and the log walk on the other, so there was distance between the pieces. Also, a few blocks screwed vertically to the braces once in place and then topped with a 2x10s made some kickin’ walk boards we used during installation. See below.
Wall assembly. We pre-primed pieces before assembly. We just laid them out on a rig I made of 2x12s and went to town with our Shur-Line Twist n Reach rollers and deck stain applicator which were awesome for this and for painting the wall in place.
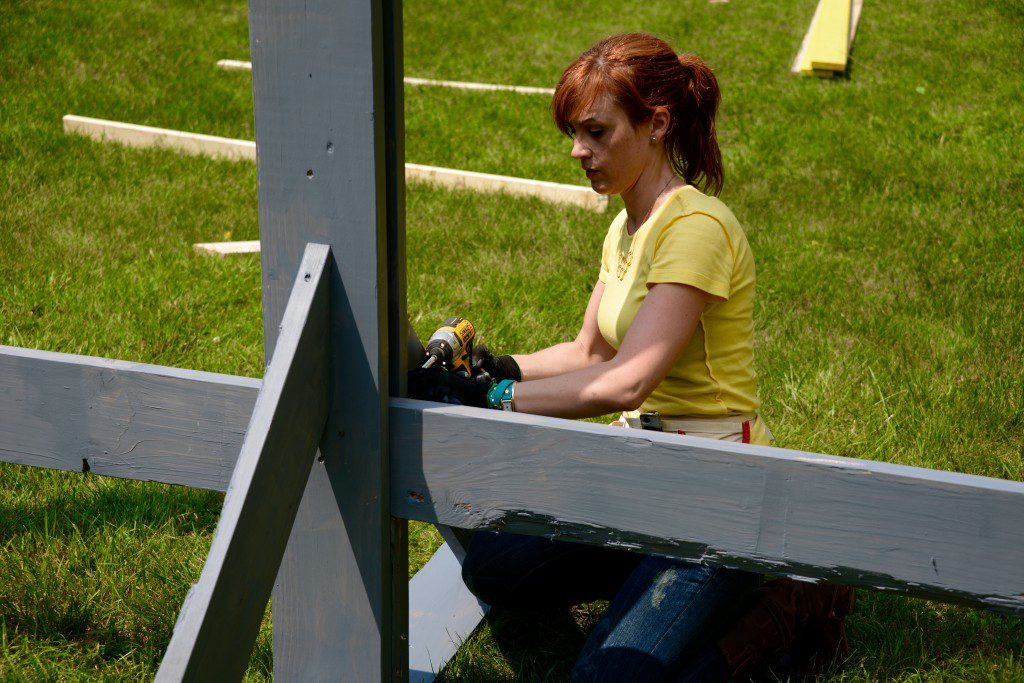
After priming we cut the wall slats to length (5-feet). To be a little frugal with lumber and make the wall slats top out at 96-inches even, I added a block inside the flange of the ‘I’ at the bottom to hold them up while we built.
Next, I laid a channel on the ground and screwed a wall slat into it, double-checking that it was square. Then, we tipped the assembly up and slotted it into the next channel and screwed everything together. The video shows this nicely. Tip: The boards may be a little hard to slot in with the primer on them. If needed, simply back the screws out of one face of the flange and they’ll drop in easily then screw it all back together.
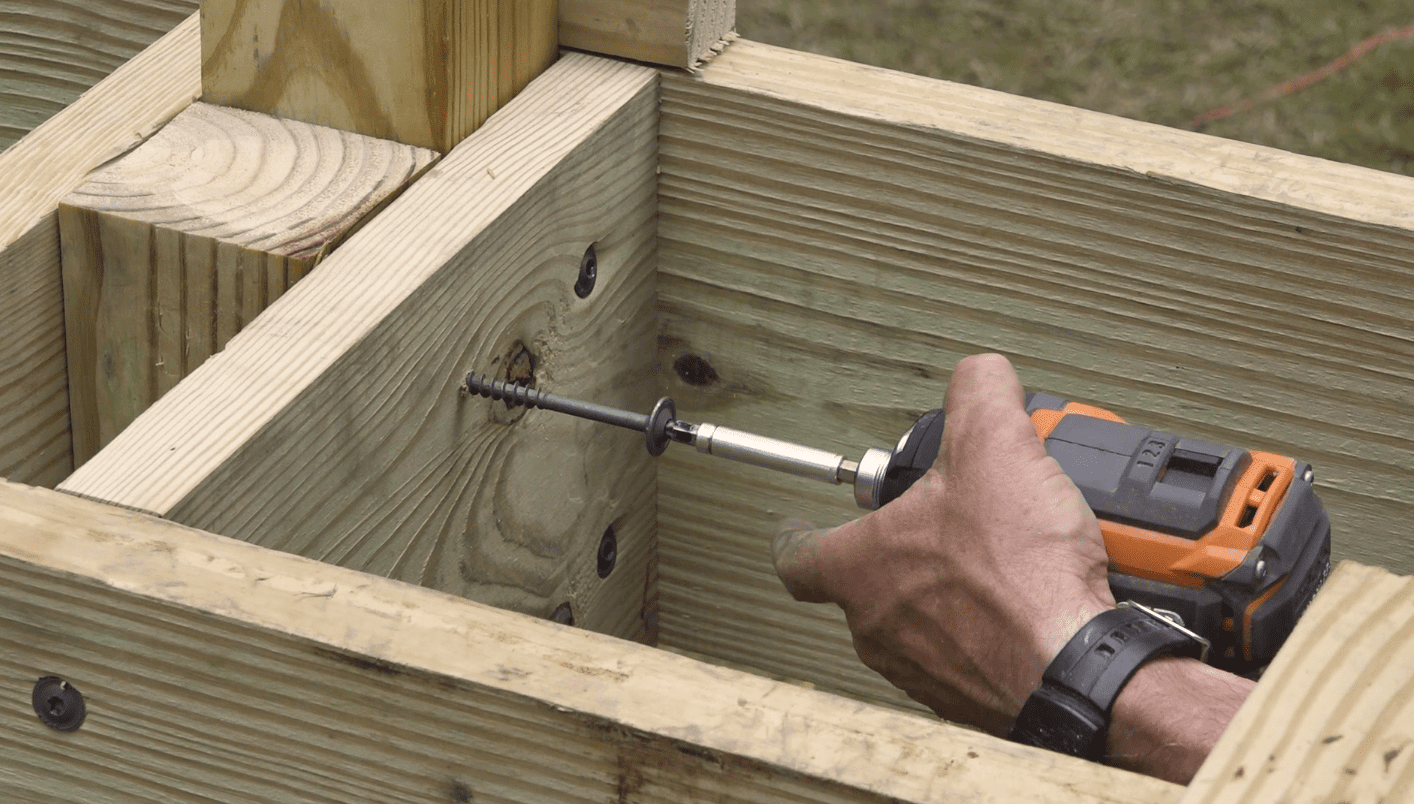
Traverse wall. It only takes a couple of 2x4x8 to make the blocks for the traverse wall. The ‘complicated’ thing about it fastening the blocks to the wall without having to pre-drill pilot holes so they won’t split. To get around this we used #10 x 3-inch Spax Multi-Material Screws. These things start more easily and sink faster in more challenging circumstances than any other screws I’ve used which is great for a project like this.
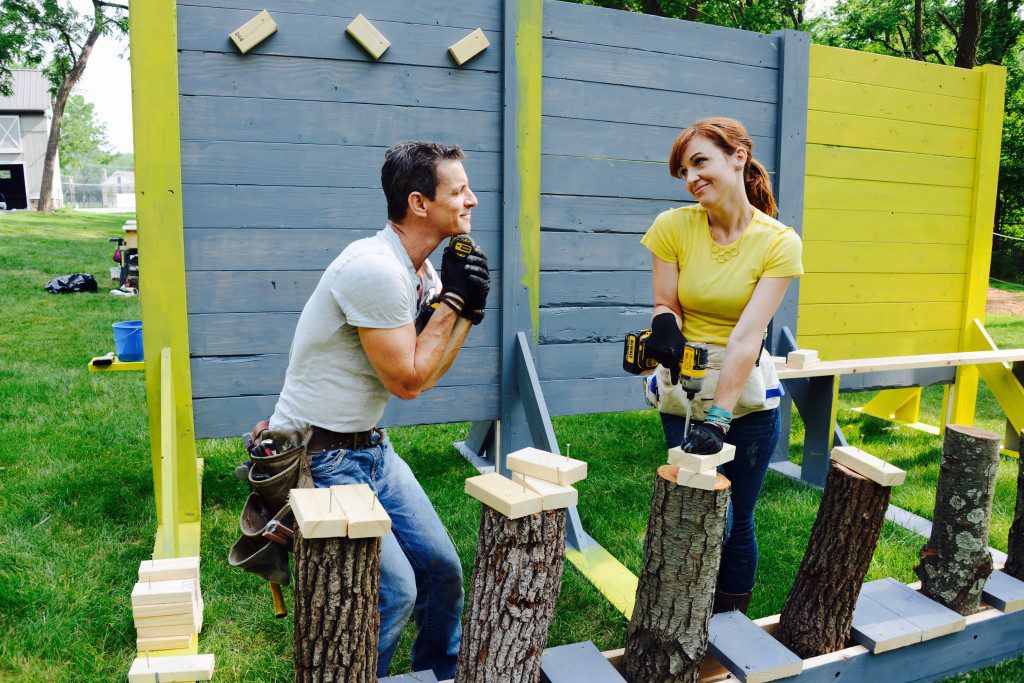
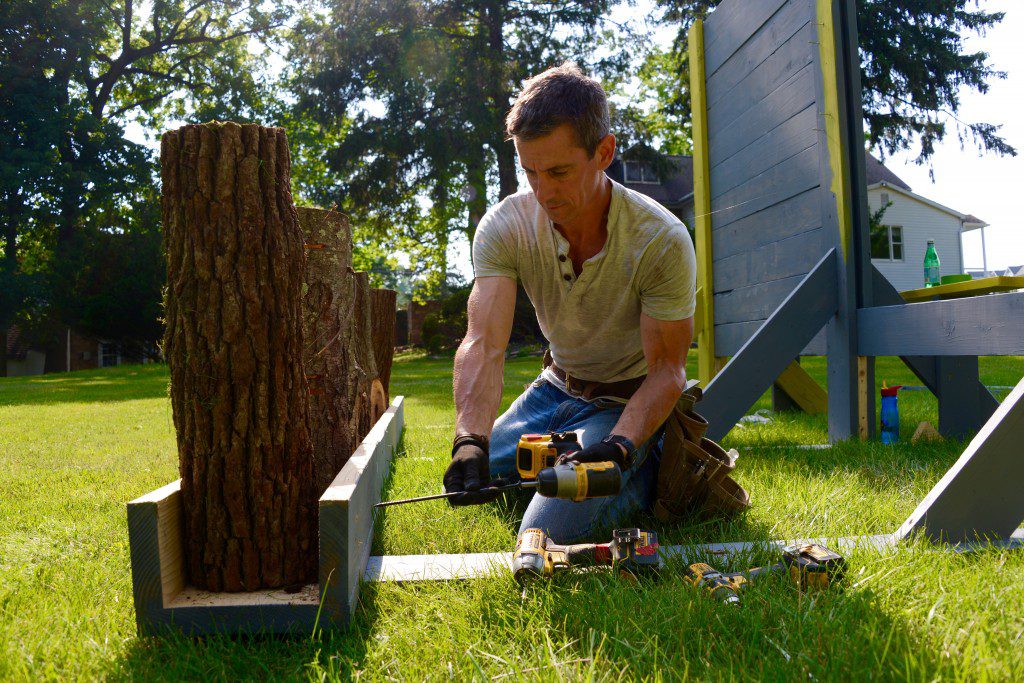
Log walk. I made a ‘U’ out of 2x12x12. Next I cut a bunch of logs from felled trees on the YMCA grounds about 8-inches in diameter with my chain saw. Then, because they were cherry and locust (i.e. rock hard), I used a 1/4-inch paddle bit followed up by a longer Bellhanger’s Bit to pre-drill really deep pilot holes. Then I sank 12-inch Spax log home screws into the logs from both sides and the bottom. The entire assembly is fastened to the through the bottom 2×12 into of the bases at the far end.
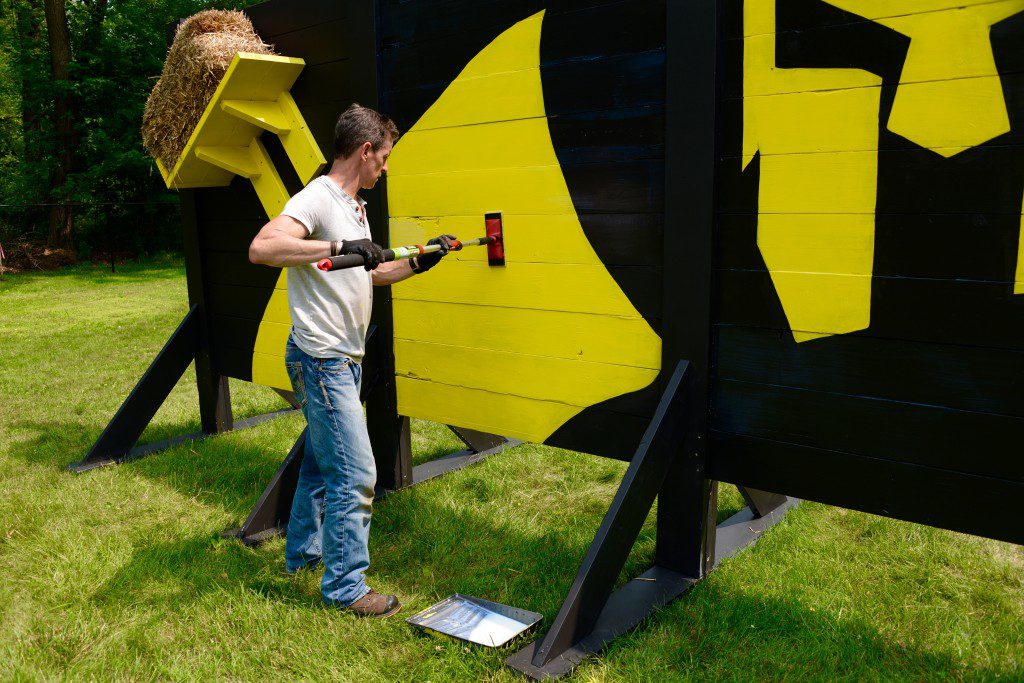
Spear throw. I made a basic bracket out of scraps and screwed it right to the wall. HAY look, a target.
Final Finish. We love our Spartan guy, so we wiped on spar urethane with a Shur-Line deck stain applicator. The urethane will protect the paint job for when this obstacle race training wall gets stored for the winter and set back up again in the summer heat.
More How-to obstacle race training wall photos and fun.


[…] using screws when nails would work. Framing basement walls in an old house is a bit beyond typical DIY projects because it is so complicated, but stay with me DIYers and learn […]
[…] Spartan Race’s (in)famous Race Director Norm Koch takes us behind the spectacle where the tools are machetes and chainsaws and a whole lotta work. And HGTV’s John Colaneri—co-host of America’s Most Desperate Kitchens and a Spartan racing / Cross-fit nut job (we love you anyway Johnny)—chimes in with fitness tips he uses to stay extra handsome. […]