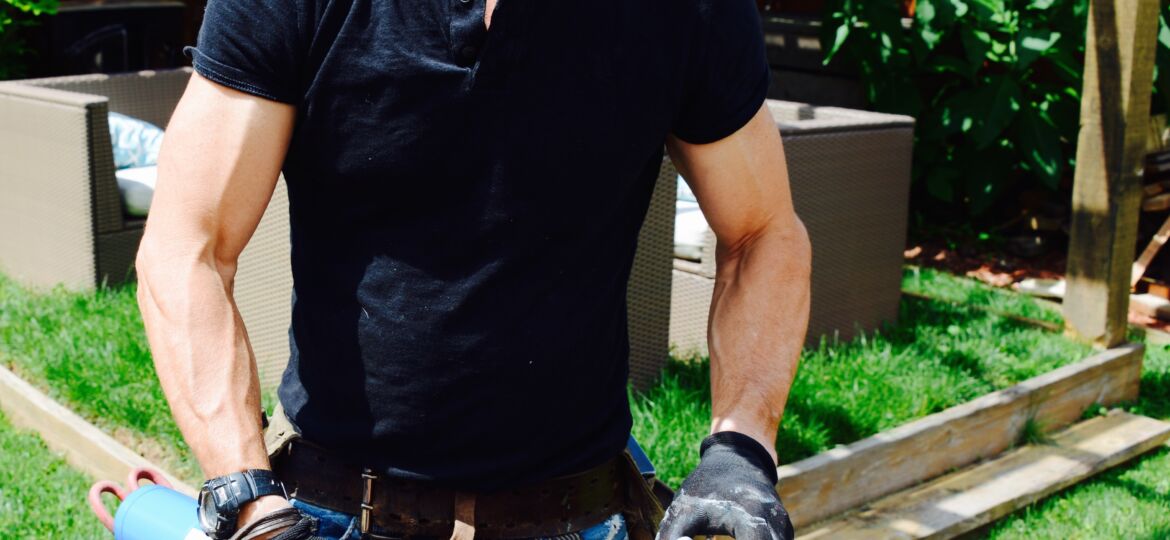
I love when I get to make wind chimes and other stuff out of, well, stuff. And I love to get creative to make things usually made in a factory and designed by computers come to life in my back yard. With my hand work and tools.
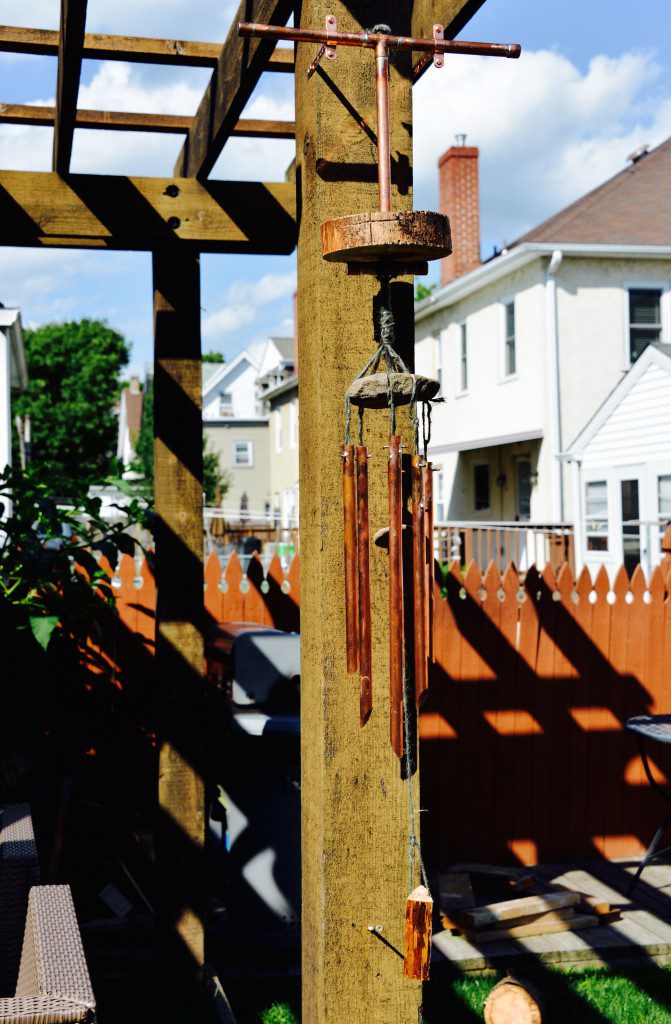


I have to admit I had a blast combining two of my favorite tools—fire and my angle grinder—to turn copper pipe, twisted jute twine and river rocks to make wind chimes with a rustic, forest-y feel. It took a few starts and stops and some experimentation along the way, but I’m happy how it turned out.
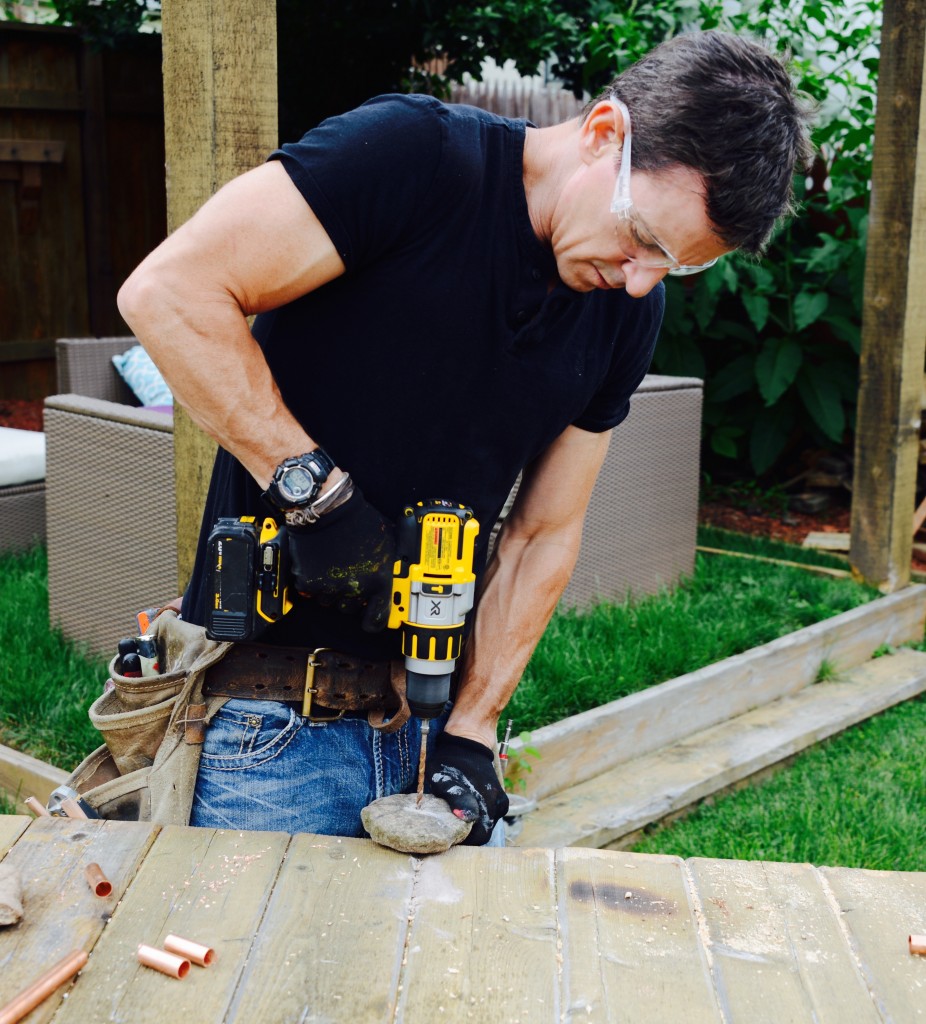
I started by selecting the rocks. Disc-shaped river rocks looked best. The widest one at the top for the ‘spreader’. A little smaller for the striker (the things the chimes ding against) and a bit smaller for the pendulum/wind catcher at the bottom. I cut channels in the rock (called kerfs) with my angle grinder for the strings.
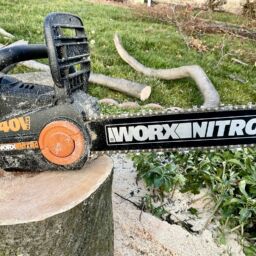
To top it off, I cut a disc off a pine log I had with my Worx chainsaw. I’d be lying if I didn’t say that at least half the reason I did this was so I could say I used my chainsaw to make wind chimes. Just sayin’.
The Make Wind Chimes video shows the main steps I went through. Below, a few extras if you decide to try this project.
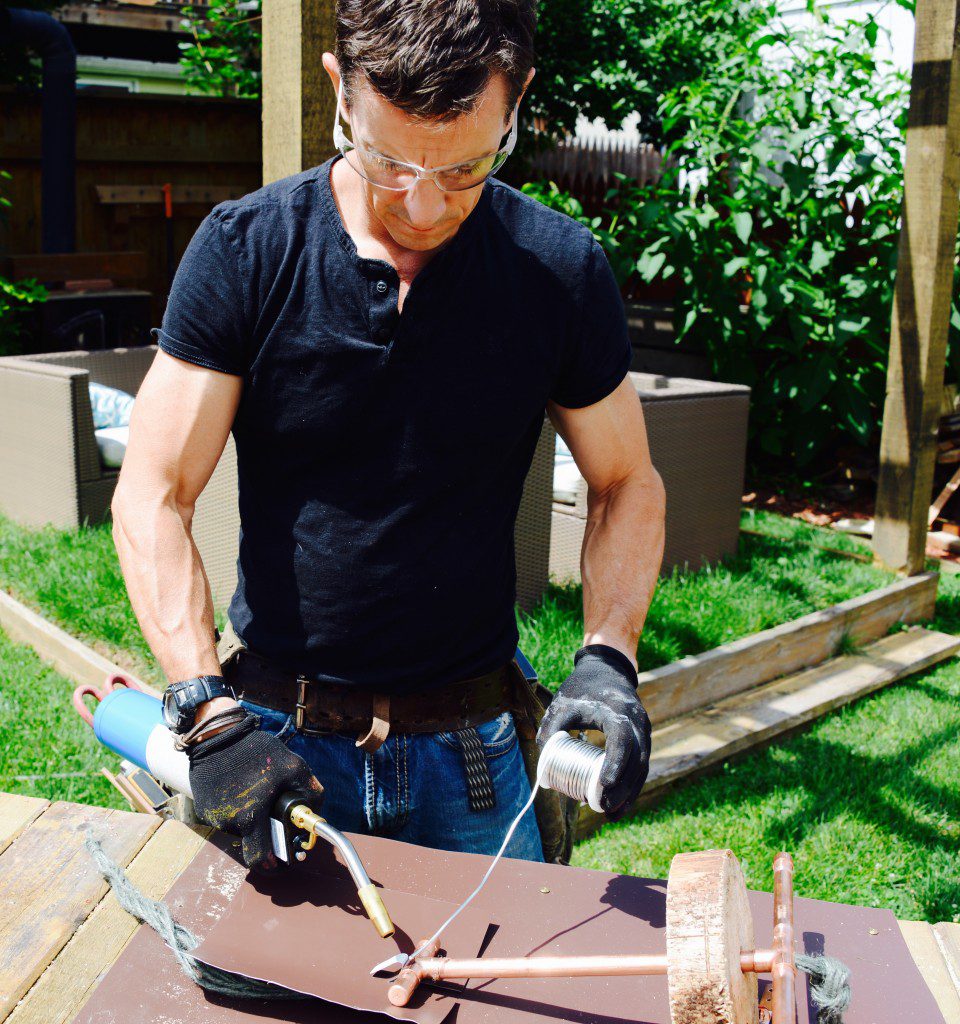
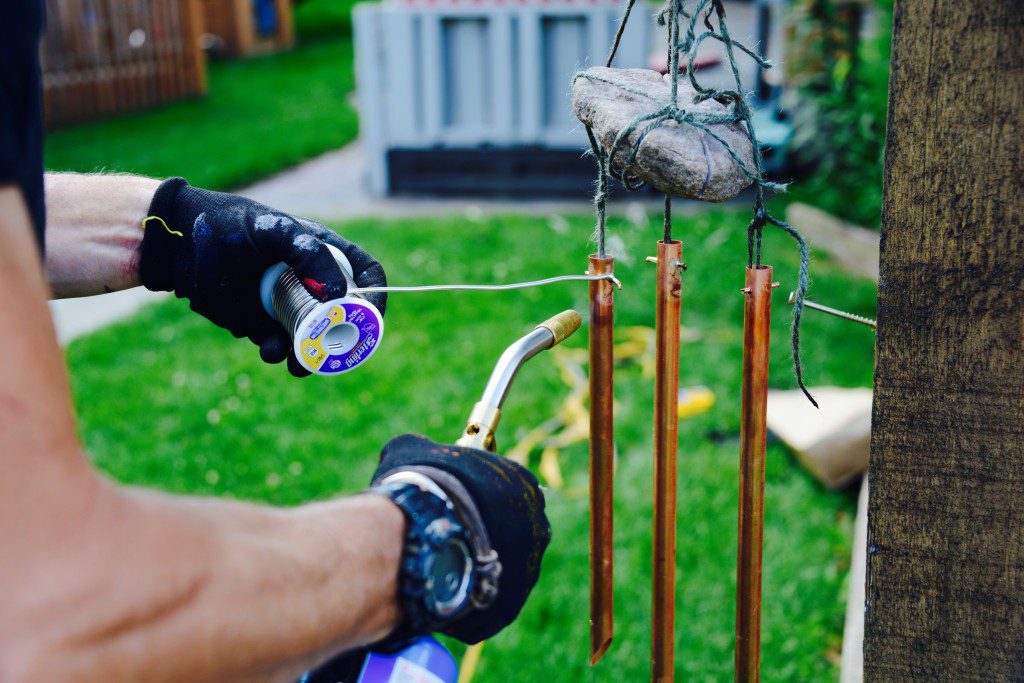
For the chime part of these wind chimes I use 1/2-inch copper pipe and solder (saw-ter) that I torched together with my Bernzomatic TS4000 Trigger-Start Torch. To create the assembly the whole thing hangs by, I cut copper pipe and soldered it together, adding caps at the ends. I got Tees for this project. A 4-way (or cross) would have worked better, but its not a popular fitting at the home center which means I had to drill holes in the tees for the string to pass through.
Before I soldered, I tested the string I used—jute—to make sure it wouldn’t melt inside the pipe. It didn’t, though I did burn a few. I should have soaked it in water first or used a chain (but kept the pipe dry so the solder would take). As an insurance policy, knowing I only needed 6 strings to hold everything, I ran 10 through the pipe. And I needed them.
To protect the jute, I shielded it with a piece of aluminum flashing with a little notch cut out.
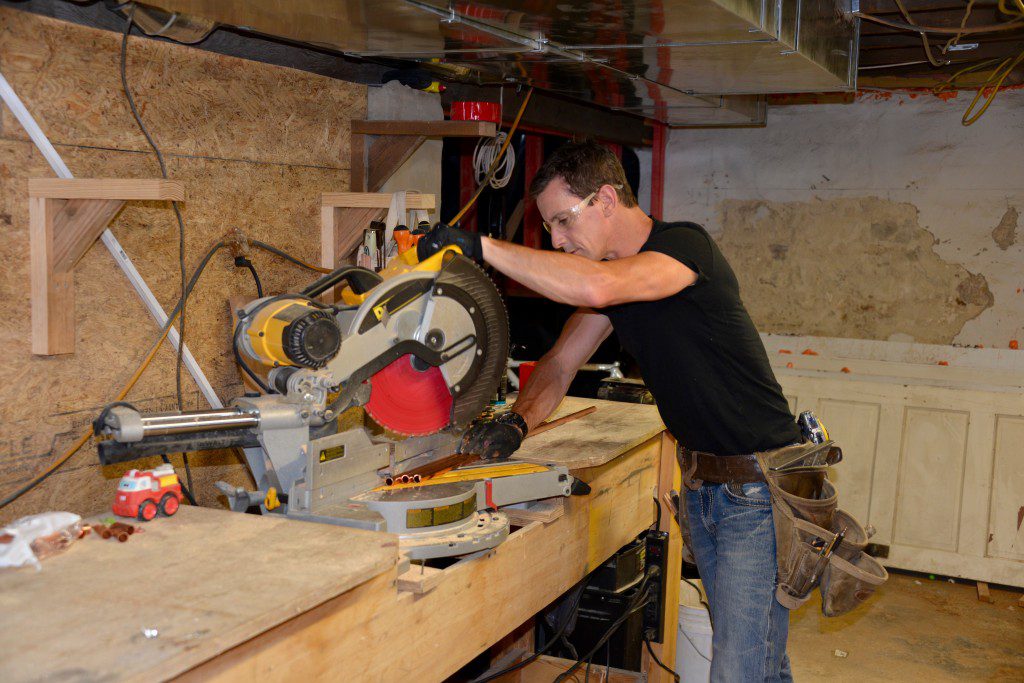
To get the miters on the ends of the copper tubing for the chimes, I used my miter saw with a wood cutting blade. Copper is a soft metal and cuts well without blade damage. I recommend safety glasses for certain. And because pipes are round, make certain you’ve got a decent grip on them. Or use that hold-down that comes with miter saws that no one uses.
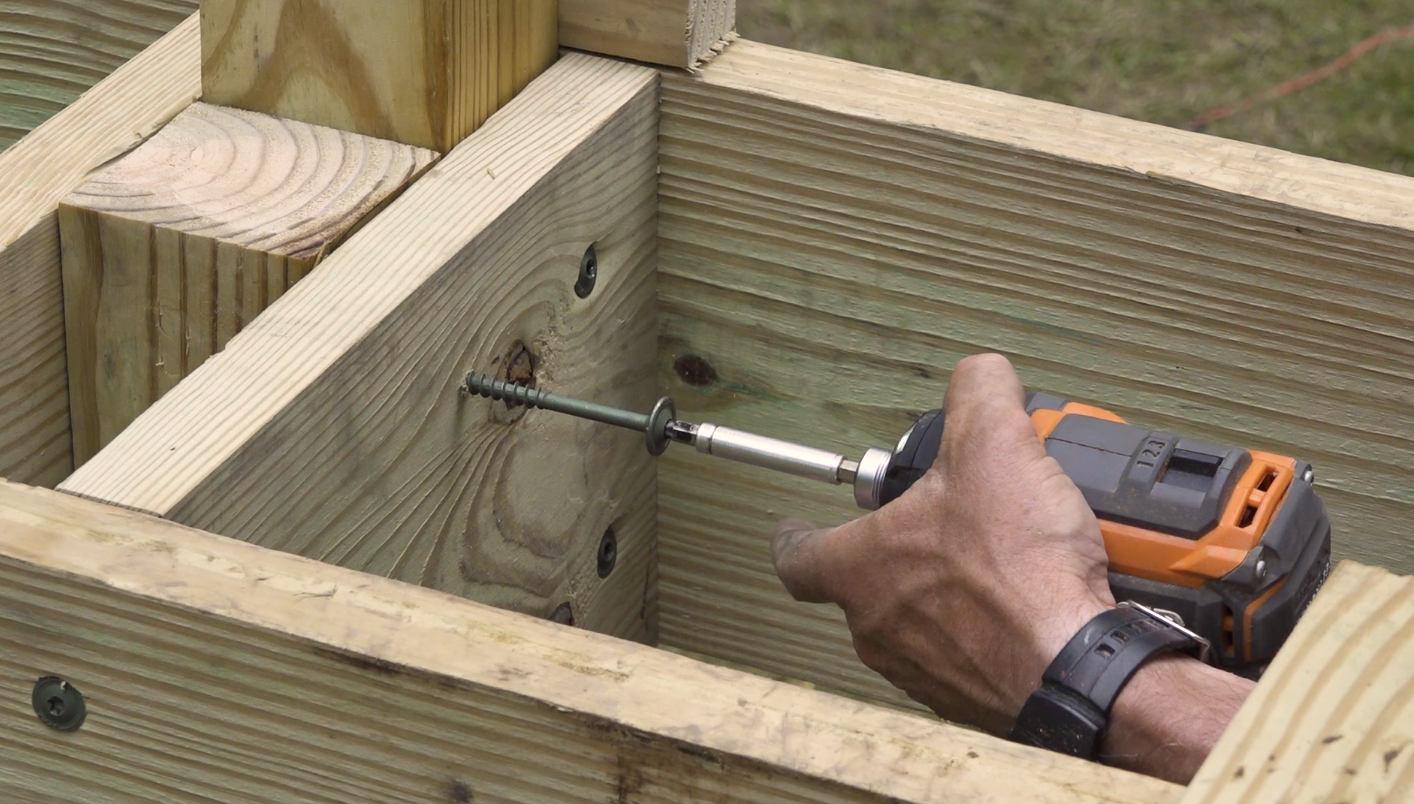
To protect my work bench, I screwed a hunk of aluminum flashing to the wood with some Spax Multi-Material Screws with washer heads. The threads cut the metal and into the wood nicely and the washer-style heads hold the metal flat. It’s a little detail, but it helps a lot.
Copper pipe hangers, which I found not with the pipe at the home center but among the millions of various fittings in another section of the plumbing department, work great for hanging the chimes from a post.
To attach the chimes (pipes) to the strings, I drilled 1/8-inch holes in the pipe. Use a nail set or scratch awl to dimple the pipe wall a little so your drill bit can get started without running away, then solder in place. Some copper wire I cut out of a copper pipe hanger with my grinder worked great. I used my BernzOmatic torch and just tack-soldered it in place. In other words, just a dab of solder holds the pin in place.
And, finally, a word of tech advice: Precisely because this wind chime is NOT engineered on a computer and built in a factory, it may look better than it sounds, which is the case with mine. I’m still working out the kinks. It sounds awesome during tornado warning type weather. I’d love to see what you come up with. Please share them on our Facebook page.
This is a sponsored post. I am a Bernzomatic Torch Bearer, though all opinions expressed are my own.

















Meg–We totally appreciate your comment and your story. Thank you so much–
Jake–You got this. Let us know how it works out. Post to our Facebook page or Tweet us!
Thanks Michael. No charge for the evil spirit work. We all need some goodness in our lives. Thank you for commenting 🙂
My wife has been buying some wind chimes recently online, and so I thought that it would be a cool idea to make one for her this Christmas. I really liked this idea, especially because it has an authentic look to it. I will need some help from someone who can work with metals, but this should be something that I can handle. Thanks for sharing this idea!
I really liked this post, it is wind chimes done right! My family believes that wind chimes keep away evil spirits, so they are important to use. I hope I see more helpful posts like this one on this site!
Growing up, we always had wind chimes all around our yard. It made for a very colorful and musical yard, and I loved it! I really like the idea you give here, though, to make your own wind chimes. Although the store bought ones can often be better quality, they don’t always provide the character that you want. I really like the wind chimes that you made out of rocks and pipes! As I was reading through how you did this project, though, it seemed really technical. Lucky for me, my husband is very handy, so he should be able to understand what drills to use, and how to recreate this type of wind chimes for me. Thank you for sharing!
[…] If you want to peek at more from Mark’s project, click here. […]
[…] How to make wind chimes—Rocks and water pipes make it hot says: July 6, 2015 at 12:01 pm […]