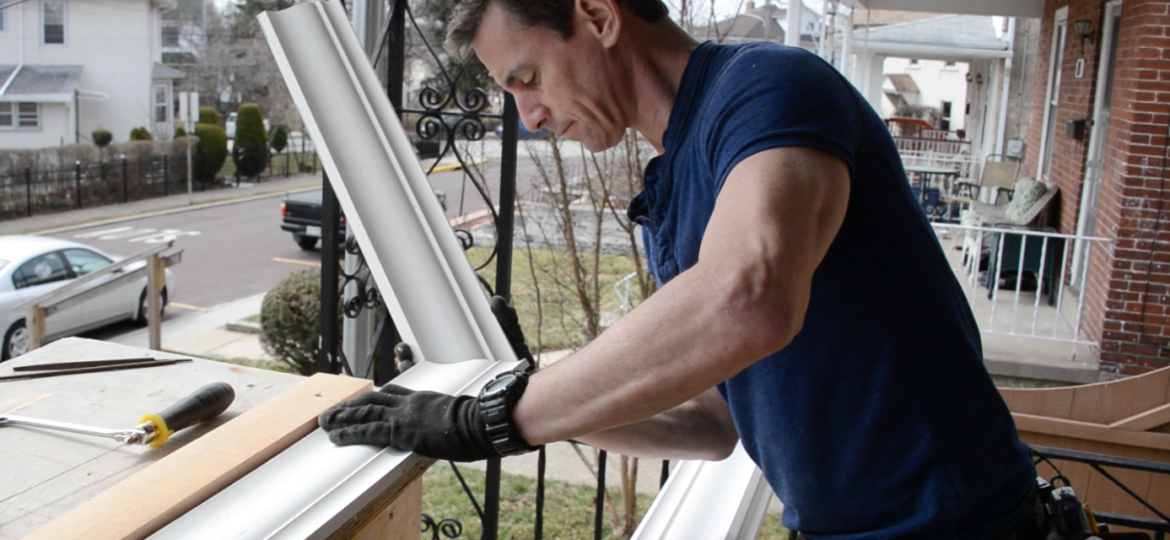
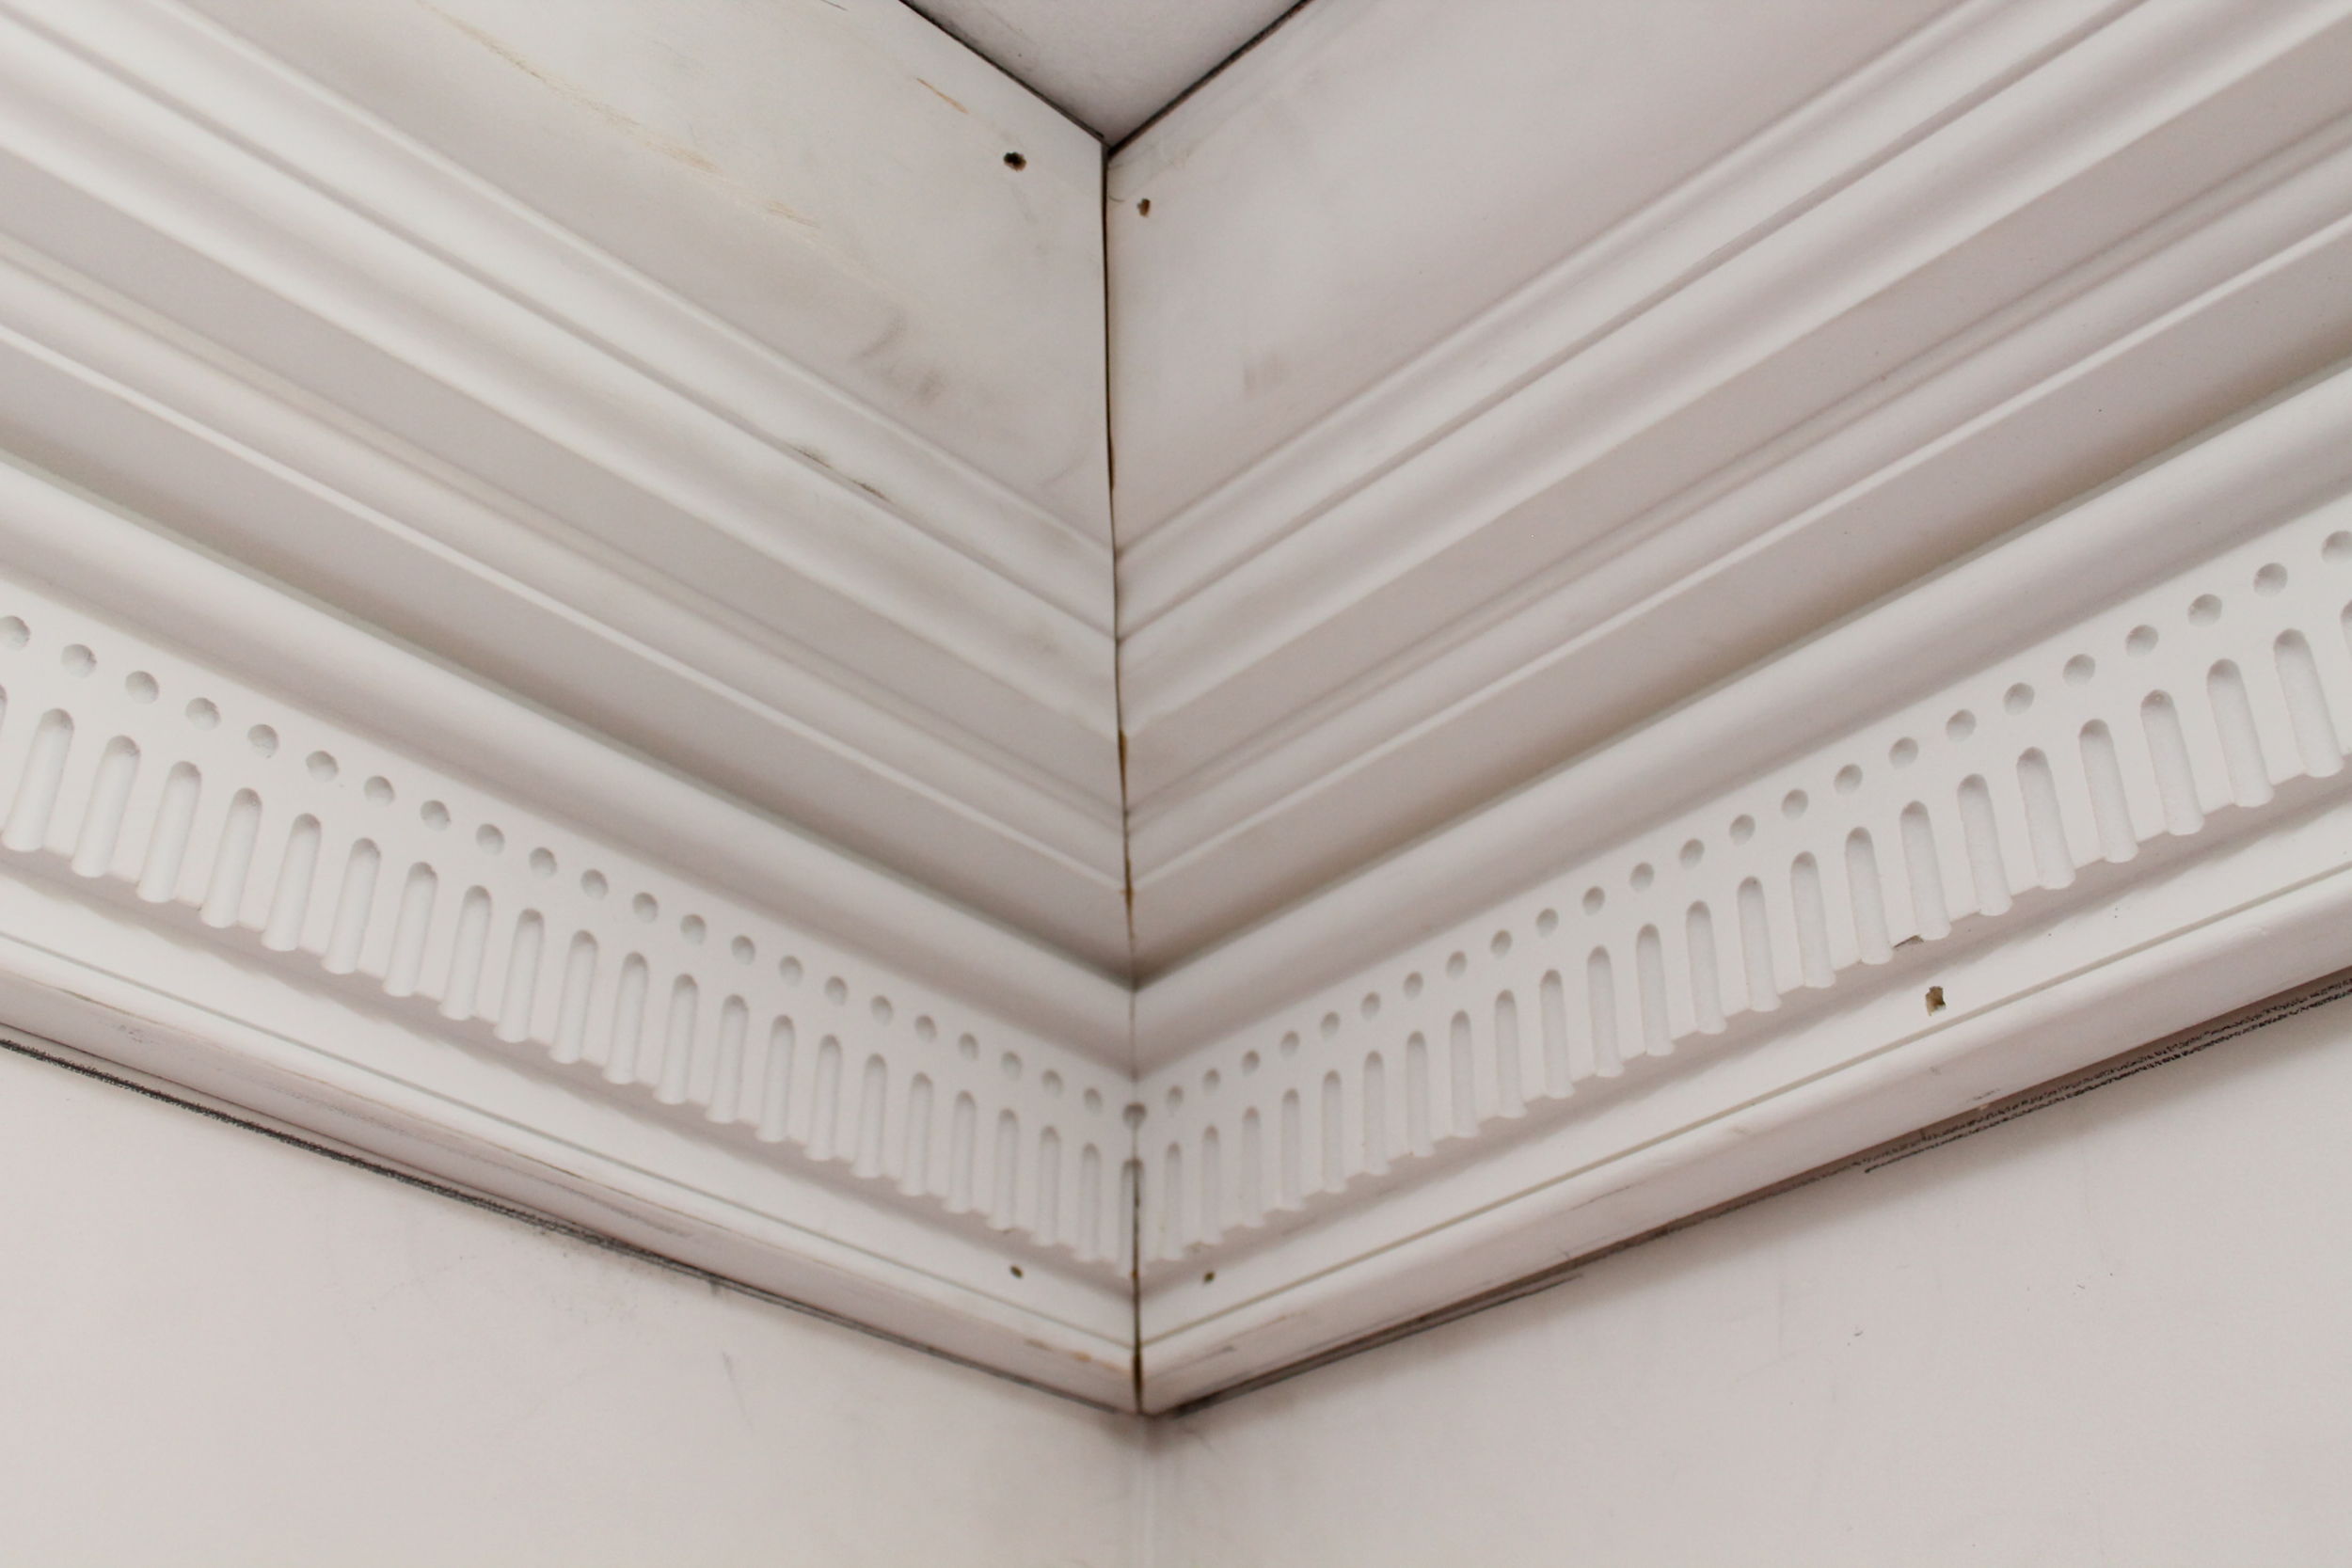
If you believe those cartoon-y infographics that ‘show’ how to install crown molding as 1-2-3-easy, you’re probably going to throw your tape measure across the room when you see the Grand Canyon-sized yawning gap of missing information therein. To fill in some gaps, I’ve crafted this tutorial and video with some of my (almost) dummy-proof double checks to make the process a little easier.
Caveats and provisos. This technique is called ‘dead-end left, cope right. This blog and video are not everything in the world about crown. I take crown molding seriously. (Can you tell?). And, it’s also not how frequent crown installers do it. But for me, I install it sometimes, so I’ve developed some nearly dummy-proof double checks to keep me accurate and from having to reinvent the wheel every time a crown job pops up. If there’s one thing to take away from this, it’s that crown is about being accurate throughout the whole process, from tools to nailing. A gap of 1/8-inch matters. And when a piece doesn’t work once you get it on the wall, there’s a 3-mile long supply chain of possible screw ups and you have to figger out which one(s) are the problem. Lots of chainsaws to juggle. But it’s freaking awesome, so here we go.
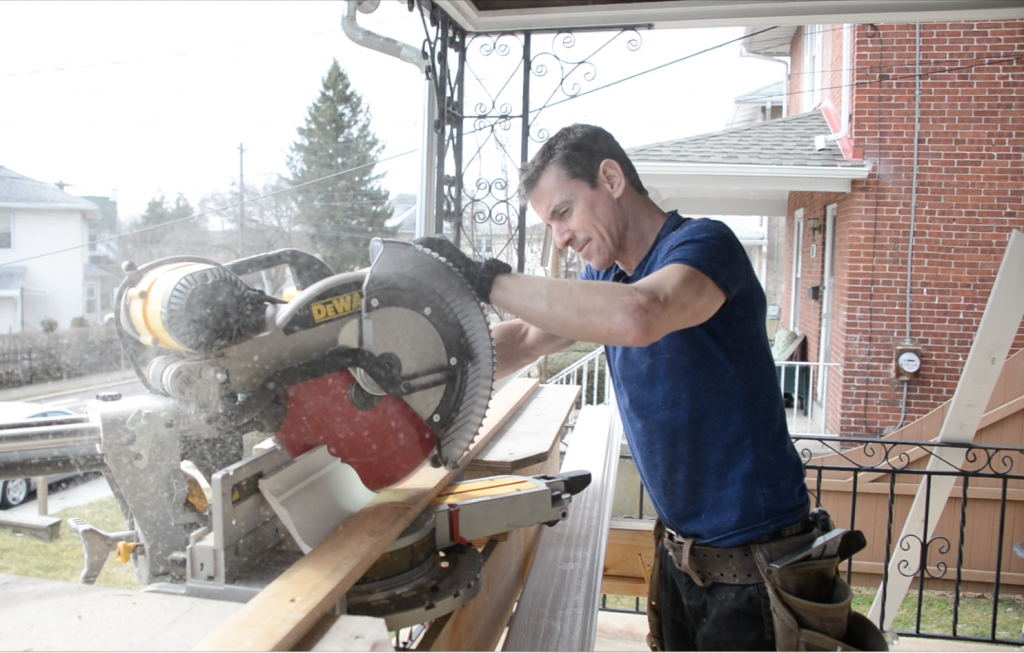
My Alpha and Omega for killer crown is my mighty cut station. It’s shop-made, supports the work and enables me to install a ‘stop’ or ‘cleat’ and keeps my pride in tract: Using a trash can or pile of boxes to support molding just doesn’t feel right. I set up the cleat once and use it for every other cut. To gauge where the cleat goes, I place a hunk of crown in the saw upside down. With both backs dead flat against my saw deck and fence, I mark the saw deck. Then I extend the line and screw a straight board on it. Done.
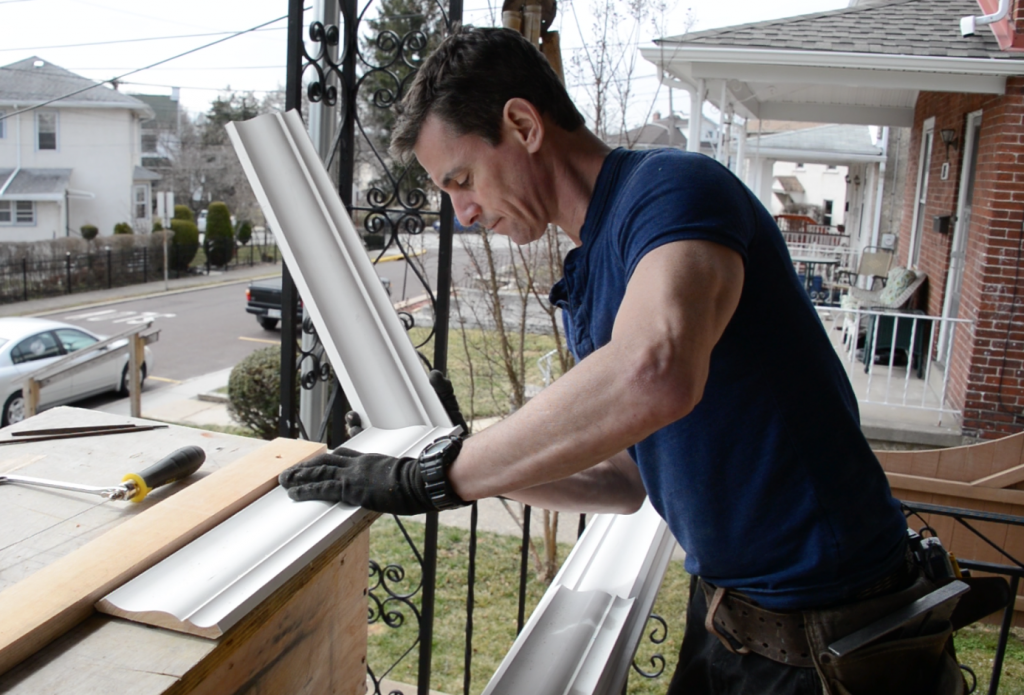
Get oriented. Take a short hunk of crown (24-inches or so) into the room. Hold it up like it will go on the wall. Mark the bottom right. Please note, you can install crown molding upside down. Just ask Mike Holmes Jr. He’ll tell you. Generally speaking, the little swoopy details go o the bottom and the big swoops go on top. This little X helps with upside down and backwards in the saw. Once the crown starts flipping around, the X shows me which is the bottom right. I know it, don’t get me wrong. It’s a double-check for when 80 other things are vying for my attention at the same time I’m trying to be surgical on my molding.
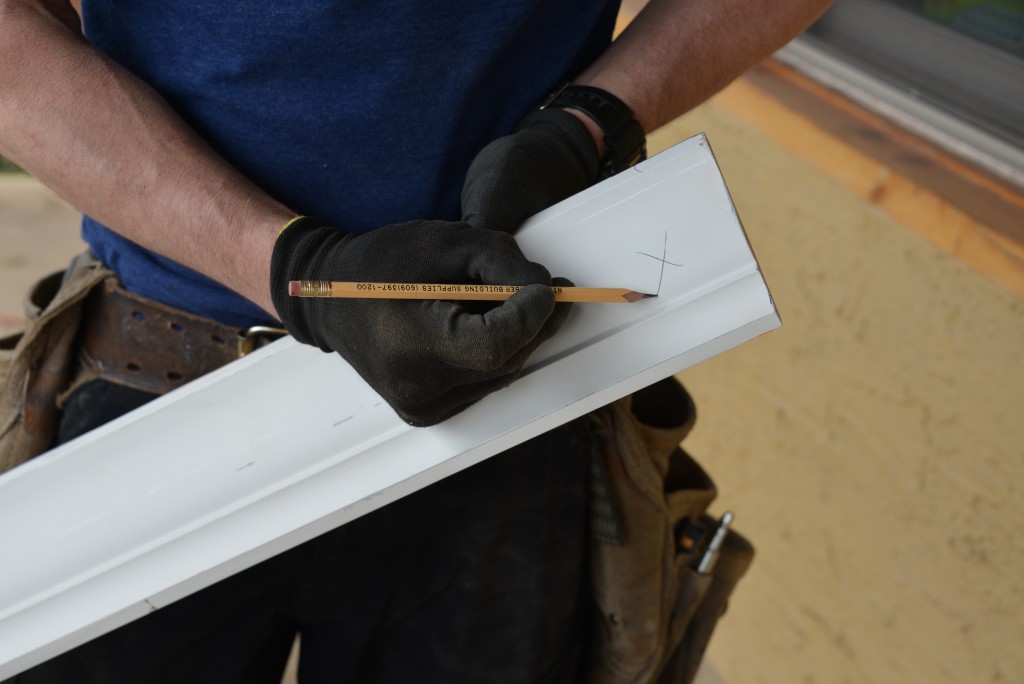


Saw set-up. This is key and where a lot of people create problems that they later don’t know exist. To do trim like this right, you need to cut it right. To cut it right, it needs to sit in the saw right. Get both back ‘flats’ dead flat on the fence and deck of the saw. Mark it.
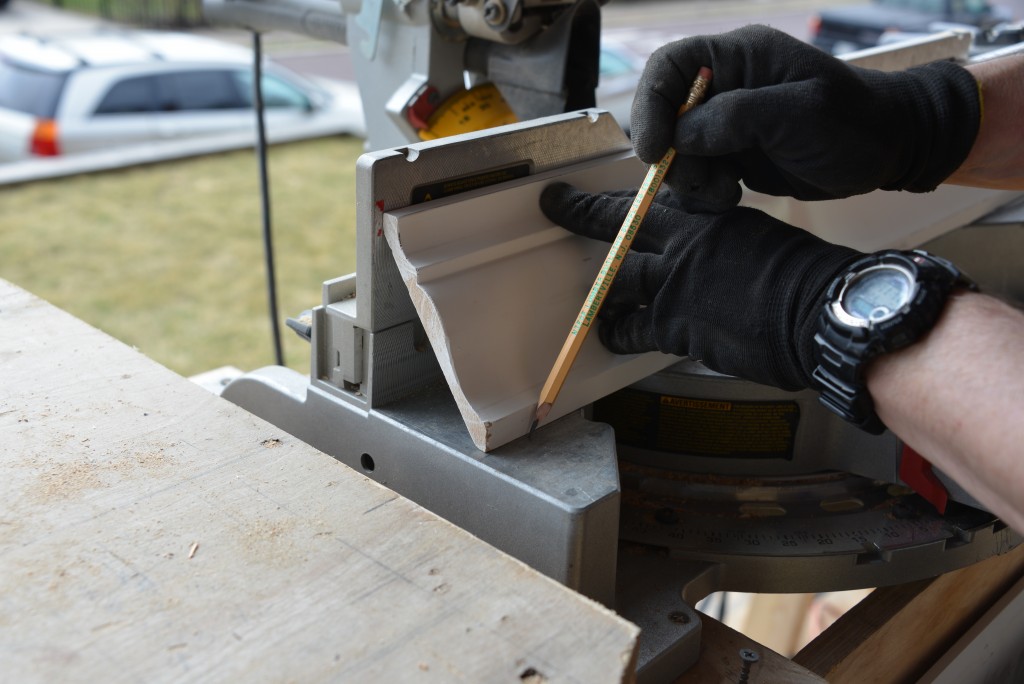


Set up a cleat. There are a lot of ways to do this, the point is to do it, so every time you hurl a hunk of crown in the saw, it’s oriented the same way as every other piece you cut.
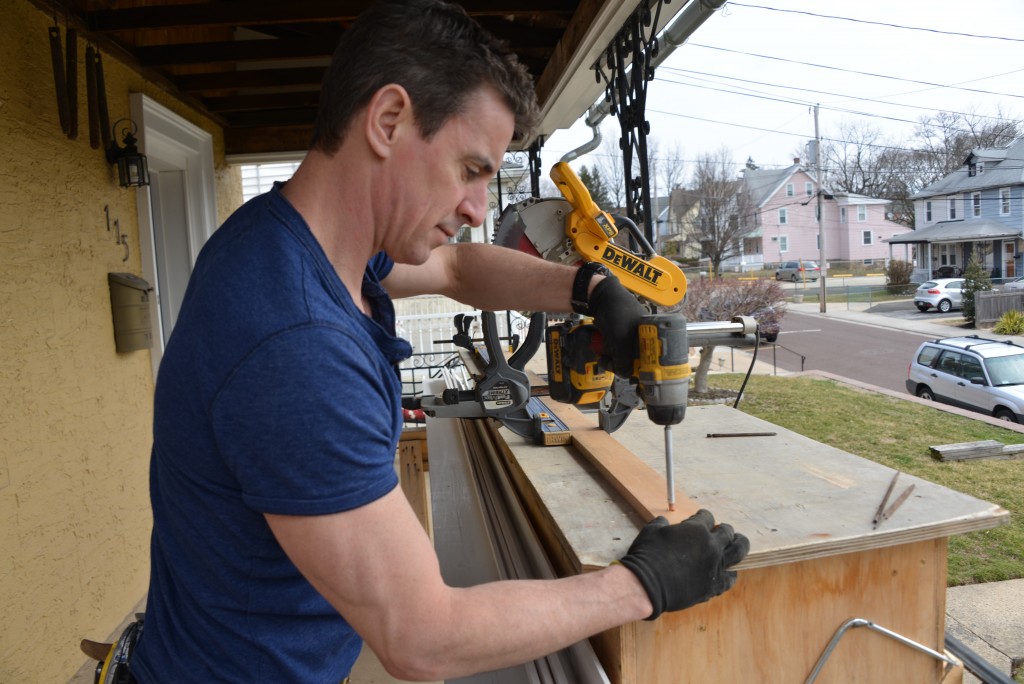


Cut an inside right miter.


Now practice coping. I find clamping the piece, with 2 clamps, really helps. One clamp and it just flops around.
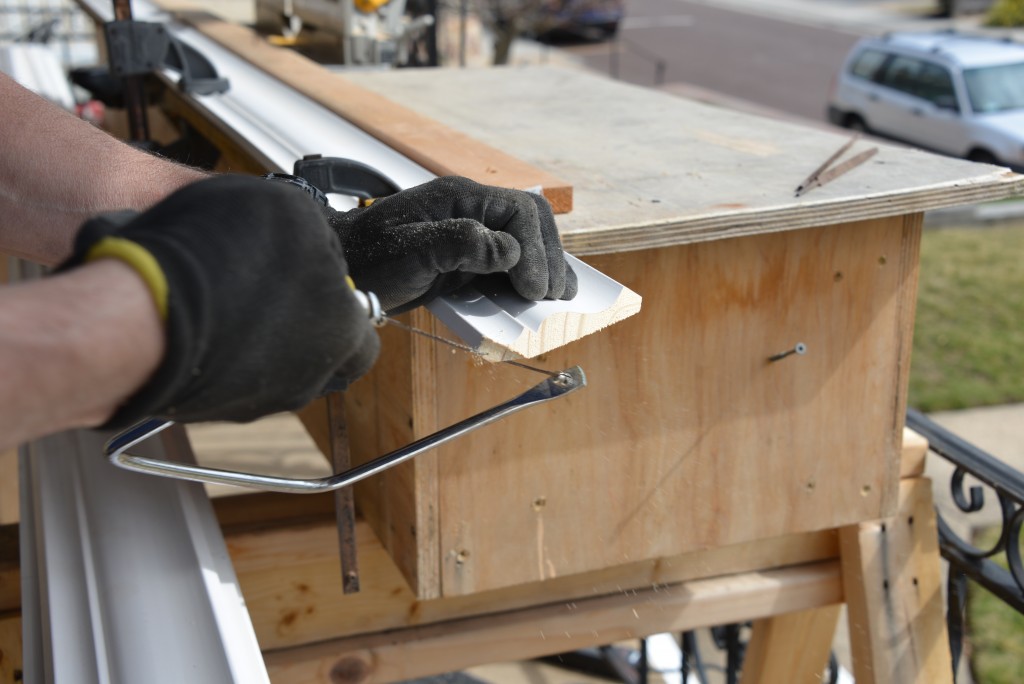


See how the cope fits on your finished pieces. Tune up as necessary. Also, another shout-out for my mighty cut station. Try this on a trash can or heap of tool boxes. Or the ground.


I test how two pieces fit together on the wall, then use a scrap screwed to the wall to measure my full-piece. Working alone, I wedge the tape to the scrap with a screw. I also support it with a screw or two along the wall so the tape doesn’t break mid-span.
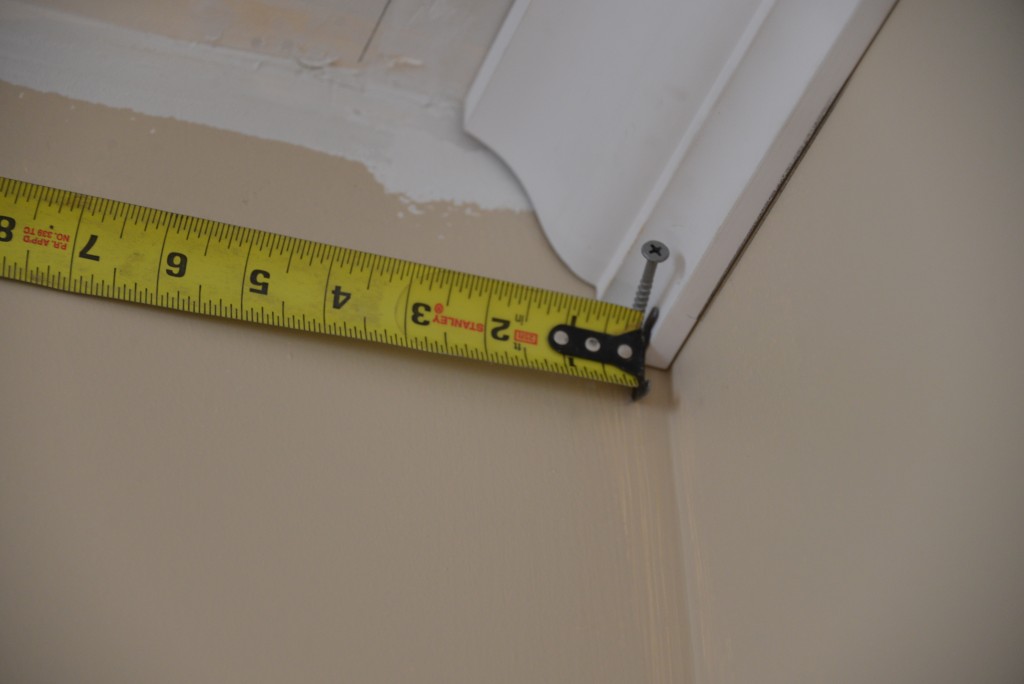


Measuring tip: Write the measurement on the wall before you get down. Because…distractions…Oh look, something shiny!
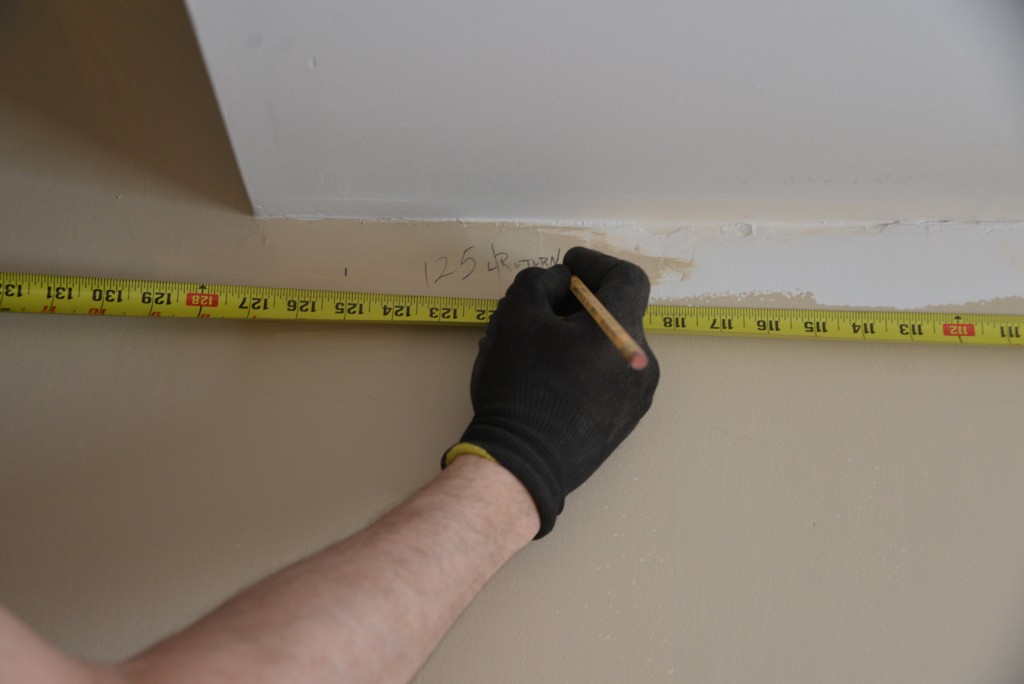


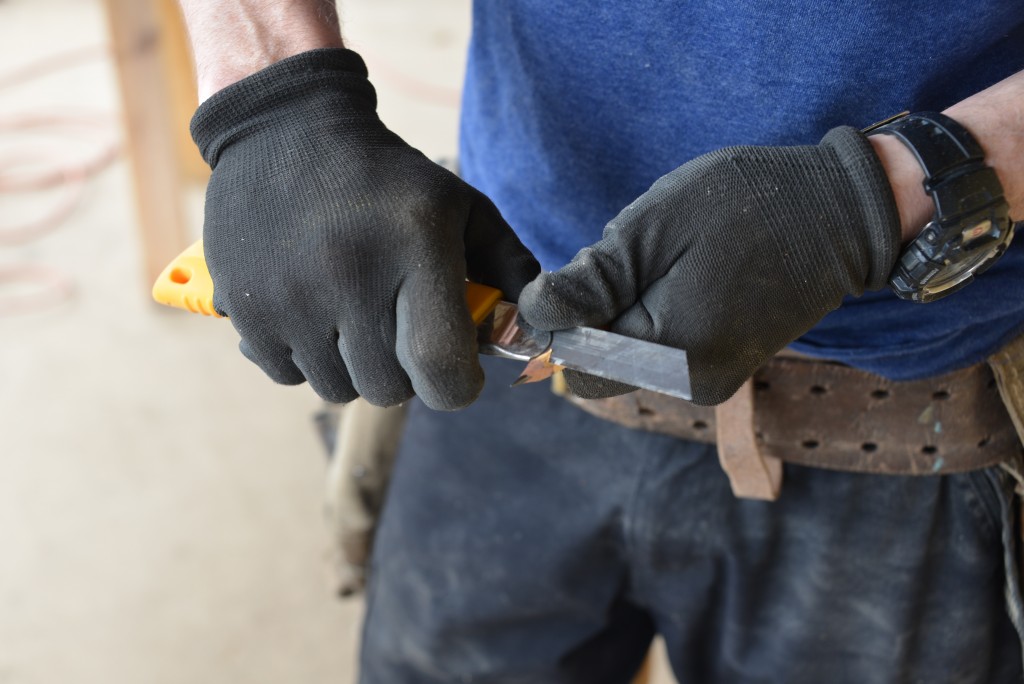
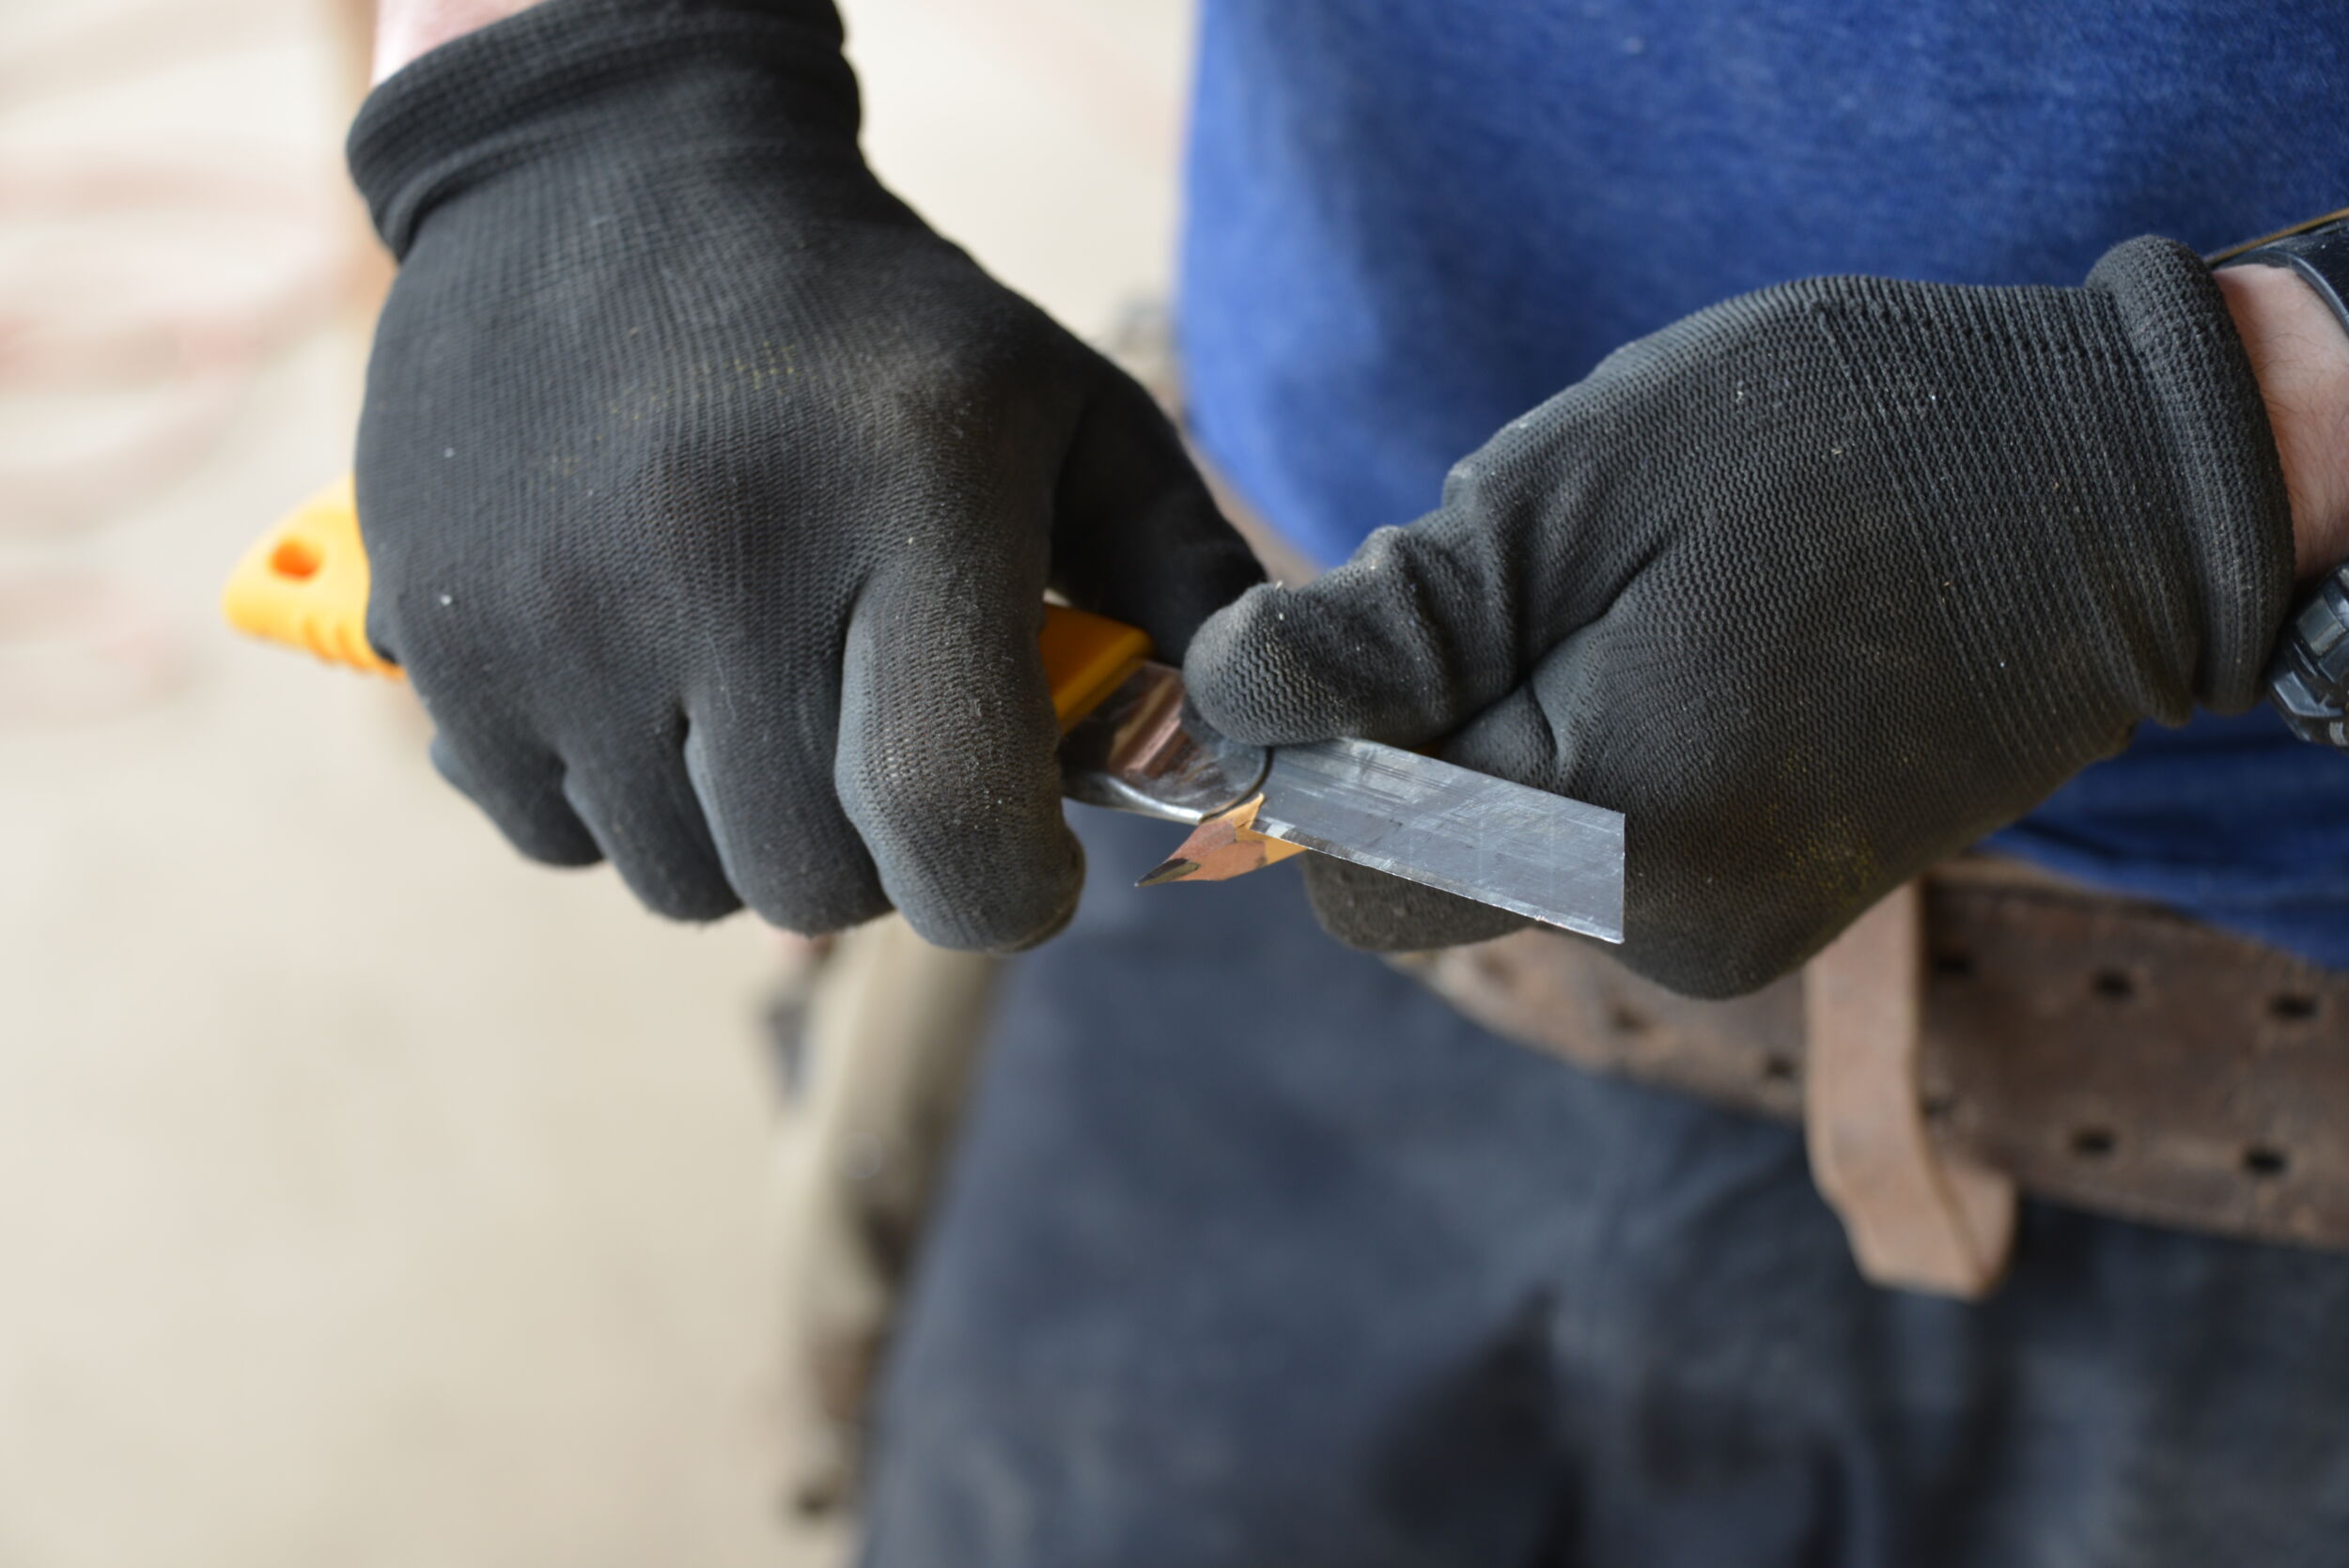
And use a sharp pencil for crying out loud. Here’s how to sharpen a pencil, because you’re probably doing it wrong.


Once measured and cut, I install the full-piece over the scrap (I call them ‘test pieces’) and then I STOP nailing about 2-feet from the coped end so I can both wiggle the test piece out, then wiggle the next full-piece in.
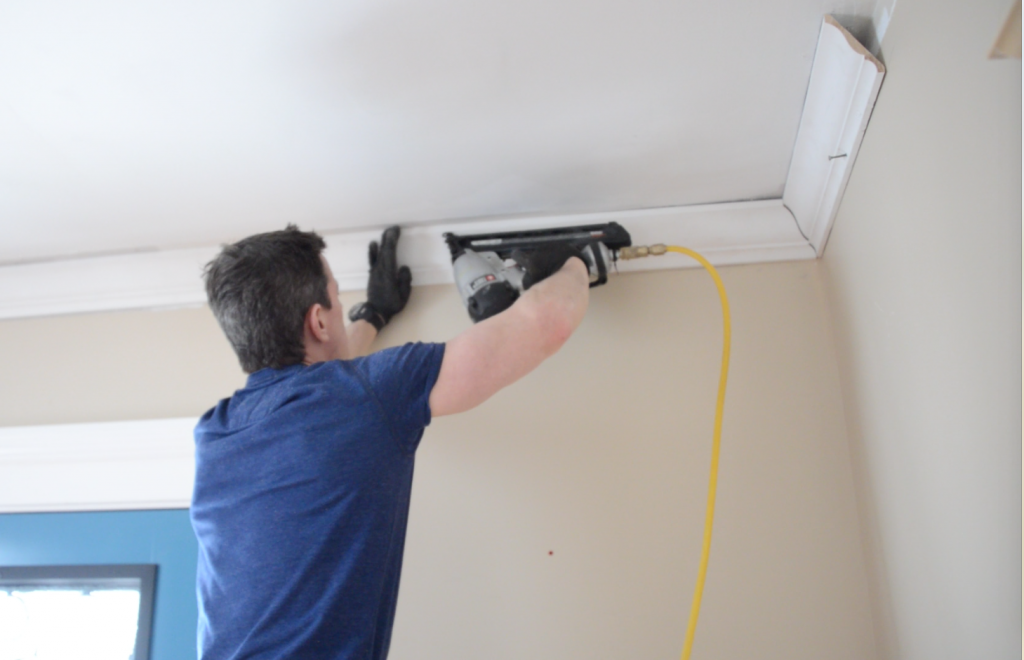


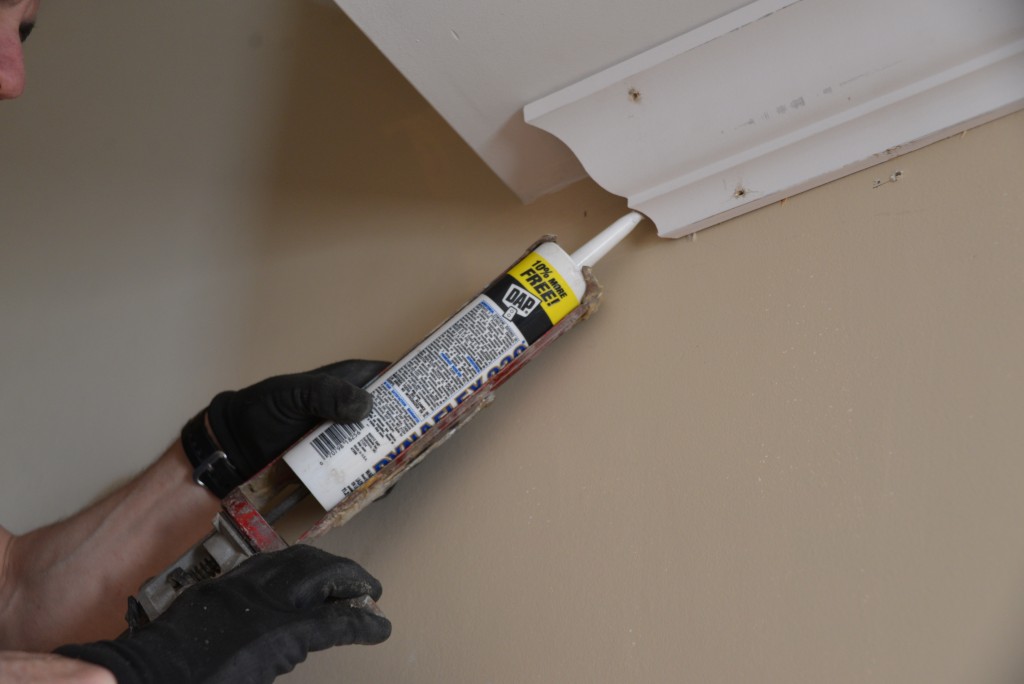
Returns are a true pro trick. We use them to make it look like we install crown molding every second of the day. They’re perfect for terminating a run where there’s no wall, like in this case, going up a stairway. I always use good caulk like this DAP Dynaflex 230.
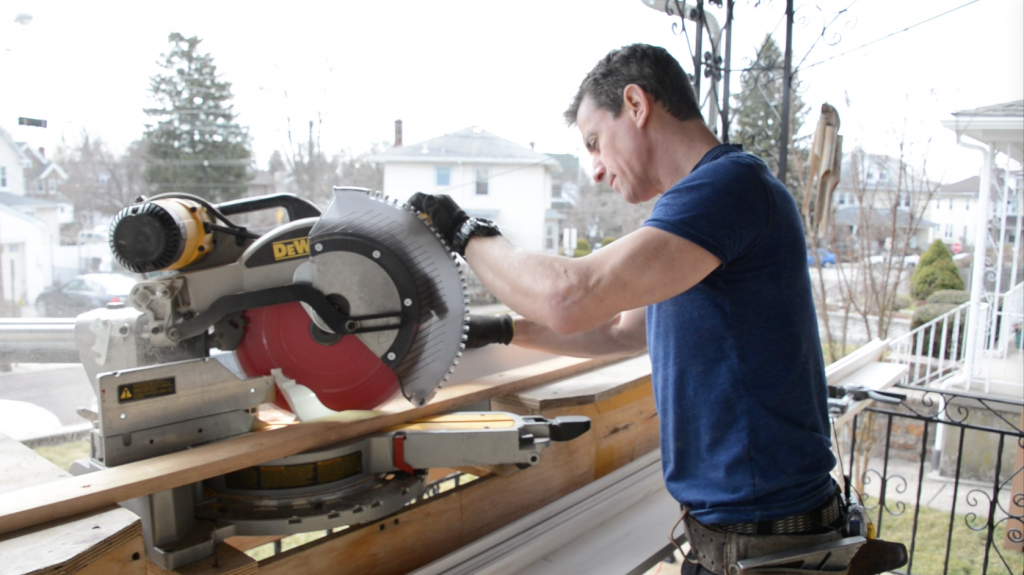




The rest is like shampoo. Rinse and repeat and wrap the room.



Before you call in an architect or interior designer, it’s useful to
have an thought of the changes you need to make in your space.
[…] something) is that its placed correctly when its slightly compressed between studs. If it were crown molding, I’d call it […]
[…] I adore crown molding. I like installing it, too. I’ve also been lucky enough to share demonstrations all over the country on installing crown and other trim and have noticed that people have almost the exact same questions everywhere I go. […]
[…] get me wrong, I love crown molding and classic lines when it comes to a mantle. But let’s face it, it’s not for every […]