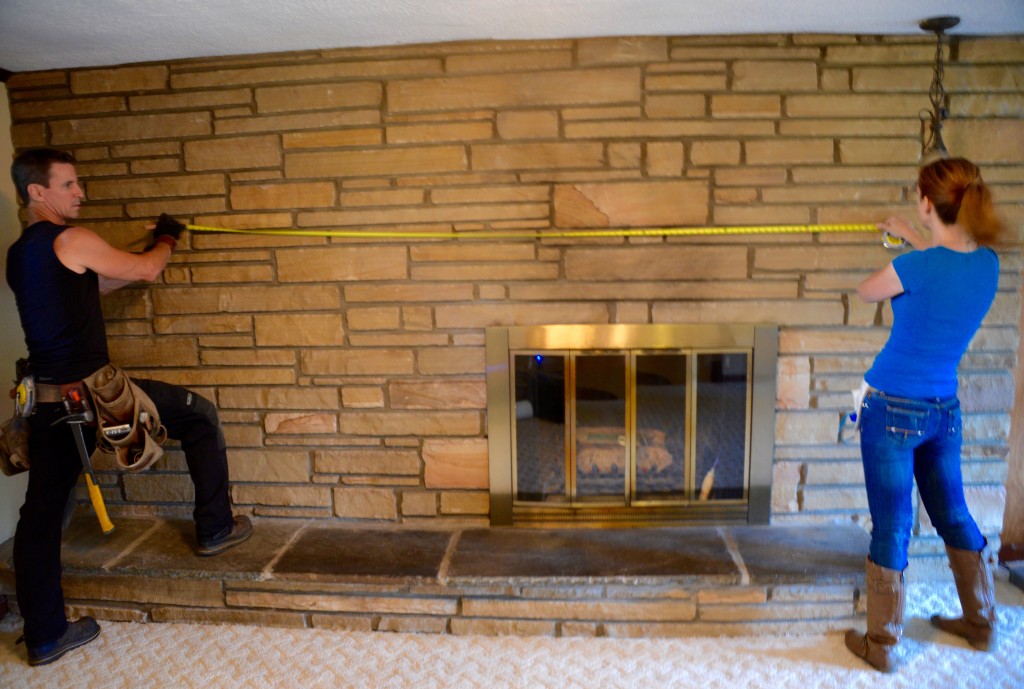
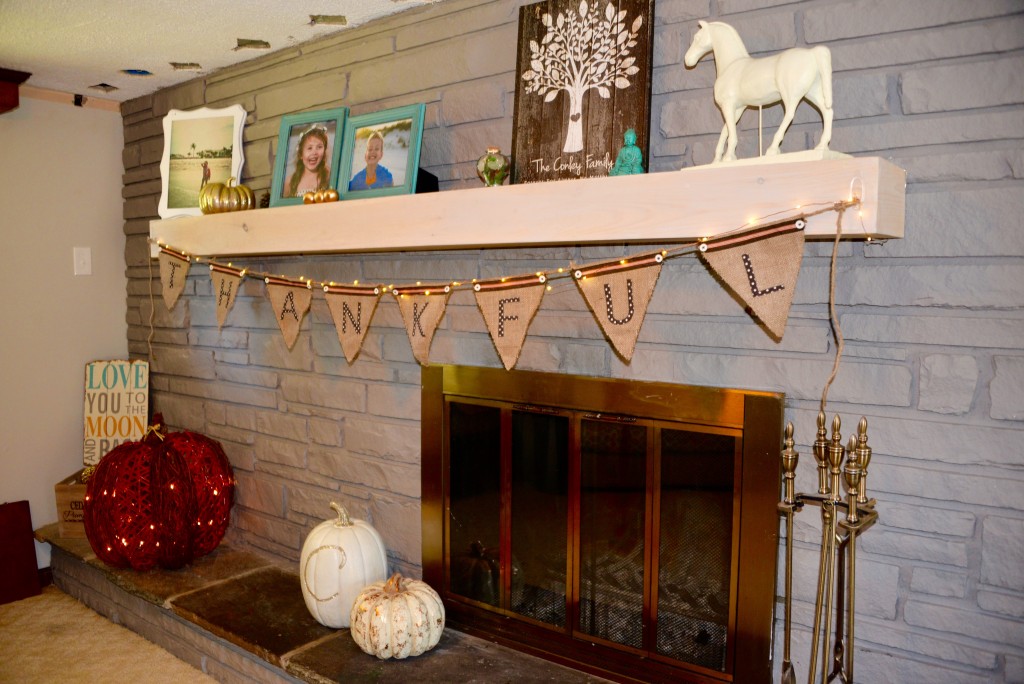
Mantle makeover ideas are easier to implement when you actually have a mantle to make over, but when all you’ve got is a wall of rocks, you’ve got to take the extra step of making a mantle that fits the space.


Don’t get me wrong, I love crown molding and classic lines when it comes to a mantle. But let’s face it, it’s not for every house.
In this mission makeover, Theresa designed this modern mantle for a mid-century ‘rec room’ (do they still have those?). It brings a kind of brutal rock wall some softness and order.
I don’t always love her designs, but I like it when I get to make something new, like a modern mantle.
Basically, it’s a box. But if you’ve ever tried to build a box, you know it’s easier said than done. But I try to take these mantle makeover ideas realistic and to bring them to life as simply as possible.
Shopping List
Top / Bottom – (2) 1x12x10 (or however long you want it) #1 pine
Front / Sides / Assembly blocks – (2) 1x6x10 #1 pine
Cleat – (1) 2x4x8
Concrete screws (Spax)
Nails or staples (I’m talking pneumatic here)
Some sharp saw blades on your miter and table saws will really help too.
How-to
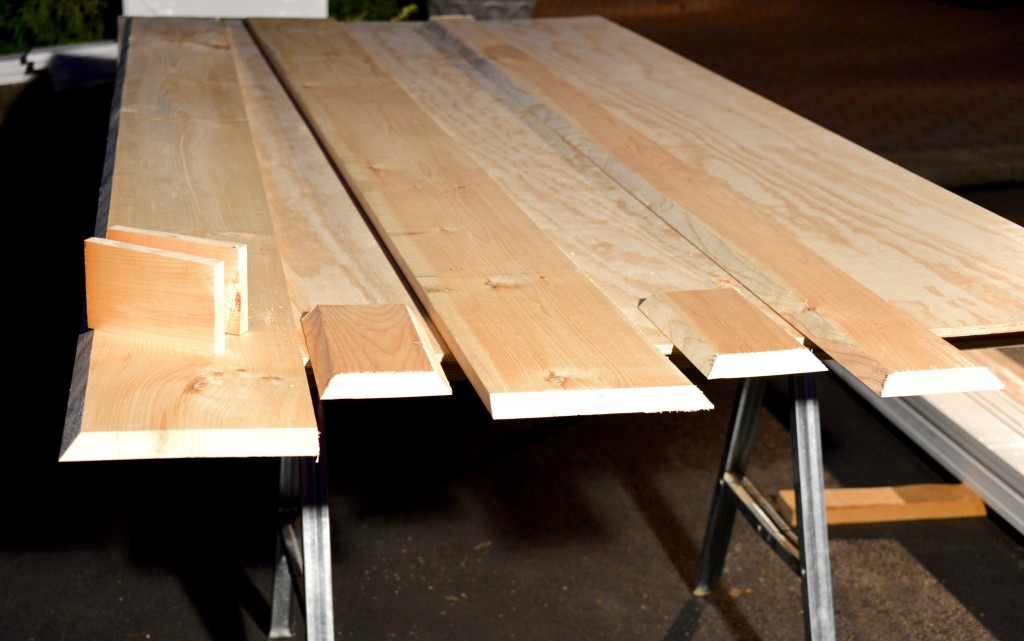
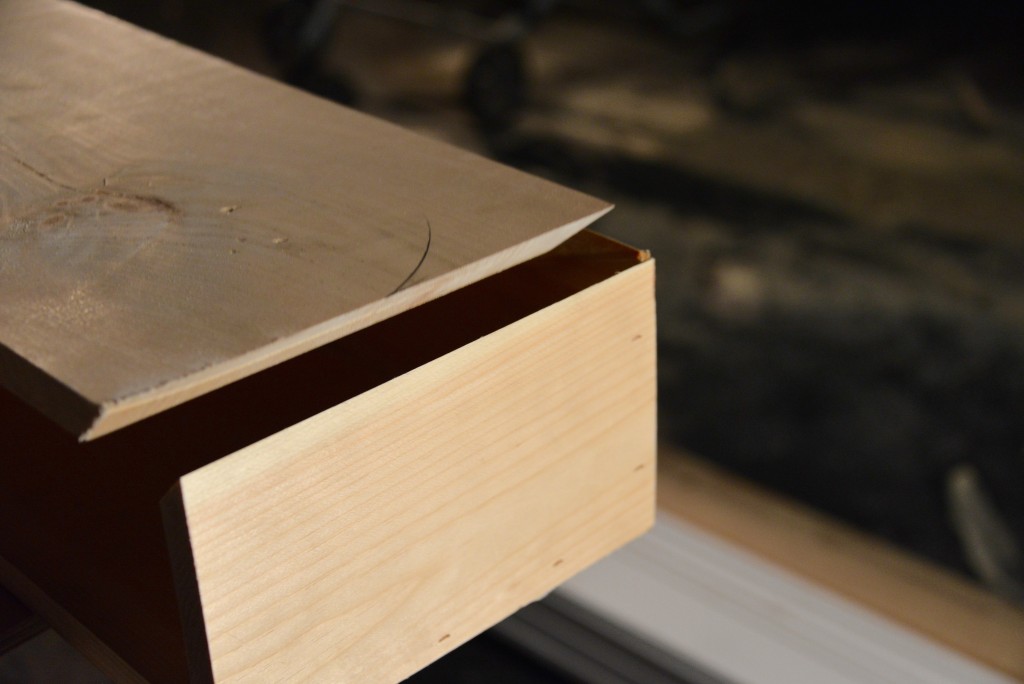
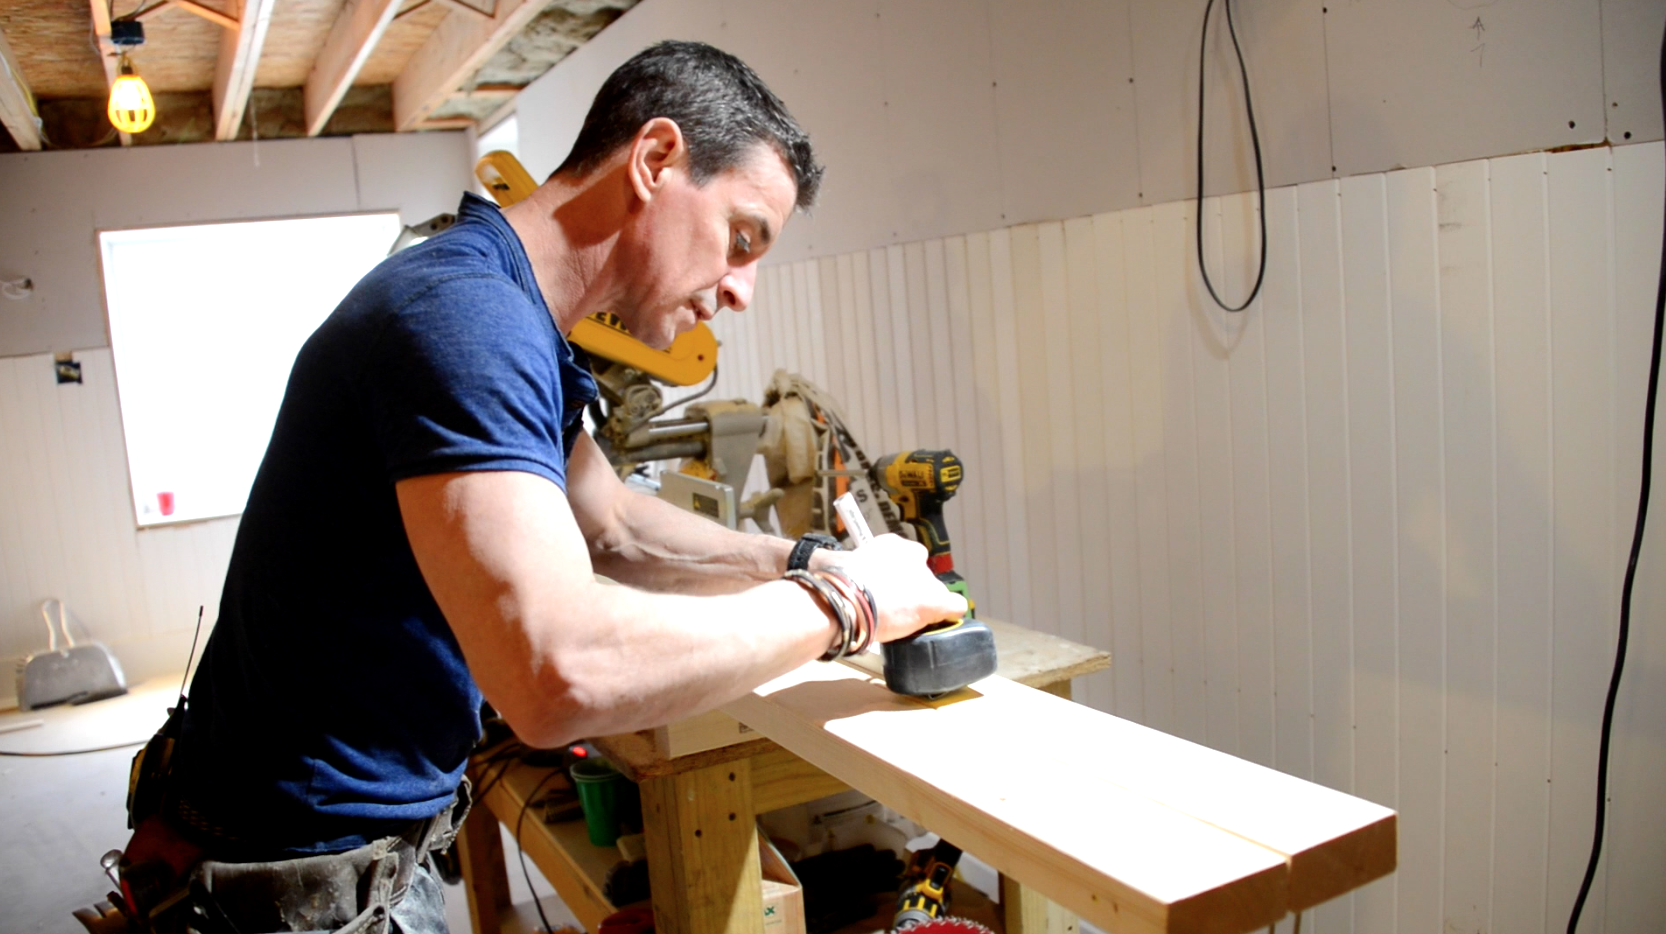
The key to this look is sharp, clean edges. I do that with miters and bevels.
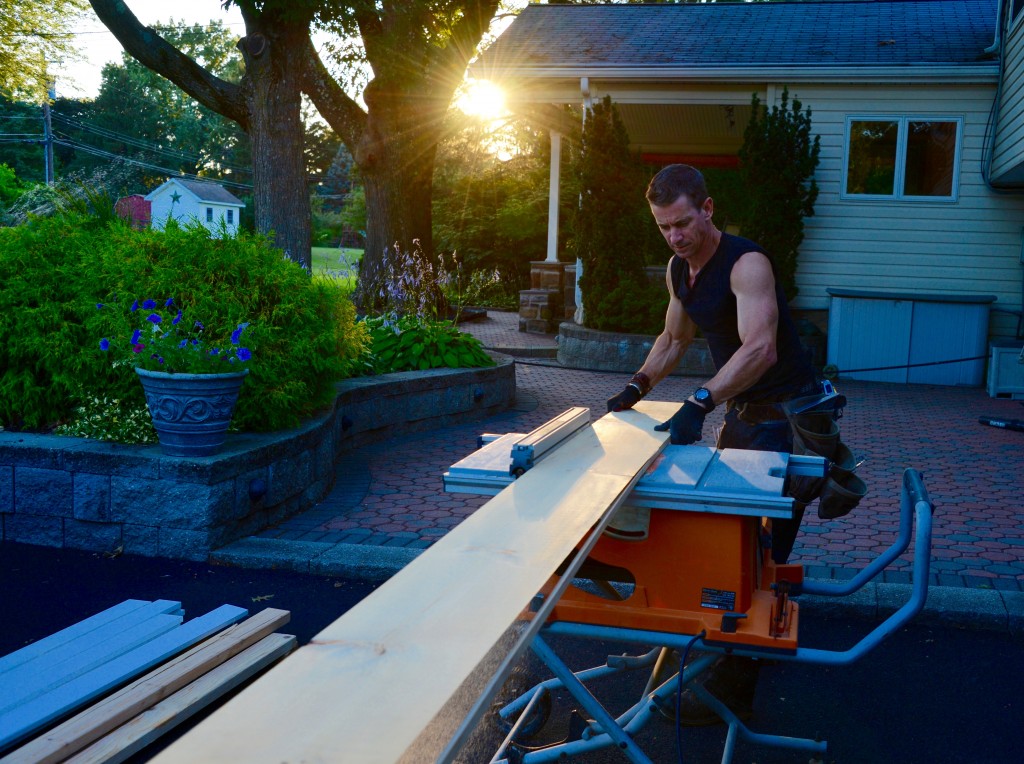
– Bevel the table saw to 45-degrees and run one edge of each 1×12 through. It’s kinda critical to keep the piece moving and flat on the table to prevent blade burn and imperfections. Outfeed support helps you get a cleaner cut.
– Run both edges of the 1×6 through. Doing this eliminates the end-grain of the pine, keeping the modern mantle’s texture clean and tight. Clip the ends on the miter saw.
– Measure the width of back of the 1×6—short point to short point of the bevel. It should be in the neighborhood of 4-inches. Cut four 10-inch long blocks, then rip them to the same width as the back of the 1×6.
– Cut the sides. These are beveled on three edges—front, top and bottom.
Assembly
-Fasten the front to the bottom in an L shape. Make sure all the bevels line up on both ends before fastening (there’s a lot going on here; a short sentence, but a lot to get right).
– Fasten each end piece to the L.
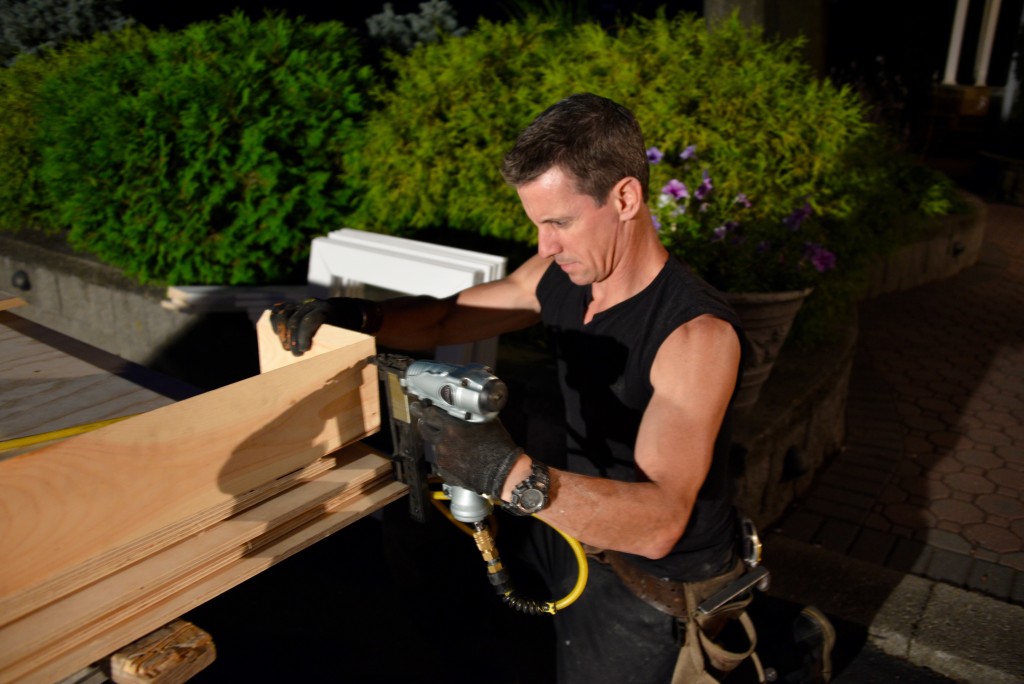
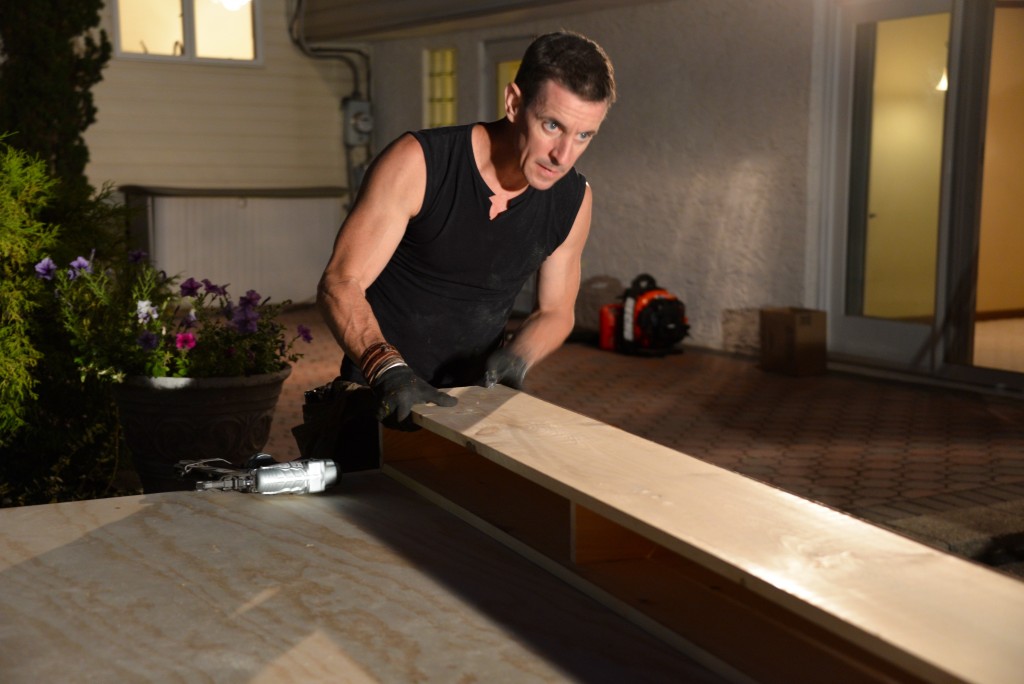
– Drop the top in and fasten. A few blocks (cut earlier) help support the top while you wrangle it into place. I like to squeeze the miters together with my hands and fasten.
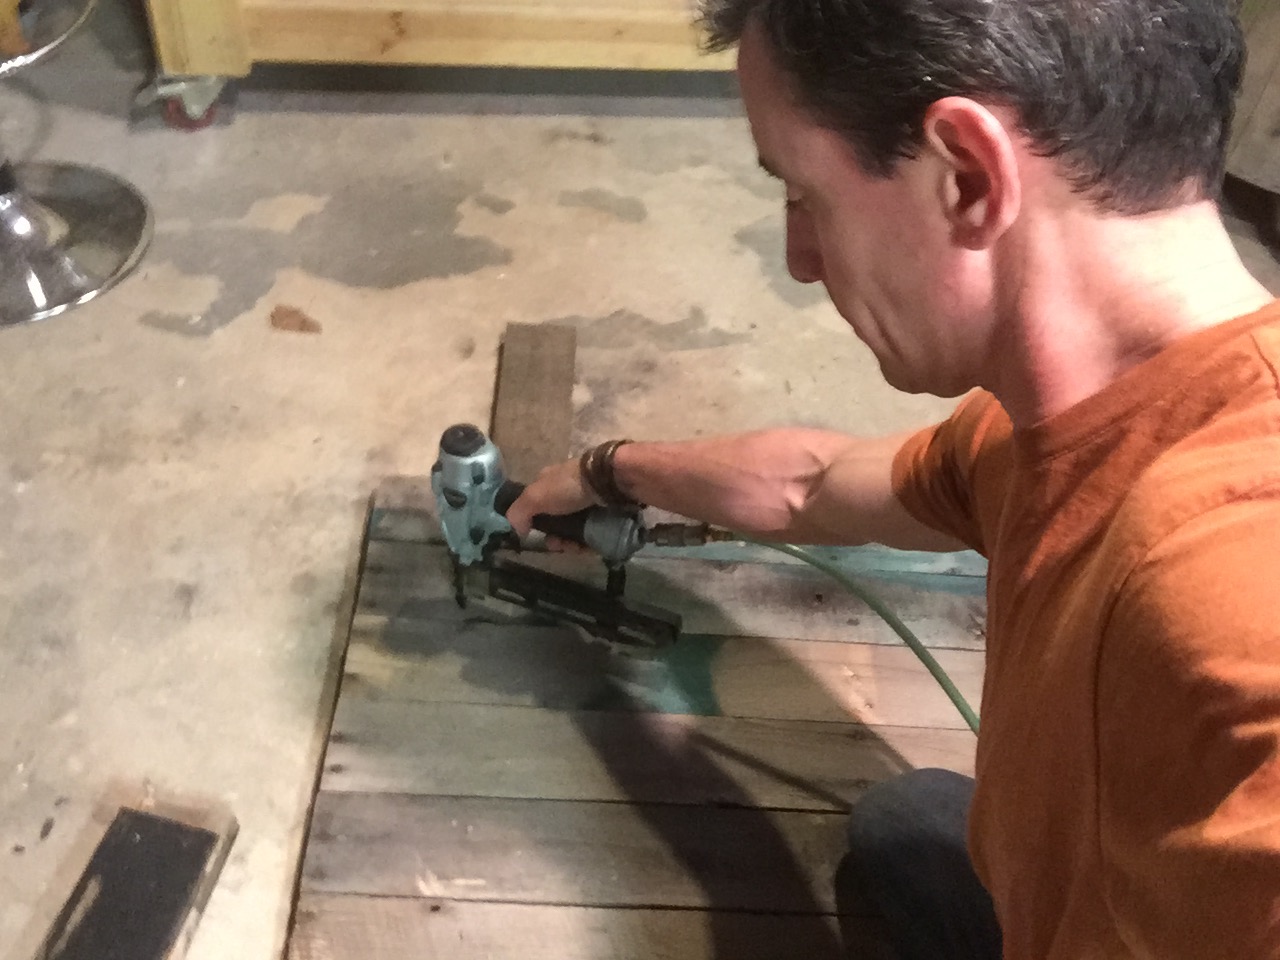
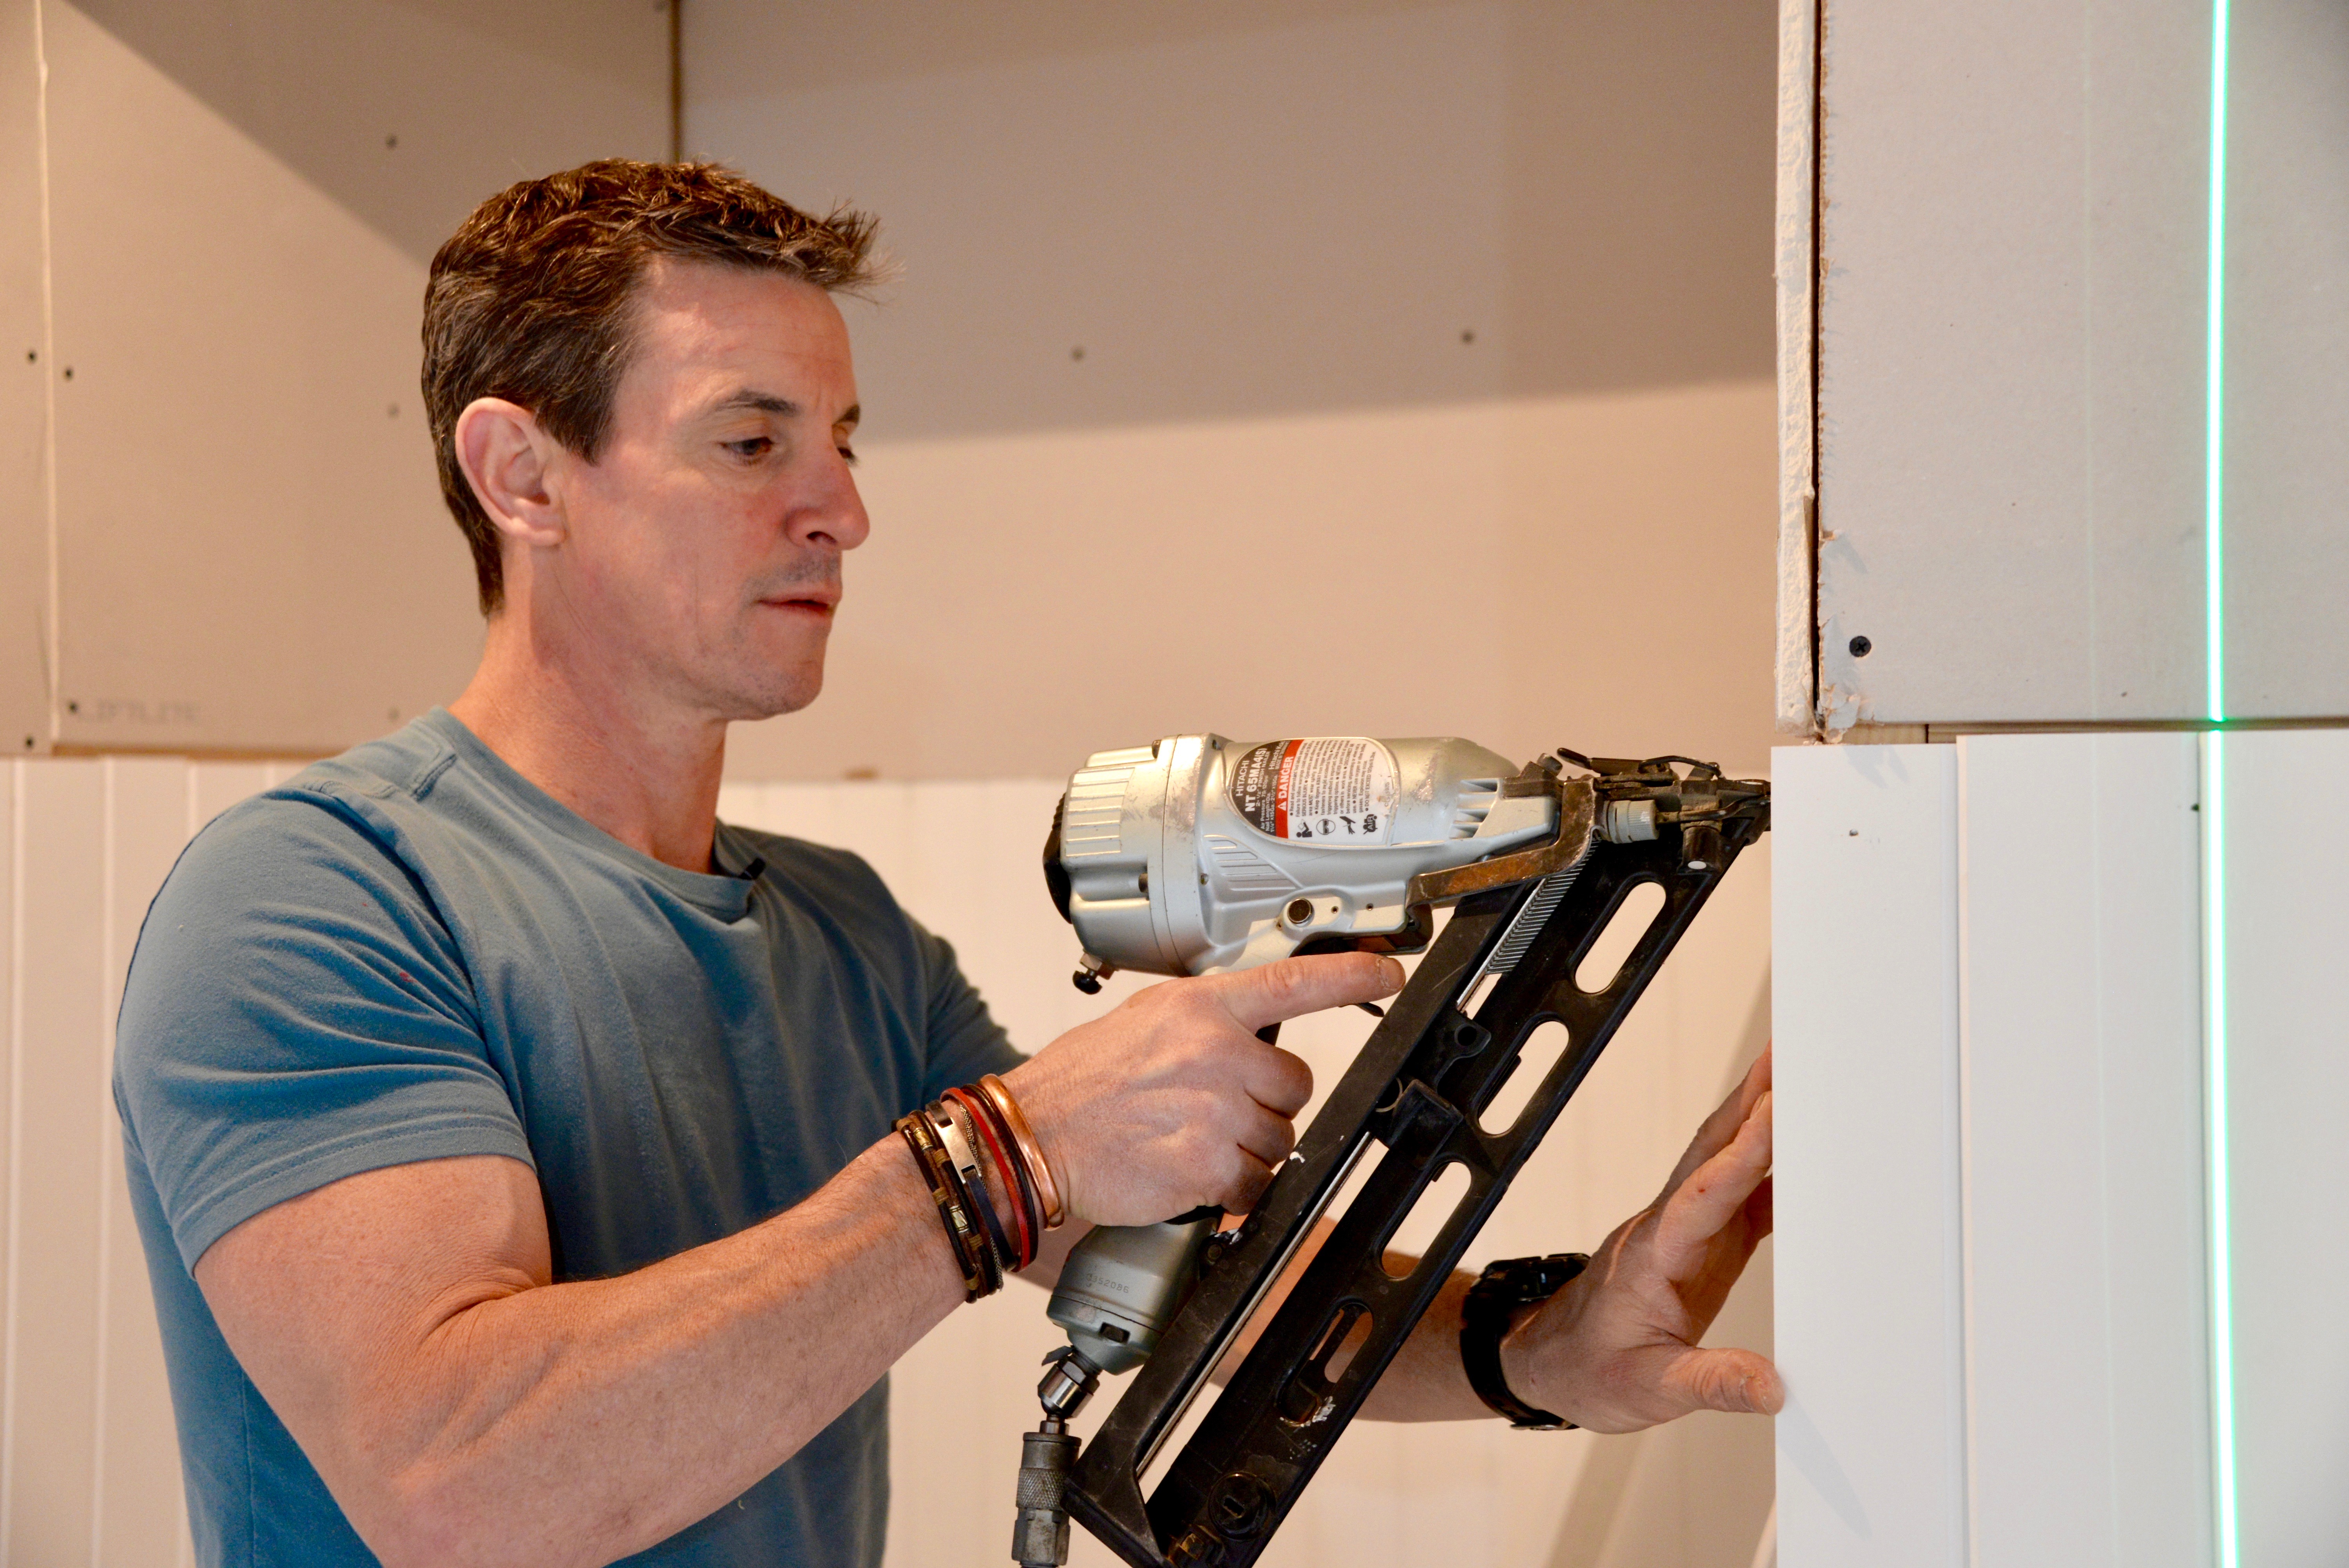
– We fastened ours with 1 1/4-inch narrow crown staples, which we love for stuff like this. A lot. TGhe stapler too; it’s a Hitachi.
Installation
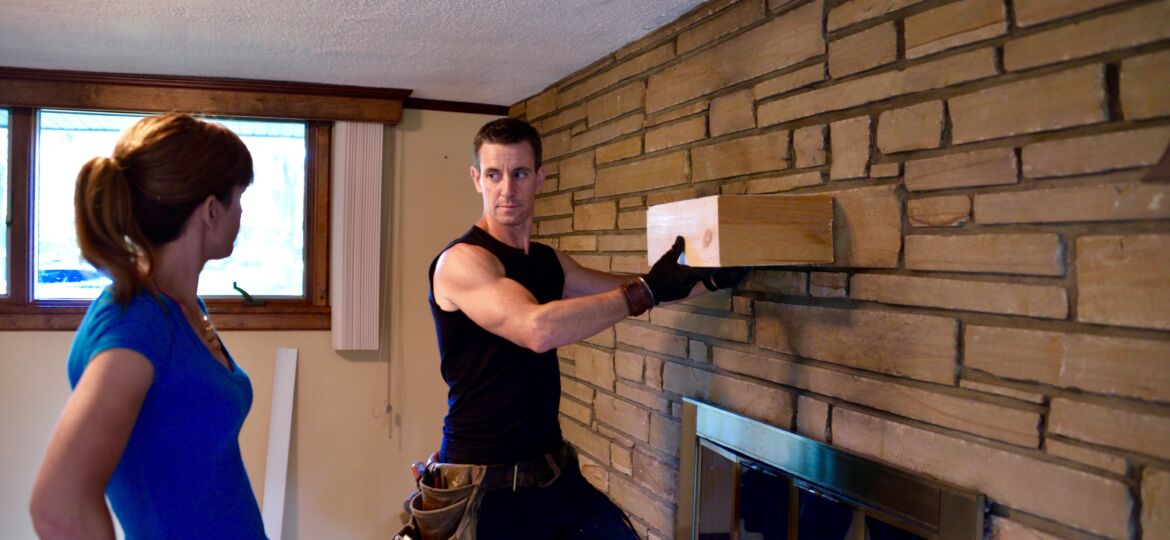
This is essentially a floating shelf like you see on TV shows. Comparatively, it’s huge, but the idea is the same.
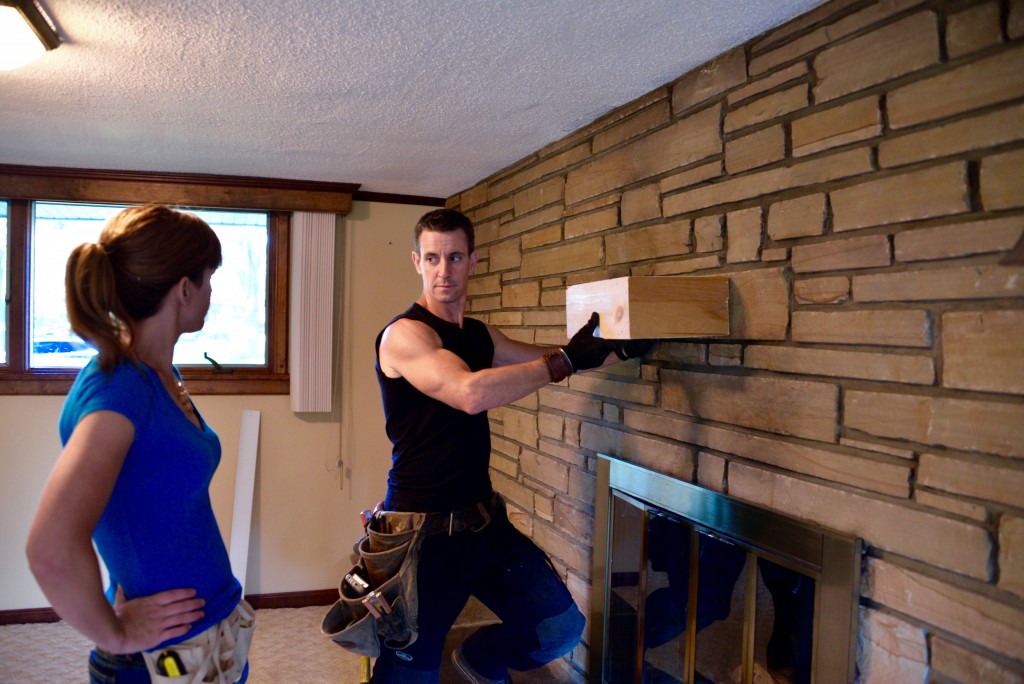
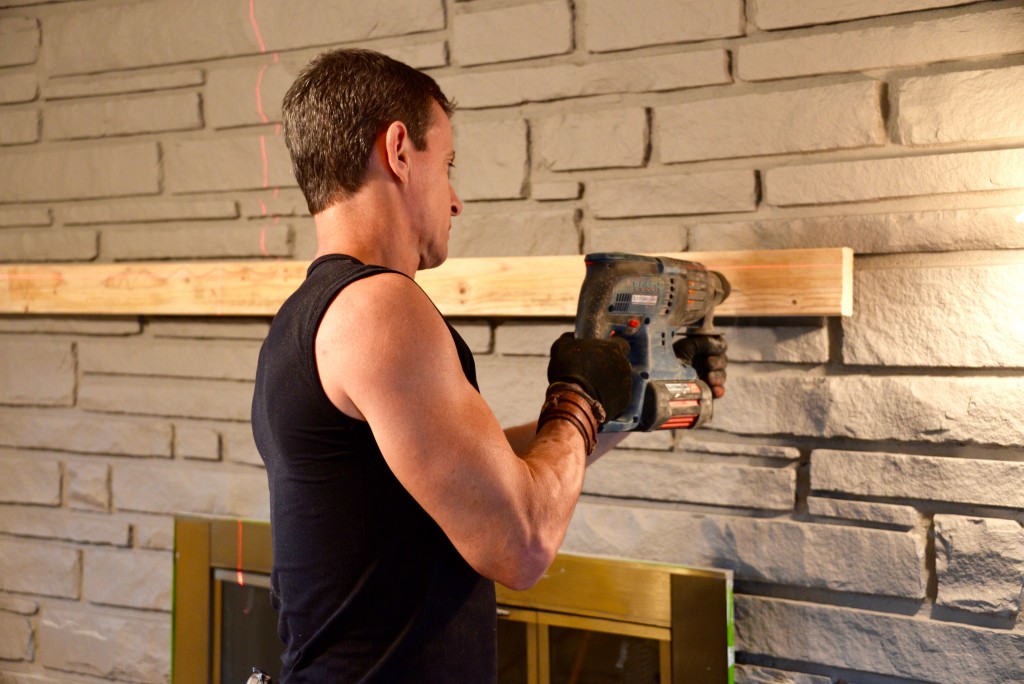
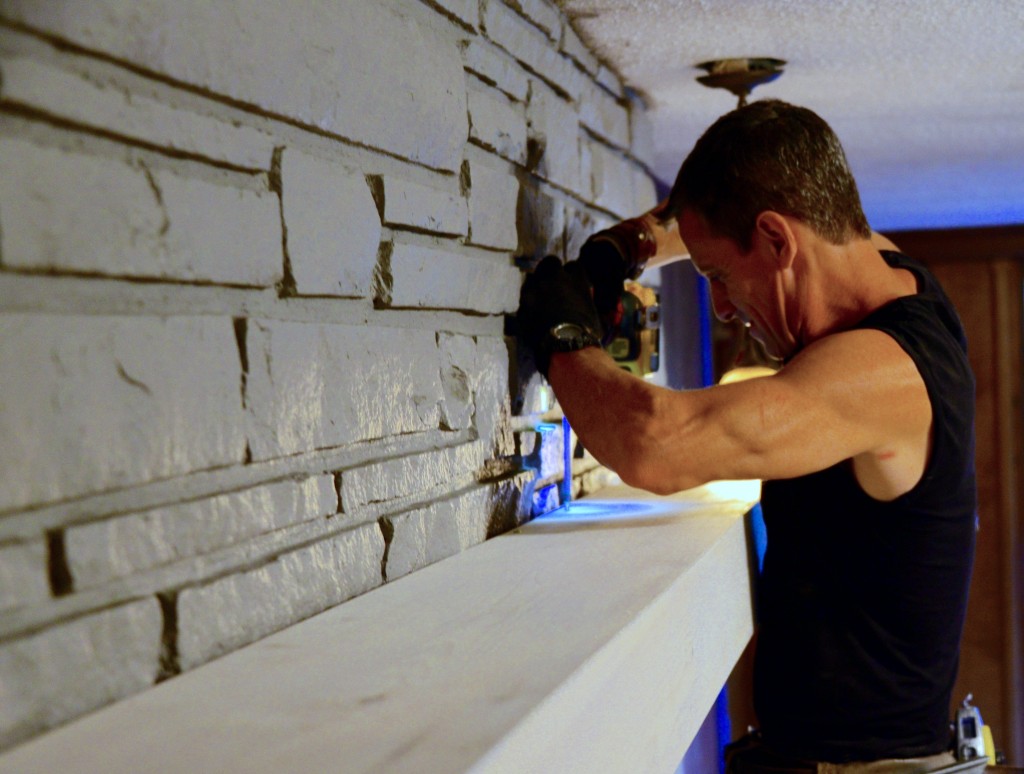
– Install a cleat on the wall where you want mantle. We used a rotary hammer to pre-drill the pilot holes then Spax Multi-Material Screws to secure the 2×4 cleat to the wall veneer. One of Theresa’s excellent mantle makeover ideas a is the jaunty off-set from the fireplace, so that the mantle helps balance the asymmetrical fireplace.
– Place the mantle over the cleat and screw down through the top into the cleat.
And boom. Clean lines, crisp edges and a modern mantle that’ll make your inner Don Draper drop an extra ice cube in his cocktail.
