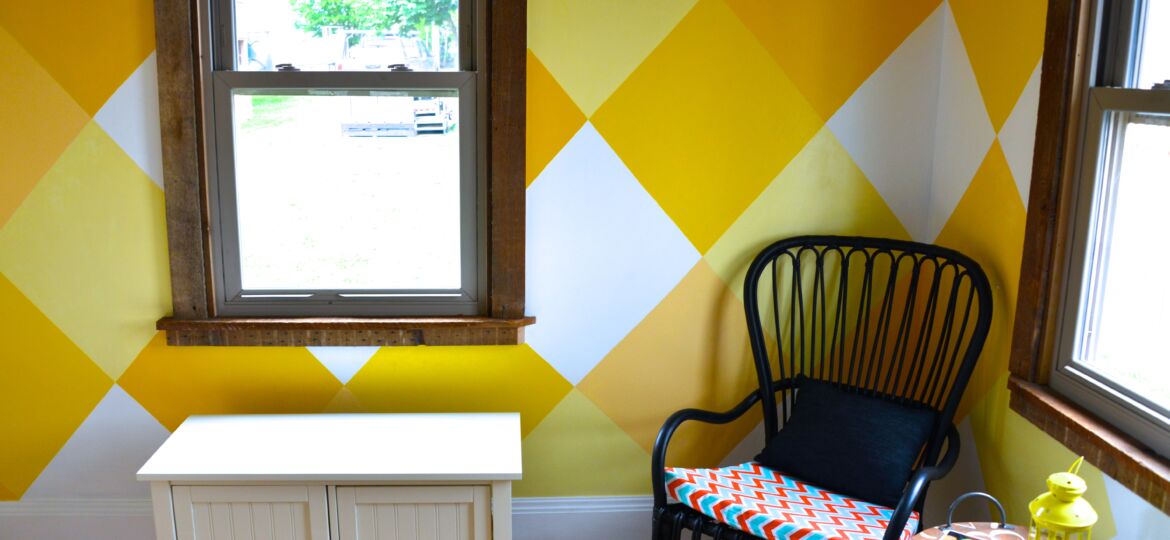
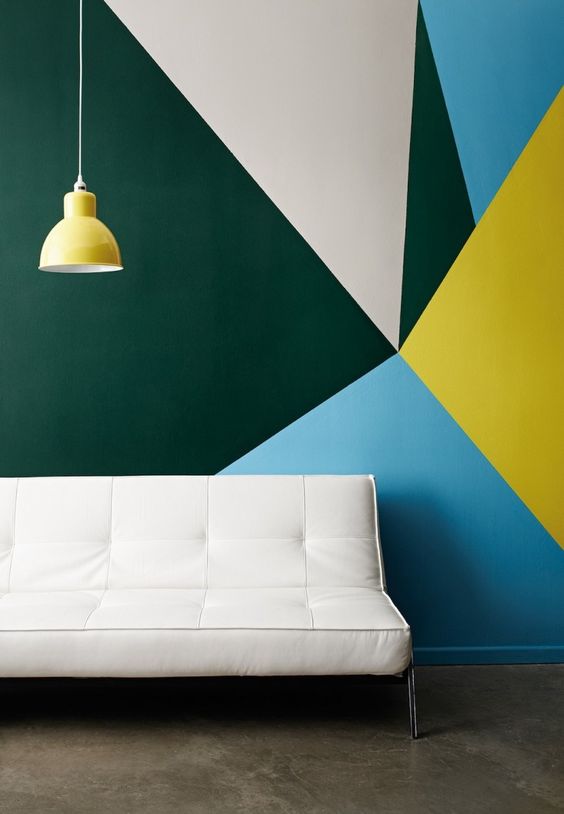
Painting patterns might look difficult, but I have a few tricks that can help.

First, it’s about the tools.
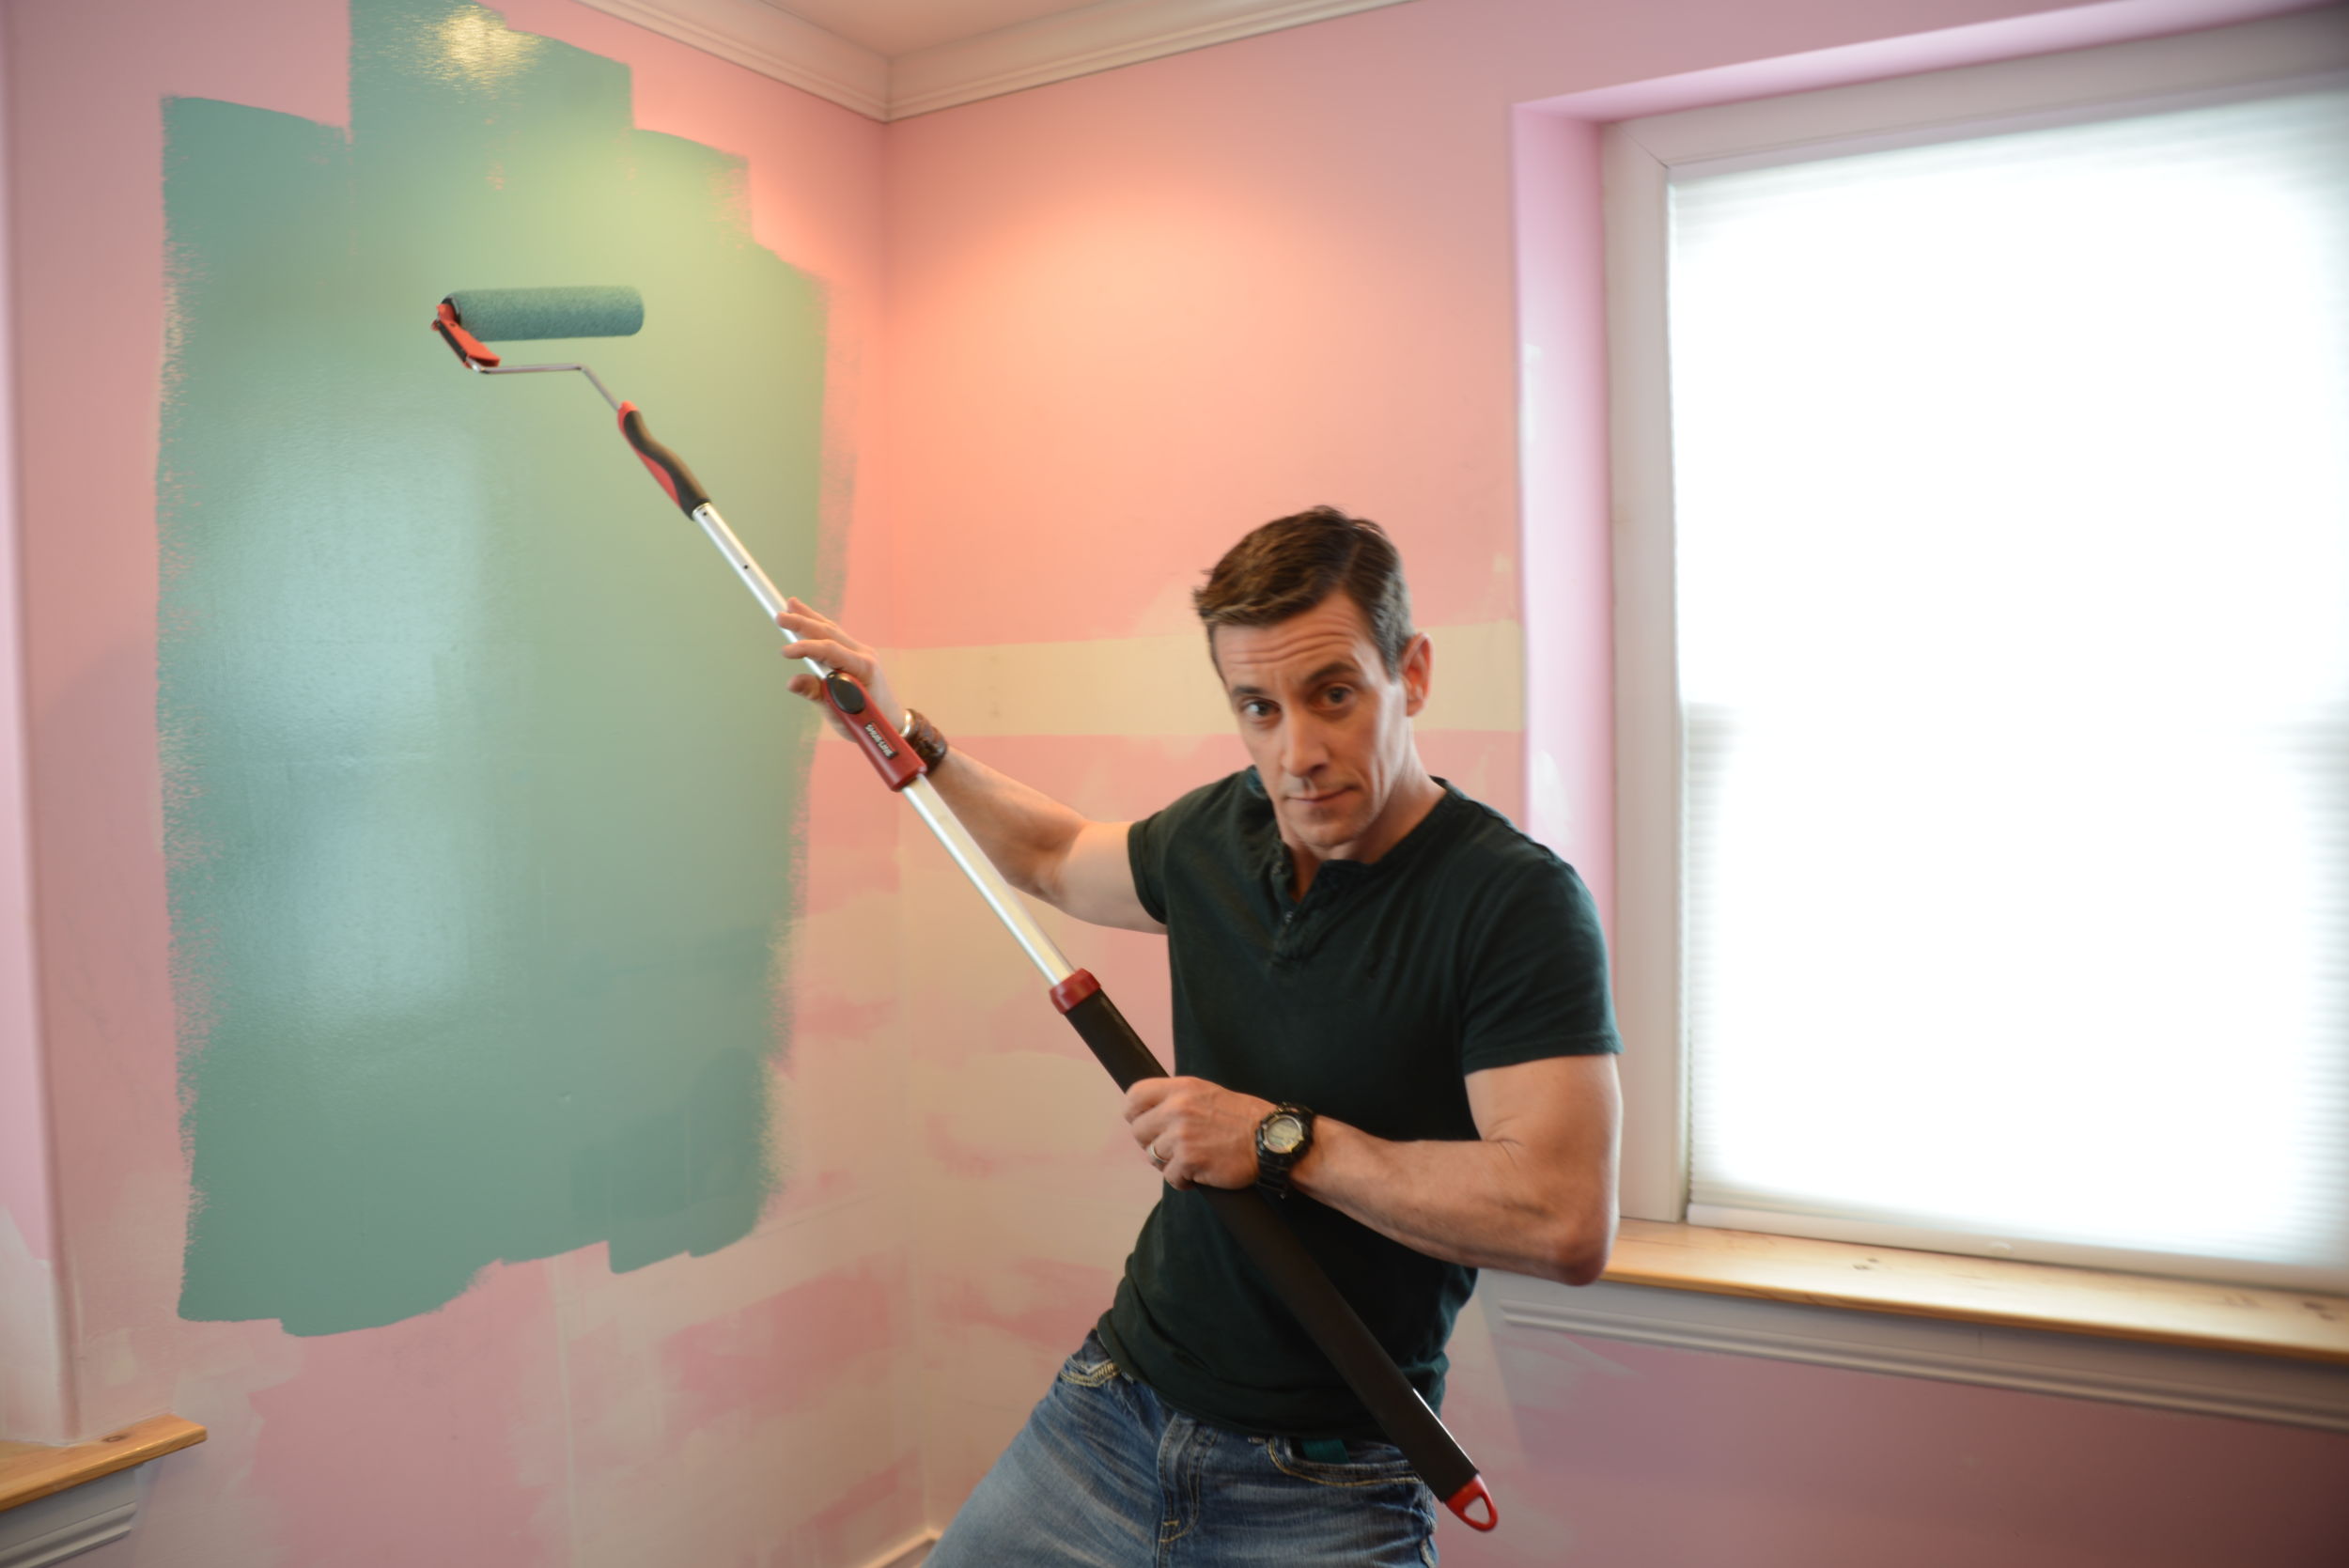
Full disclosure, we’ve recently become spokespersons for Shur-Line. Shur-Line makes paint tools, and I honestly love their brushes for painting patterns. Here’s why: A more expensive, professional paint brush is designed for how a professional paints. They load the brush with a lot of paint, and don’t go back to the paint very often. Too much paint loaded on a brush can get quite messy in the hands of someone who isn’t painting everyday. And, yes, that’s me, too.
And then if you choose a disposable brush, the bristles tend to go off in wonky directions after a little bit of use. Those nonconforming bristles can ruin a perfectly laid paint pattern.
Beyond a really good set of brushes, the tools for laying out the pattern are essential. Stencils can be an easy way to create painting patterns, especially if you are going for an organic, random look to the room.
For painting stripes, there are a few choices. If they are wide stripes, more than 4-inches wide, an edger tool could become your best friend. For skinnier stripes, tape usually works best. Painting tape comes in a few different widths and some even offer shaped tape. I always look for Frog Tape that has the paint block technology, which means that paint bleed just won’t happen.
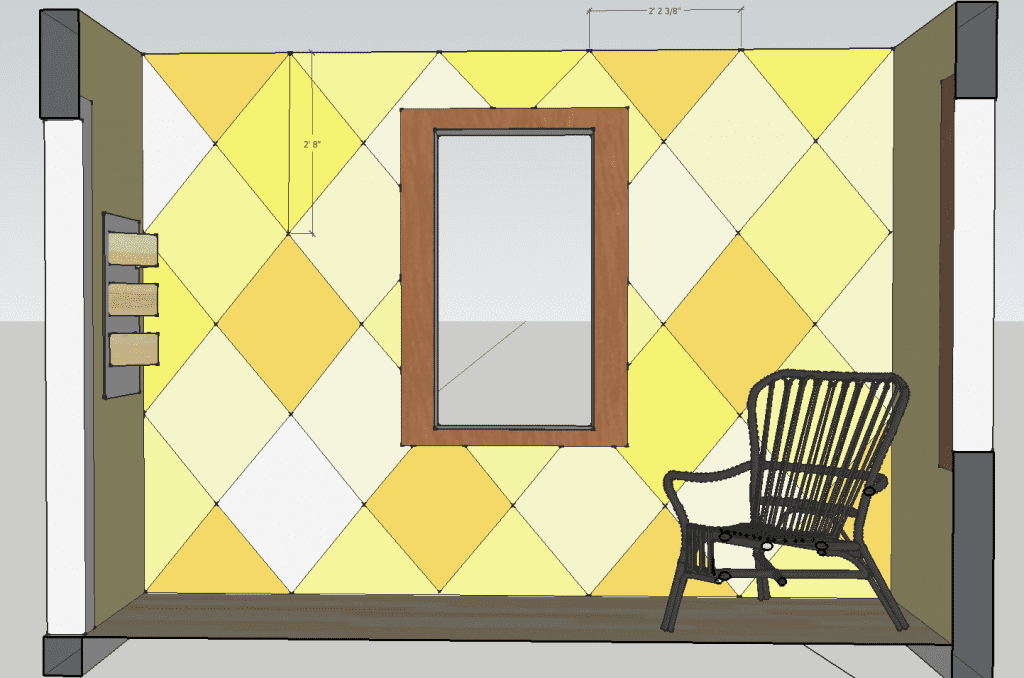
Armed with brushes and tape, other essentials are a level, tape measure, pencil, math skills, and patience. If you aren’t too concerned about the painting pattern lining up perfectly over windows or at other intersections in a room, then you won’t need as many math skills and patience.
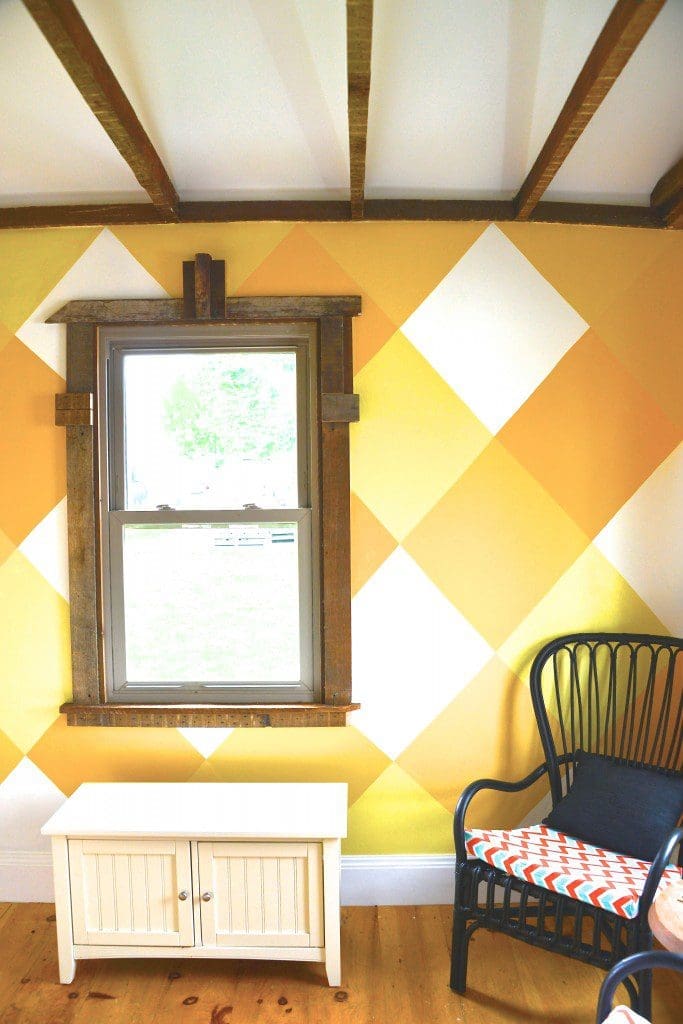
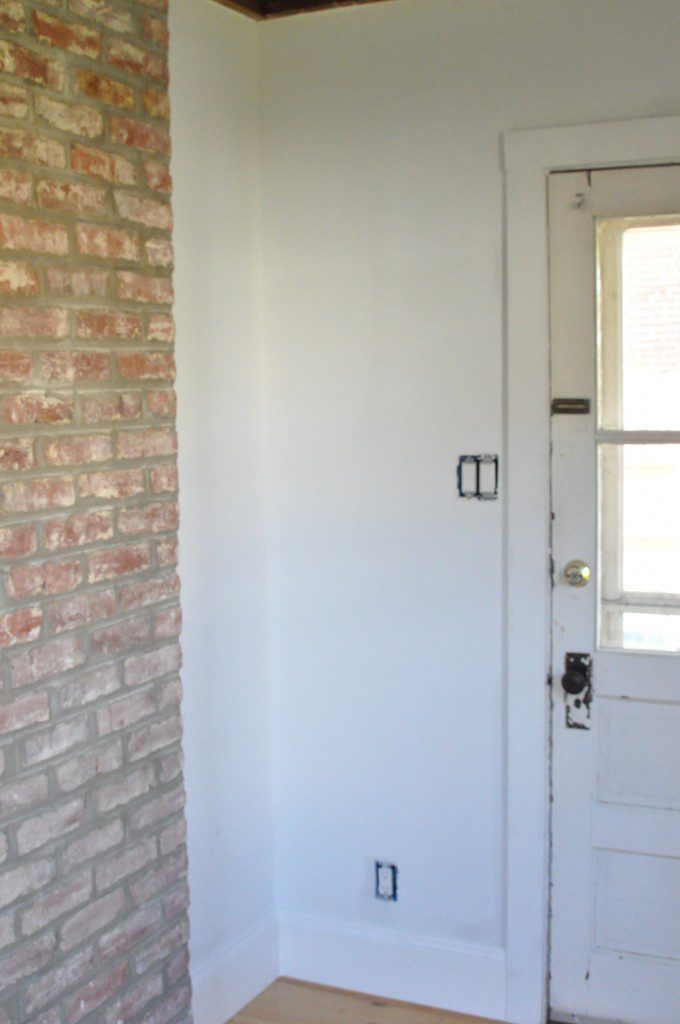
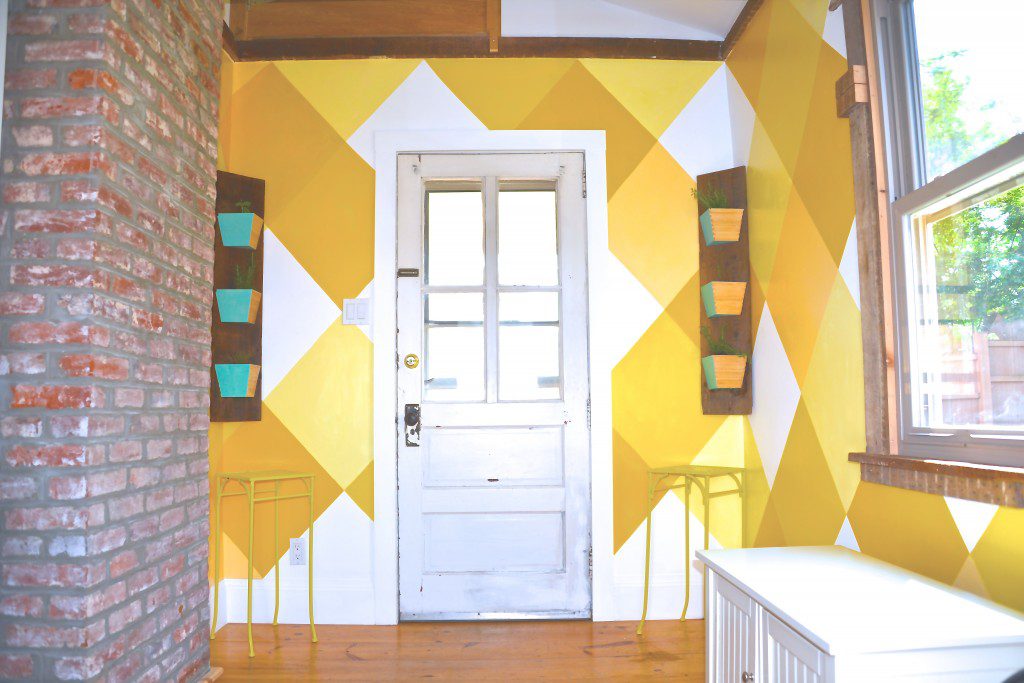
Check out the makeover of our mudroom into a sunroom where I created a diamond pattern on the wall.
Here’s the how-to:
- Every paint project starts with putting on Shur-Line paint can lids. Less mess, easy storage.
- Shur-Line paint brushes are my favorite for creating patterns.
- Level, tape measure, pencil, and tape are essentials for most paint patterns.
- Remove the tape after you paint, but before the paint completely dries.
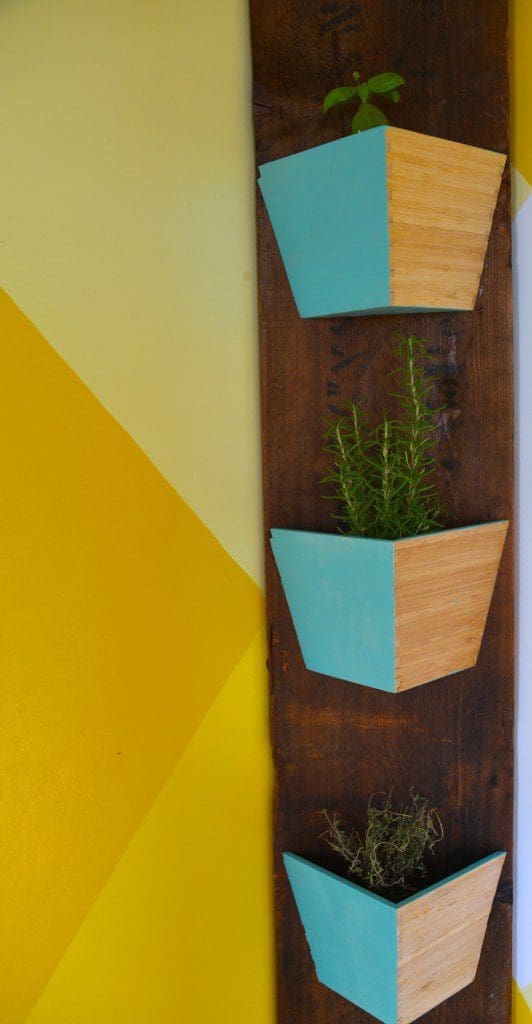
- With paint, JB Weld, salvaged wood, I modified a few Ikea pots into living wall art of herbs.
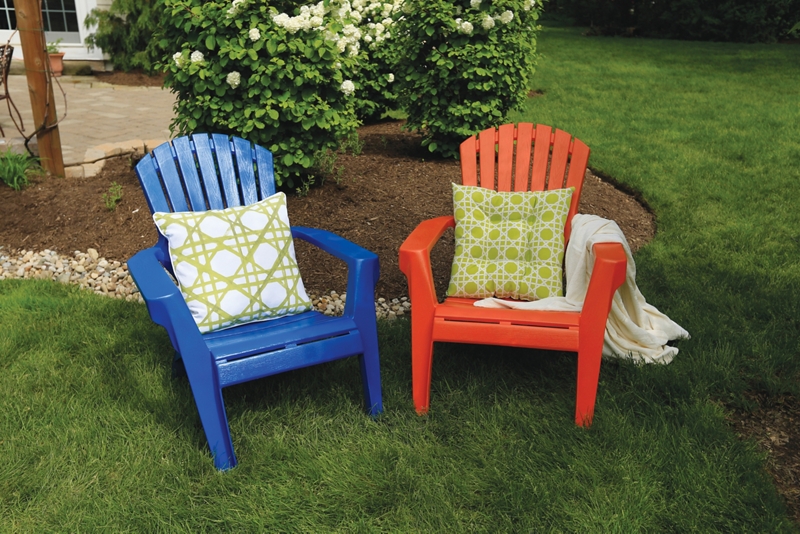
- A pair of Ikea chairs and custom cushions from Jo-Ann Fabric & Craft Stores.
- A table made from a candle holder and a serving tray from HomeGoods.
- This room is ready for this mom’s happy quiet space.
Best of luck to you with your next painting project. I’d love to read what you think about painting patterns in the comments below.














[…] to paint a color that we’ve deliberated about for hours or days. The can opens, and the color isn’t the […]
[…] I’ll post the answers to those painting patterns techniques after the […]
[…] of my plan to create a sunroom out of our dingy mudroom was to bring in plants, and since the sunroom is next to the kitchen, […]