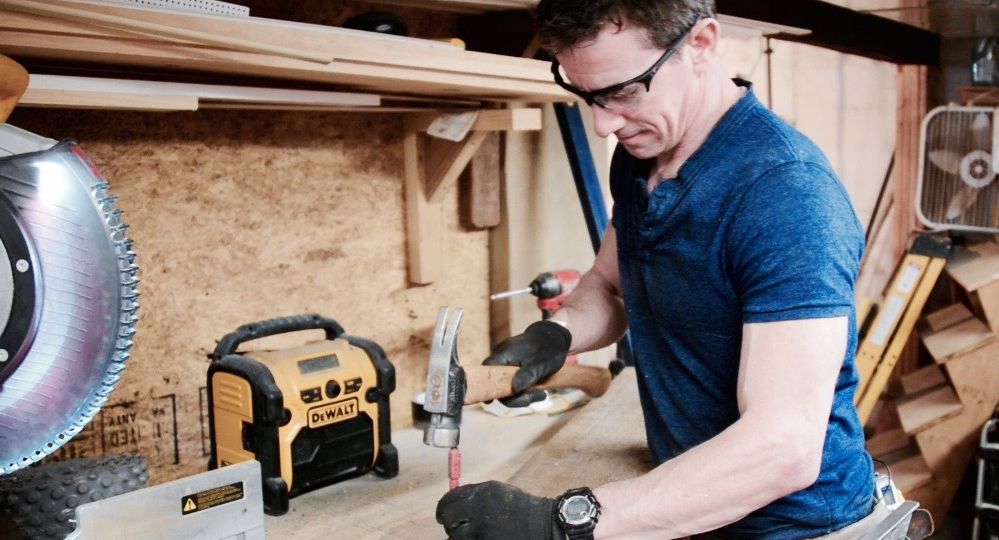
We call the look: Reclaimed Rustic. The video and tips below give some ideas for creating your own reclaimed rustic project. Now I’m going to get upset.


‘Reclaimed’ lumber isn’t using 4-trillion pallets for wall paneling or pulling boards you got at a big box store from your hoard. That’s just claiming. No ‘re-‘.
Someone would use those pallets. And there needs to be a certain age to the lumber to re-claim it. The pallets would be used and cut-offs from your bathroom remodel is just stuff you saved. You’re not rescuing anything valuable from the trash. You just don’t know what you’re talking about.
Reclaiming lumber is catching old wood from trees that barely grow any more before it becomes one with the garbage truck. Tom Silva from This Old House ‘splains it well on the MyFixitUpLife show.
So, that’s what we did. We had old framing from a renovation and we saved and savored its age and provenance. It also took some fun jigsaw-puzzling to convert it from pile of firewood to our reclaimed rustic window trim. That’s step 2, though. Step 1—get the material:
Step 1. Asking contractors in your area who work on old houses might be a good source for reclaimed rustic material. They probably have have more old framing lumber than they can ever convert into stuff and, sadly, they toss it. They may be glad to divert some from the dumpster to the back of your mini-van.
Step 2. Figure and finagle. We ripped 2-by material in half on the table saw to create two pieces with rough-sawn faces—that were also thin enough to not be dopey as trim.
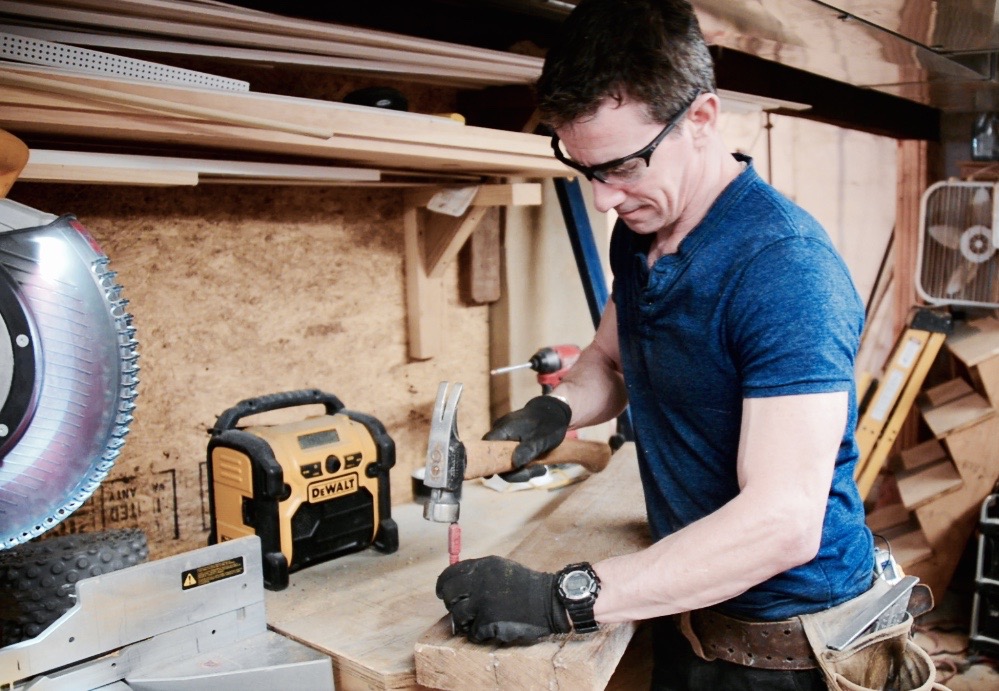
Step 3. Fine tooth comb those boards for nails. Blowing up a saw blade is a fast-track to a mini-nervous breakdown and maybe worse. I use my nail set to drive them back out to keep the nail holes—a nice detail making the rustic that much more rustic in reclaimed rustic projects. Can I say rustic one more time? On other pieces I just cut the end off. Rustic.
Step 4. Arrange the pieces on a work table or the floor. Mix and match over-sized (too long; you can cut them later) pieces to get a look you like before a board ever sees a saw or nail. We used blocks to create transitions and extend short boards.
Step 5. Know all the parts you need. For example, the video shows me nailing on the part called a ‘stop’, which took a little thought and foresight to get right.
Now, you’re all up in the reclaimed rustic look. Get some wood. We’d love to see your projects.






Jordan — THANK YOU!
Great post! Thanks for this!
[…] cool and reclaimed.Listen to Mark’s rant on reclaimed talking pallets with Pallet King DIY Network’s Matt […]
Thanks for sharing this DIY reclaimed wood window project. I actually had no idea that “reclaimed” wood is wood that was actually going to be thrown away or considered useless. Since there aren’t any conveniently large trees near me, I’ll definitely be sure to look for contractors in my area to help me find wood. However, since I’m already talking with them, I could probably also ask what they’d charge to do the wood window project for me.