
I love having a stationary workbench in my shop.
So you want to build a workbench? While many workbenches I build are mobile by design—whether for the jobsite or just to move around the shop—I like to have a fixed, sturdy, flat place to do all kinds of stuff from sharpening to paperwork. Building a workbench isn’t hard. Here’s what you need to know to build a garage workbench.
The key features of this workbench
As usual, however, I want lots of utility and versatility without spending a lot of money. And I want to maximize the space, which this workbench does nicely. Because it is wall-mounted there are no legs to get in the way (like when I’m sweeping up) and I can store things I don’t use that often underneath. Perfect for a garage, shed, or basement.
And, as you may be able to tell from the picture, this workbench is in an old house. So even if I wanted to build a 4-legged workbench, I’d need about 300 shims under the legs to accommodate the undulating concrete that’s the floor.
How to build a workbench
Supplies for this project? All it takes to build a workbench is some 2×4, fasteners, and 5/8-inch BC plywood.
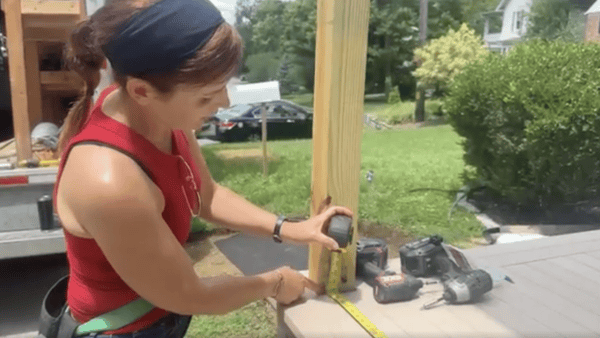
Step 1. Measure the location.
Thirty-six inches off the floor is a nice height. Also, the more your house looks like it was a location for Silence of the Lambs, the better this workbench is.

Step 2. A level line is next.
When scribing on concrete or masonry like this, your pencil will instantly be torched. Good thing this link will take you to a terrific video on how to sharpen a carpenter’s pencil.

Step 3. Fasten the ledger to the wall.
On this workbench, I installed the sides onto the ledger first. It makes getting the angle for the legs (next) easier. Make sure the sides are level before laying out and fastening the legs.

For a workbench like this, I like the leg to be at least 24 inches long. To get the angle where the leg meets the side, I cut a 45-degree angle off the wall-side, then just put the piece in place and trace the top.

Step 4. Install supportive ribs.
I like to install ribs every 24 inches or so before putting on the front piece.

Step 5. Attach the front.
The next step in building a garage workbench is adding the front piece. It can be (A) terrifying, (B) agonizing, (C) fun?

Step 6. Add the worktop.
Adding the top gives me an excuse to use one of my handiest tools, my narrow crown stapler. It’s awesome for this kind of project because the staples hold fast and (even though they’d work fine) leave a smaller countersink than screw heads. Plus they go in fast and make a cool noise.

Step 7. Organize your workbench stuff.
The best part of building a workbench is customizing it. There are fancier ways to organize a workshop: drawers, doors, closets, etc. But for me, in a shop like this, I can finish something like this (a) in my lifetime and (b) it’s easy to build.
It’s inexpensive and delivers buckets of utility. It doesn’t do everything—closets and cases are great for stuff like paint cans and a zillion other things—but this creates a space for stuff I use that I can see it and grab it when I need it. You with me on this?


Check out our favorite tools and gear!


[…] 4. Arrange the pieces on a work table or the floor. Mix and match over-sized (too long; you can cut them later) pieces to get a look you […]
[…] That’s 93-inches long. Note: If it doesn’t fit exactly, knock 1/8-inch off. We used a miter saw to build this grill hack, but a circular saw will get the job done too. Forcing it in because the […]
[…] thing. You need a countersink. From decks to bathroom framing to making a workbench to hanging a door, a countersink minimizes wood splits near the ends of boards. I use mine […]
[…] project, to new trim, to those extra pieces of flooring, and the rainy day hunk of drywall, this workshop organization makes a place for it […]