Since getting the lucky chance to work as a Bernzomatic ‘Torch Bearer’ designing and making stuff with torches, I’m adding soldering to the list of things DIY and home improvement that I love.


I’m not saying I’m good at it. But I like it. And I want to be good at it.
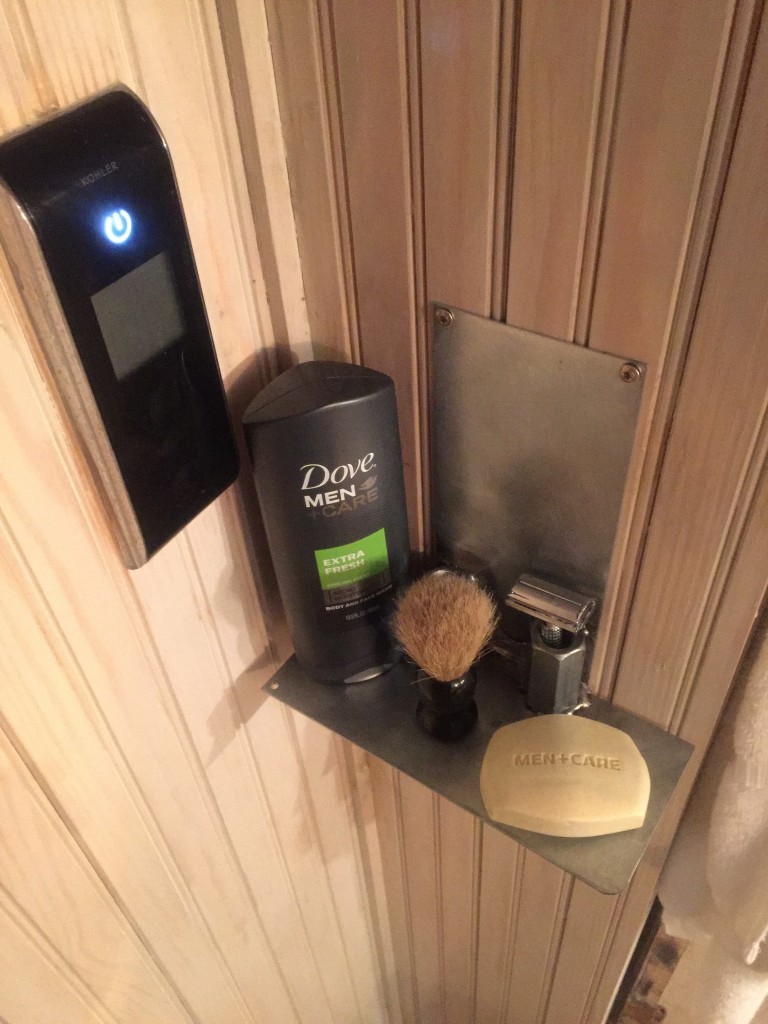
Reason is, I like making things and this is a new (to me) way to connect parts I’d otherwise never use. Somewhere between glue and welding, solder and flame gateways me into cool stuff I can make for my kids (like my rain shower) or a new way to finish wood projects like my pine storage bench. And this project: A bolt-on, totally diesel shower caddy for my man cave.
Yeah, I guess I just described a shower caddy as diesel.
Pieces and Parts
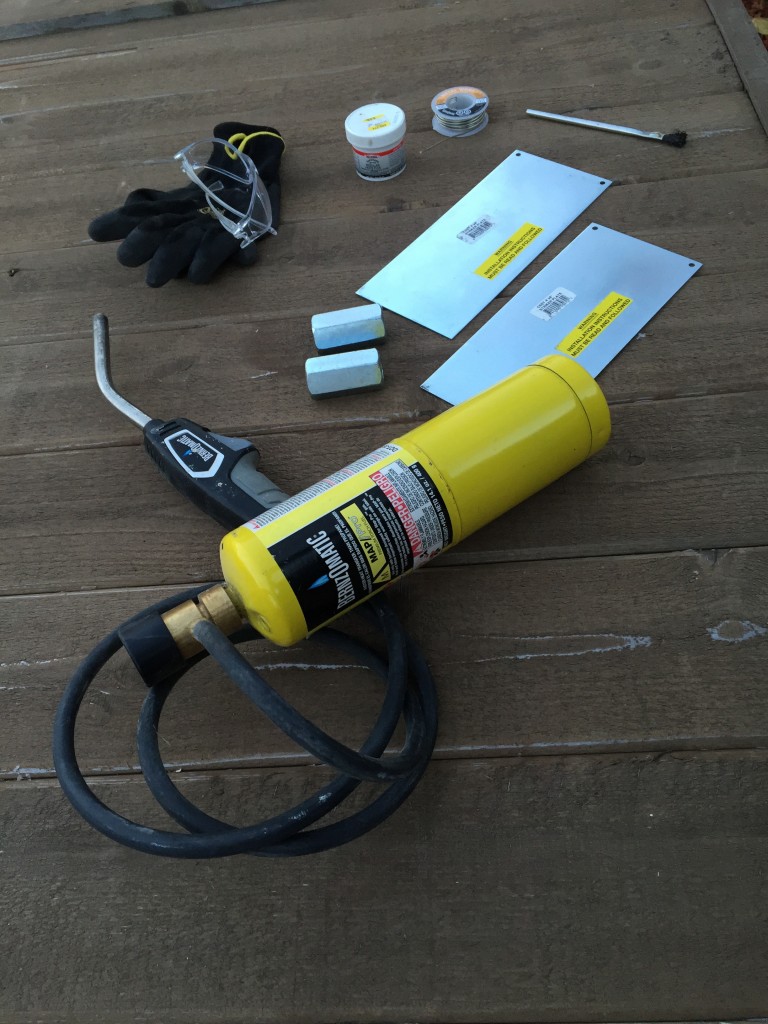
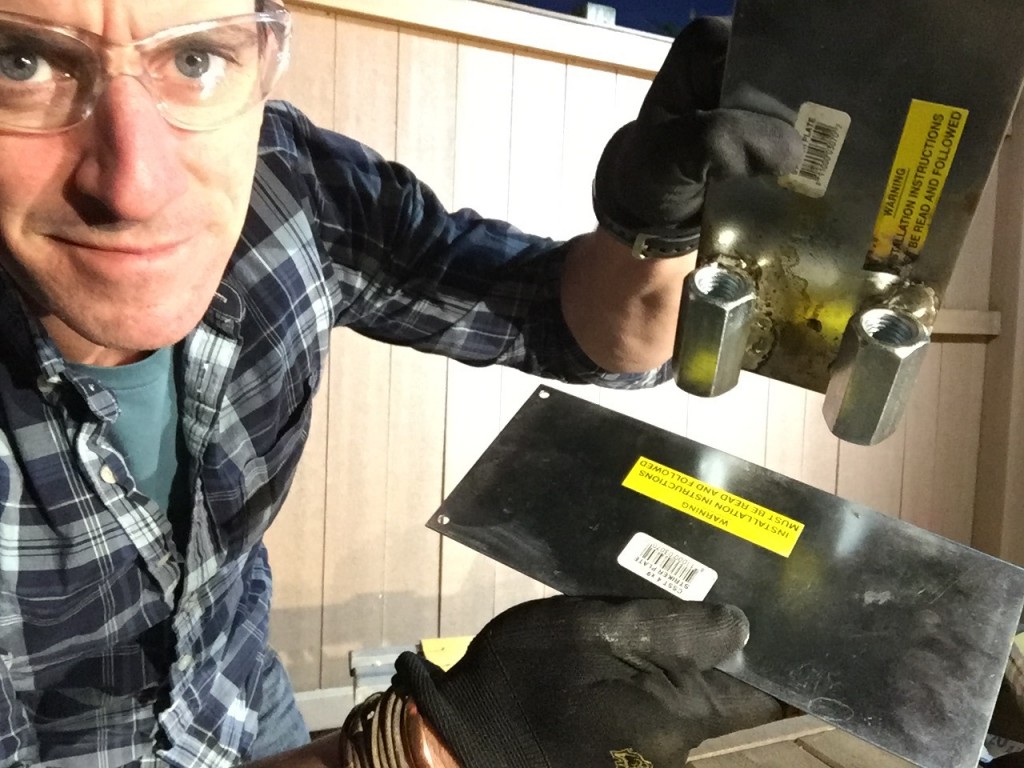
(2) CSST 4×9-inch striker plates (find them in the plumbing aisle near the gas pipe in a home center; they’re nailing plates used to protect corrugated stainless steel gas tubing, aka CSST).
(2) 3/4-inch ‘rod coupling nuts’ (find them with the steel bar and threaded rod in a home center)
Propane torch, flux, flux brush, aluminum oxide sandpaper, solder, gloves, eye protection, rust protection spray (clearcote)
How-To
The idea here is to make a steel shelf that holds the things that need to be held in the shower: Shampoo, soap and, if you’re like me, I’m a shower shaver, so a razor. And I don’t mind brushing my teeth in there either. Too much sharing? Probably too much.
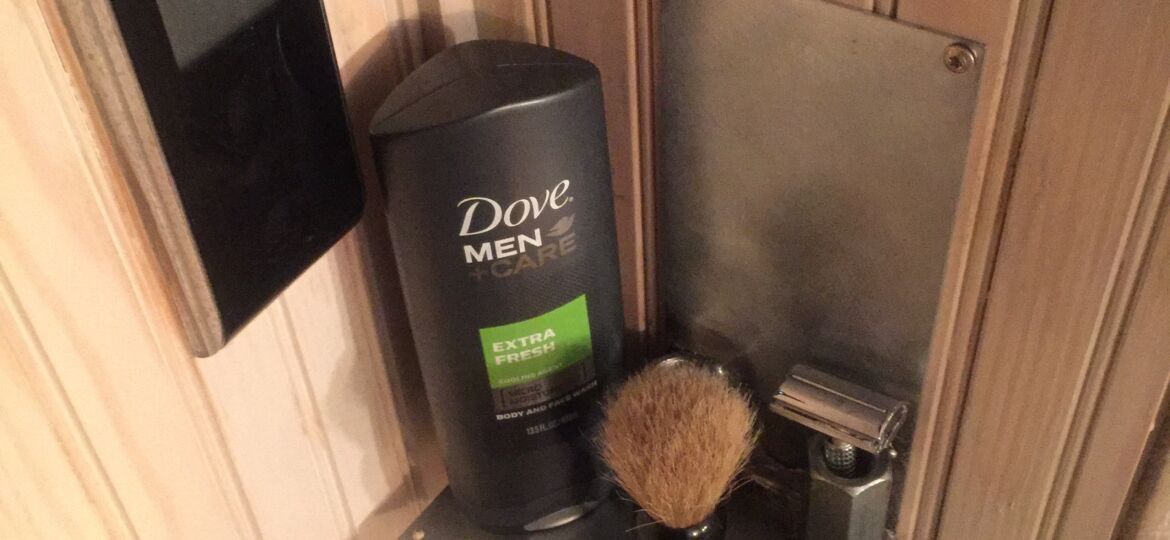
The couplings serve two purposes: Vertical storage for my razor (and yes, I really do use a safety razor; it’s not just for show) and the structural connection points between vertical and horizontal shelf parts where I store the sudsy stuff. And yes, I really do use Dove Men + Care. The soap is a little granular and I like it. Digression over, back to how-to…
Orient the vertical striker (the one that goes on the wall) so the screw holes are at the top. Abrade the steel with aluminum oxide sandpaper at the bottom where the couplings will go.
Set the lugs on the striker. Don’t set them quite flush to the bottom. Hold them up about 1/32-inch (the thickness of a quarter). Brush flux onto the facet of the of the lug that’ll contact the striker. Brush flux on the striker. Don’t go crazy. Too much flux will just sizzle and char.
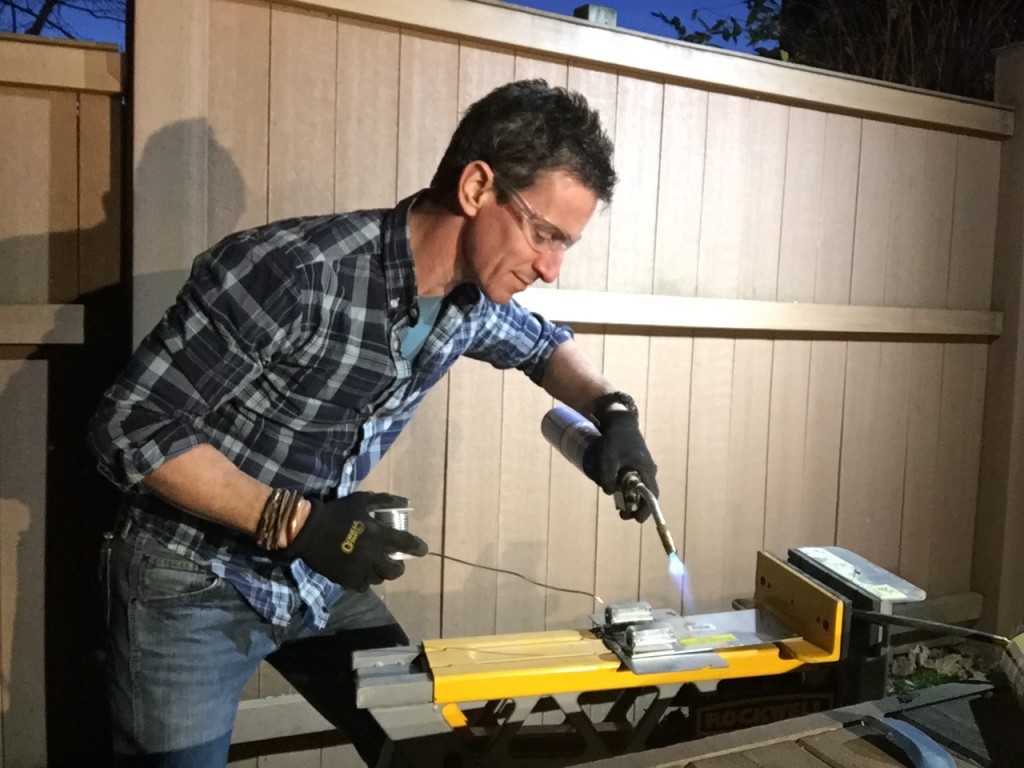
Place the couplings and heat it. I thought I needed MAAP, but propane was fine. I had the best luck soldering the parts together when I applied it after the metal changed color a little. I also tried (with moderate success) to lay the solder long-ways against the lug so the flux would draw in the whole bead, not just the tip. Unlike a plumbing pipe, this is a long flat joint. I soldered both sides and the tops of both couplings. With the solder still liquid, use a folded rag to—carefully—wipe away the excess. Do this for both lugs.
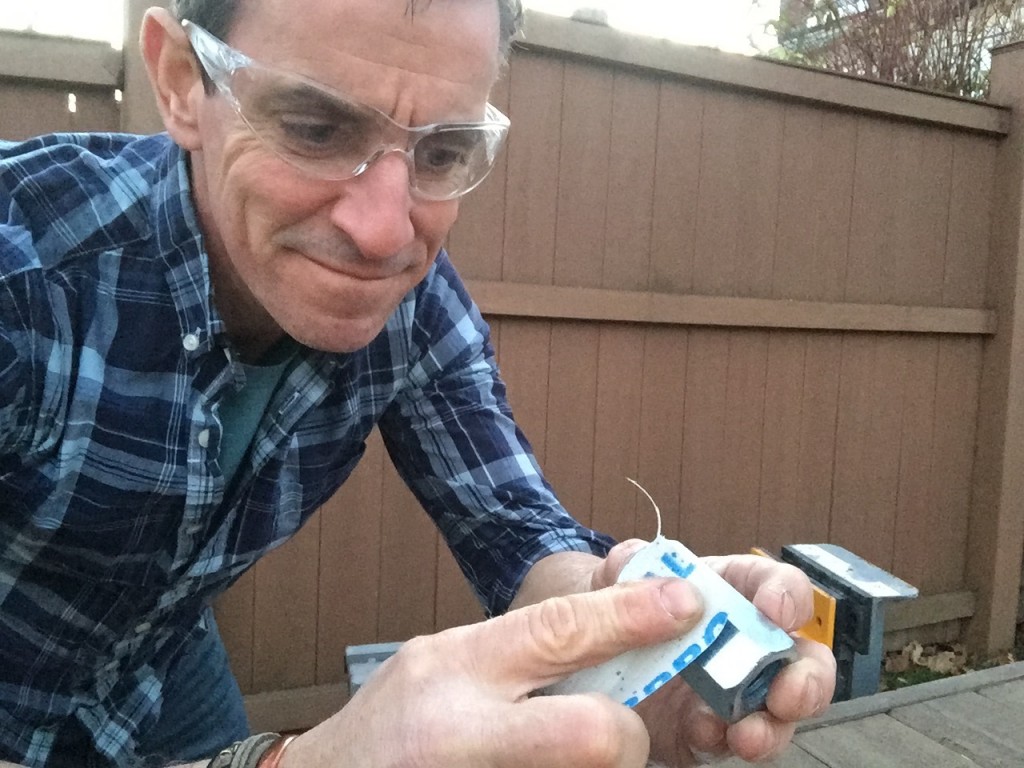
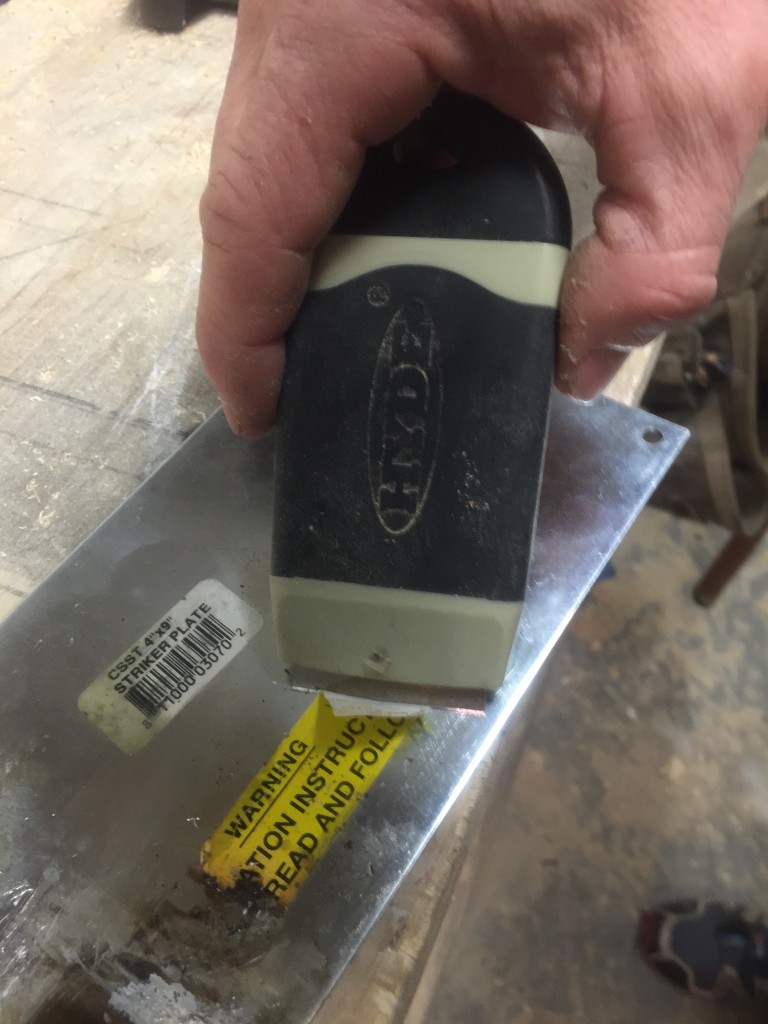
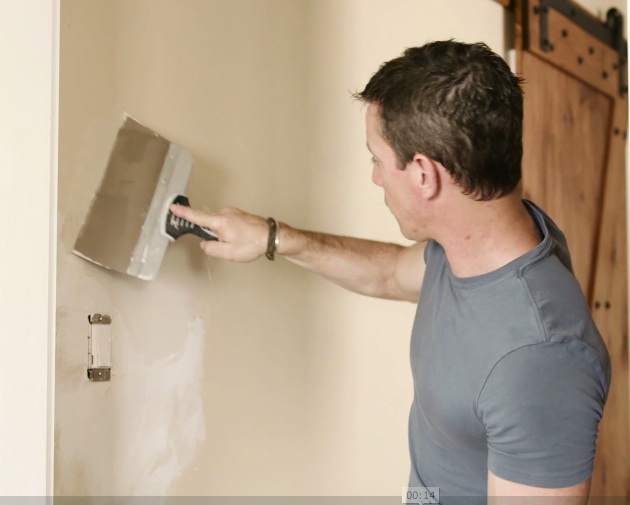
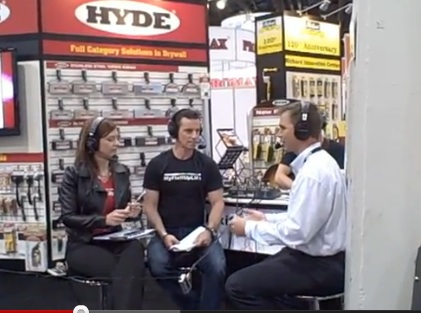
Let the connections cool, then connect the bottom piece to the bottoms of the lugs essentially the same way (abrade, flux, heat, solder). And peel the stickers. I probably should have done this first. I used my Hyde peeler, which I keep with my drywall and paint stuff, activities where it seems sticker removal is a thing.
Let it all cool.
Since my joints were, to my eye, a mess, I cleaned them up by re-heating it and trying to wipe away excess Terminator II quicksilver. SIDE NOTE—So cool how this works!!! When everything re-cooled I scoured everything with aluminum oxide sandpaper. It did a good job and added a brushed look to the flat steel.
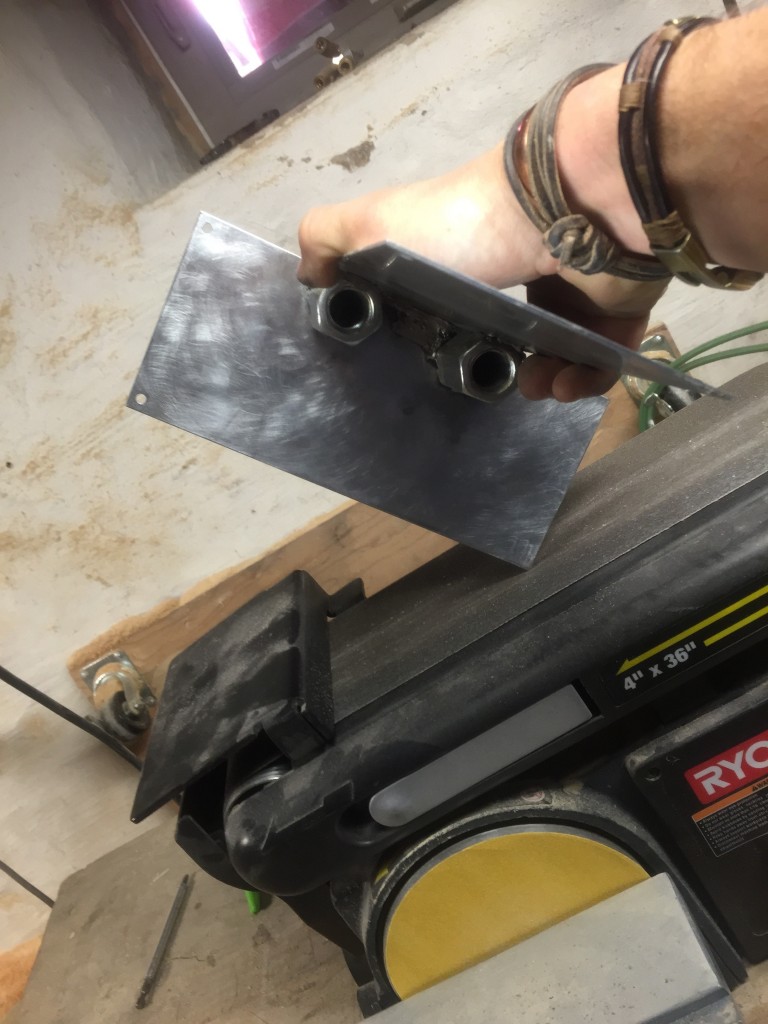
And since my 7 year old son and I share this man cave shower, I knocked off the square corner on the horizontal plate with my bench sander, a tool I happen to love because I can do weird stuff like this with it. Rounding it off was easy.
It’s also worth mentioning that I give props to anybody who can make these metal-to-metal connections cleanly. Mine, by anybody who can see’s standards, are not clean. There is an art and skill to soldering cleanly.
Last step: Fasten to the wall. My man cave has a wood-paneled shower…Pause, drool a little, continue…so I just used some Spax washer head screws. For grout and tile you’ll need the right drill bit and hollow wall anchors.
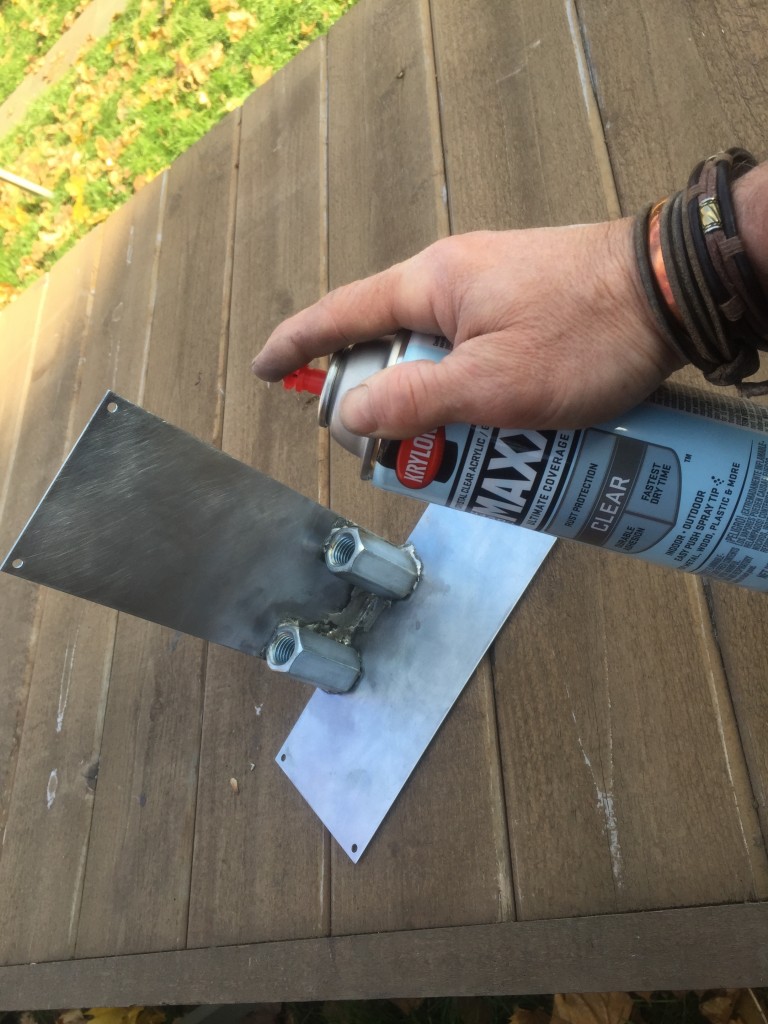
Last step: Clearcote all sides. I used Krylon SuperMaxx rust protection. And don’t forget to clear cote the screw heads as well before installation.
Now we’ve got full diesel shower power.
This is a sponsored post. I am a Bernzomatic Torch Bearer, though all opinions expressed are my own.

















[…] the panels by soldering the stretchers. Even though I’m calling this an Internet-breaking Pinterest project, I used MAAP gas because because it burns hotter than propane. This is good for larger pipes like […]
I really love the idea! And because it is metal, I’m pretty sure that this would last for a lifetime. Great project!
Thanks Kristy! This was a fun one. I’m pretty sure it’s not going anywhere either. 🙂