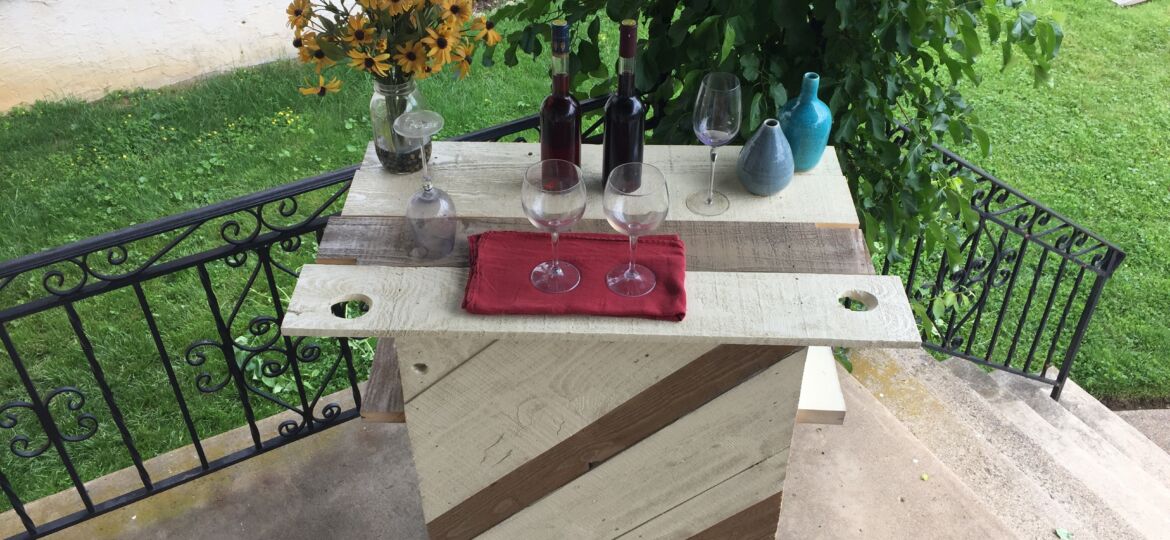
Warm weather and DIY projects seem to go hand-in- glove. Or wine-in-glass in this case. Want a perfect project for the deck, living room or front porch—one with a near instant beachy look—for warm weather gathering? Here’s how we made this charming little bar cart. Yes, we used pallets.
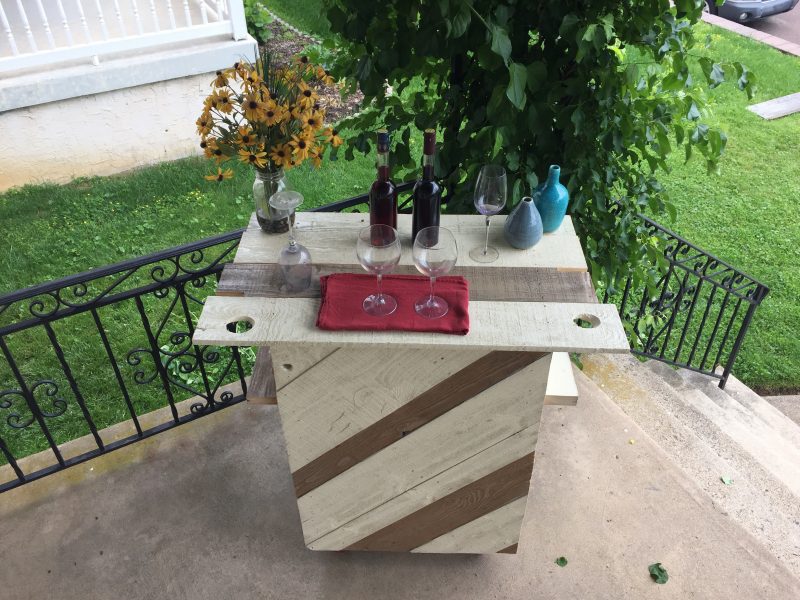


I’m inspired by the feeling I get from what I call ‘dune fences’—those weathered, woody and wiry lines in the sand holding dunes and beach grass in place. They instantly say ‘summer’ to me and it’s the look I wanted for our summertime bar cart.
But you can’t make much out of them, so to get the texture I wanted, I used the least beachy thing in the world: Pallets. And for the color to bring the beach feeling alive: Krylon® Spray Paint.
I think this project is perfect for kicking off warm-weather gatherings or enjoying a quiet night for two on the porch. We partnered with Krylon on this project. The design and how-to are ours. We hope you like it.
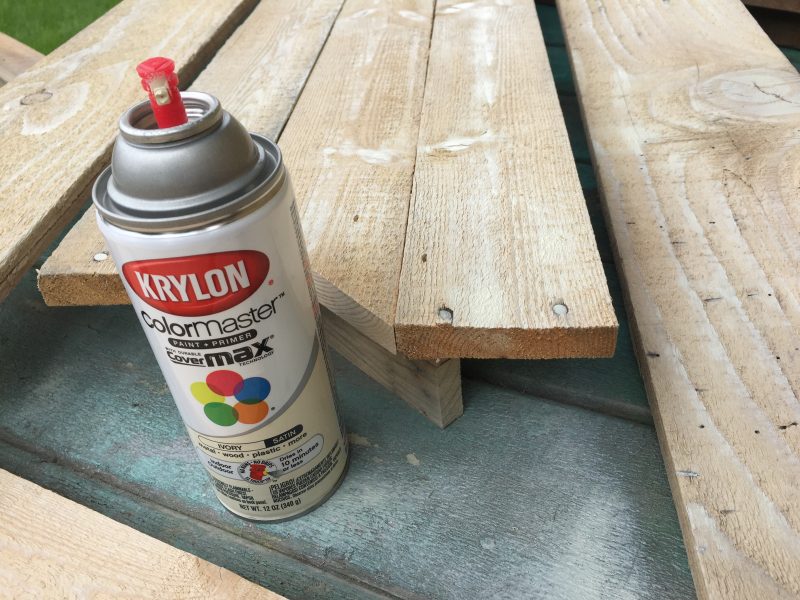


Short of taking your pallet wood over to Nantucket for weathering in the salt air, there is no way I’ve found to create a beachy feel as quickly as just a single coat of Krylon ColorMaster Paint + Primer in Satin Ivory.
The more I painted, the more saturated I wanted the color. After all, I like the beach but I don’t live there. And I may use the bar cart outdoors so I deepened the color a little and sealed the rough texture of the wood. I used 8-cans of ColorMaster Paint + Primer in Satin Ivory and 4-cans of ColorMaster Paint + Primer in Gloss Khaki.
This bar cart has bottle storage built in, glass storage on the sides and even handles for bar towels. And it’s on wheels so it can be easily rolled where it’s needed most. First step is harvesting the great North American Pallet Tree.
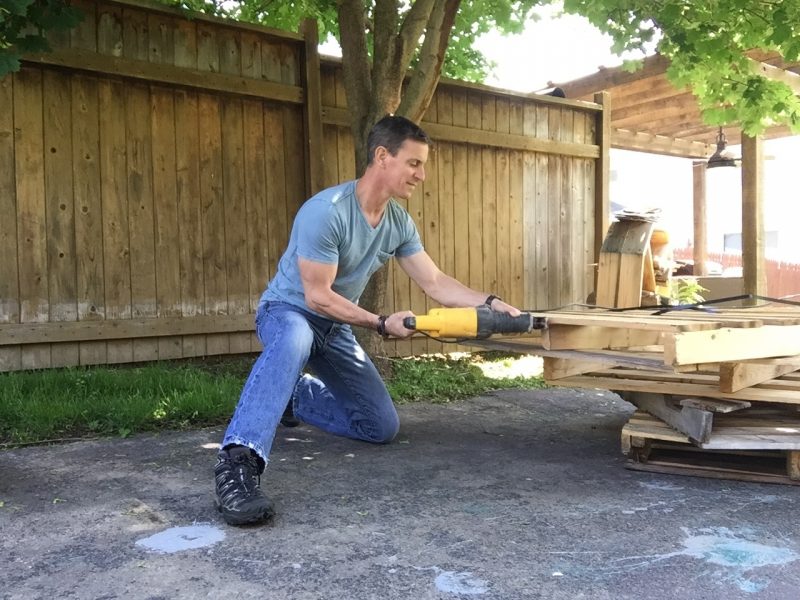


Pallet woodworking projects for me start with the reciprocating saw. Loaded with a long carbide-tipped demolition blade, I find cutting pallet nails is easier than trying to pry the boards off the staves. Other DIYers seem like like using large demolition bars but I haven’t tried these yet.
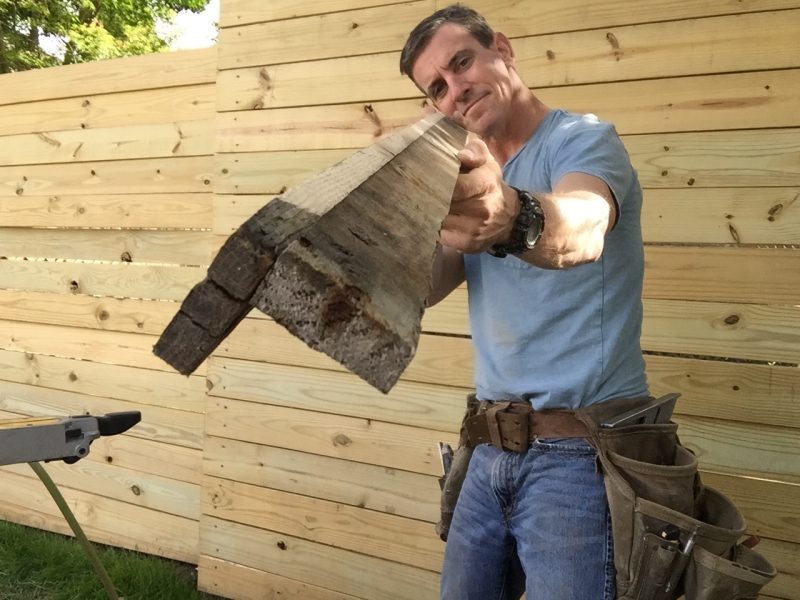


I rip pallet boards in half on the table saw—be careful of cutting through nails—then staple them together with a pneumatic stapler to form the corers of the bar cart frame.
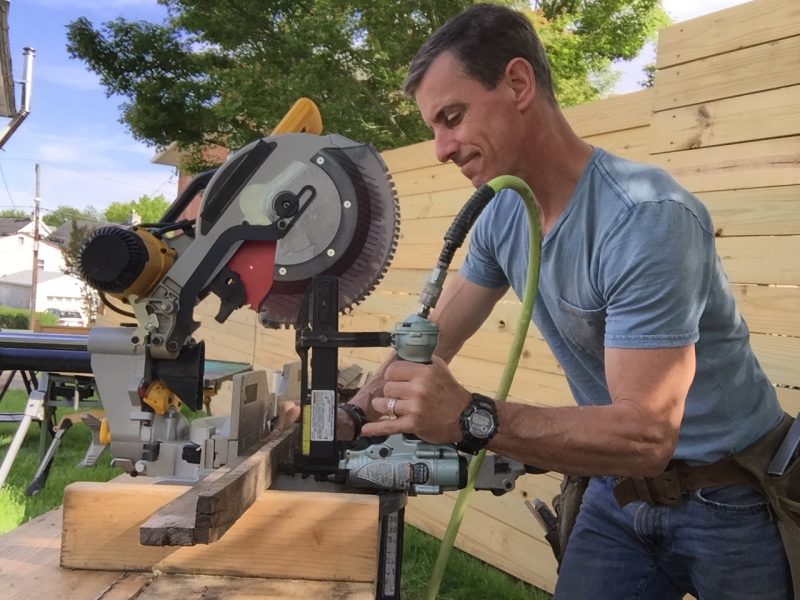


One of the biggest challenges of DIY projects is figgerin’ out how to fasten things together. A good workbench is the first step. Smart, safe tool use—and the right tool for the job—is another. I use my miter saw, workbench and stapler to make quick work of ungainly pieces. You don’t need high-end professional tools like I have. Affordable, DIY-style tools are great for projects like this too.
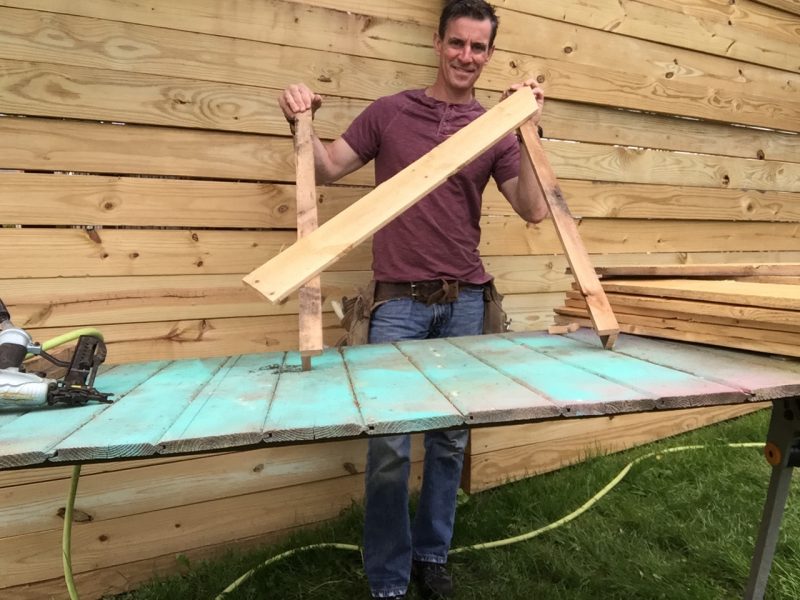


This is more than a selfie with weird wood. What’s really happening is that I set the left and right L-brackets parallel to each other on the table, 23-inches apart. Then I ran the diagonal piece across them. I set the angle at 45-degrees, but the angle doesn’t matter as much as the brackets being parallel does. Run both ends of the pallet wood long. We’ll cut them later.
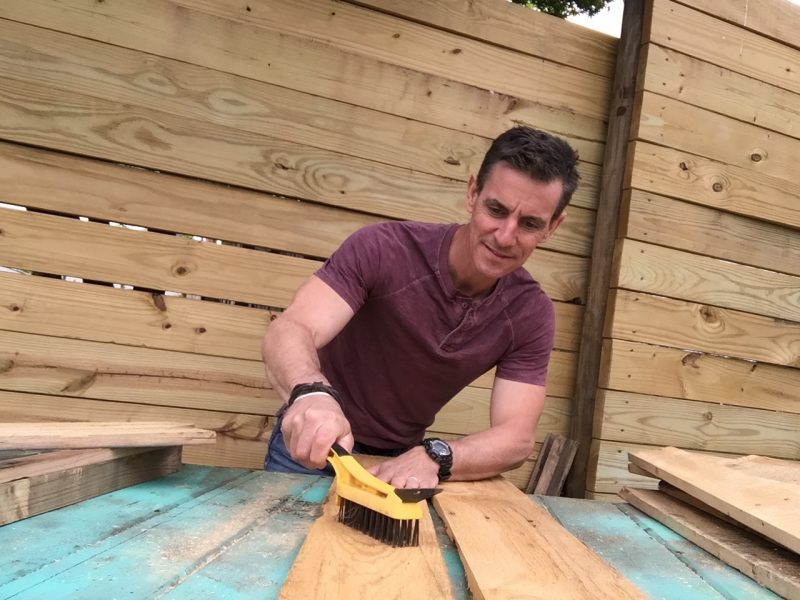


A wire brush is my favorite—and the fastest as far as I’m concerned—way to prep pallet wood for paint. It disintegrates dirt with very little effort and works about a million times better than sanding. And the paint loves it!
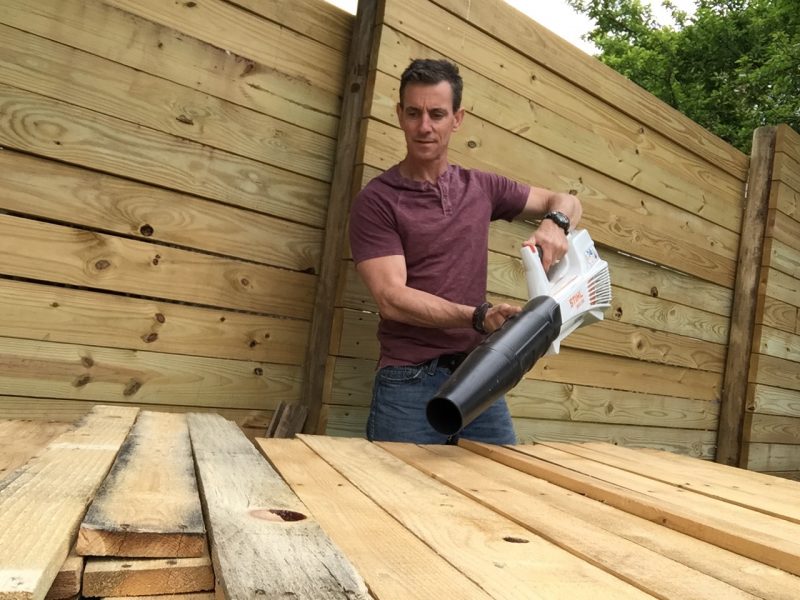


Just as much as embedded dirt hinders paint from sticking, so does the dust left over from wire brushing, cutting or sanding. So maybe, just maybe, I went overboard with the landscape blower. Or not. It worked great.
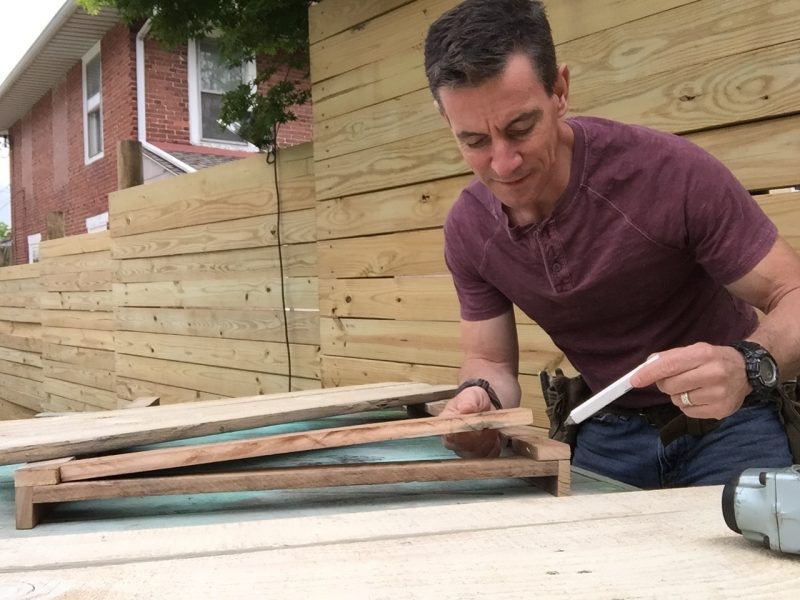


The good thing about L-brackets in DIY projects is that they’re awesome for corners and panels in a bar cart like this. The bad thing (it’s not really bad, it just is) is that sometimes extra pieces are needed to create flat surfaces. Here, I’m installing a filler to ‘pack out’ so all surfaces are flush for fastening.
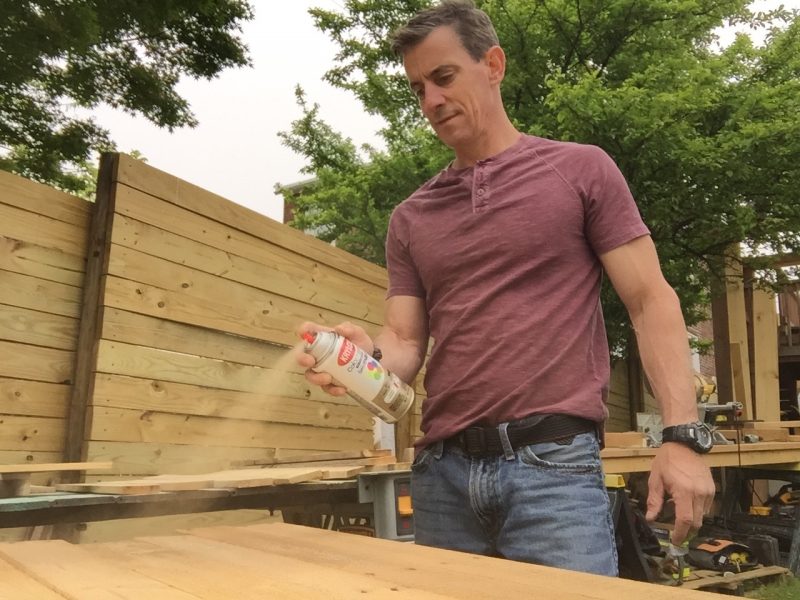


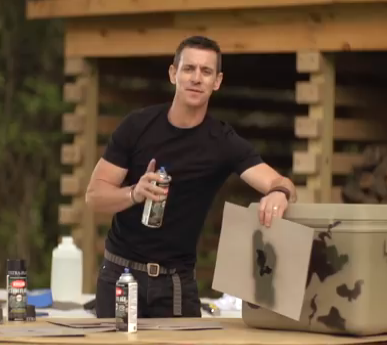
Before assembling the bar cart, I gathered my pallet pieces and spray painted them. Here, I’m using Krylon ColorMaster Paint + Primer in Gloss Khaki for the accent pieces. I painted 20 pallet pieces with ColorMaster Paint + Primer in Satin Ivory and 10 pieces with ColorMaster Paint + Primer in Gloss Khaki. I made sure to read the application and safety instructions before spraying.
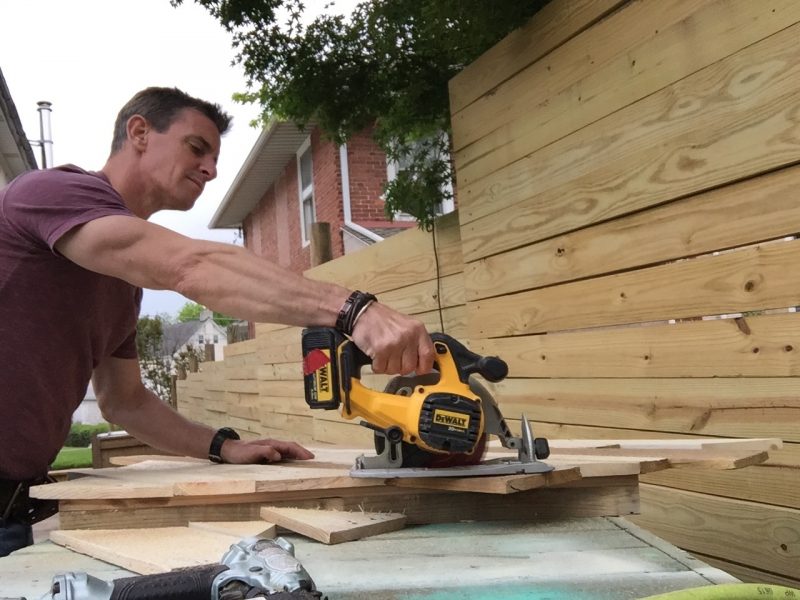


Once the paint had dried, I installed the painted pallets on the bar cart frame and varied the colors for a nice striped look. I overlapped the frame the same thickness as the pallet wood (or a little more) so that the front pallet pieces cover the sides. Note that there is an overhang so that the side panel tucks behind the front. Also, cutting pieces all at once like this is far more accurate than cutting individually.
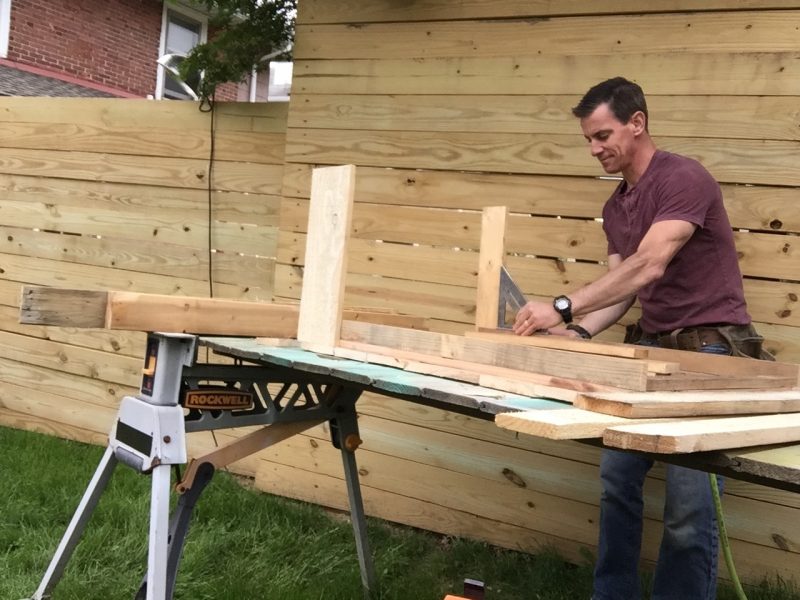


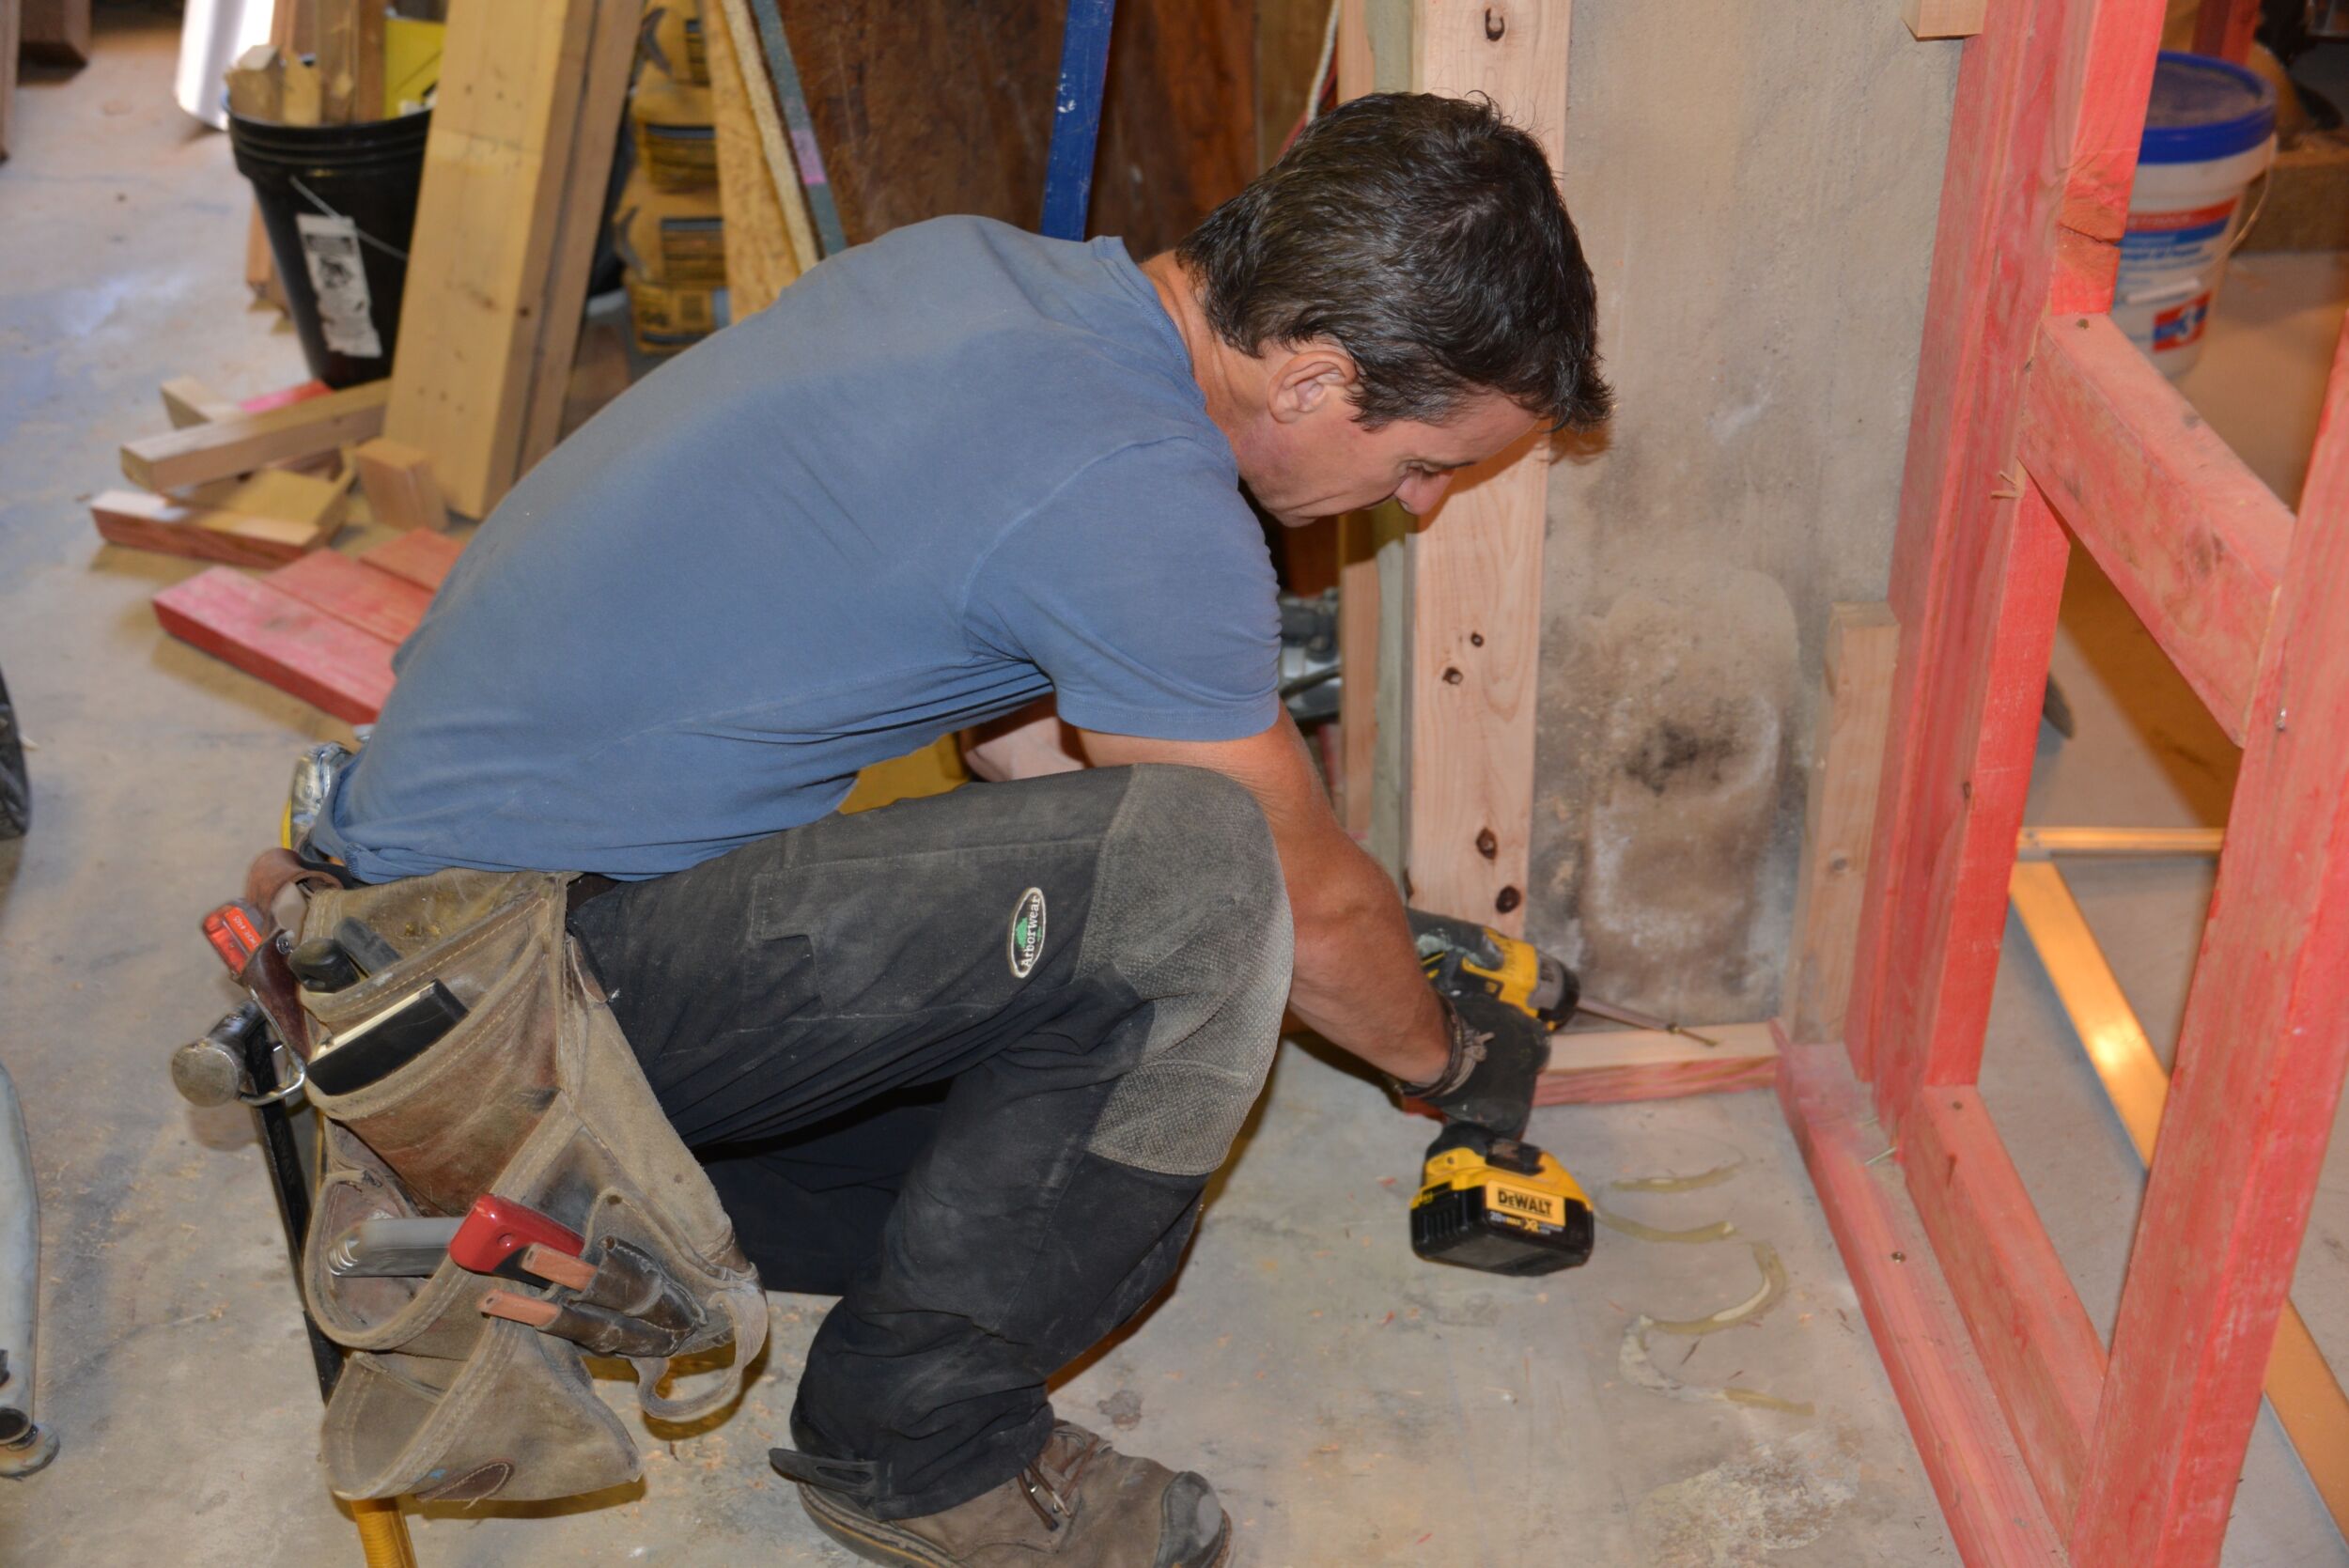
Here’s where the L-brackets pay off: Built-in corners. Use a square and start fastening the sides to the front of the cart. Then install the rear L-brackets to the side frame piece. This creates all three sides of the bar cart. Next, install the pallet wood and flip the frame upside down to install the two bottom pieces left to right. Fasten the casters in each corner of the bottom piece. Once the cart is complete, install the bar top. Add notches for hanging stemware, or use a jigsaw to cut a beveled hole for bottle storage.
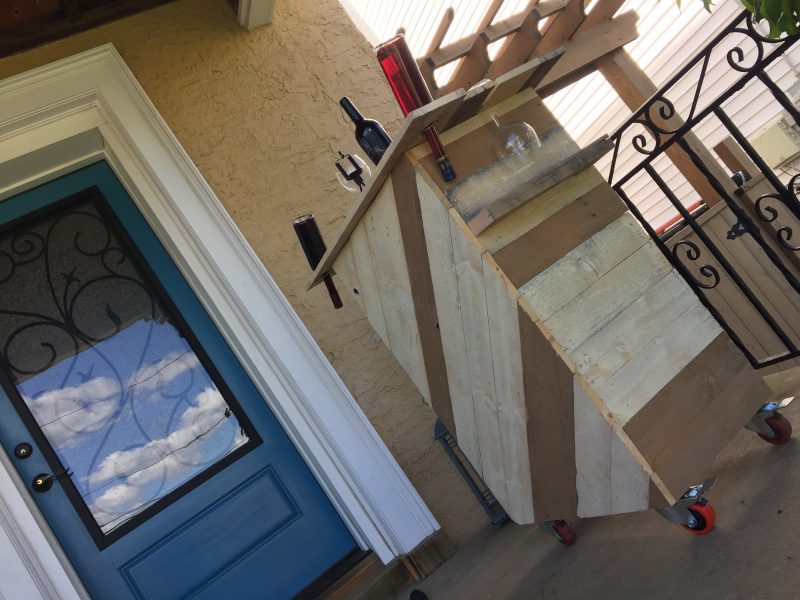


Little things that are actually pretty easy to do give this beach-y bar cart, and other DIY projects you might do, a super custom look. Detail on the bottle and glass storage below.
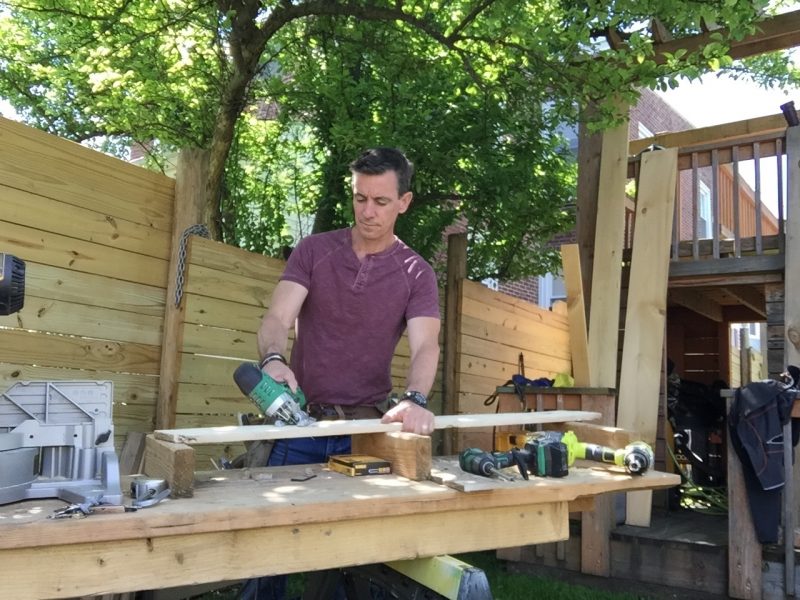


To create the angled bottle holders, drill a 1 1/2-inch hole in one piece of the bar top. Then, bevel your jigsaw 45-degrees to create a nest for the neck of the bottle on the top side and on the bottom side of the hole.
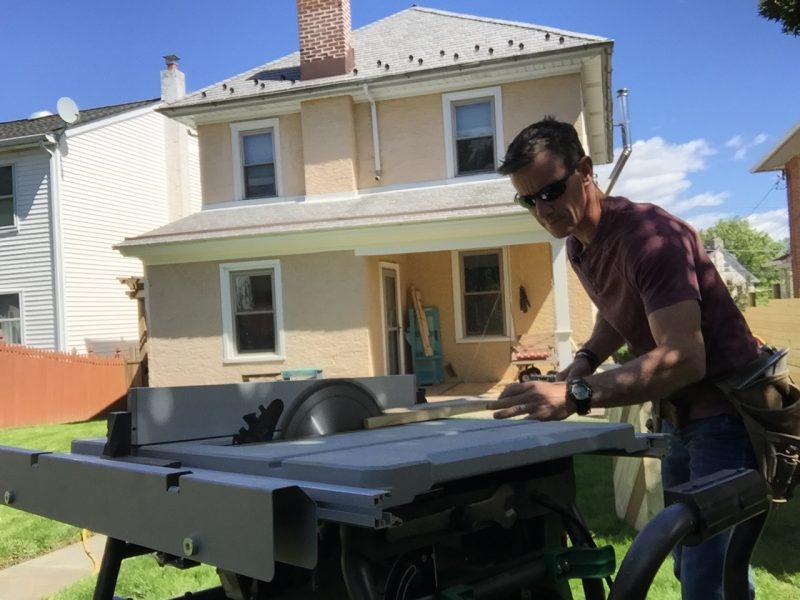


Part 1 – The notch for the upside down glass stem is two cuts. The first one is a ‘rip’—along the length of the board. Note that the blade on the table saw is up all the way. The reason for this is that it’s cutting almost straight up and down—like a jigsaw—but much more accurately. I cut 2-inches in and stopped.
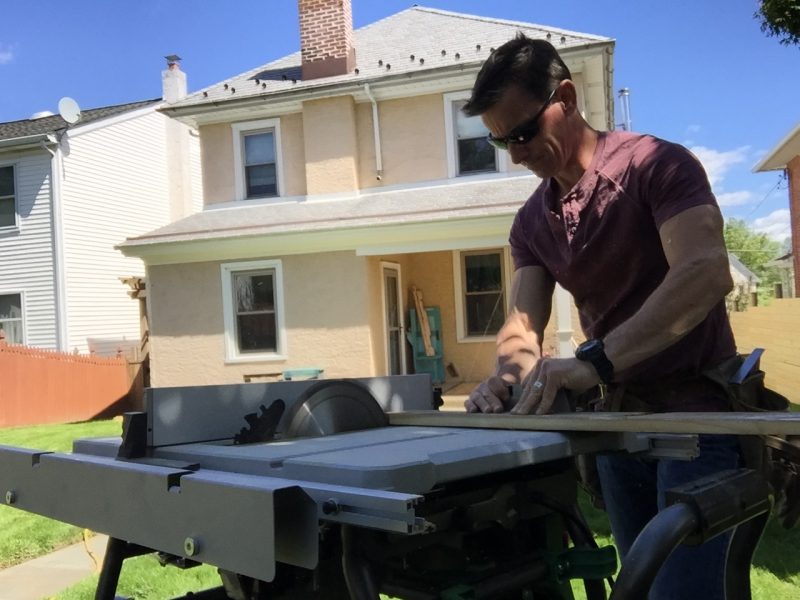


Part 2 – Safely and easily complete the glass stem notch in the bar top piece by using the cross-cut guide.
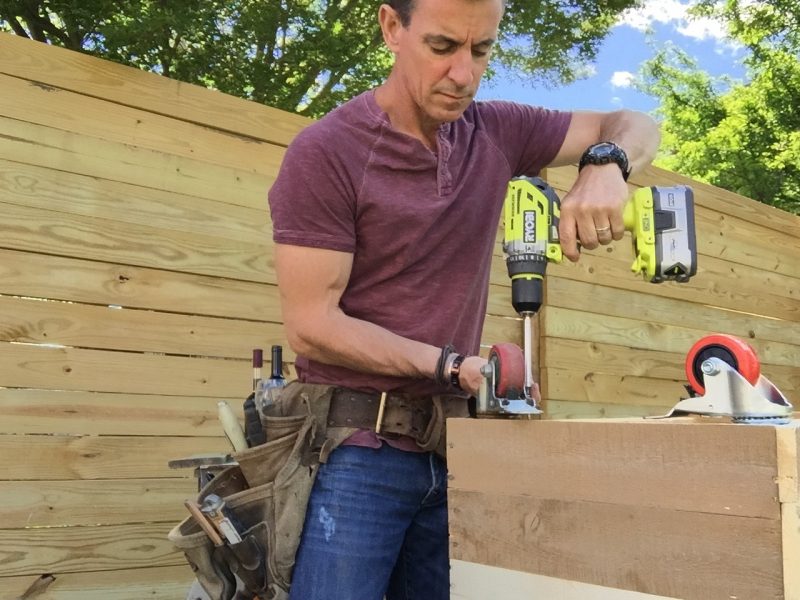


Swiveling, locking casters—red wheels—make the world go round. I fastened four to the bottom so this DIY project could be easily rolled into action.
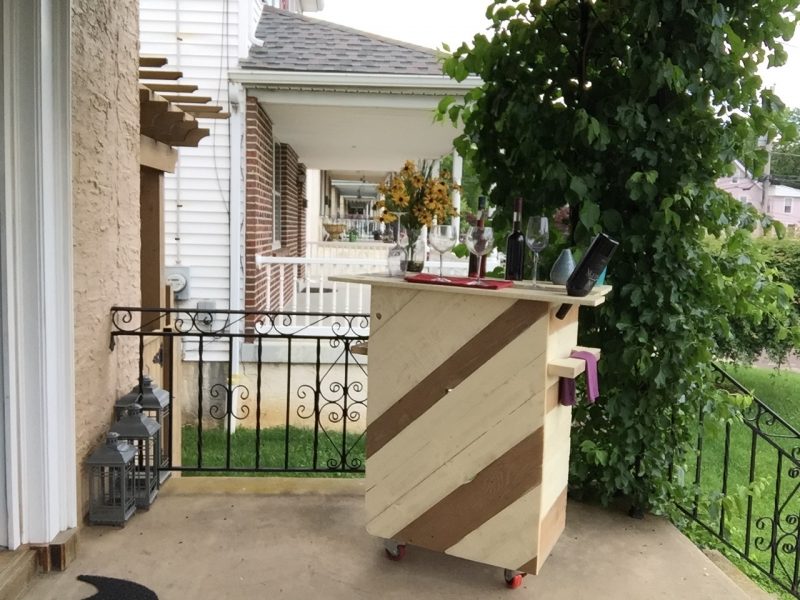


First, I love the diagonal pallet wood boards and the beach-y feel of the Krylon ColorMaster Paint + Primer in Satin Ivory and Gloss Khaki. The towel holder is simply a pallet stave cut to fit.
WARNING: Nails. Be careful when cutting. The nail shanks are easy to avoid but will send up sparks if you hit one.
You can further customize this project with shelves on the inside or other custom features.
