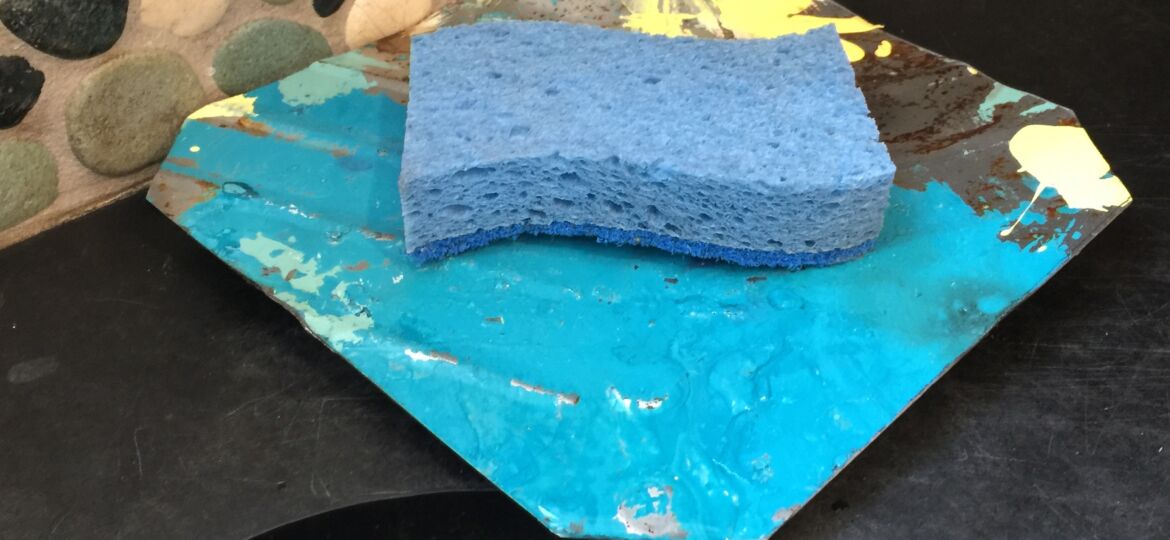
This upcycle idea was born of a problem I face about 80-times a day: That there is no actual place for the stuff we use about 80-times a day.
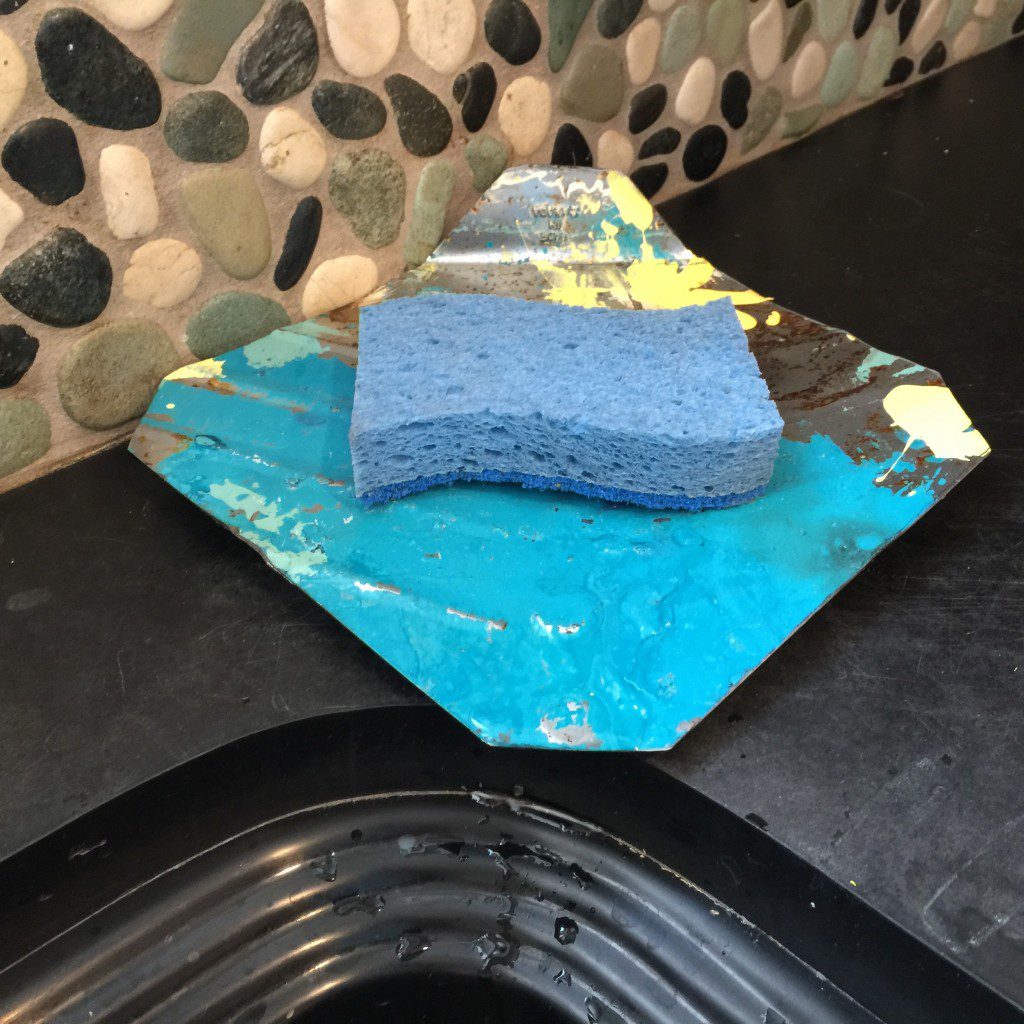


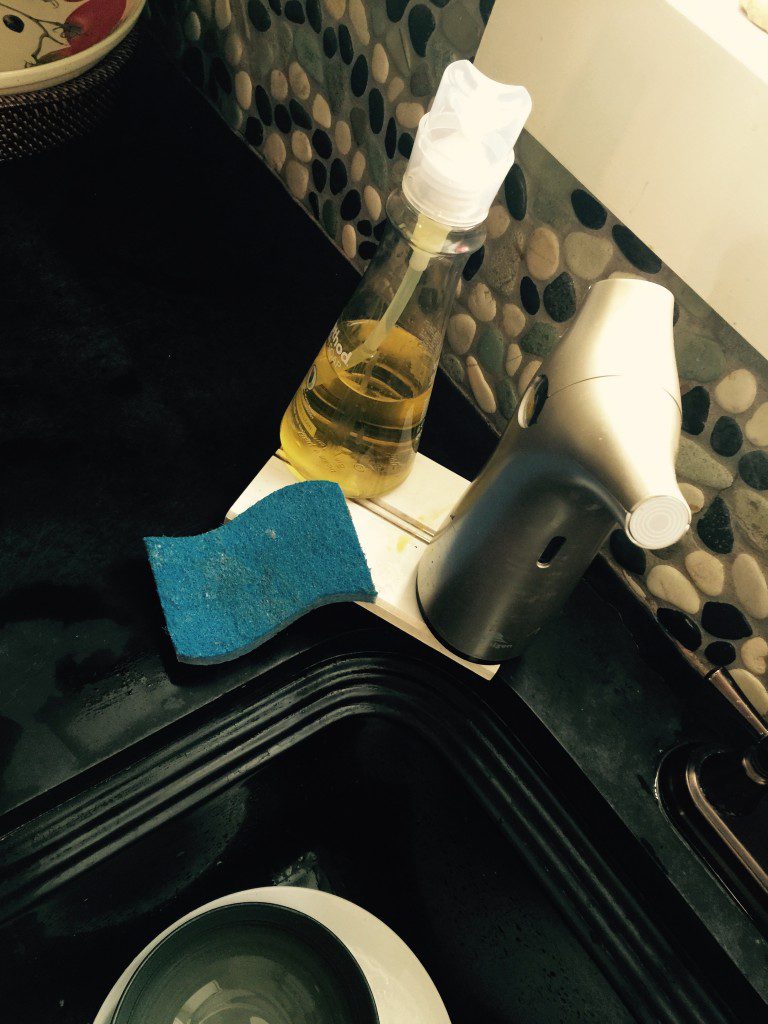
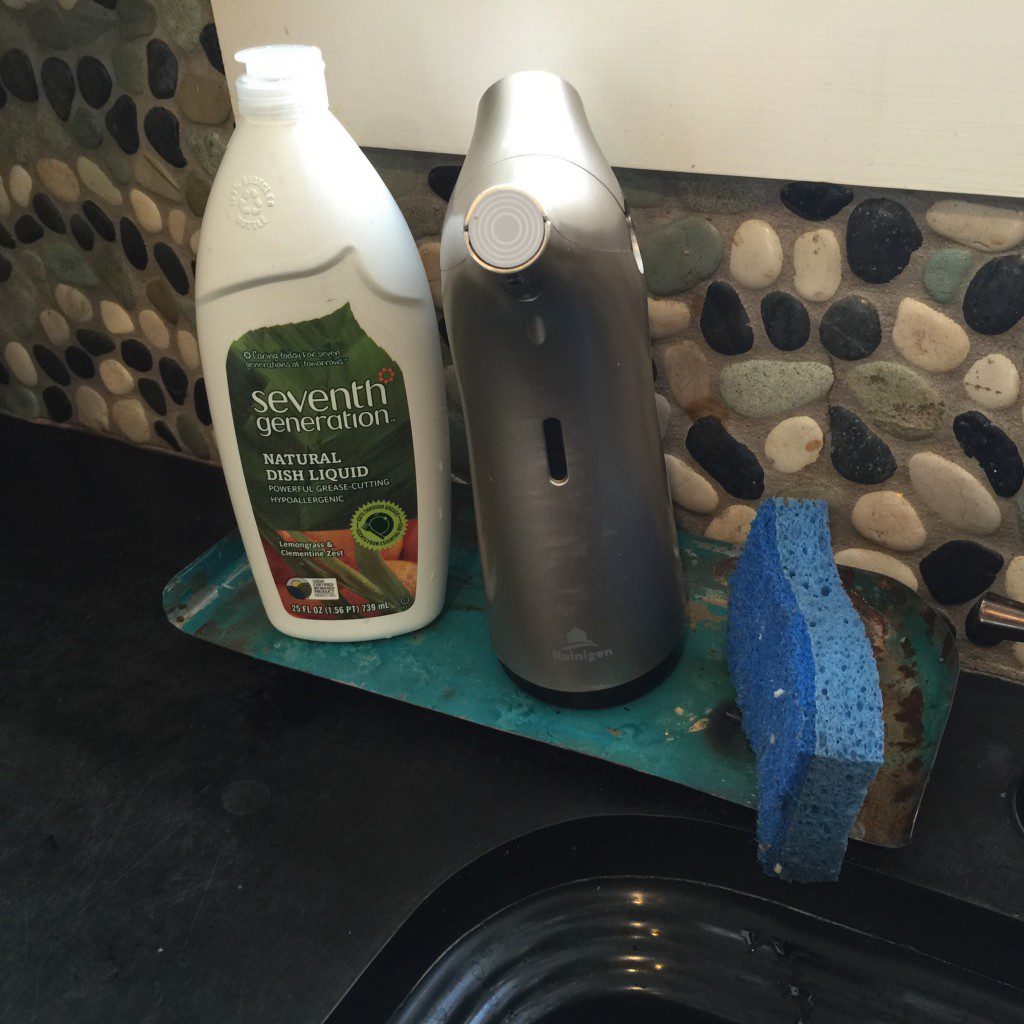
Seriously: There is just no actual location in space-time for dish soap, hand soap and the sponge.
I even looked up ‘sink caddy’ on Amazon. As my finger wearied from scrolling—true story—I saw lots of stuff that didn’t hold what we use or that looked more at home in a hospital bathroom or in my mechanic’s utility sink.
So, as I’m wont to do, I mulled it over. Some might say angrily.
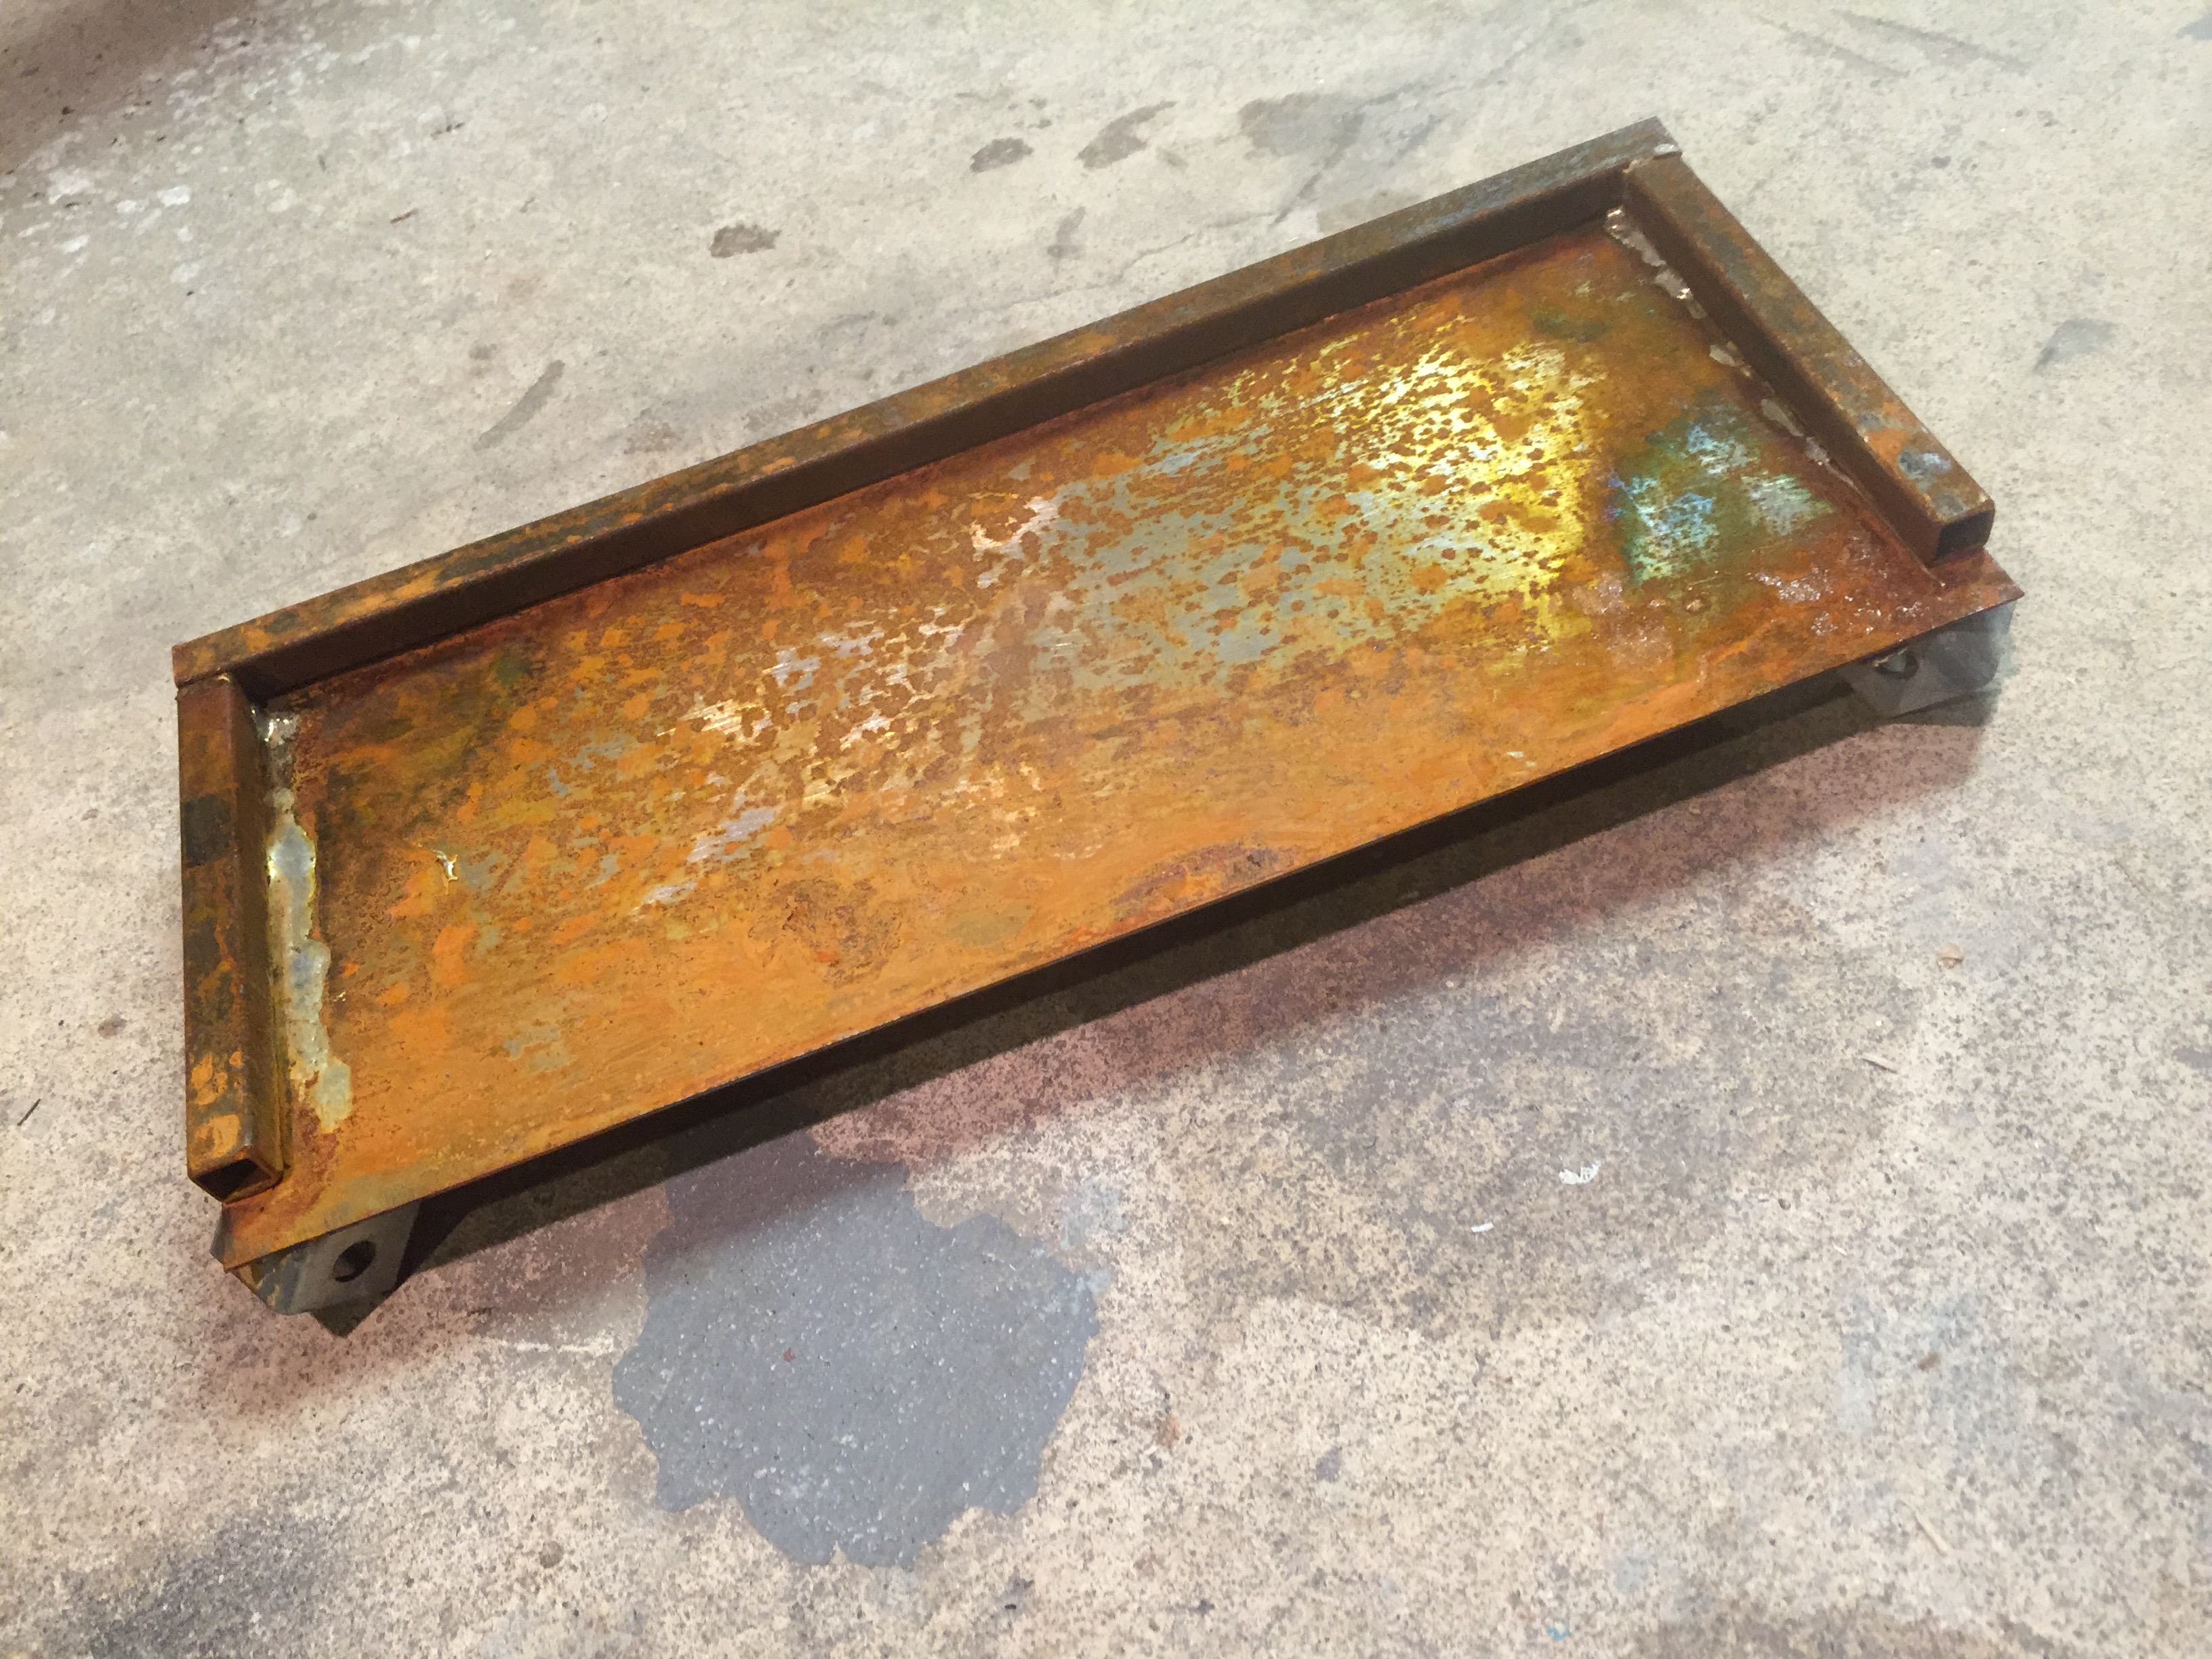
Then, an upcycle idea struck me as we were cleaning up a paint project: My past-its-prime paint tray spoke to me a little. I loved the colors splashed in there (even though someone should have done a better job cleaning the tray), including the metal and the rusted metal, see cleaning above. So I gave it a shot. Upcycle time.
Tools. I used my angle grinder to cut the steel paint tray. It’s not a gentle tool and its 35,000 ground-pounding rpm should be used with exceeding care and confidence. Seriously, I love my grinder but it is the wild animal of the tool world.
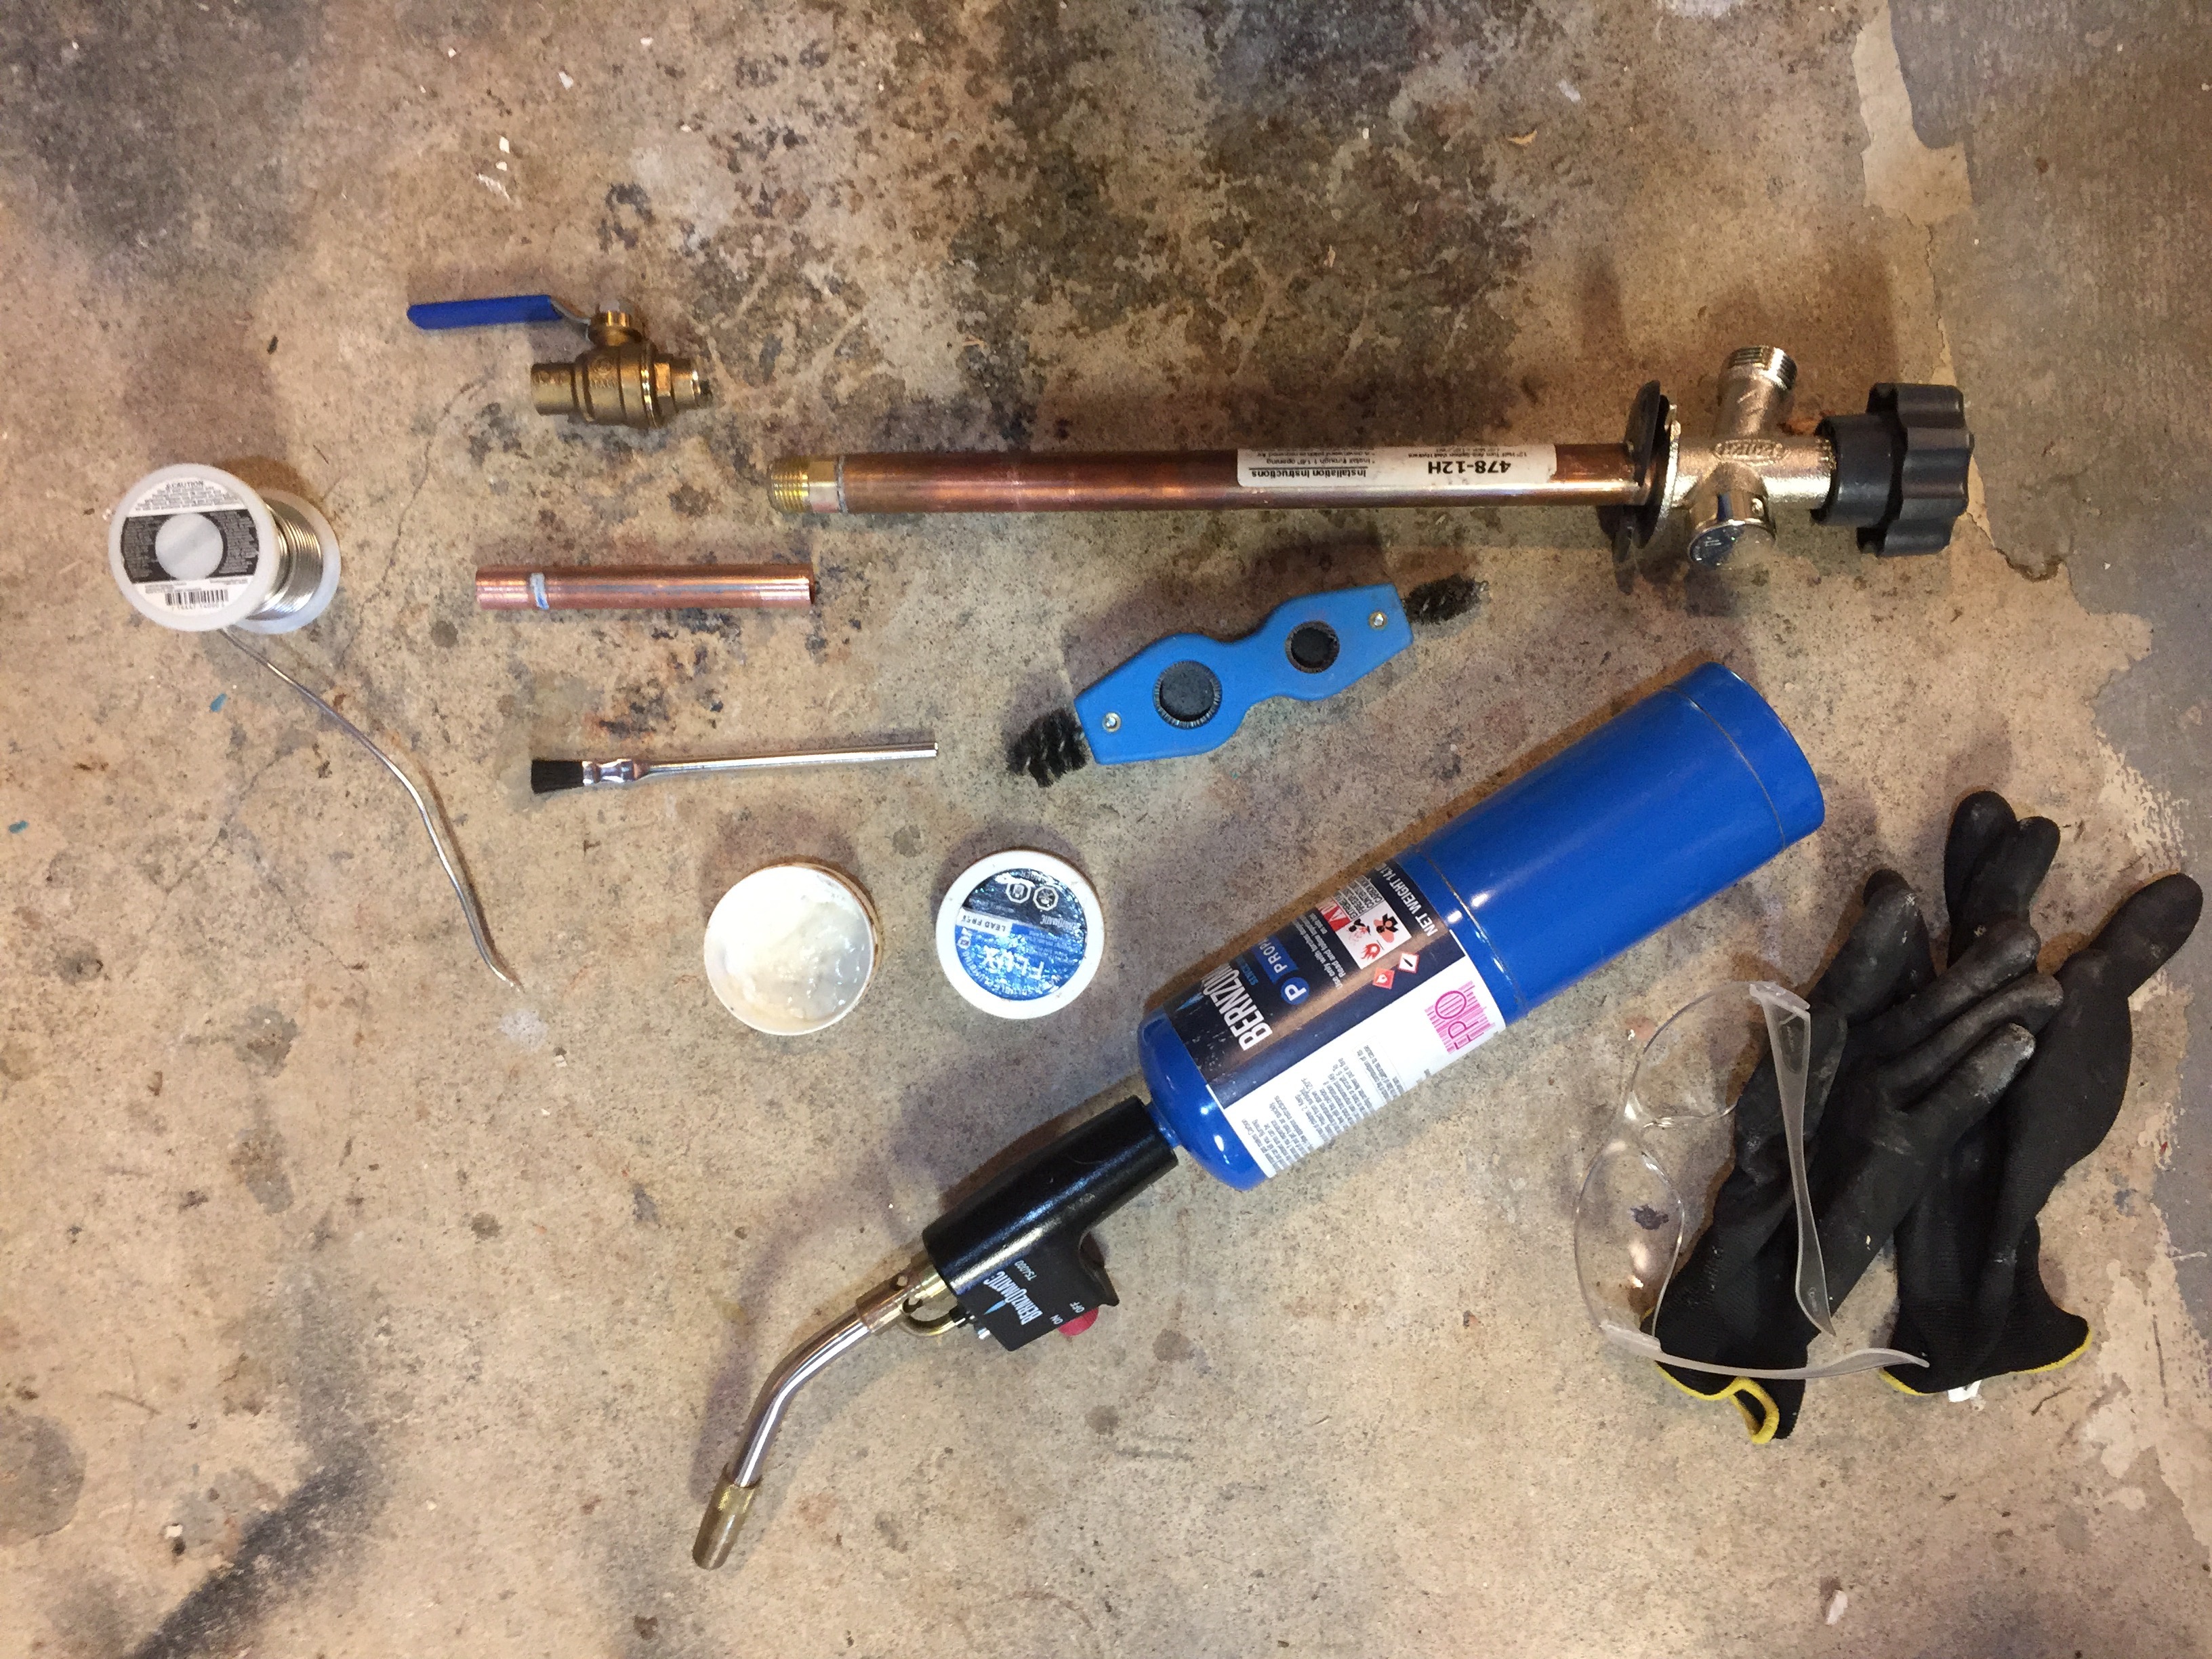
Alternatively, an oscillating tool works too as would a small circular saw with the right wheel. I had the smoothest cut using the circular blade on the oscillating tool. The teeth want to grab the metal, so I dialed it back to about 4 and made as slow and shallow a cut as I could. I used my sanding station to clean up the edges. And my Bernzomatic torches did the high heat work of soldering copper ‘feet’ to the bottom of this upcycle, which make this whole thing possible at all—nice feature. I also used a few hand tools like my painter’s multi-tool and locking pliers.
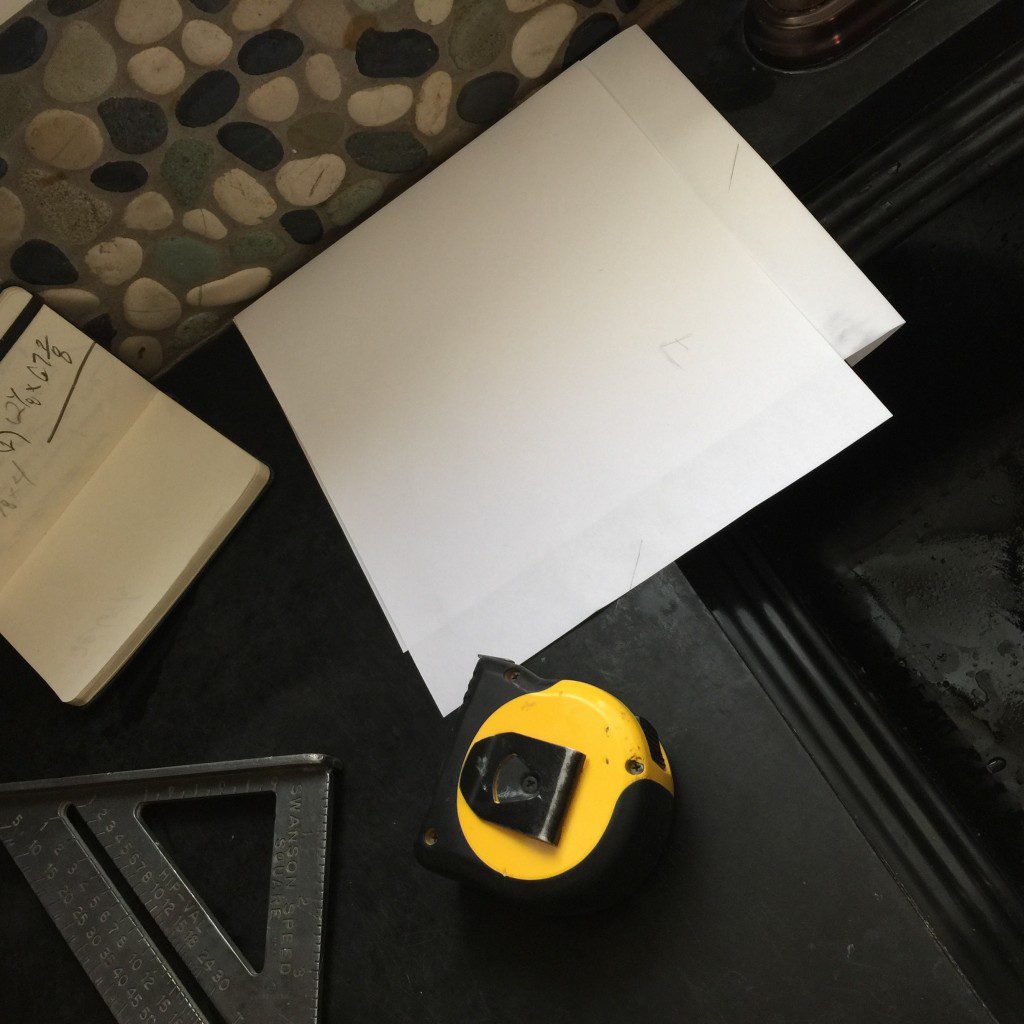
How-to. To get the diamond shape, I created a pattern from two pieces of printer paper. I wanted to make sure that the front point of the diamond hung over the inside of the sink.
Next, I cut the shape from of the angled portion of the paint tray.
After that, I cleaned up the rough edges left by the grinder (the oscillating tool cuts much cleaner) on my sanding station (a tool no one has bit that I love) and then made the ‘feet’ from 1/2-inch copper pipe caps. I also bent the back up a little to help show which end was which and to stiffen the surface a bit.
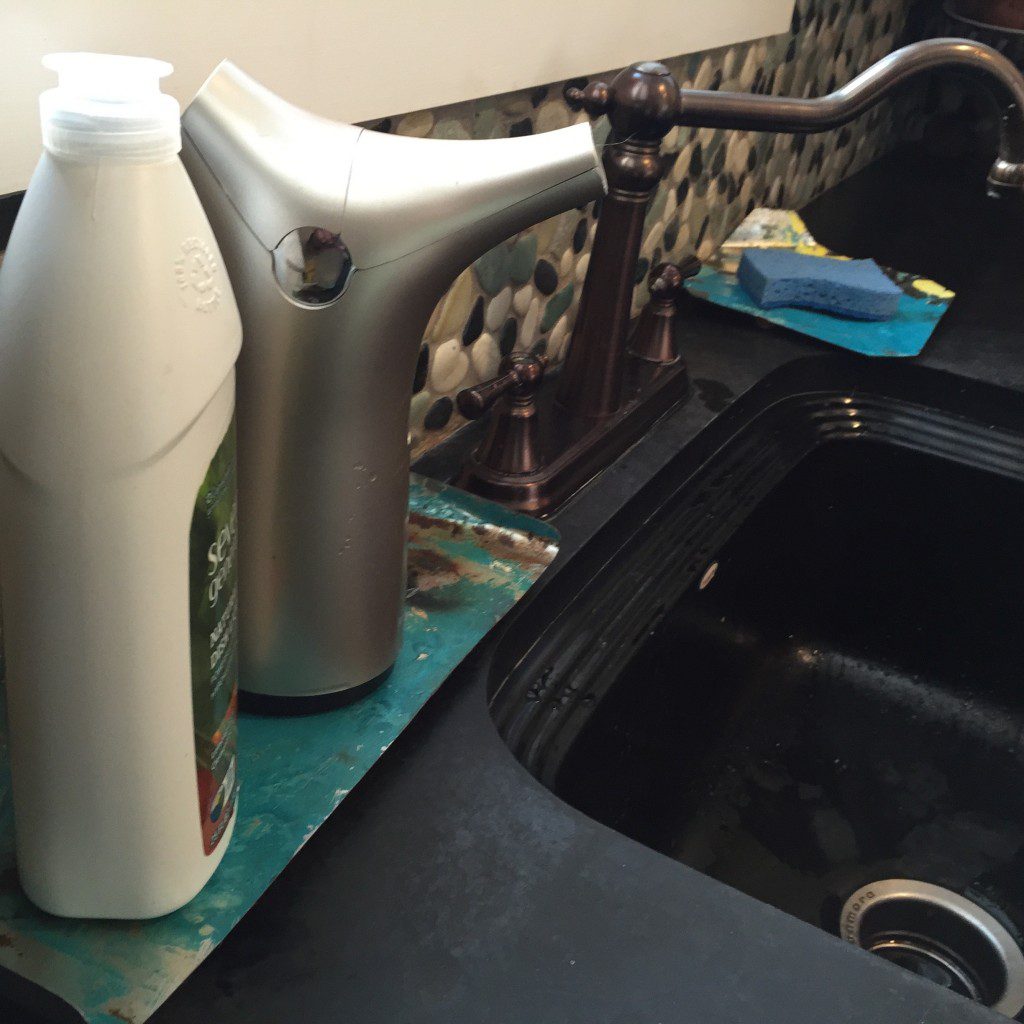
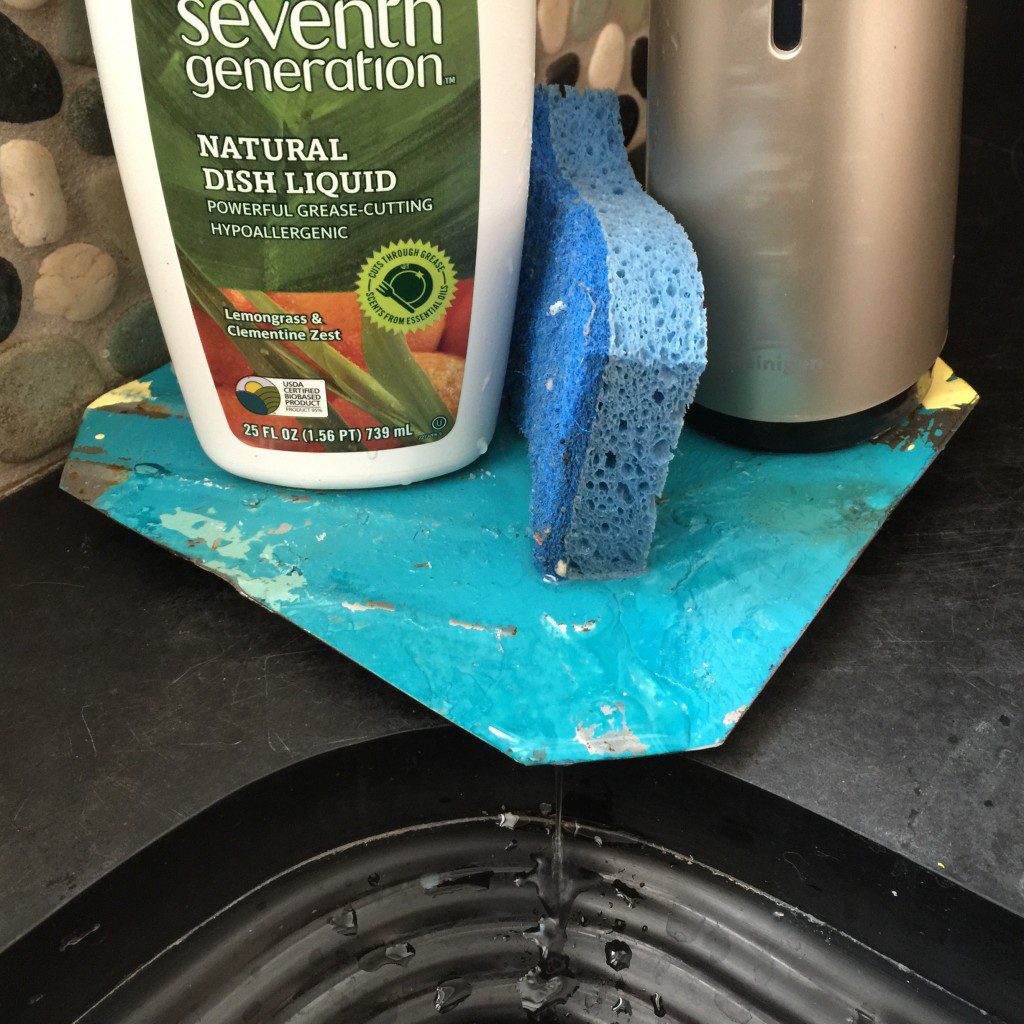
To give the sink caddy some pitch—so water would actually drain off it—I sanded the front pipe caps down on the sanding station. To say they get hot doing this is an understatement. And that you should be careful of your fingers is another understatement. Locking pliers and using the fence on the sanding station made it pretty easy. I also gently—and very subtly—folded my new upcycle paint tray sink caddy just so slightly down the middle to form a trough funneling toward the sink.
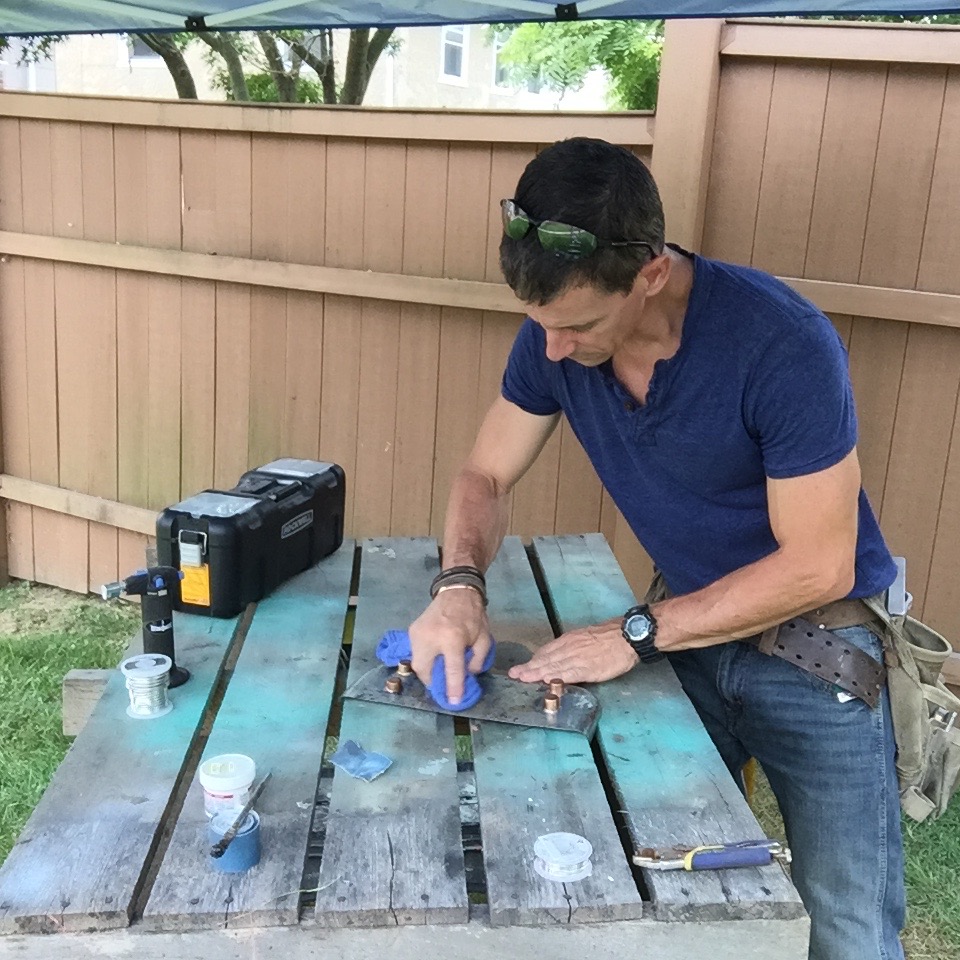
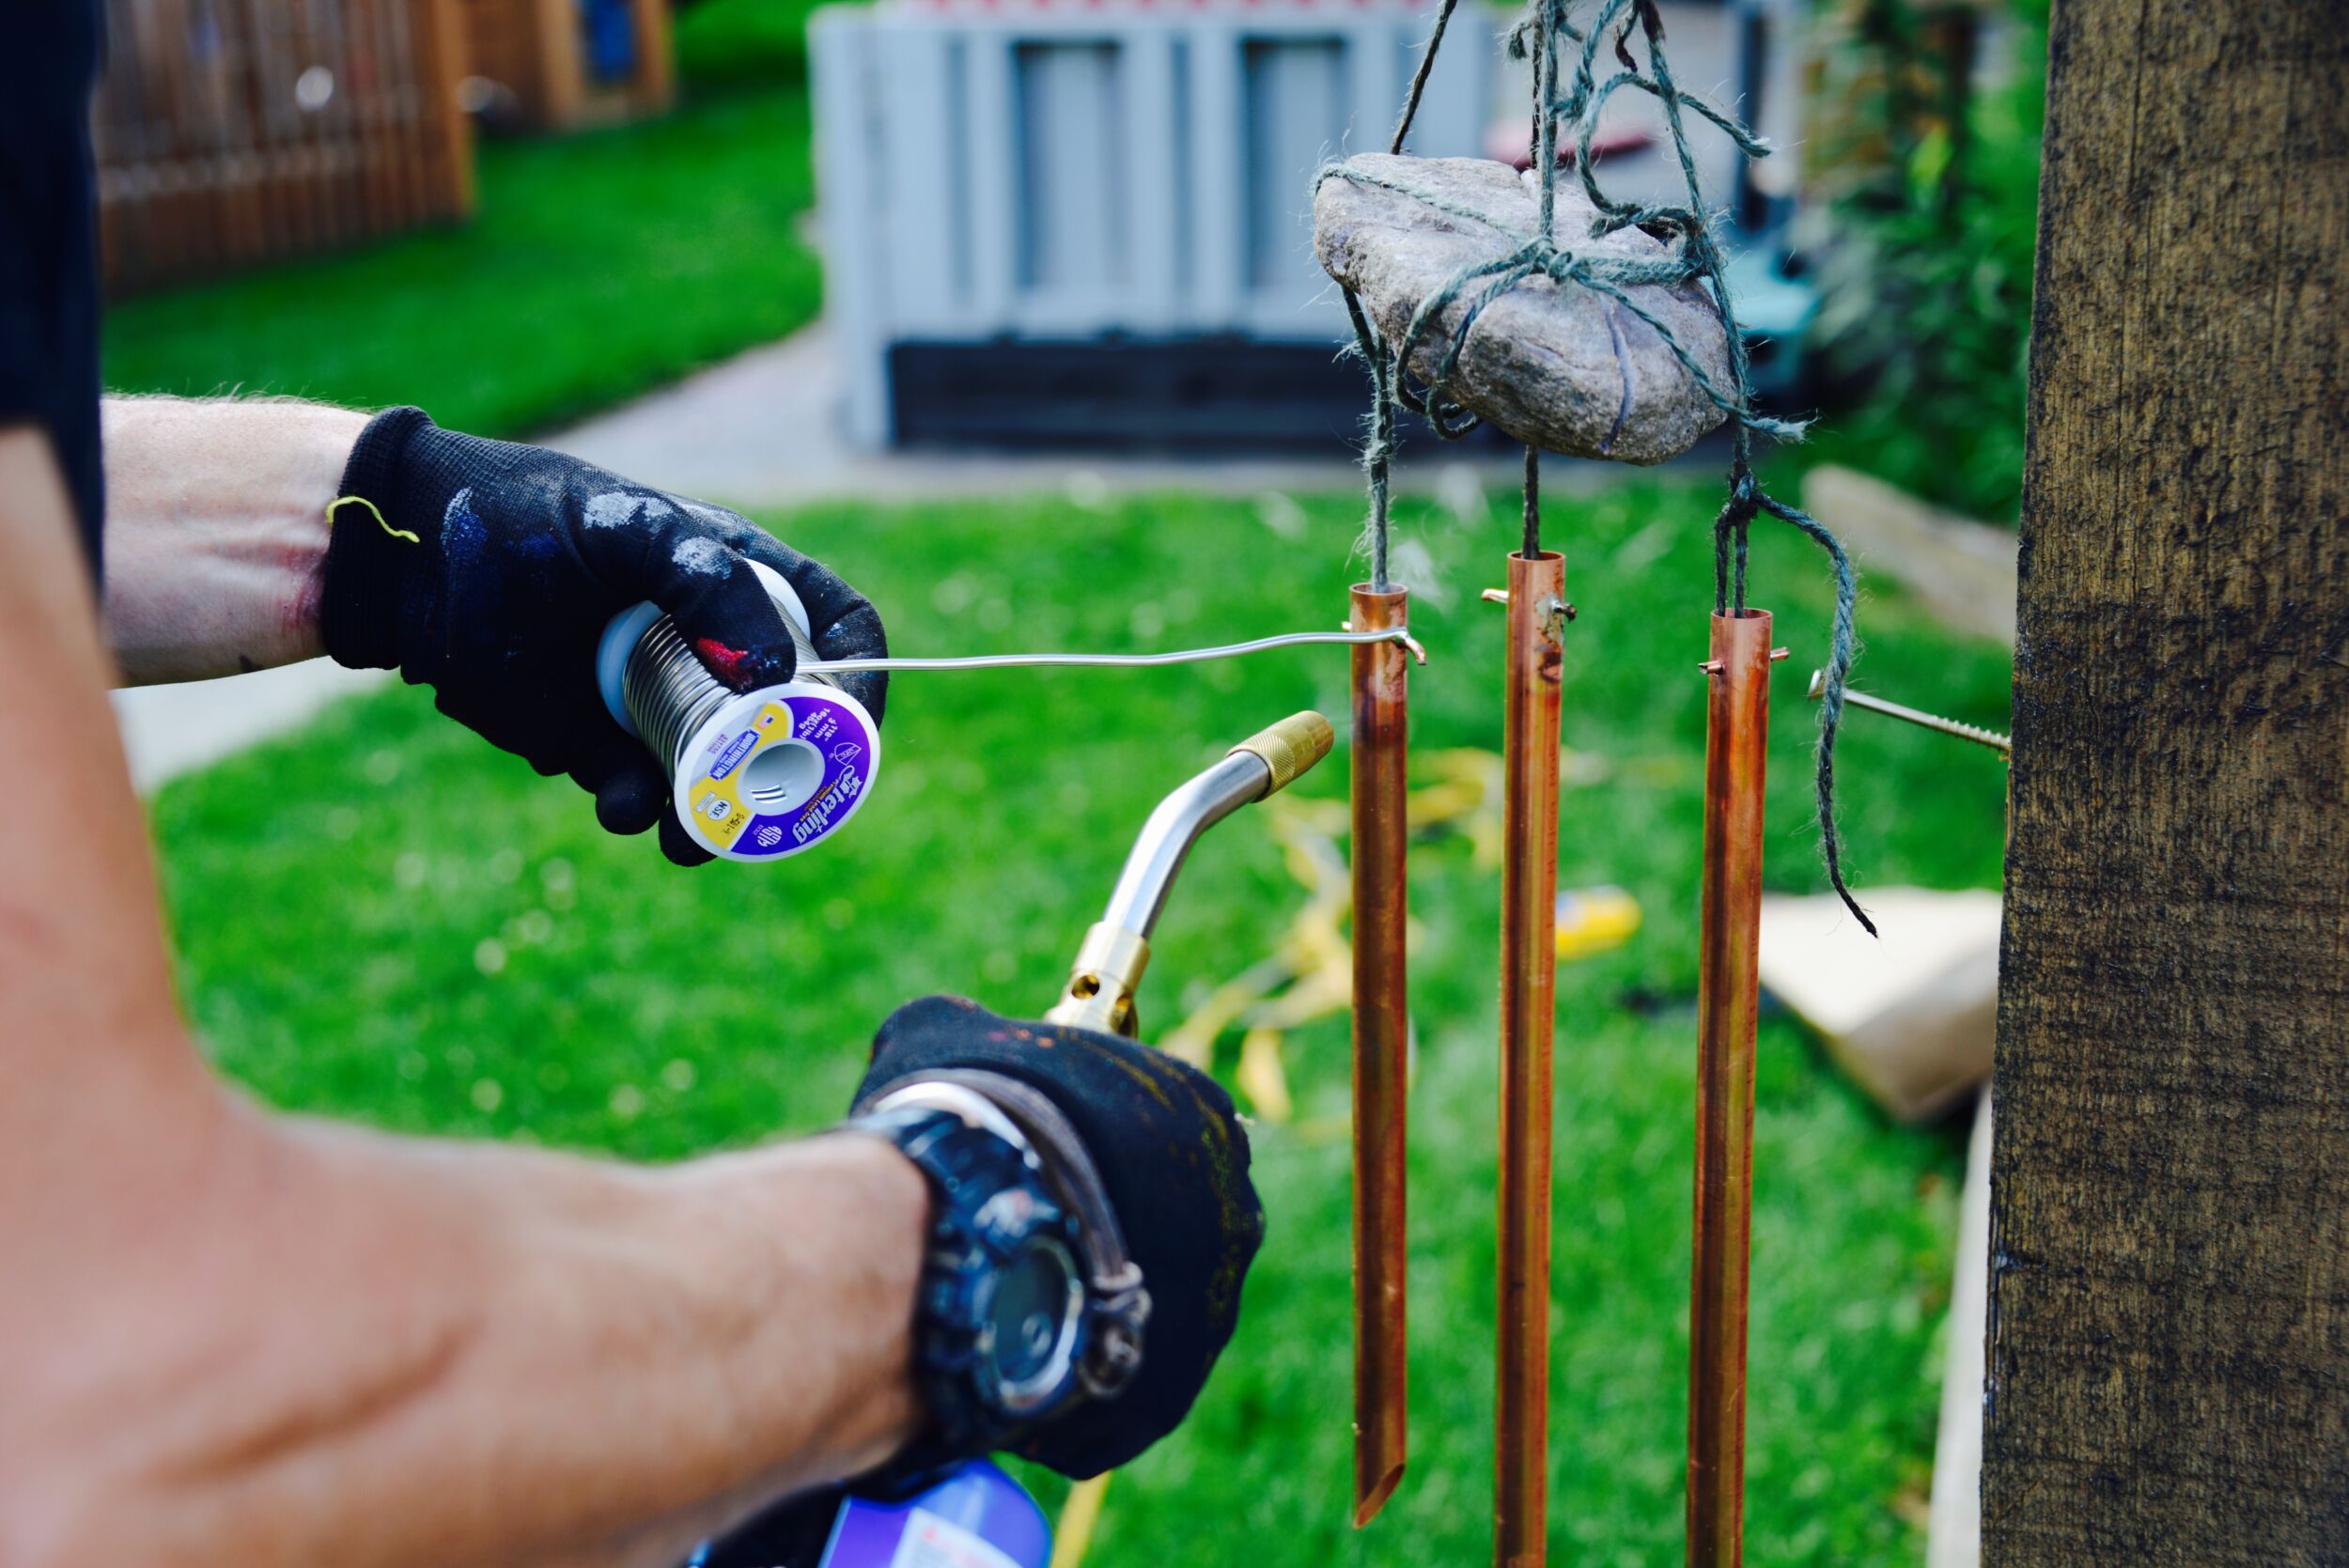
Once the front caps cooled down, I flipped the metal sheet over and cleaned up the solder areas with aluminum oxide sandpaper. Then I marked the feet locations and swabbed on some flux. Then, flame time. I used my Bernzomatic torch to solder this upcycle together. Because I am a contractor and my baseline is all pro, I grabbed my MAP/Pro gas and TS4000 torch head, which I love.
That combo is, I’d say, plenty of power. My Bernzomatic ST220T handheld torch worked even better. It’s butane (MAP/Pro is hotter) and delivered just the right amount of heat for this upcycle. The caps wanted to skate on the flux once it got hot, so I held them still with my (I swear I use this every day) painter’s multi-tool. To keep water from getting in to the caps, I made sure the solder flowed around the entire cap.
Once the solders cooled, I sprayed-on several layers of glossy clear cote on both sides.
Now, when my dish soap oozes or the hand soap dispenser dispenses or the sponge just drains, it all has a place to land and a way for the liquid to find its way into the sink. Where it belongs.
Upcycle 2
As soon as I finished this project, I was cleaning up and saw a shape in the paint tray I hadn’t seen before. And I thought, what the heck? So I followed the same steps above and made a second one. I’m not sure I love it as much as Upcycle 1. What do you think?
This is a sponsored post. I am a Bernzomatic Torch Bearer, though all opinions expressed are my own.















[…] and square the face of the scroll on the Ryobi sander. I also cleaned up the sharp edges of a metal upcycle craft project—I designed a sink caddy made from an old paint tray—on the Ryobi […]