Upcycle a door into a kid’s storage bench.

Let’s upcycle a door into a cozy entry-way bench for kids.

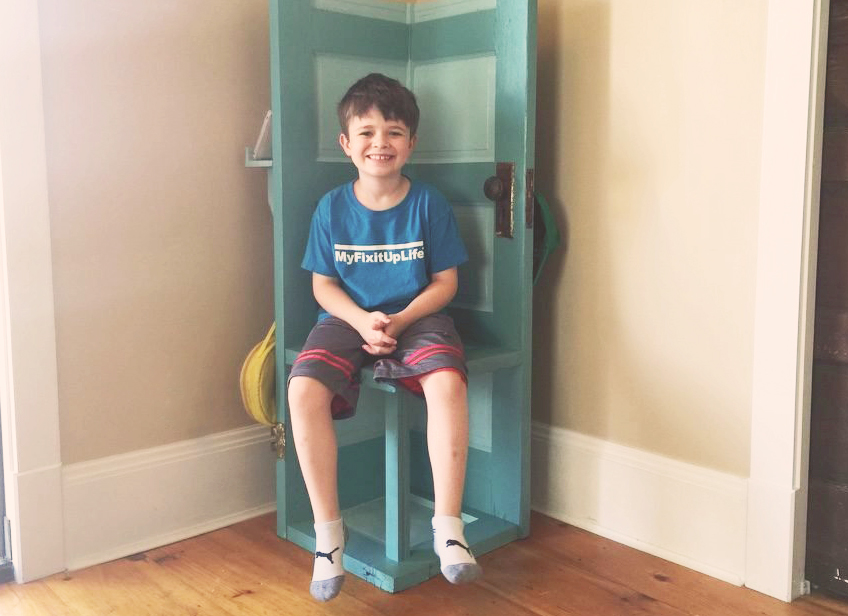
 Let's repurpose an old door into a cool, custom kid's corner bench!
Let’s upcycle a door into a cool, custom kid’s corner bench!

Upcycle a door into another use? Yes!

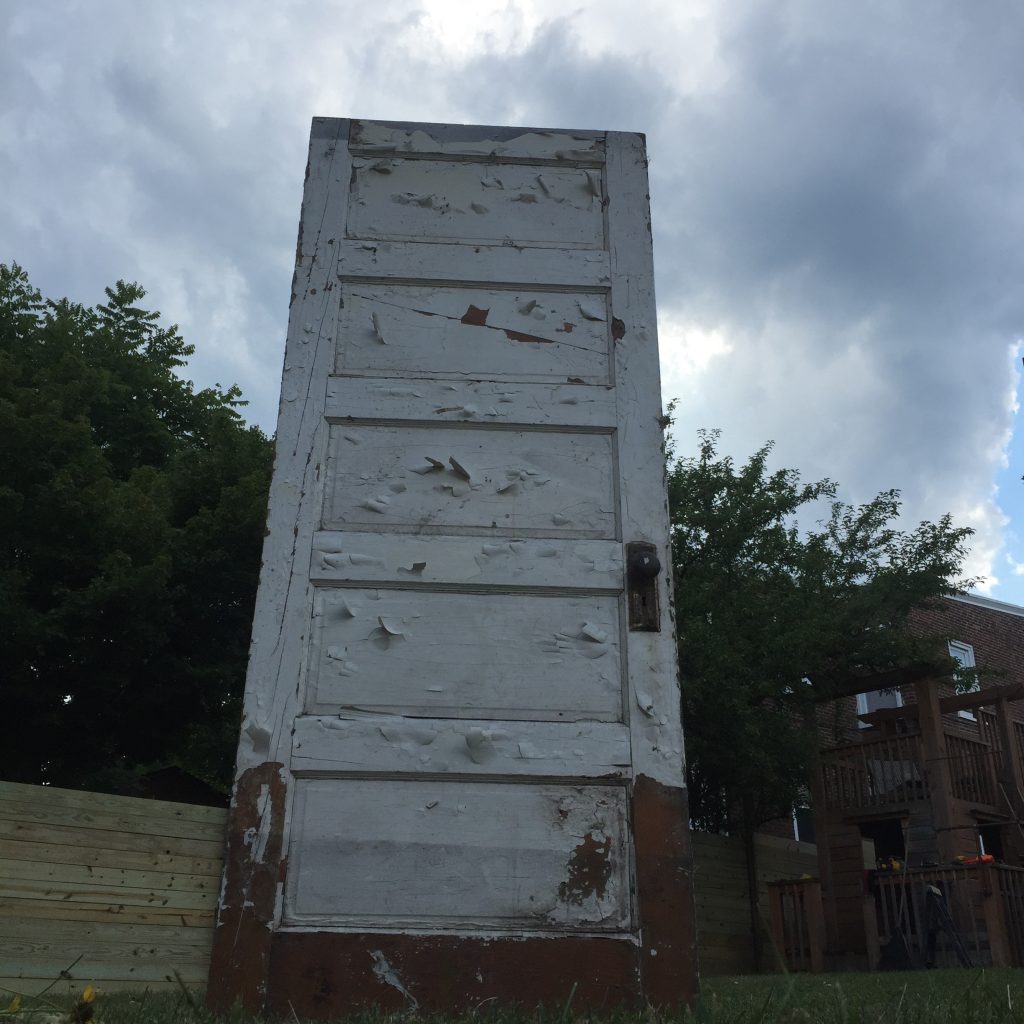
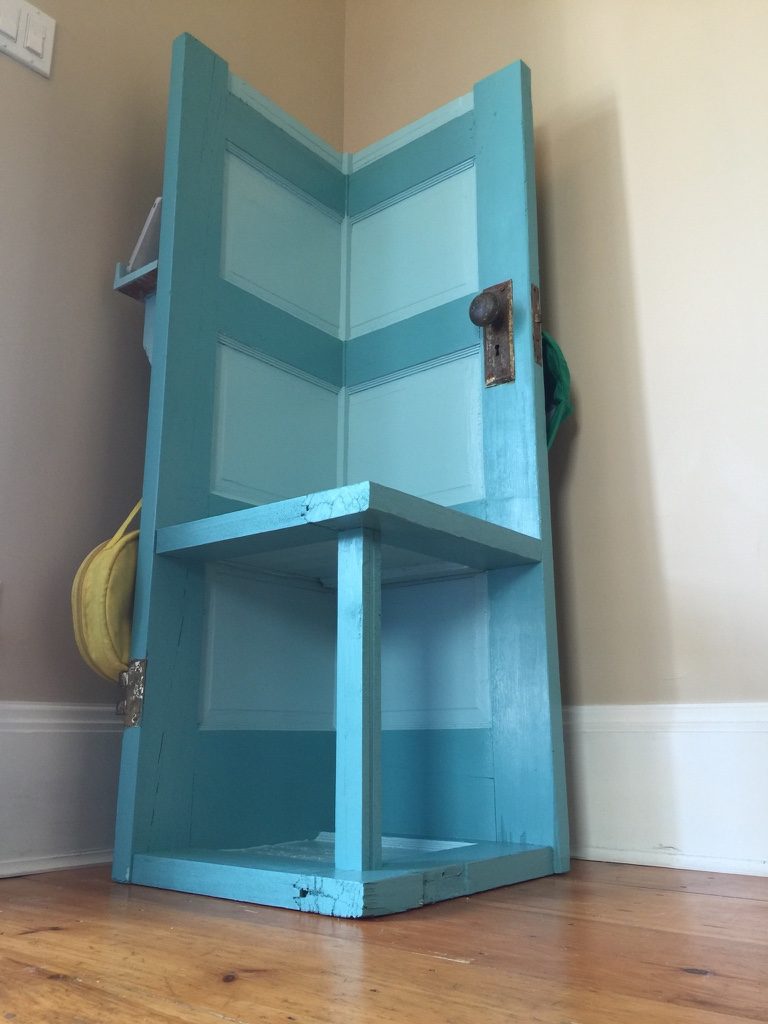
We rescued an 100-year-old 5-panel door from demise. With no opening to hang it in, it needed a new purpose in life.

So why not repurpose that bad boy into a bench? And bling it with some color it never had before? No reason, that’s why. So we set out to turn a door into a super cool kid’s bench. It’ll have cool, secret stashes for mom and dad and get kicked up with glad, Glidden colors.

Here’s the upcycle a door how-to from carpentry to color.

Glidden upcycle
The door, the door before, that could be so much more.

Tools

You can do this upcycle project with just a few tools. I’m a professional carpenter, so I think nothing of having a million tools at my disposal. But this one doesn’t require all of them.

I suppose you could do the whole thing with a cordless drill and circular saw, but I got some extra mileage out of the table saw. A straight-edge and a few clamps got some camera time too!

How-to

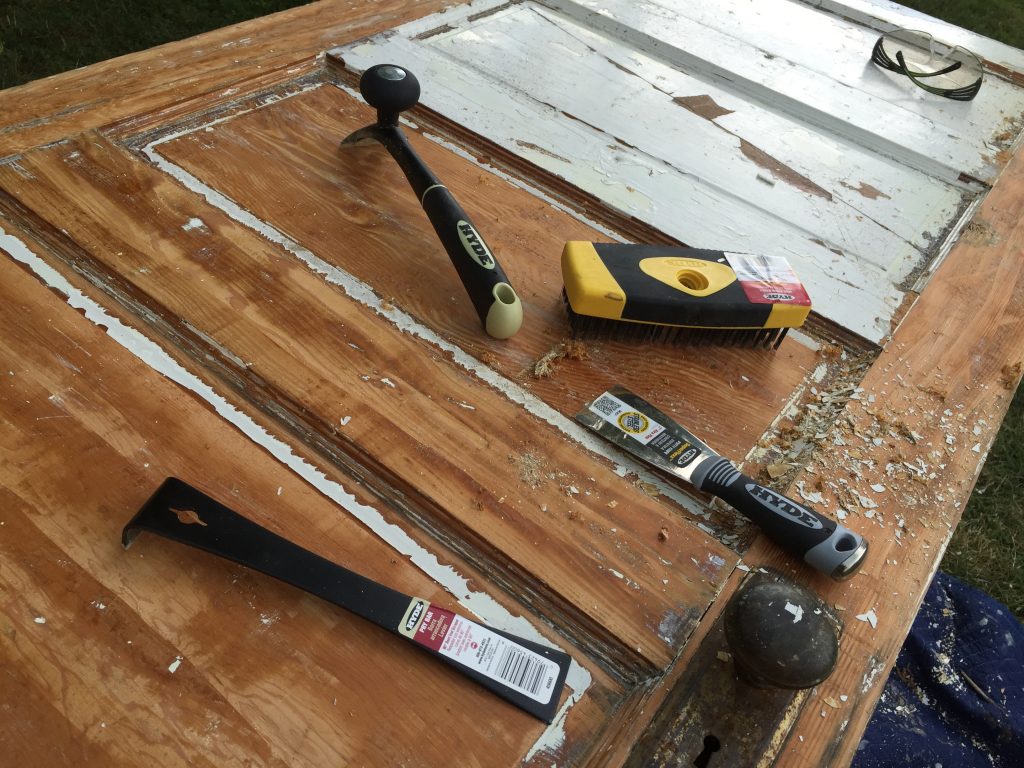
Old paint must go. Far and away, orders of magnitude, and double-wow-factor the fastest and easiest way I have ever removed an old finish is using my Hyde hand scraper. Teamed up with the Hyde bent metal pry-bar and 2-inch putty knife, it was like Terminator: Genisys on the peeling paint. Better than chemicals, power tools and paying a lot of money for dip and strip.
Glidden upcycle
The best tools I’ve ever—ever!—used for removing old paint.

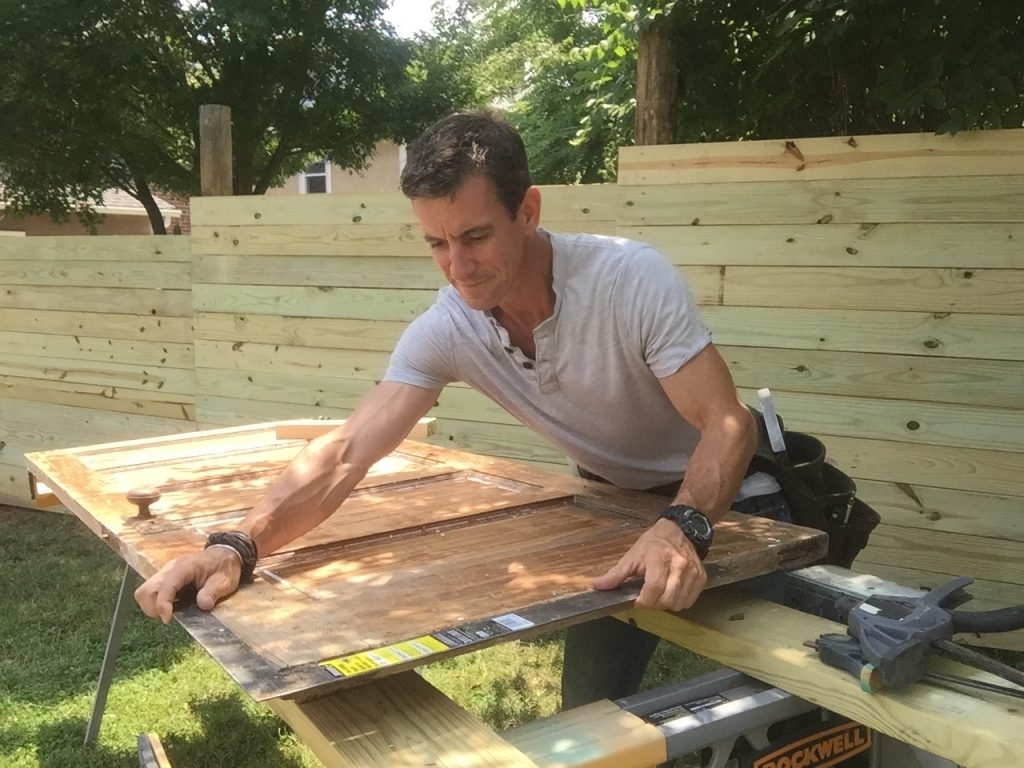
Square up.  Old doors are have about a 322% chance of being out of square. I go into it more in this VIDEO but the gist is that old doors get shredded as old houses settle. People cut, sand, and hack them down to fit an opening’s new shape, or for new floors or carpet.

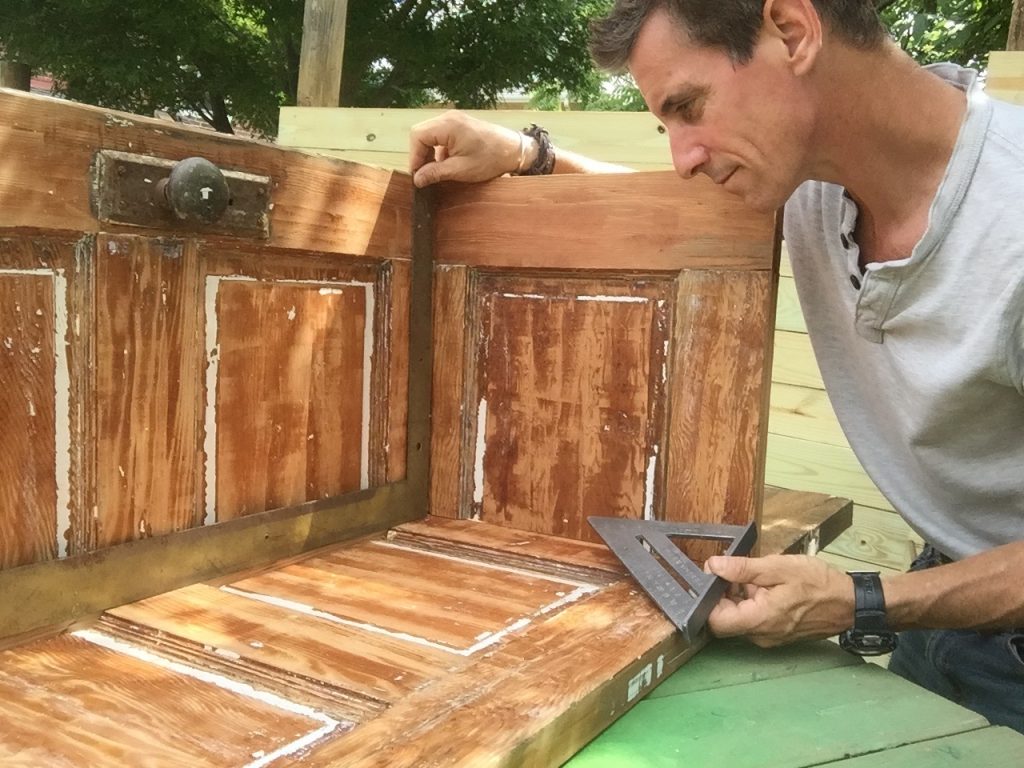
I use my saw, clamps and straight-edge to true up the top and bottom. Trust me, you’ll be happy you did this later. I also use a framing square to mark my line, running it from the hinge-side of the door (no one ever planes down the hinge side).

Glidden upcycle
Upcycle tip: Truing up the bottom and the top of an old door will pay back later on in the project.

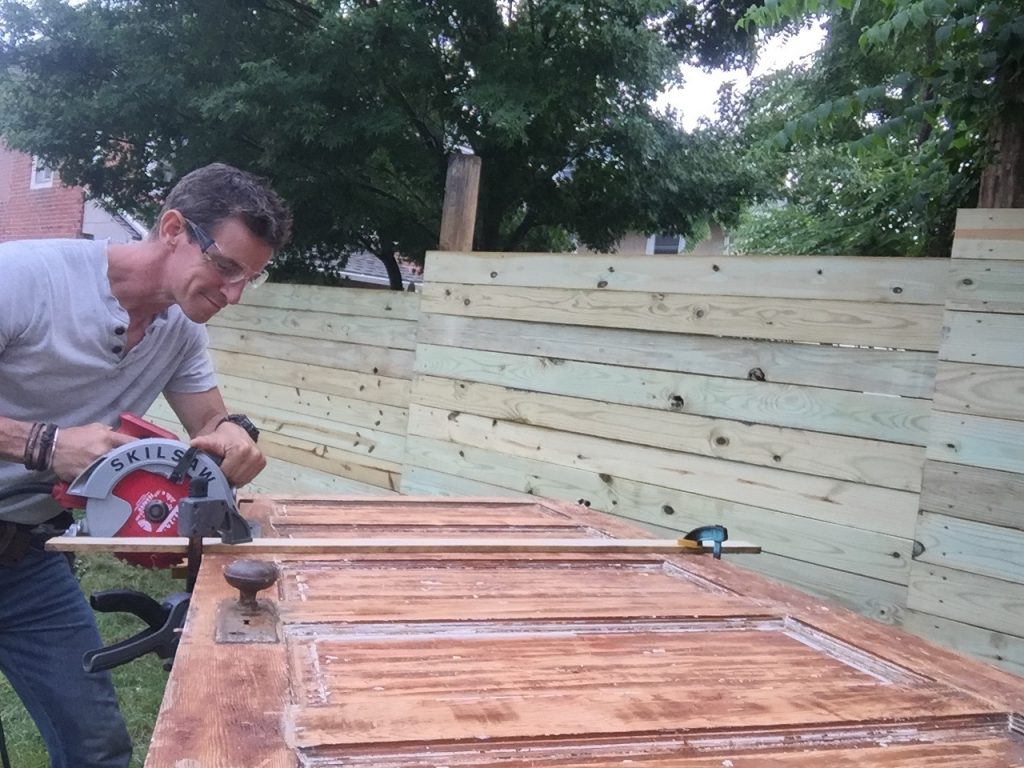
Cut the pieces. This bench is 52-inches tall. I cross-cut it at 52-inches first, then cut that piece in half lengthwise (called a ‘rip’). I used clamps, a straight-edge and a circular saw to make the cuts.

Glidden upcycle
I use clamps, a straight-edge and a circular saw to make straight cuts.

Join the pieces.  So this is where my ‘I’m a professional carpenter’ comes in and might make things sound confusing.

Glidden upcycle
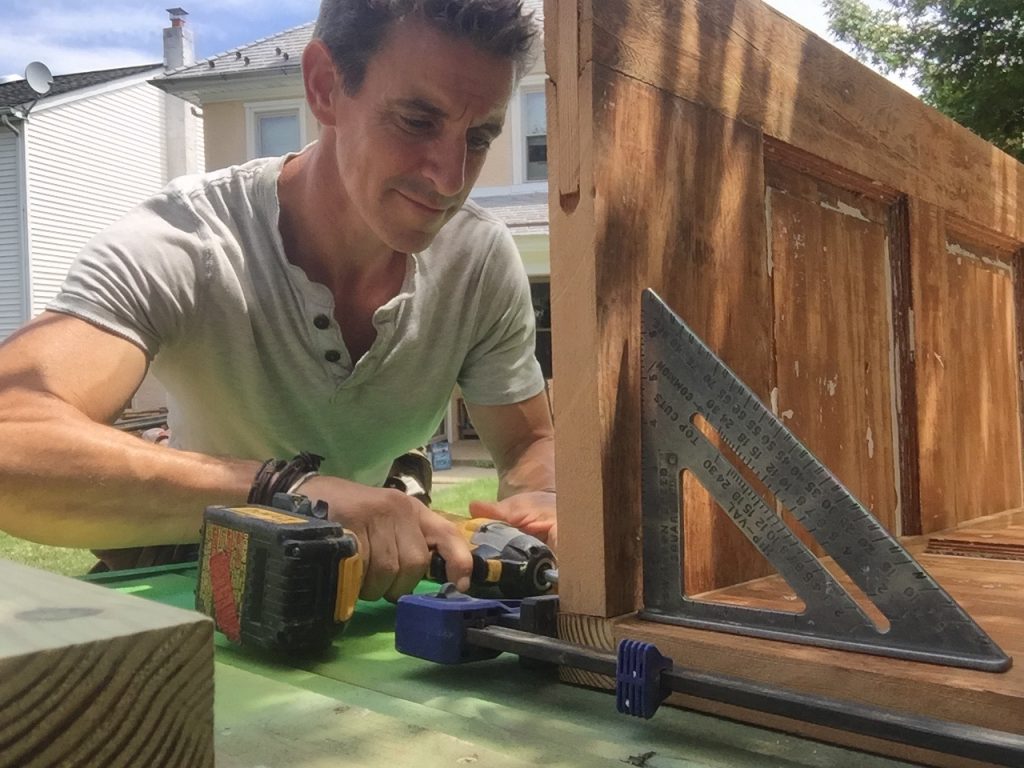
All three pieces of the corner bench are here. Each ‘leg’ of the door, with the 2×2 behind the clamp.

You could just screw the door together right now, as is. Because the rails and panels are different thicknesses, however, there will be openings that’ll show.

For me, closing them is easy and a table saw helps. The idea is to make a transition block, which I did by ripping a 2×4 on my table saw to 1 1/2-inches by 1 1/2-inches. I then screwed it to one half of the door, then, flipped the assembly over and fastened the other half. Result: L-shape, no gaps.

The seat. With the panel I have left from cutting the door to length, I made the seat. Rather than measure and think and conjecture, I put the L-shaped door assembly on top of the panel and looked at it. It took a couple of twist and shouts before I figured out what I thought would work the best. Once I found it, I marked the panel.

Glidden upcycle
The seat. I used two squares to get it nice and even.

For me, it was easiest to cut this on the table saw. Once to size, I got it squared up with the L, marked and fastened it from behind. Note: It’s important to fasten through a rail or stile into a rail or stile. Panels aren’t strong enough.

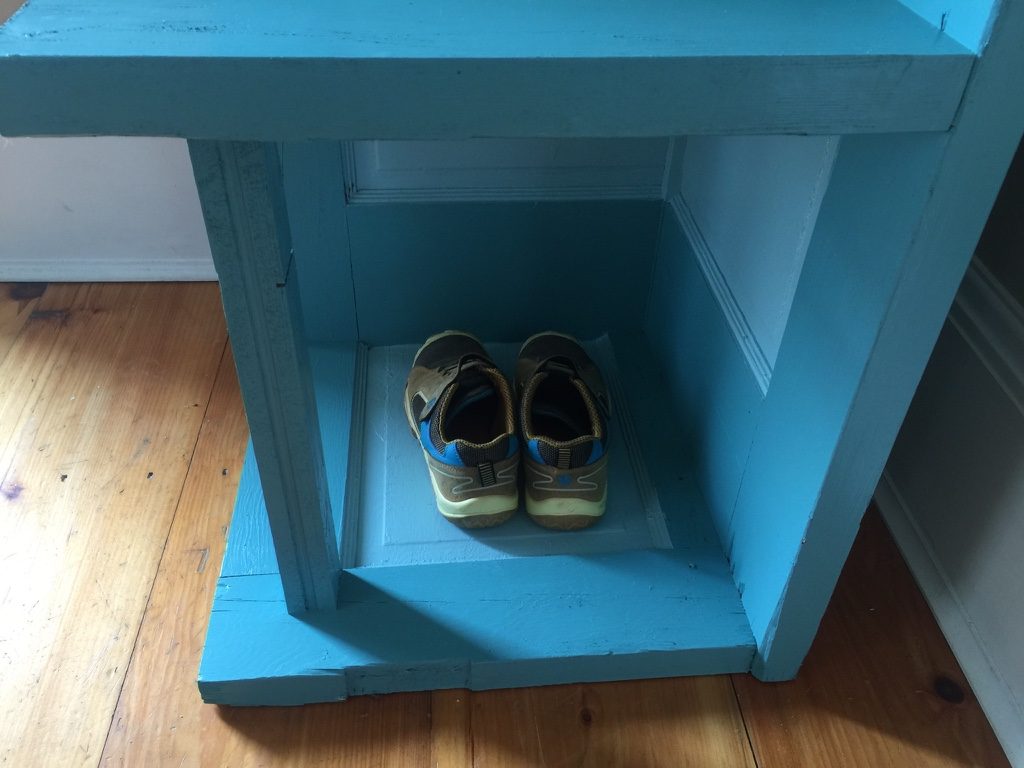
I then got inspired and use the other half of the remaining panel as a base. A vertical leg between the two locks everything together.

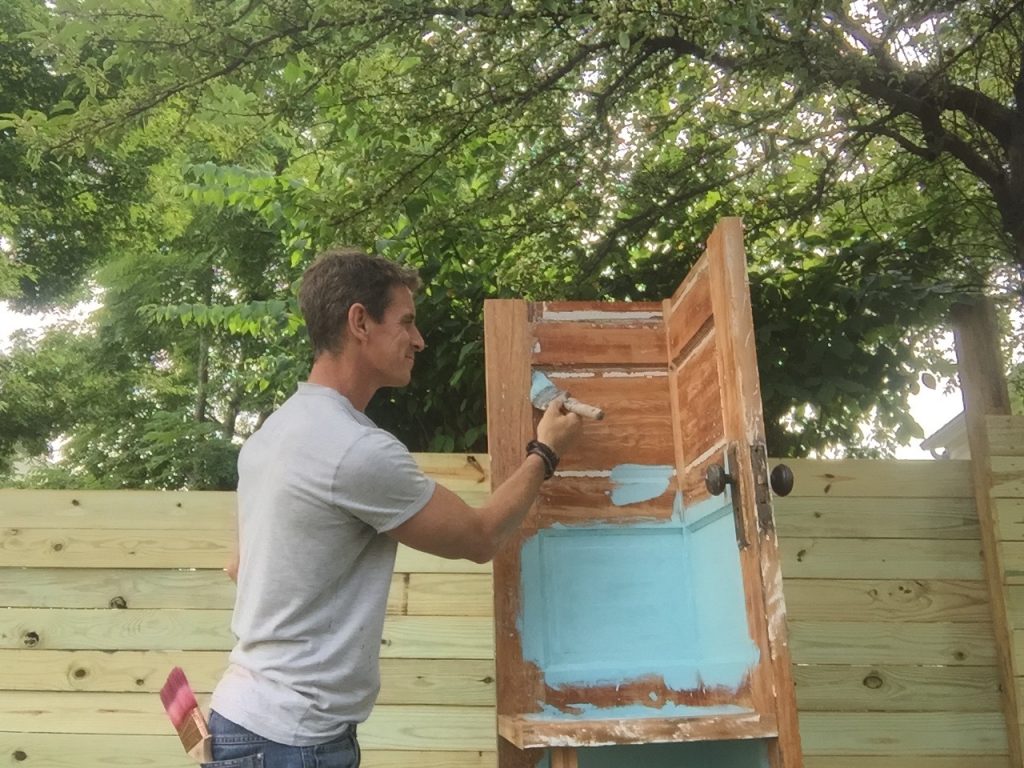
Color!!! Now it’s color time! I painted the panels first Glidden’s Diamond Interior Paint + Primer in semi-gloss: Trattoria Teal.

Glidden upcycle
Bye boring. Hello Glidden Trattoria Teal! Tips: Paint the panels first then cut in the rails and stiles.

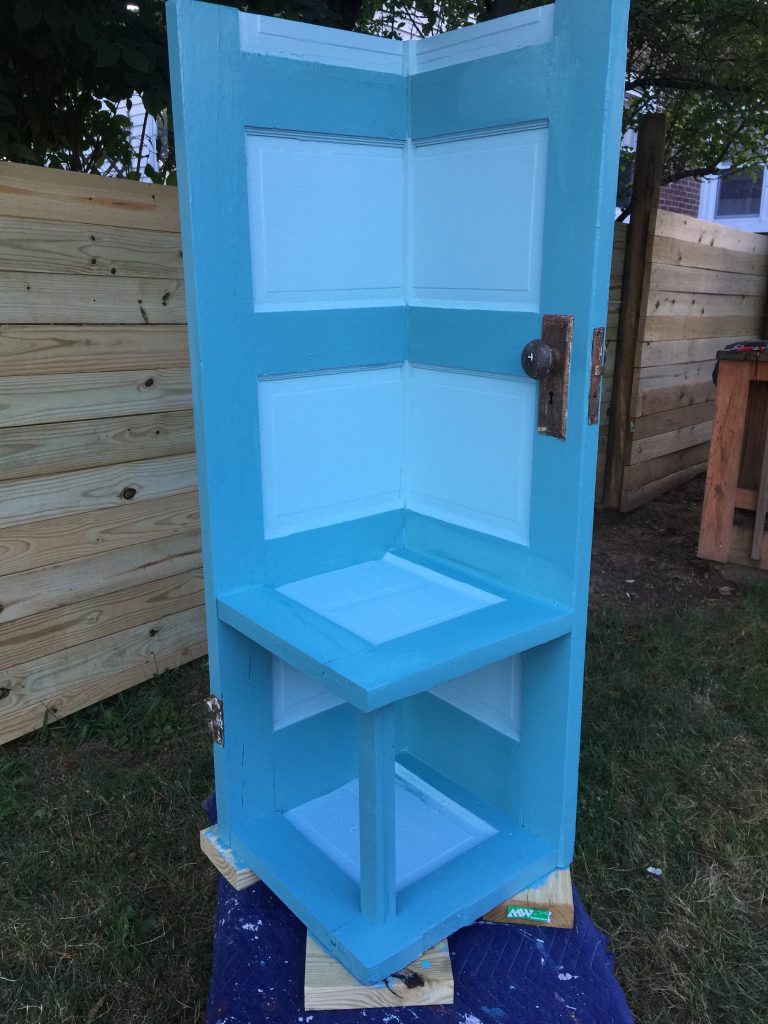
Glidden’s Diamond Interior Paint + Primer in Semi-Gloss Teal Lake–which I think is the stronger color—I used it for the border pieces and the back. The Diamond line of Glidden paints are perfect for what I’d call a high-use item like this. Designed to stand up to repeated washing, scrubbing and stains, it’s pretty much idea for something involving children and shoes!

Tip: To make painting the corner bench easier, I propped it up on some blocks on a low bench.

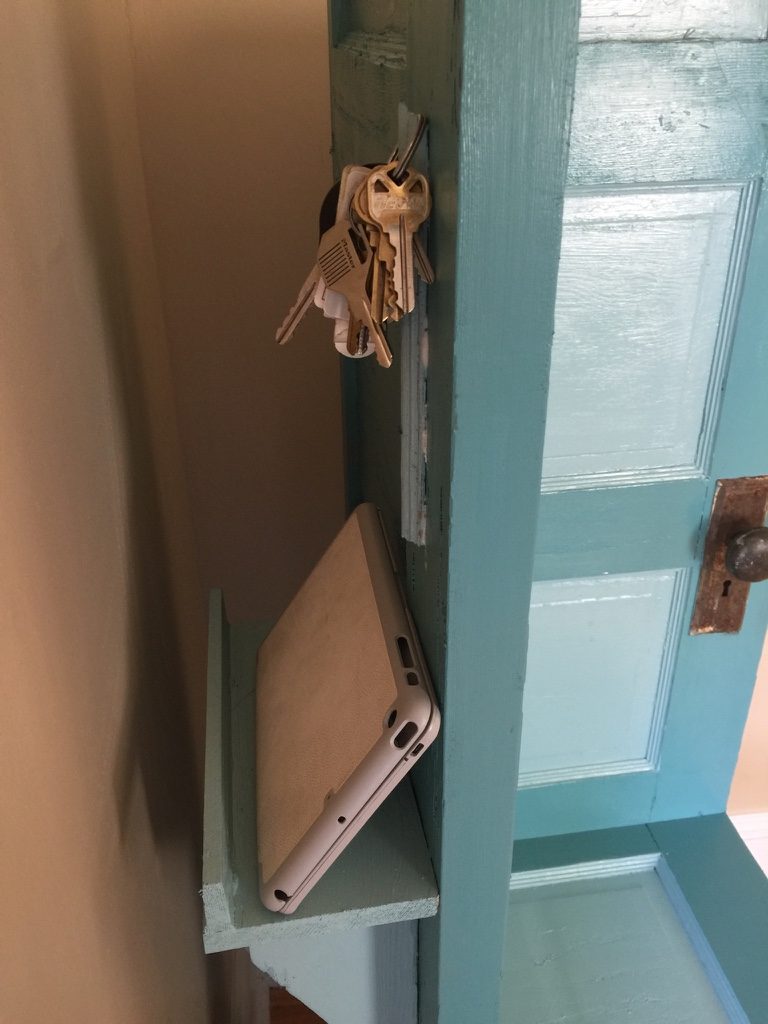
Secret deets. Kid stuff is cute, but I have tied enough shoes in my life while clutching my wallet in my mouth or putting my phone on the floor where it wopn’t get trampled to know having a few secret stashes for are little things I’ll use.

Glidden upcycle
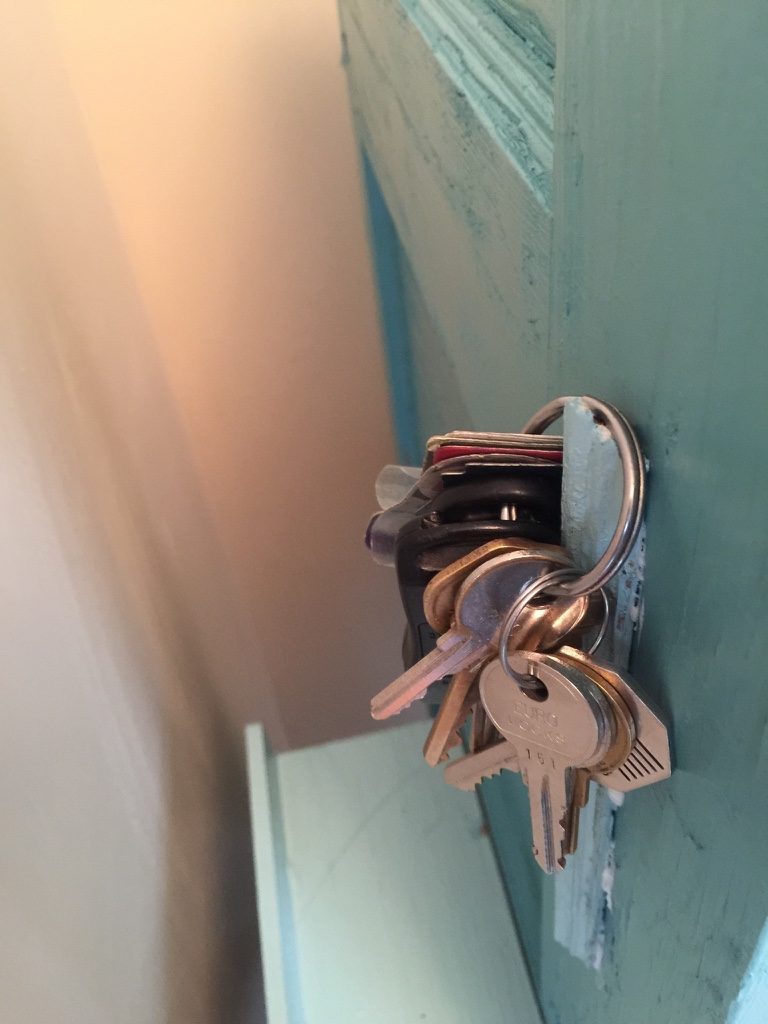
Secret stashes for mom and dad. This one made for keys or an umbrella lanyard out of a little piece of door molding.

For that reason, I made a small shelf from left over door parts to hold an tablet or phone or wallet. And from two little pieces of left over molding, I glued them to the door for hooks. Perfect to snag a key ring or umbrella lanyard, I won’t be activating my car alarm because my 7-year old won’t let me put his shoe on while I manage the off-to-school pile of back pack, the single shoe I can find and my coffee cup with my key fob in my mouth because ‘oh, that’s where I left my phone…’

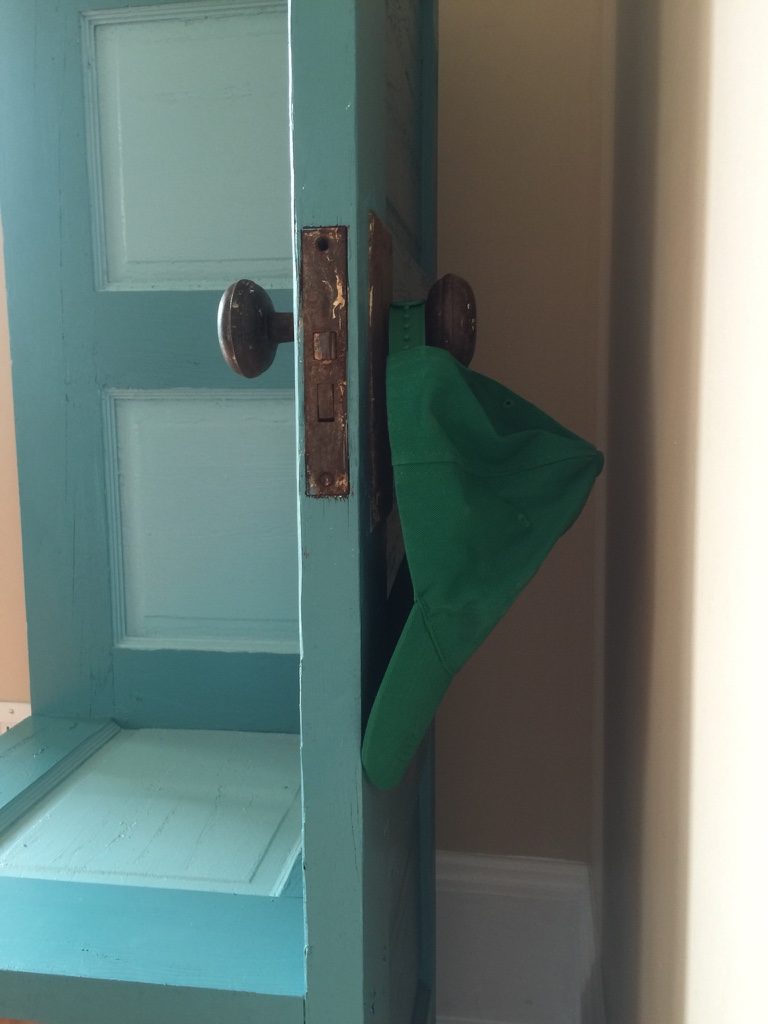
As a nod to the door’s pedigree, I left the hardware as it was. The knob is a perfect place to hang a ball cap!

More fun details and DIY

Glidden upcycle
Door knob double-duties as a hat hook, and a vehicle for alliteration.

Have you repurposed an old door for another use? We’d love to know about it.

This post is sponsored by Glidden Paint, a PPG Brand. All thoughts, opinions, and paintbrushes are my own.

Related Posts

Leave a comment

Verified by MonsterInsights