Do you need to build bunk beds? We’ve got the DIY steps and a how-to video to help you.
When you set out to build bunk beds without a kit, you can create whatever set-up fits your kids and their space. While it’s more fun to customize the project, it can be tricky to make a project without any instructions.
How to build the bunk beds
Bunk beds are like pergolas and decks in a sense.
When you build a deck the way I do, a ledger is attached to the house and the frame is held up and leveled with temporary posts. (see photo below)
You can follow the steps I’ve taken to create this bunk bed, or use the steps as a guide, filling in your own custom size, shape, or height. In this blog, you’ll see the major points to constructing a bunk bed. For a little more detail on how to build this project, scroll to the end for the video with how-to instructions.
Tip: If building this over carpet, compress the carpet pad so your bed is level. The one I’m building is all built and squared piece by piece in the air.
When building a pergola or any other standard structure, the main components of different pergolas are the same. While the basic elements are the same, the result can be very different. These are the only two kids’ room bunk beds exactly like this in existence. I like that. And you may like building something unique for your kids, too.
Material
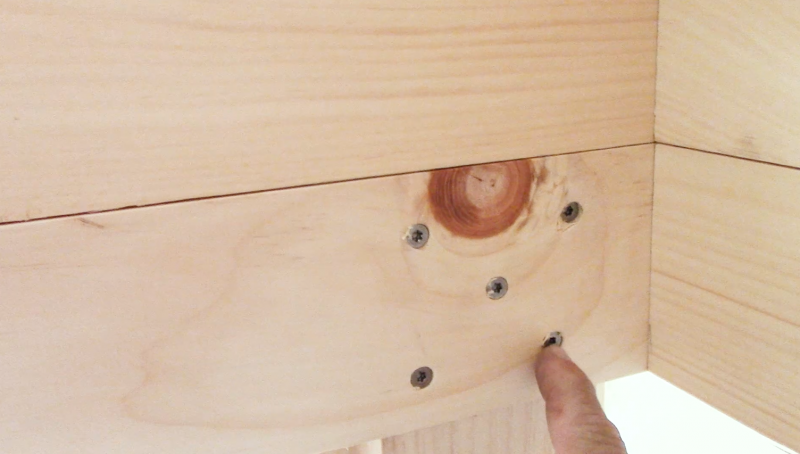
The material is 5/4 Eastern White Pine. I adore the knots and the beefiness of this 1 1/8-inch material. Just right for this project’s look and budget.


The structure’s finish
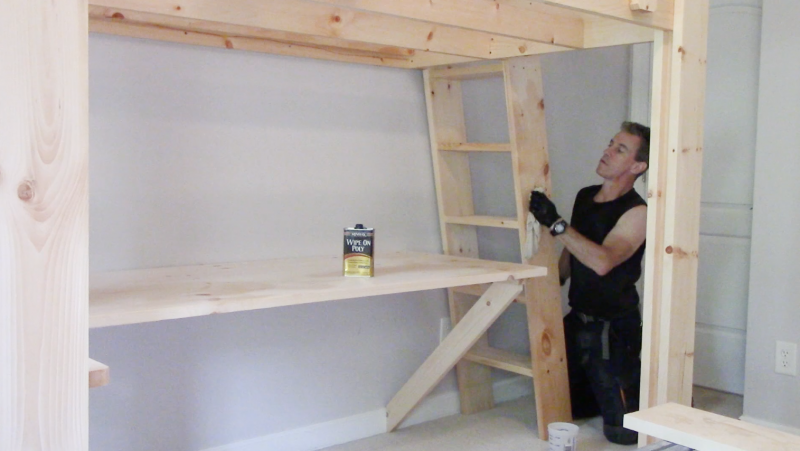
With built-up posts and surface-mounted guard rail, a brush-applied finish would have been a heavy lift for me. I’d be chasing my tail, chasing potential drips and runs, so I decided a wipe-on finish was the way top go and Minwax‘s Poly didn’t disappoint.
Two coats of polyurethane. Fast-drying, it is plenty tough, too. Months later I still have some on my watch band.
The desktop finish
I applied two coats of Spar Urethane to the desktop to give it a smooth, homework-worthy surface. It dries up nice and hard and the gloss was super glossy. After I left, they decided they liked the look, so they Sparred both units. Nice.


Tool tip
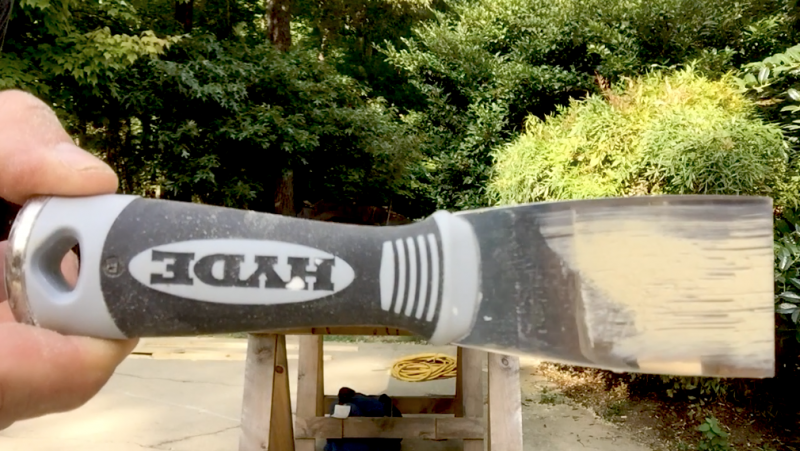
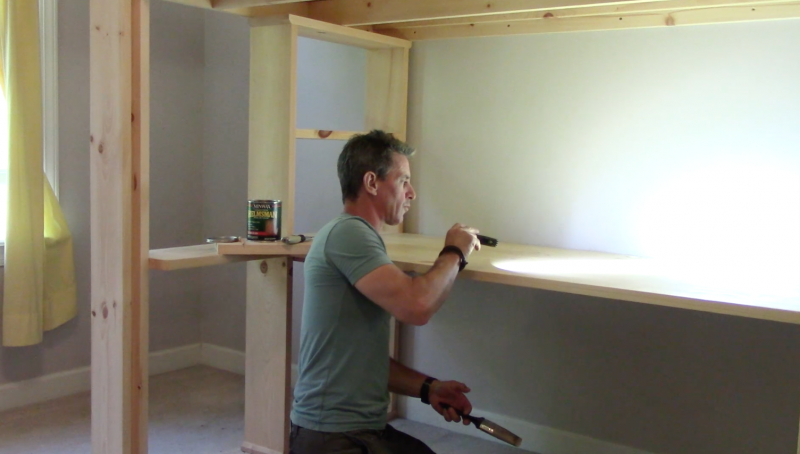
There are zero jobs I do where I do not reach for one of my many Hyde tools. This time, I used my 1-inch putty knife to screed filler on more like a drywall finisher than a woodworking wood-filler.
Find a suitable mattress
Building your own bed frame gives you the plenty of flexibility for your bunk beds. But to help you get the most out of them, build it so you can fit a standard mattress size: twins are 39 inches by 75 inches and fulls are 54 inches by 75 inches.
By using a standard mattress size, you can easily outfit the bunk bed and replace mattresses over time, without having to alter the structure of your bunk beds or have an awkward fit. We usually leave space around the mattress so kids have space to keep books or other things they enjoy while at their high perch. Head to your local mattress store to help you find an affordable mattress that’s sized to fit.
Be conscious of the depth of your mattress, too, as many pillow-top mattresses are taller these days. You don’t want to leave too little of a space between the bed and the ceiling, so your kids can’t sit up comfortably in bed.
There is more detail and how-to in the video. I hope you like it, and would love to see what kind of bunk beds that you decide to make.


Watch this video on YouTube
About the Author
