Every fence is different and yet, they’re all the same, so how to build a fence is about using these basic tips to get a fence you’ll love.
Table of contents
You already know that it’ll match and enhance your landscape and that it’s a fun and rewarding project crawling with instant curb appeal, so let’s build it.
Plans, Permits, Materials
Plan.
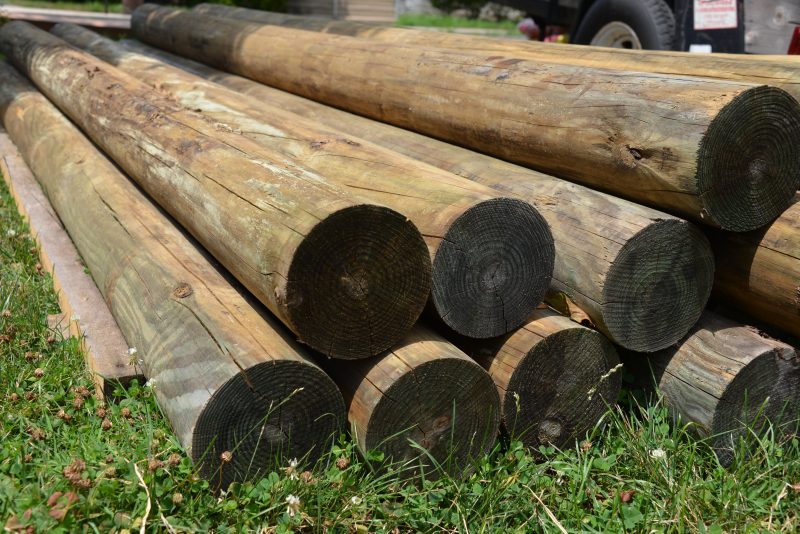
There are a lot choices when it comes to fence designs. Choose a design or create one of your own. I used 2x6x10 and 6-inch round 10-foot posts for this fence, both pressure-treated Southern Pine rated for ground contact. Whether buying panels or creating your own, fence sections are typically 8-feet long, so every 8-feet you’ll need a post. Also calculate for corner posts and gates. Check that gates can swing freely. There’s a lot to consider, so a detailed fence guide may help you make those decisions.
Permit.
Fences require building and sometimes zoning permits. It’s the best insurance policy for a fence (and happy neighbor) you can have. Getting one is great for other things too—from details to safety: Fences typically need to be shorter near the ends of driveways so a driver can see, for example. And posts depths should be below your frost line (or deep enough to be supported by compacted ground).
Materials.
Smaller fence project materials can be picked up in a pick-up truck. By-and-large, however, getting items delivered is a better option. Map out a location in your yard where you can accept the delivery and store materials while you do the project.
ProTip: I lay ‘skids’ for a driveway delivery. That can be scrap lumber or a bunch of pallets. It’s a nice buffer between the lumber package sliding off the truck and the driveway. The longer, the better. Lumber trucks are not precision machines and a bundle of lumber can easily weigh a ton.
Property line.
Locate the marker showing your property line. They’re often buried. I typically suggest building 2-inches inside that line, just to be safe.
Posts: Layout and Setting
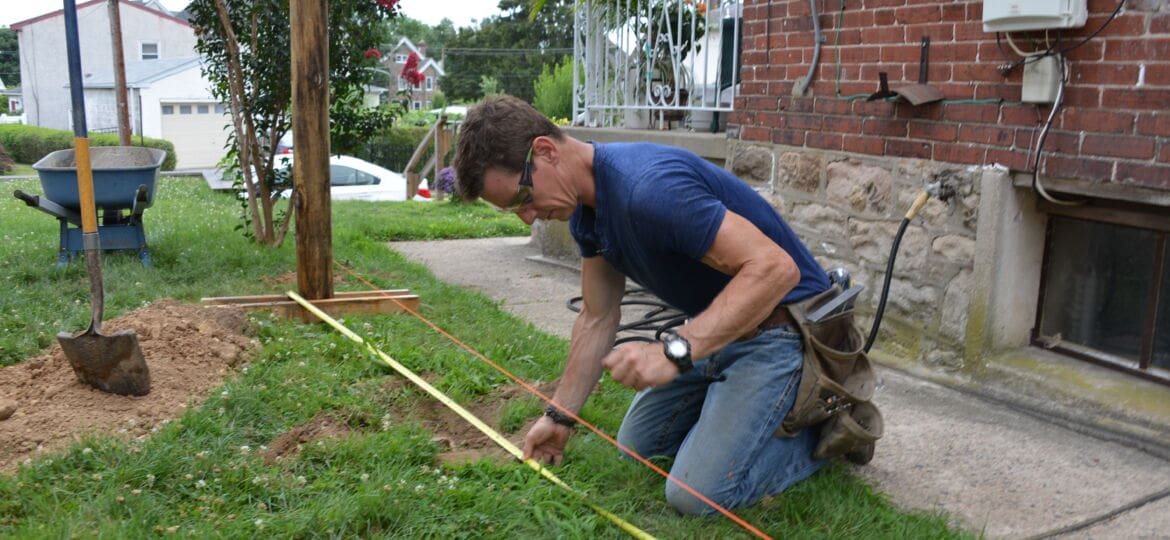
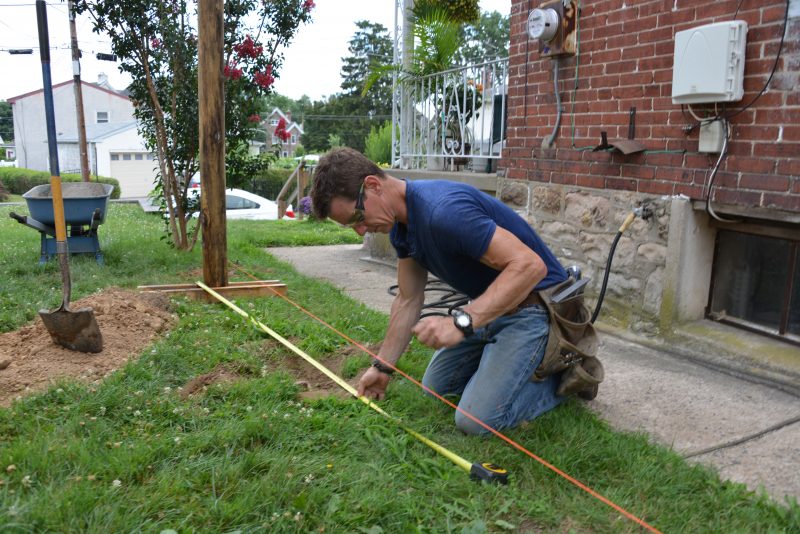
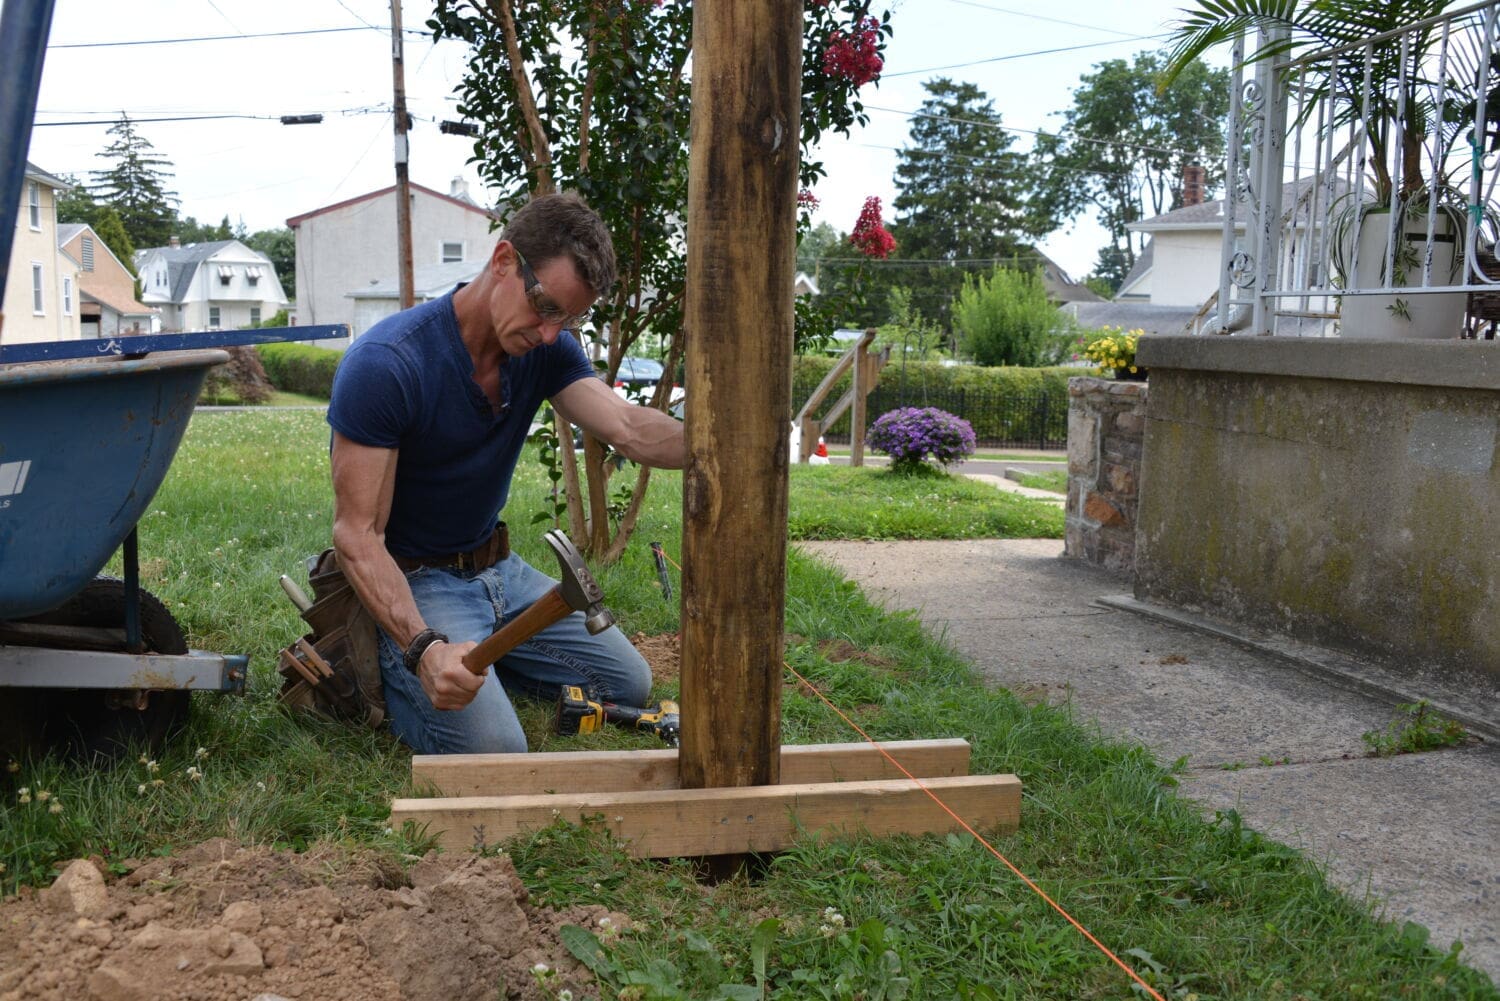
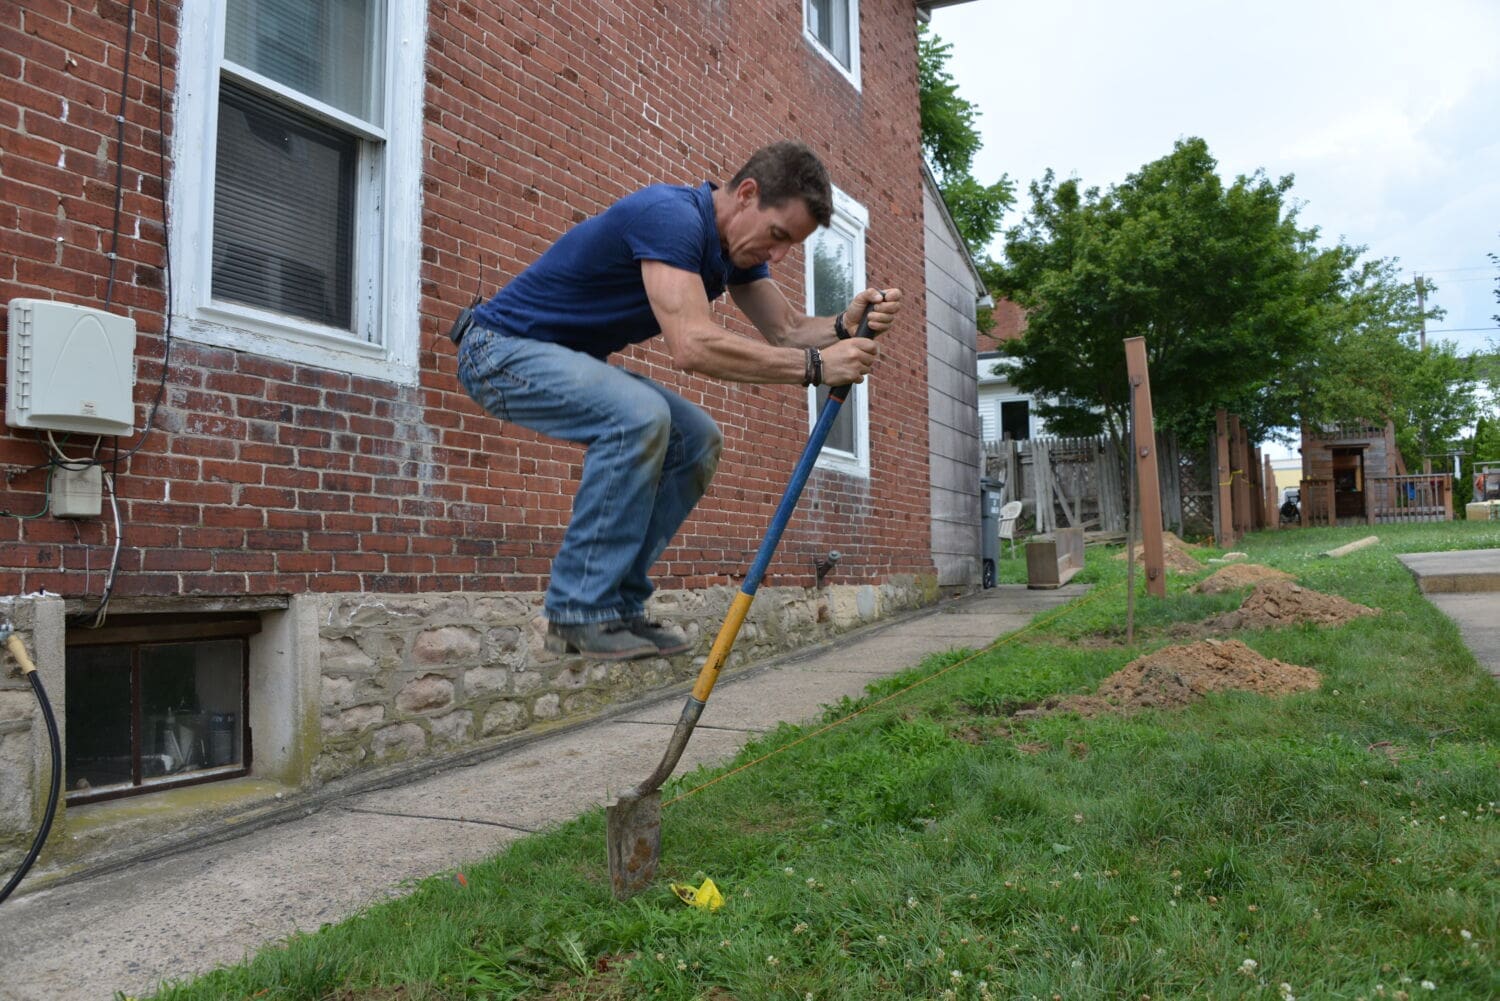
I start every fence project by setting the first and last posts in a run (sometimes those are corner posts). Once those are set (more on post layout, measuring, and excavation here), I can use them to pull a ‘mason’s line’ (string) between them so I can locate and dig post holes accurately.
Whether or not I’m building below a frost line, I like to set posts 3-feet or more in the ground. Kids climb fences and they can be used for other things, so a stout, stable post will put up with everything from climbing kids to blizzards.
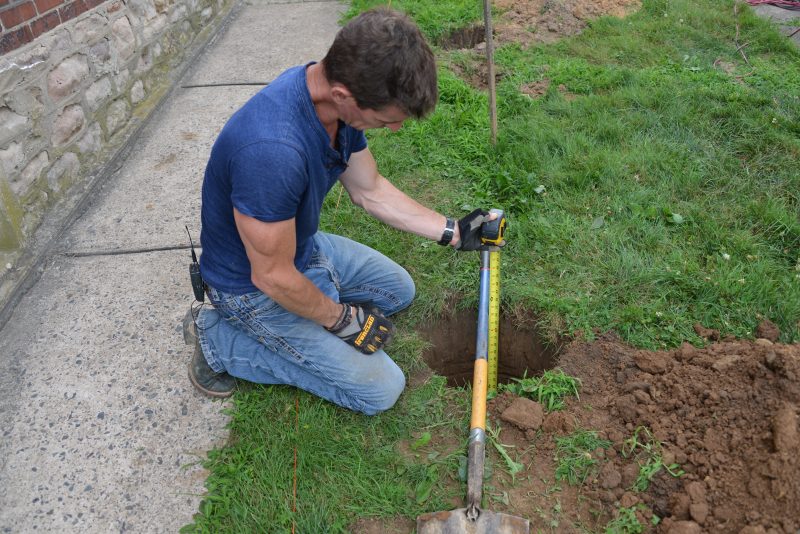
I set each post on a 3-inch bed of pea gravel (this enables water to drain away from the end grain of a post). I then mix and pour an 80-pound bag of concrete as a footing. A good way to measure the post depth is to bridge the hole with something like a shovel and measure to the bottom.
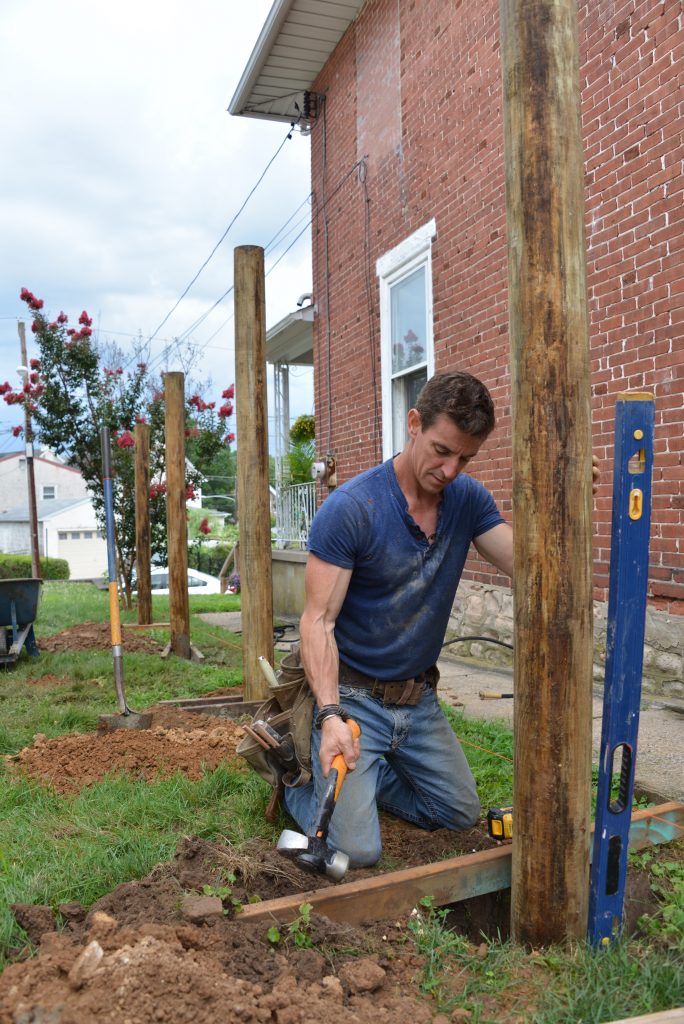
Next, I get it plumb (straight up and down) and brace it with lumber across the hole (I call these ‘stretchers’). A 4-pound sledge is ideal for slugging the stretchers into the earth and nudging the post around in the hole.
I let the concrete cure overnight, then back-fill the holes the next day. I like to tamp the dirt down in the holes to help pack material around the base of the post. This further stabilizes it when installing slats.
Planking the fence
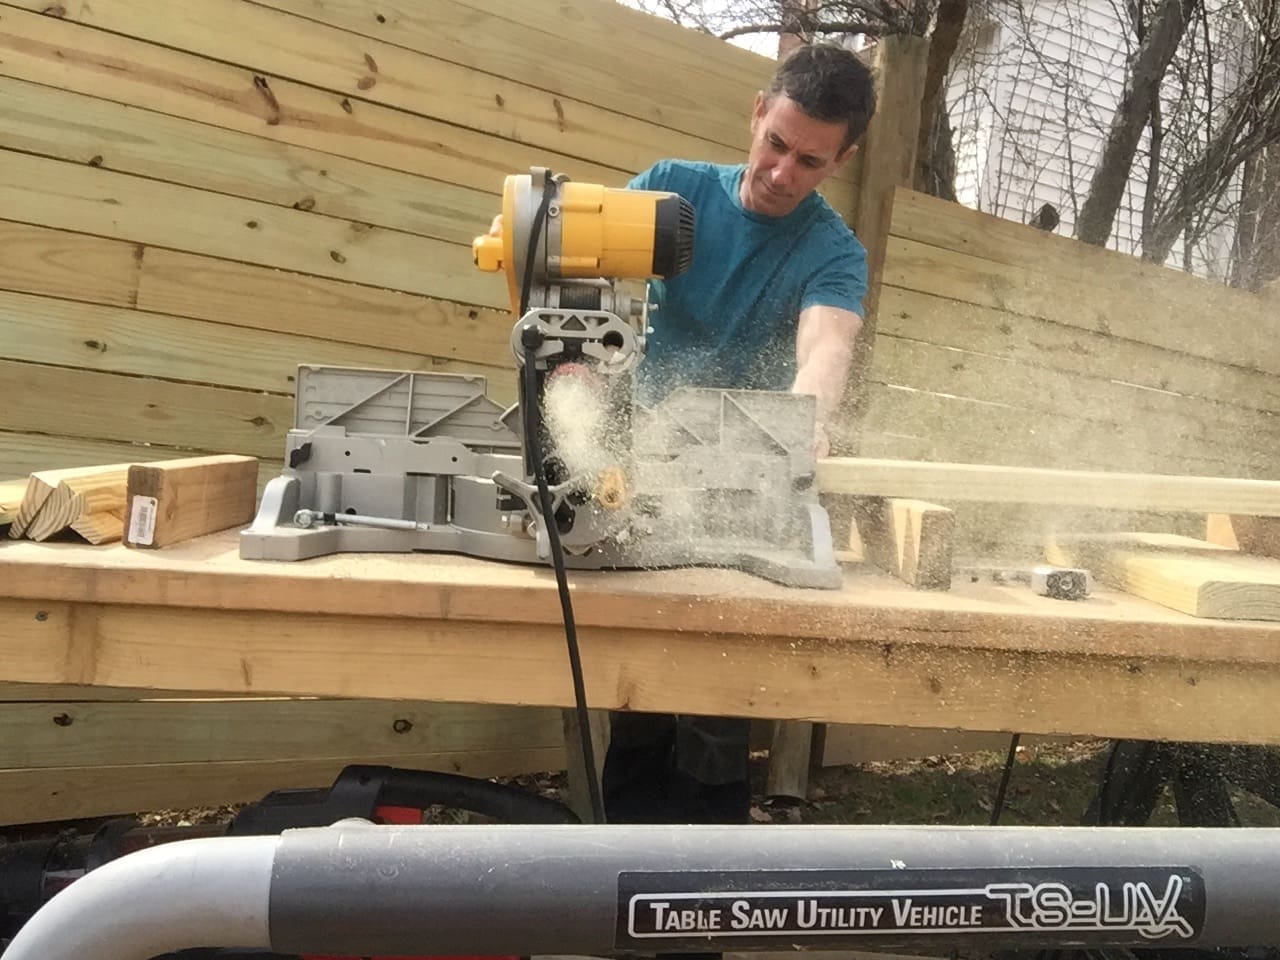
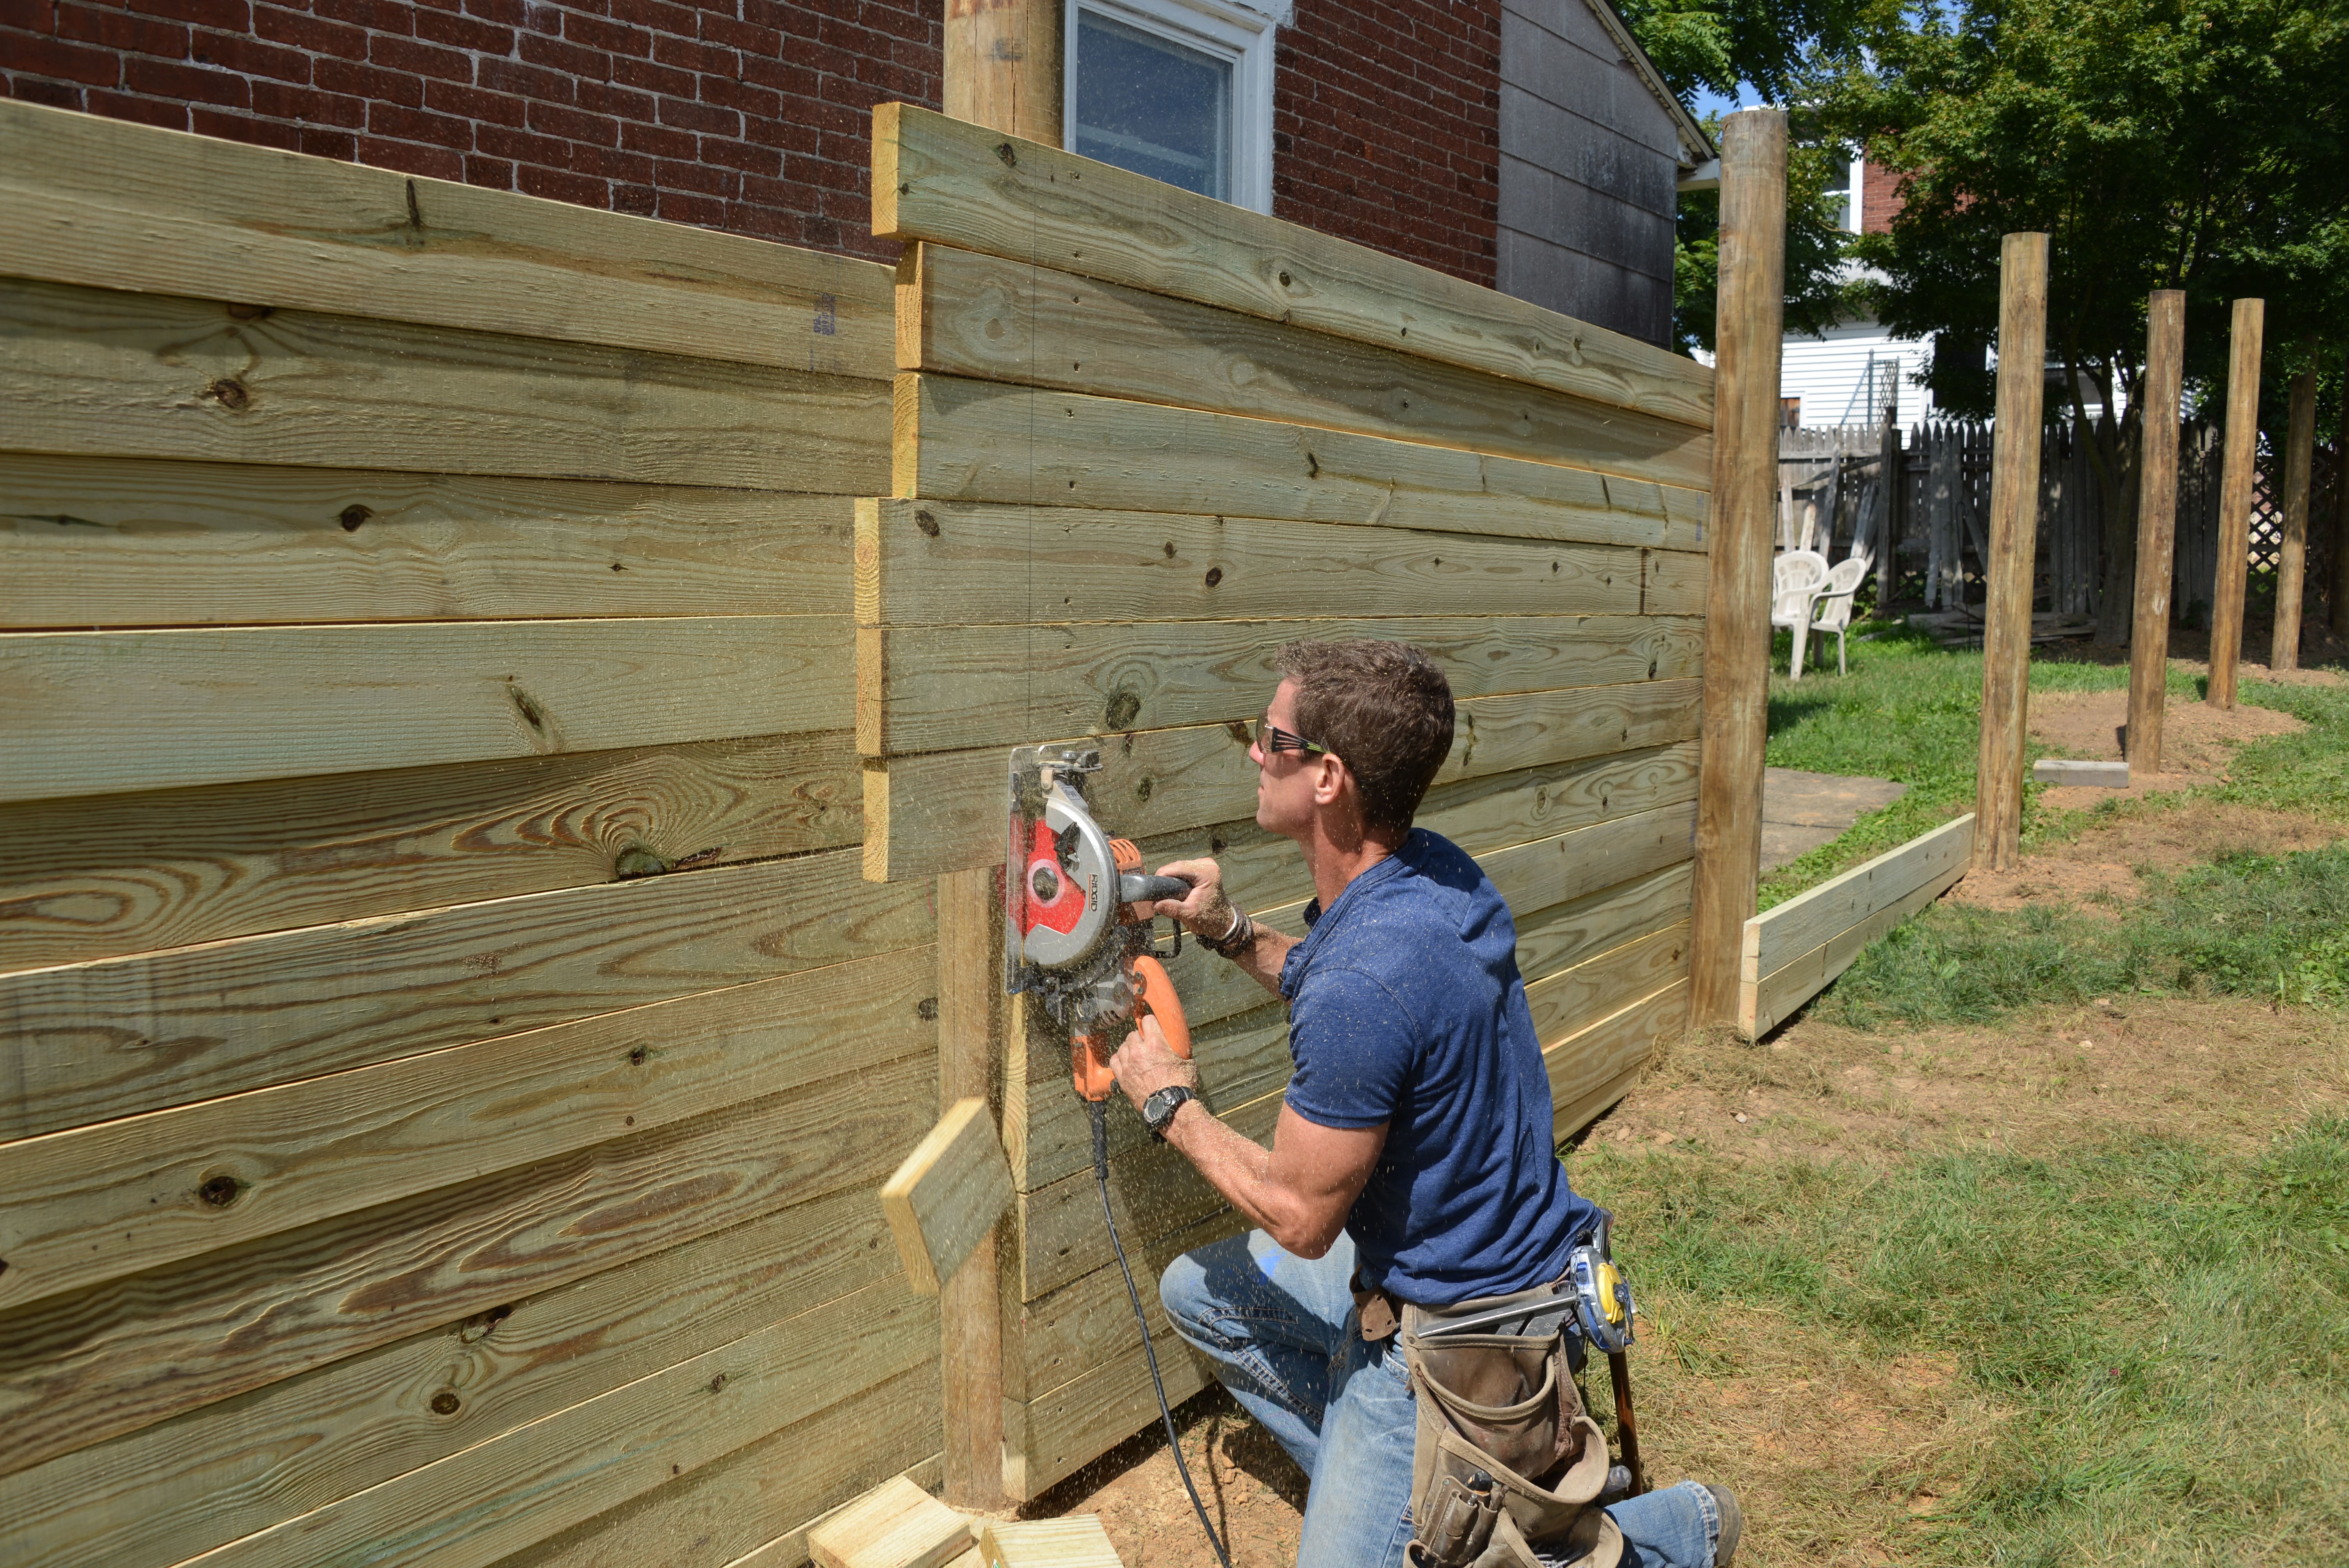
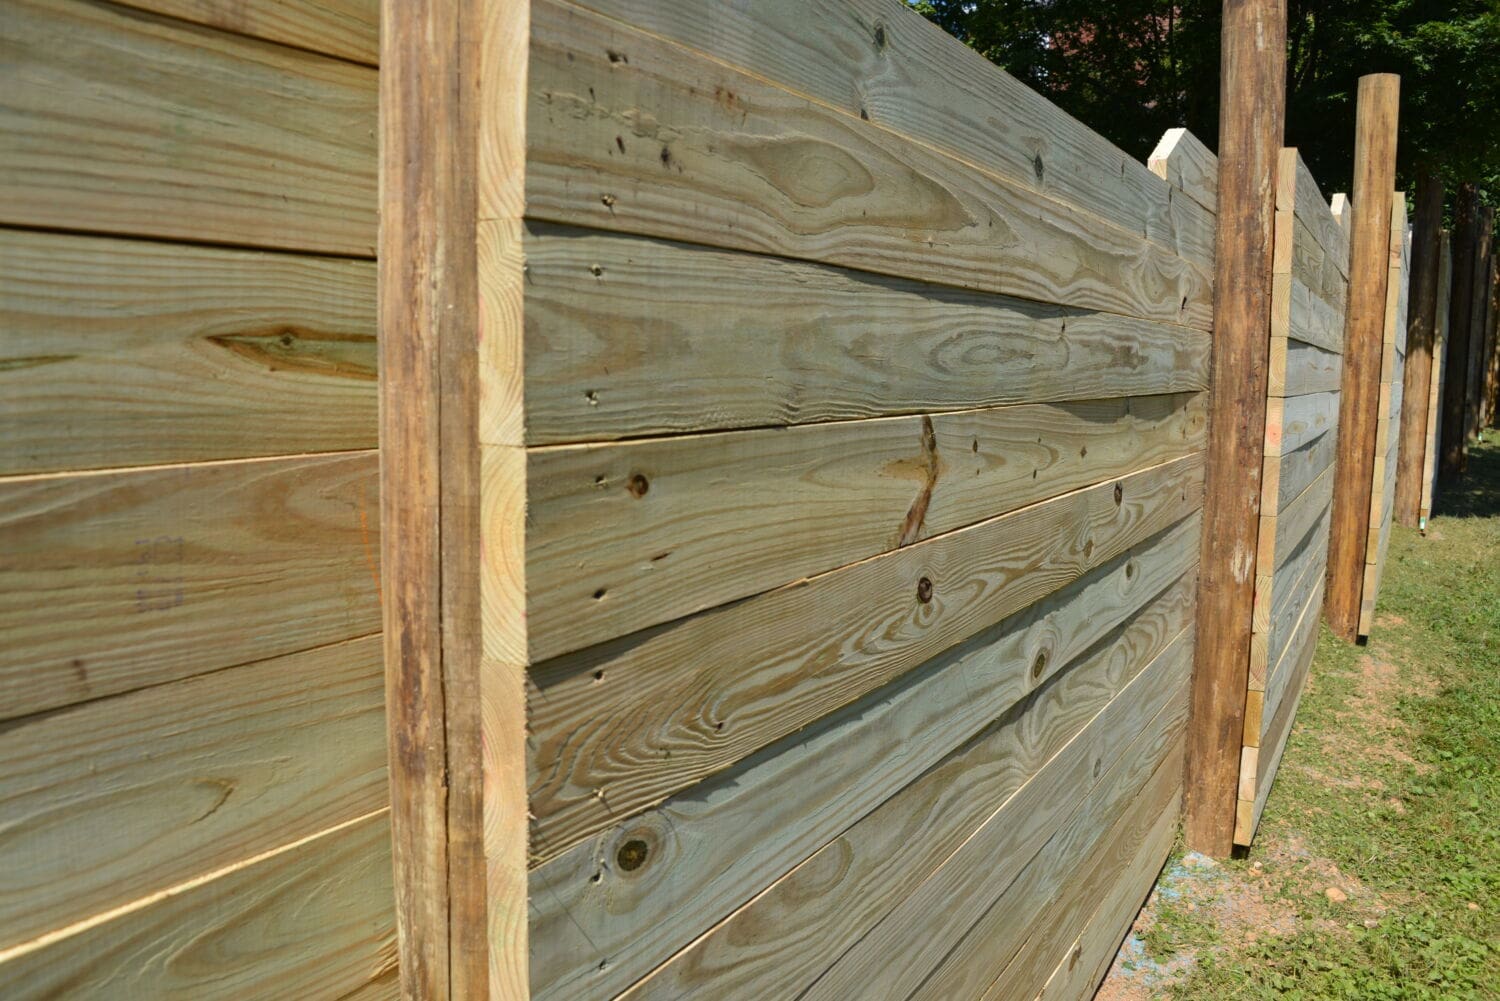
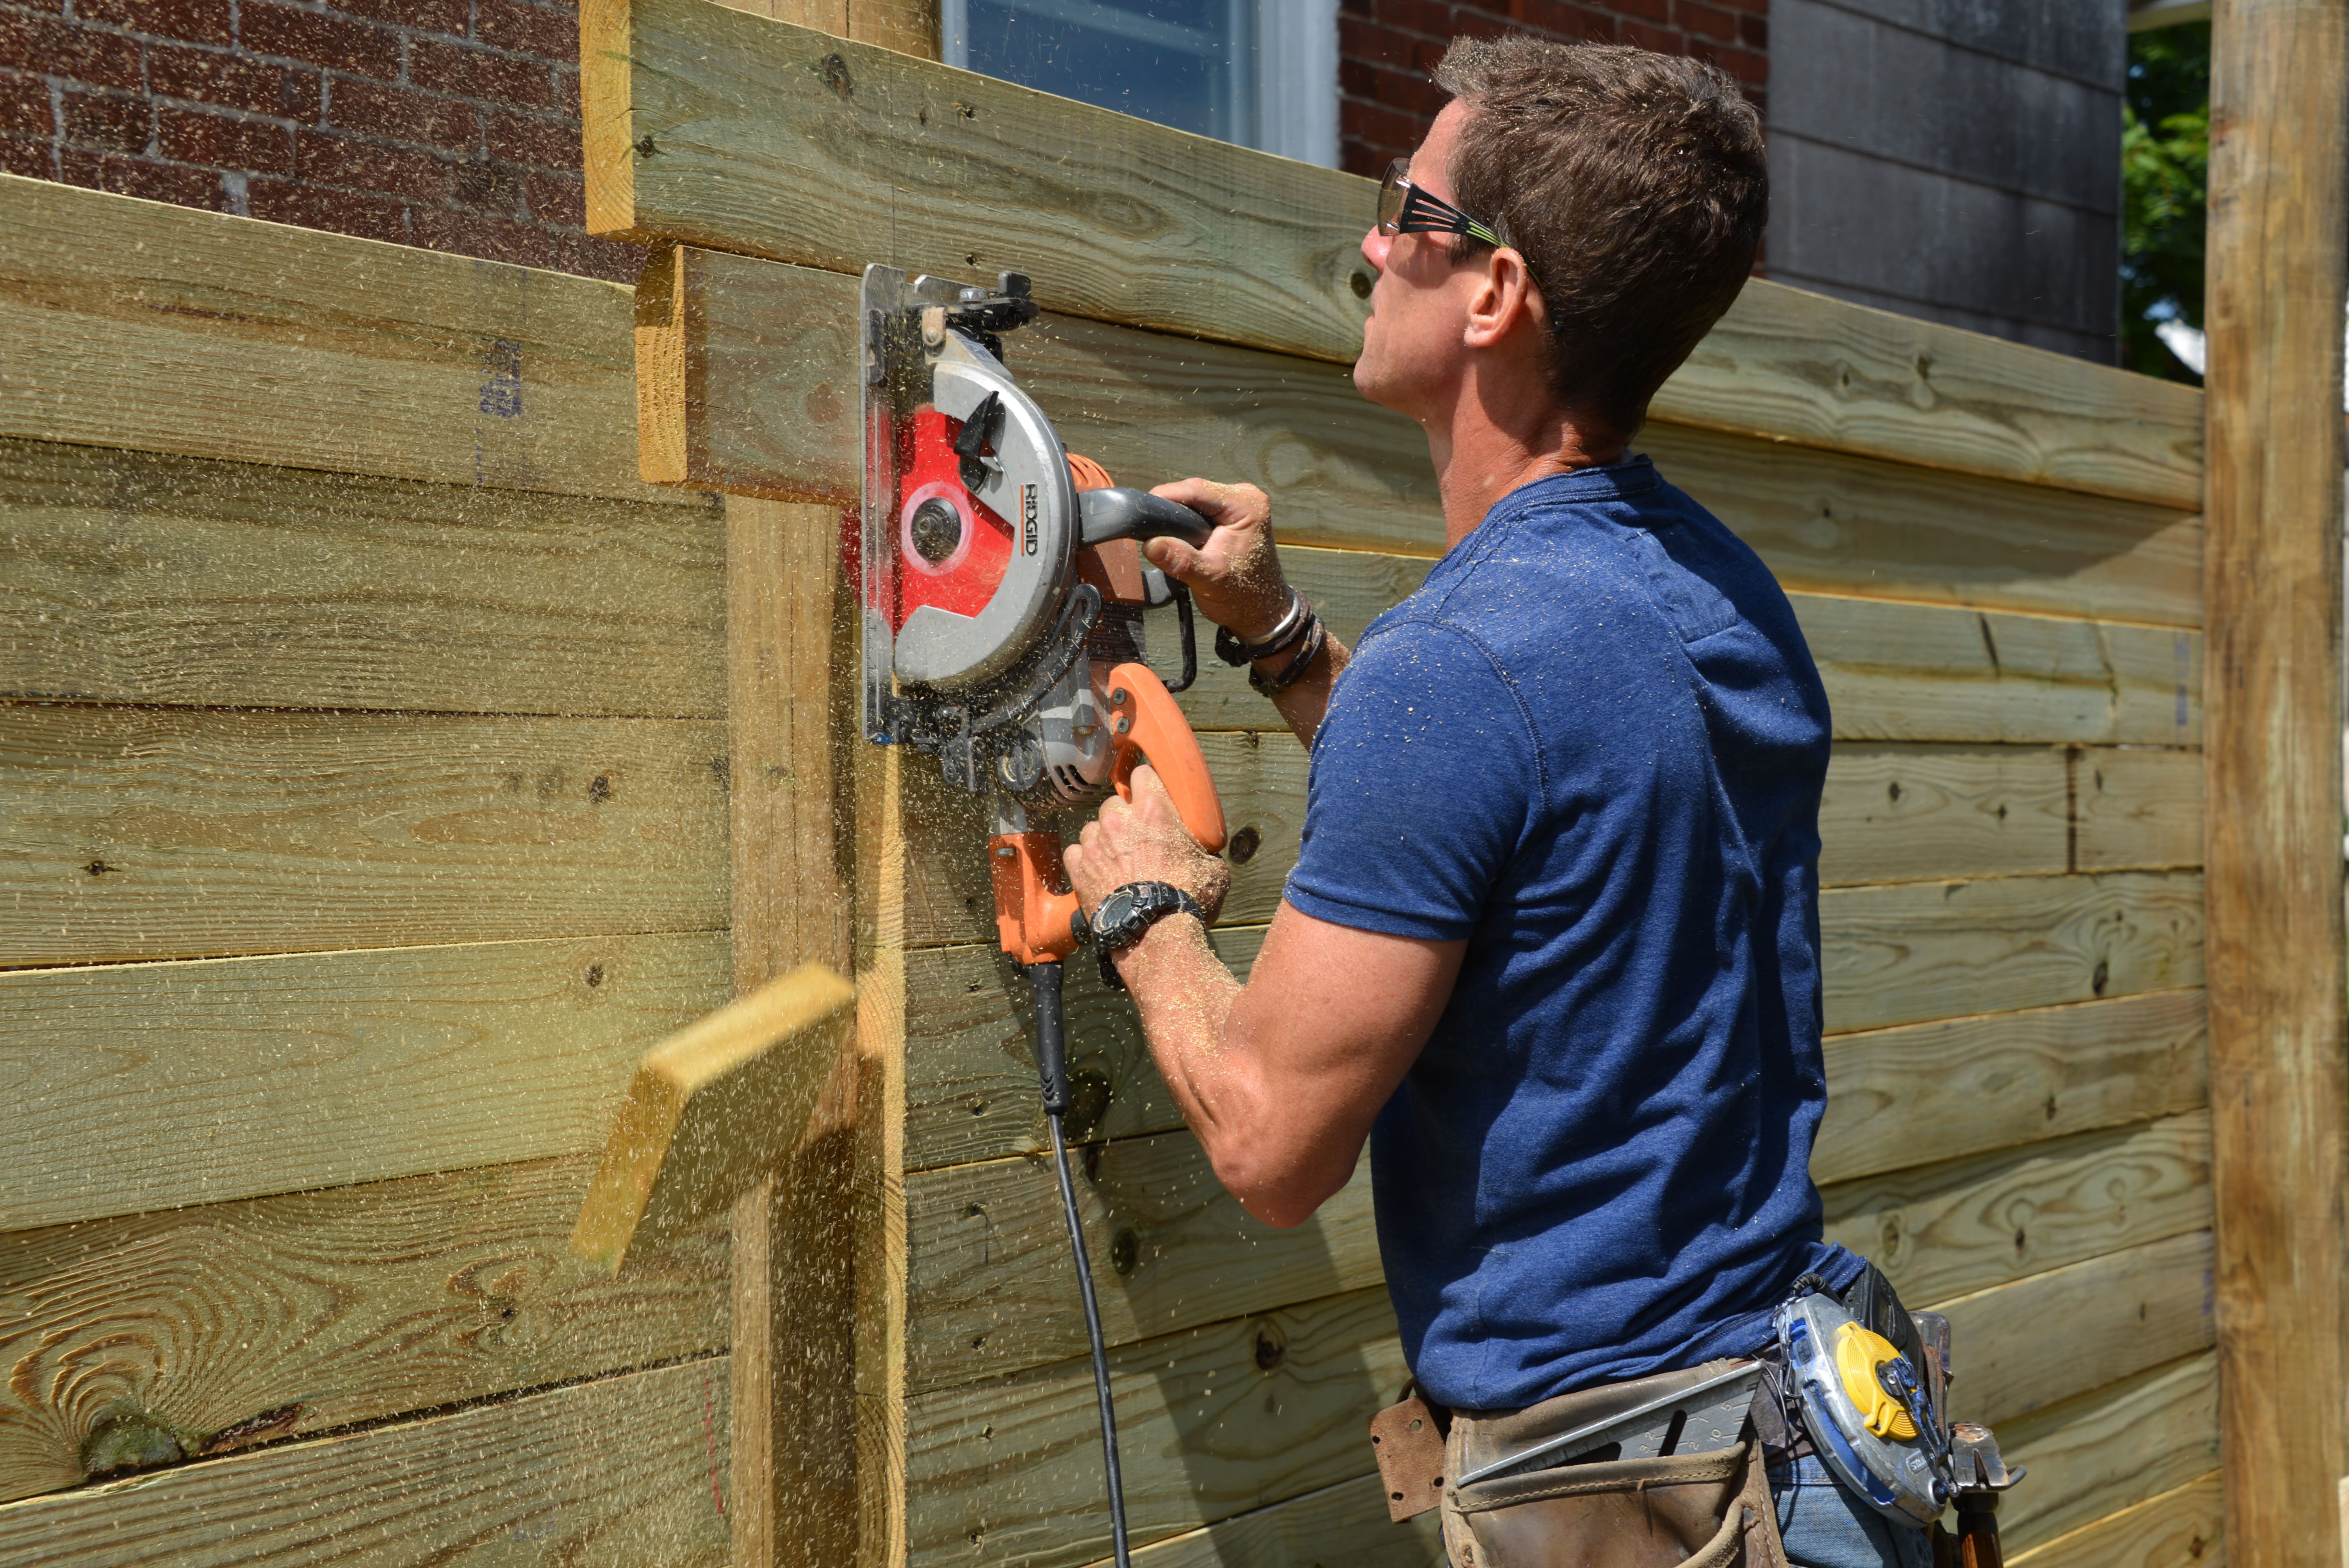
Because wood is so versatile I can create virtually any look I can imagine. While most fences have vertical ‘pickets’ this one has horizontal ‘slats’I call planking. Because the wood I’m using is stout and structural, I can use it in this orientation without a second thought.
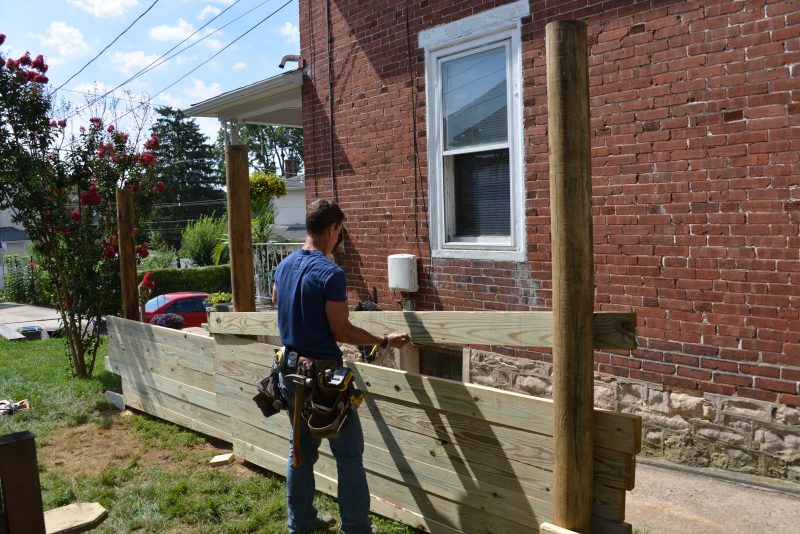
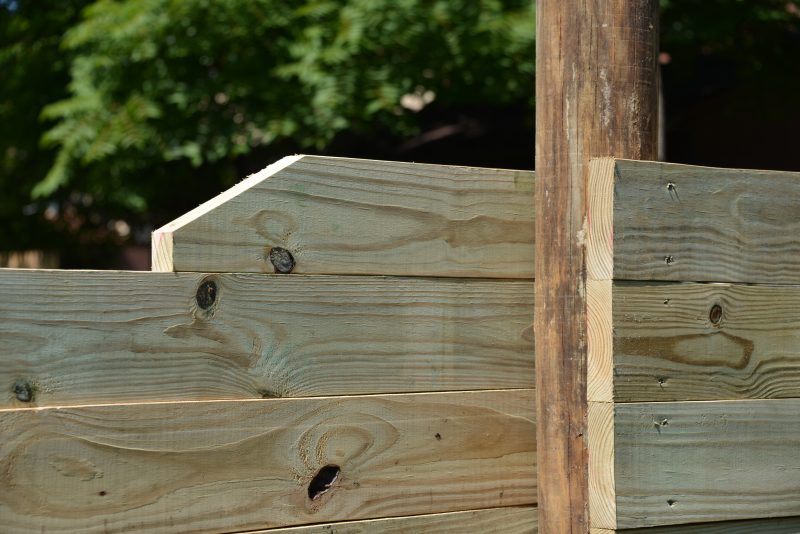
For this fence, I took a unique approach and fastened from the front of one post to the back of the next. This is quick to install. It also makes the fence identical on both sides. There is no front, back, left or right. Furthermore, with some extra detailing this design could be scaled up to work as a retaining wall or garden bed.
Decide on the look you want for your fence—following the contour of the ground or using panels that ‘step’ down a hill. Check this video for more detail on how to build a fence.
I used screws to install the planking.
Driveways, sidewalks, and lawn repair
It’s typically a rule that a fence can be no higher than 3 feet within a certain distance of a driveway. This obviously makes it safer when pulling out of a driveway and is one of those important reasons to get a permit.
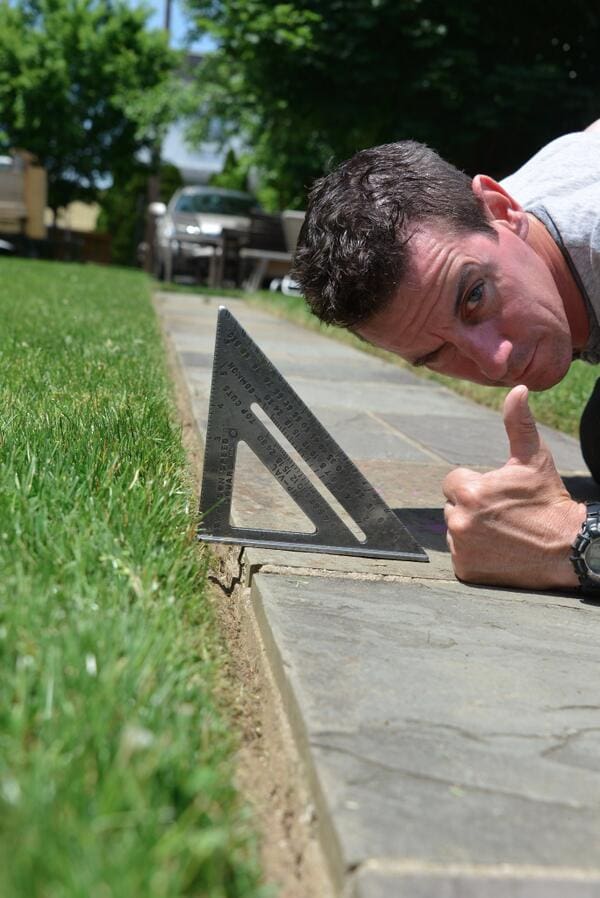
The last part of how to build a fence is something I rarely seen talked about: How to fix the yard. There’s always some dirt left over from back filling the holes. I like to make a plan for where to use it—garden beds, lawn repair, etc.—before starting the fence.
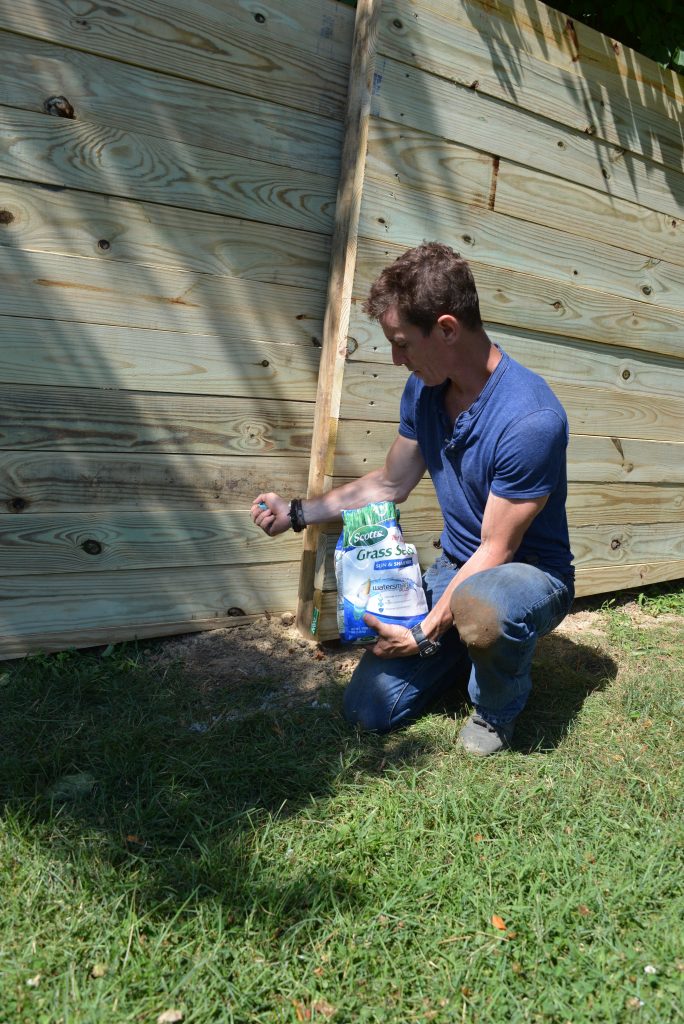
One use for it is to trap the grass seed I use to repair the lawn where I dug for the posts. Once I tamp the dirt flat (or even a little higher than the lawn; rain will cause the dirt to settle over time), I spread grass seed suitable for the light conditions and climate. Then, I spread a thin layer of healthy soil over the seed to help trap it for the first few waterings.
I also let the lawn grow out for a few weeks if possible before the build. Once the build is done, I sow seed then, with a side-discharging lawnmower, mow the lawn. I direct the clippings toward the fence. The grass clipping help trap the seed and keep it moist after waterings.
Grass seed tip: Water gently at first so the seed ‘catches’ in the soil and doesn’t run off into the lawn. Then, water frequently until the grass starts to grow.




This is some really good information about how to build a fence. I like the idea of having a professional install something like this. After all, you would probably need concrete to make it stable.