Bathroom renovation planning is essential. Before starting on a bathroom remodeling project, it’s helpful to start bathroom planning and find out what to expect from the renovation process. Already knowing how long the planning and execution take and having an overall understanding and agreement about decor and budget will put speed on the track later.
While a house structure can last for centuries–if well-maintained–the frequently-used bathroom typically needs an update every 10 years. It may not need a back-to-the-studs renovation, but the tolls of daily life, hard water, and moisture can deteriorate the touch-points of the bathroom like fixtures, wall surfaces, and hardware.
Our bathroom was the first space we renovated in our 1903 American Foursquare, and it is the next big interior remodeling project planned. Before we get started, we go through the same process as we do when working with clients.
Here is a helpful detailed, expert, step-by-step guide on exactly how to transform your old, worn bathroom into a modern oasis. Done well, it will bring you joy instead of embarrassment or frustration. Keep reading to begin your bathroom renovation journey.


Step 1: Decide on the design.
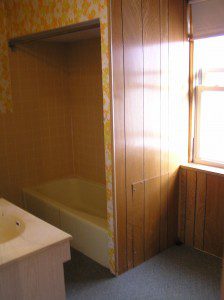
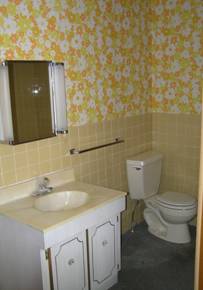
Is your current bathroom looking a little outdated? Has it seen better days? Even though you may be champing at the bit to get going with your bathroom remodel, the very first stage of the process is to work on the design.
The design determines most everything, from timing, schedule, budgets, hiring contractors, and the entire scope of work. If you don’t know what you are doing with your space and what you envision as the result, you are going to run into all sorts of problems, delays, and increasing expense during the process. Here is how to get started with bathroom renovation planning so you end up with the bathroom remodel you desire.
Get some inspo
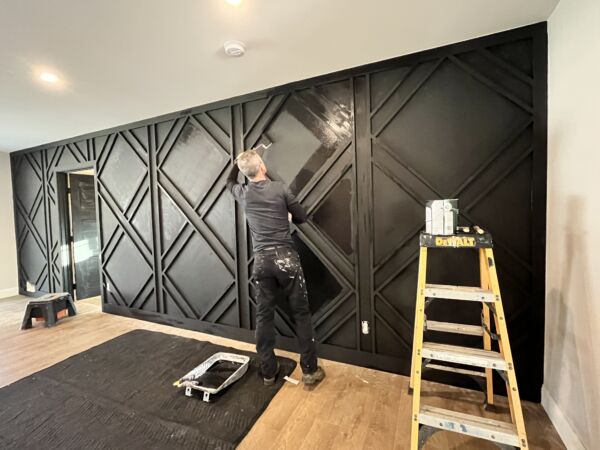
There are many things to consider when designing a new bathroom. While it’s helpful to find inspiration images that show different fixtures, colors, and decor, the most essential part of the design is the general layout of the space.
Do you want to change the position of the fixtures to better fit your needs? If you decide to change the layout of plumbing and electrical within the bathroom—or expand the space to consume part of an adjoining room–there will be greater expense and the timeline will be longer.
Decide on storage
Another important design consideration for a bathroom renovation is storage space, and providing enough storage space is crucial. Be sure to map this out ahead of time on your plans, and measure any shelving or cabinets carefully to ensure they will comfortably fit in your space. And that they will be able to hold what you need to store.
Think about color
Last of all, when it comes to converting your bathroom into a modern oasis, think carefully about the color scheme you will use. Probably the best option here is to work from a neutral base such as white, cream, or soft grey. Then add additional colors to your scheme as accents. Earth tones like sage greens and cappuccino browns are particularly popular right now. Layer the colors and textures with the towels, storage bins, and other accessories within the space.
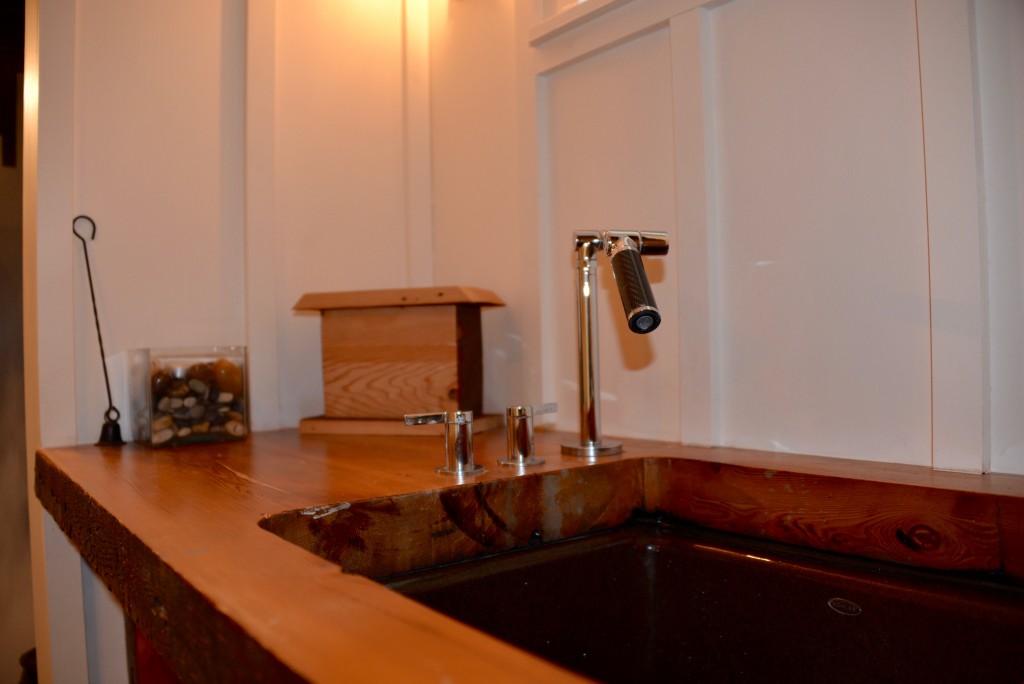


Step 2: Gather tools, equipment, and supplies.
Another important aspect of the planning stage of a bathroom renovation is to make sure you have all the supplies you need, and everything else ordered and tracked, before you begin. It is super frustrating to make progress, finding yourself halfway through a messy and complicated task, only to realize that you need to stop and go to the hardware store to pick up more paint, grout, or the proper tool.
Do also bear in mind that if you need to use specialized, more expensive pieces of equipment such as a floor sander, it’s a better idea to lease them by the day, than to buy them and then have no need for them once the job is done. Oftentimes, these pieces of equipment need to be scheduled and reserved ahead of time, so make sure to keep track of the schedule in case you start to get behind and need to reschedule the pickup day.
Additionally, if you plan on working with a professional for a part of your bathroom renovation, remember that part of the cost of hiring a pro is that they will have any specialist equipment, so you will not have to worry about sourcing it yourself.
However, one item that you may want to lease is a dumpster or purchase a Bagster. A dumpster provides you with a place to put all the items you remove. It keeps you and the neighborhood kids and pets safe, and stopping the mess from overrunning your home. A dumpster is dropped off and also picked up, so you won’t have to worry about wasting time heading to the dump.
Step 3: Demolish smart, before you renovate.
For those with a destructive streak, this next stage of the bathroom renovation can sound like a lot of fun. It’s time to demolish the old bathroom, which largely means removing any fixtures and fittings that won’t be staying and getting rid of any old drywall, flooring, tiling, etc.
Of course, while it would be fun to at it with the sledgehammer, there are a few things you need to remember when starting this stage. First of all, be mindful of where the plumbing and electrical is located within the walls, floors, and ceiling. It’s not just important to go easy around those areas, it’s important to pick the room apart in the reverse order that it was built. If you just start tearing things out, you’ll end up needing to replace and repair extra parts unnecessarily.
Turn off power and water
However, before you get anywhere near demolishing the bathroom, you have to shut off the water and turn off the power to the bathroom from the main breaker in the house. Test the outlets and switches to make sure they are off with a voltage tester.
Replacing the toilet
If the toilet is being replaced, drain your toilet and remove it before you begin work. If you plan to replace the bathtub, removing it can be tricky. For tubs that are not freestanding, you may need to remove the tile down to the stud wall before you begin to remove the tub.
Hiring a pro to demo
Just like for every part of a house project, you can hire a professional to do the demolition for you. This will ensure that the demo is done in a safe manner, and that the room will be ready for installing new finishes.
Step 4: Secure the subfloor and repair any framing, then set and install new fixtures.
After you have demolished your old bathroom and created a blank canvas on which to work, it’s time to repair any subfloor or framing that has become damaged or rotted. If you are planning to move fixtures, then new subfloor may be needed to fill in any floor gaps. Plus, new holes will need to be cut in order to accommodate the new fixtures.
When the room is structurally sound and ready, the next step is rough plumbing and electrical for those who are moving fixtures or adding new fixtures like new lighting, another sink, or a bidet into the space. Typically, this is a point where the local code inspector will need to evaluate the work to make sure it’s done properly. This happens before any new fixtures can be installed. If the room layout isn’t changing, a new bath, shower, and sink can be installed where the old ones were located.
Another optional part of this step is to install a new hot water heater system to ensure that your hot water production is as effective and economical as possible. Working with a professional is best when dealing with this type of plumbing. To make it easier, you can use searchable platforms like Alpha Living to find local professionals who can help you with this and just about any other aspect of your bathroom renovation. The biggest benefit of this is that you can connect with reliable and skilled local tradespeople in an instant. This saves precious time that you can spend on other bathroom renovation tasks.
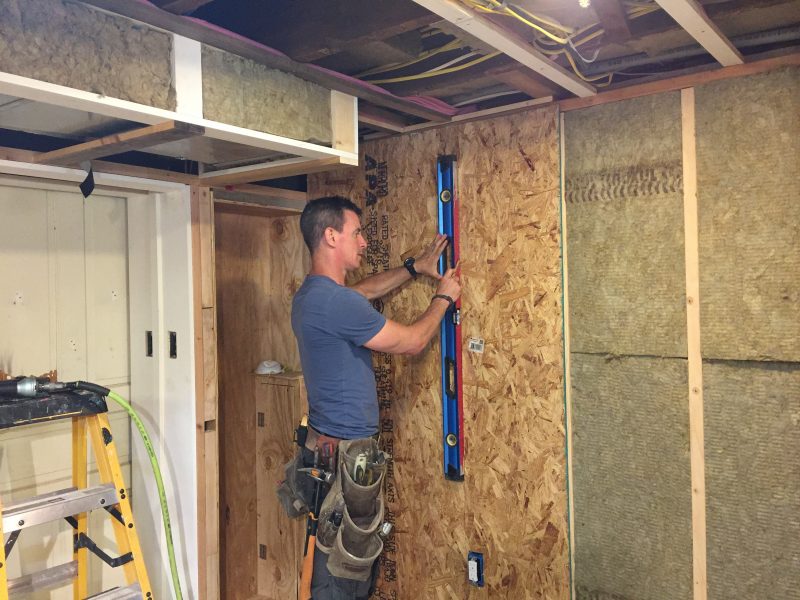


Step 5: Lay the new floor.
Once you have installed your new fixtures you can focus on laying a new floor. When it comes to flooring for a bathroom, tiles are always a popular choice. This is because nonporous tile is water resistant, and hardwearing, as well as freely available in your local hardware store. Plus, there are a range of colors and styles, from planks to large formats to geometric shapes that can add personality and interest into the space.
Although there are other options including cork and vinyl flooring, which can be a very cost-effective option. It’s also quite a bit easier to lay than tile for the DIY beginner.
Step 6: Focus on your walls.
After the new floor is complete, turn your focus to your bathroom walls. This often means hanging new drywall to fit around the new fixtures you have added. Due to the fact that you are working in a space that is frequently exposed to water and damp, it’s a good idea to replace the drywall around your shower and bath with cement board or other waterproof drywall.
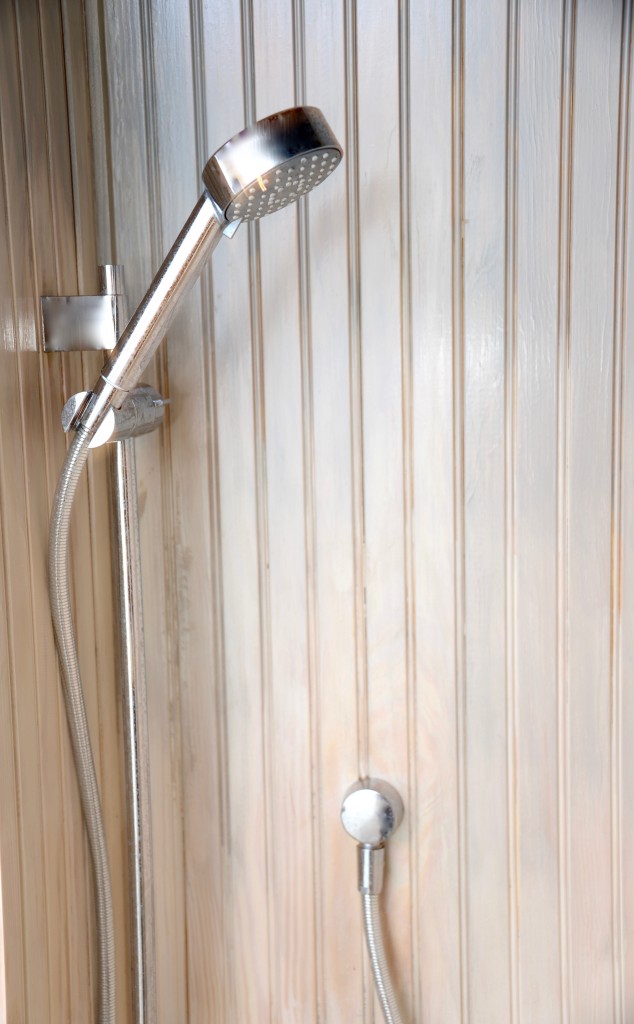
Once the drywall surface is up and finished, it can be painted, tiled, or wainscoted. Tiled walls and backsplashes make sense around areas where water will be used heavily such as around the bath, shower, and sink. Wainscoting like beadboard can be a great idea in a larger bathroom. It breaks up large expanses of wall and creates a charming vibe.
Still, drywall and tile may be the most popular but they aren’t the only options. Today many homeowners are considering options that include plywood or OSB with battens, board-and-batten, shiplap, and plaster.


Step 7: Install a vanity, shelves, and other storage.
The next task is to install any cabinets, shelves, and vanity. Remember to attach any storage items to the walls at the top and bottom. They need to bear the weight of the doors and the items that are placed inside of them. Plus, many people will grab at anything nearby when trying to get up or down, or in the process of a slip-and-fall. Therefore, it’s best to secure everything to prevent possible injury.
Don’t panic if you can’t afford a new vanity unit for your bathroom renovation. You can instead repaint the one you already have to create a new look more in keeping with your modern oasis theme. Check out this quick overview on how to achieve a polished paint finish on wood cabinets.


Watch this video on YouTube
Step 8: Let there be light.
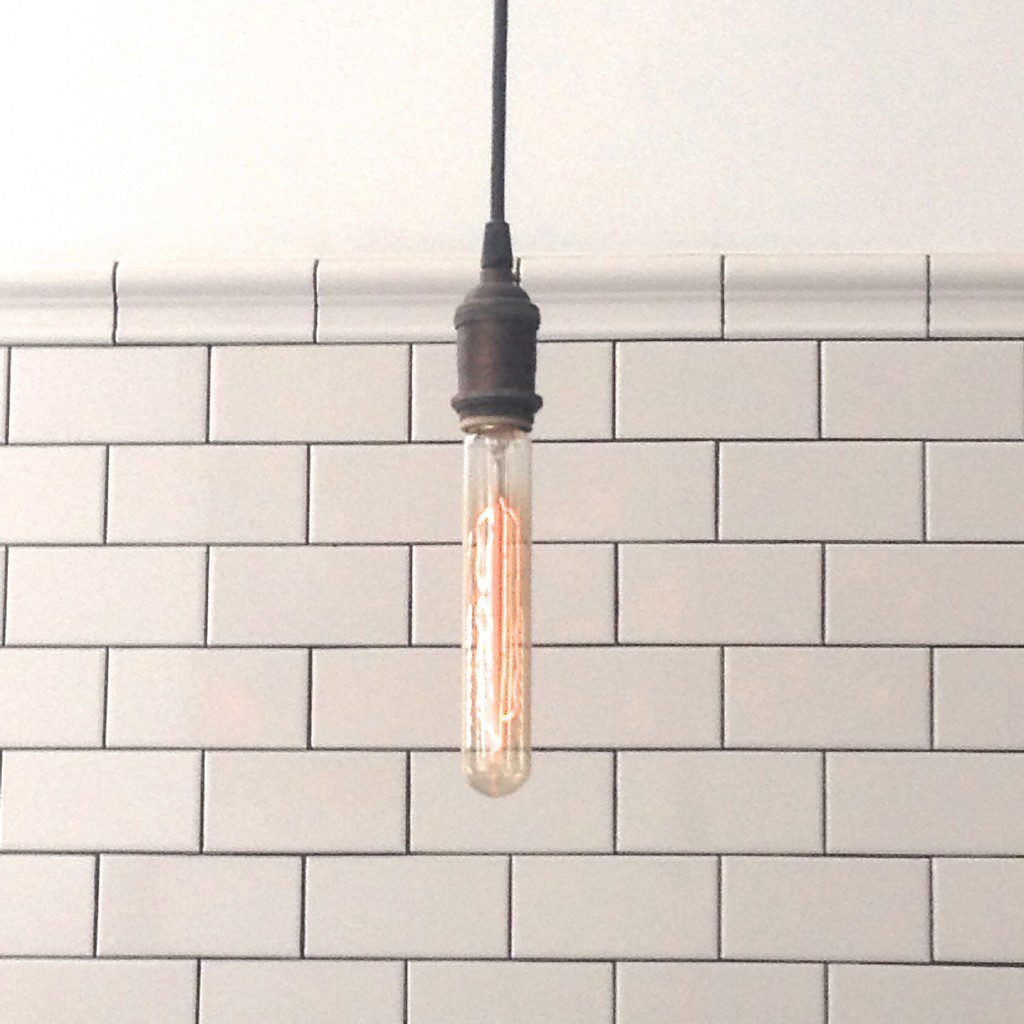
The next step for your bathroom remodel is to attend to the lighting fixtures. Lighting is crucial in the bathroom space. Everyone will need to be able to do things like shave and apply makeup which both require a well-lit space. To that end, installing not only typical lighting and a showstopper on the ceiling as well as sconces, but light-up mirrors can be a very good addition, too.
It’s also important to follow electrical codes for placement of lighting in the bathroom, as often many people will make the mistake of placing fixtures too close to wet areas. Of course, the installation of any electrical feature like lighting in a space where water will be used frequently must be done to code and very carefully by an experienced electrician and code inspector. And, again, the local code inspector is supposed to pay a visit to make sure it’s done properly and safely.
Step 9: Connect the plumbing.
Connecting the plumbing to the new fixtures is one of the most satisfying steps in the bathroom remodeling process. It’s important to follow all of the directions from the fixture manufacturer for install. Even better, it’s usually best to hire a pro to make sure everything is connected properly.
Either way, testing the fittings by turning each on to make sure there are no leaks is essential before anyone can enjoy the fruits of your labor by having a relaxing bath or invigorating shower.
Step 10: Complete the room with decorative touches.
The final step of any bathroom renovation is to add decorative touches like artwork, decor, and other nonfunctional extras. If you are hoping to create a modern oasis, then think carefully about the touches you add.
The decisions made in the design stage will help direct decision-making when selecting towels, shower curtain, and other items that fit your color scheme. Next, pick out or create some wall art that compliments your look. Make sure valuable artwork is not placed near your bathtub, sink, or shower to ensure longevity.
Some small decorative objects can also work well in a bathroom space. However, keeping things relatively minimal in terms of decoration is a good idea. Fewer things will not only will help preserve a feeling of calm, but it will make your new bathroom space much easier to keep clean as well.


