Slow and steady is how I like to paint cabinets for that factory finish look.
Yes, you can paint cabinets.
No, you shouldn’t expect to paint them in just one coat.
You’ve probably heard experts weigh-in on both sides of the ‘paint your cabinets’ opinion fence. If you take your time, and pay close attention to the details, you can find success.
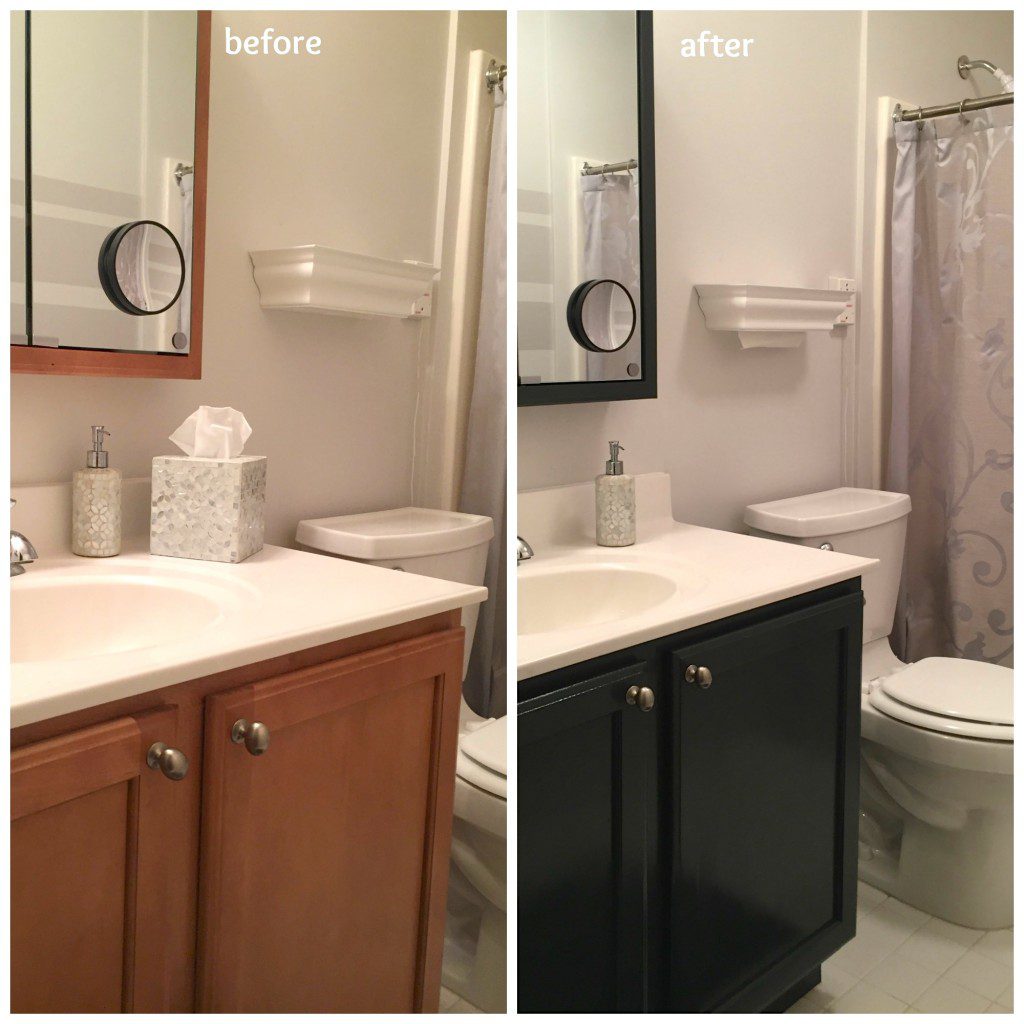
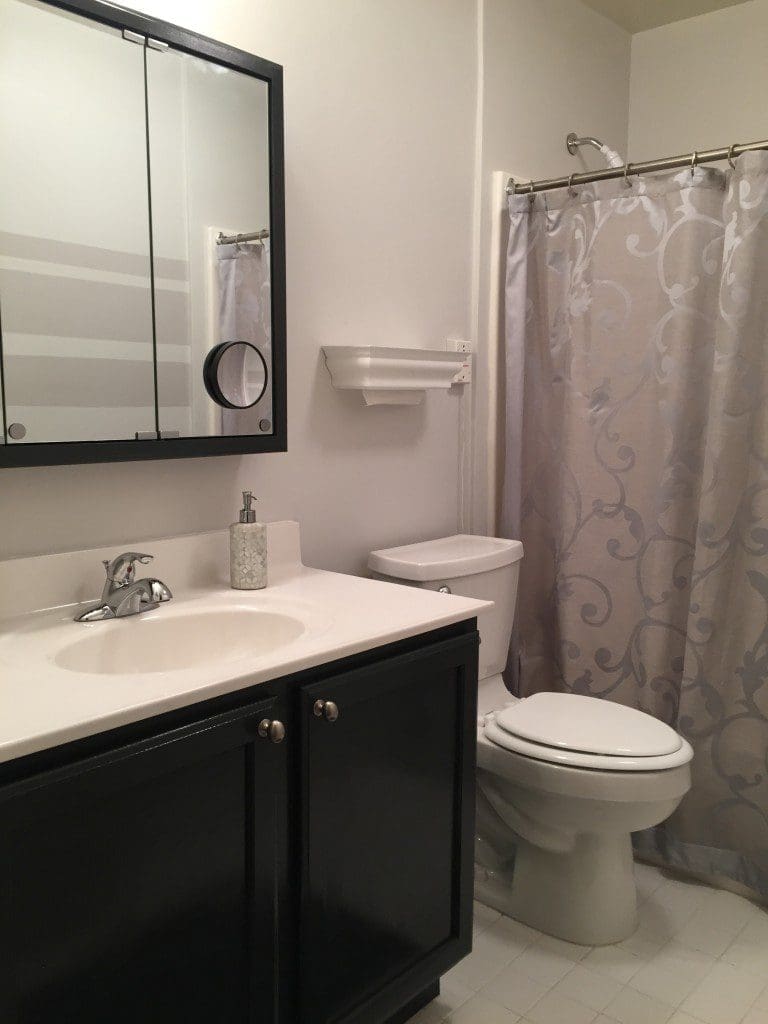
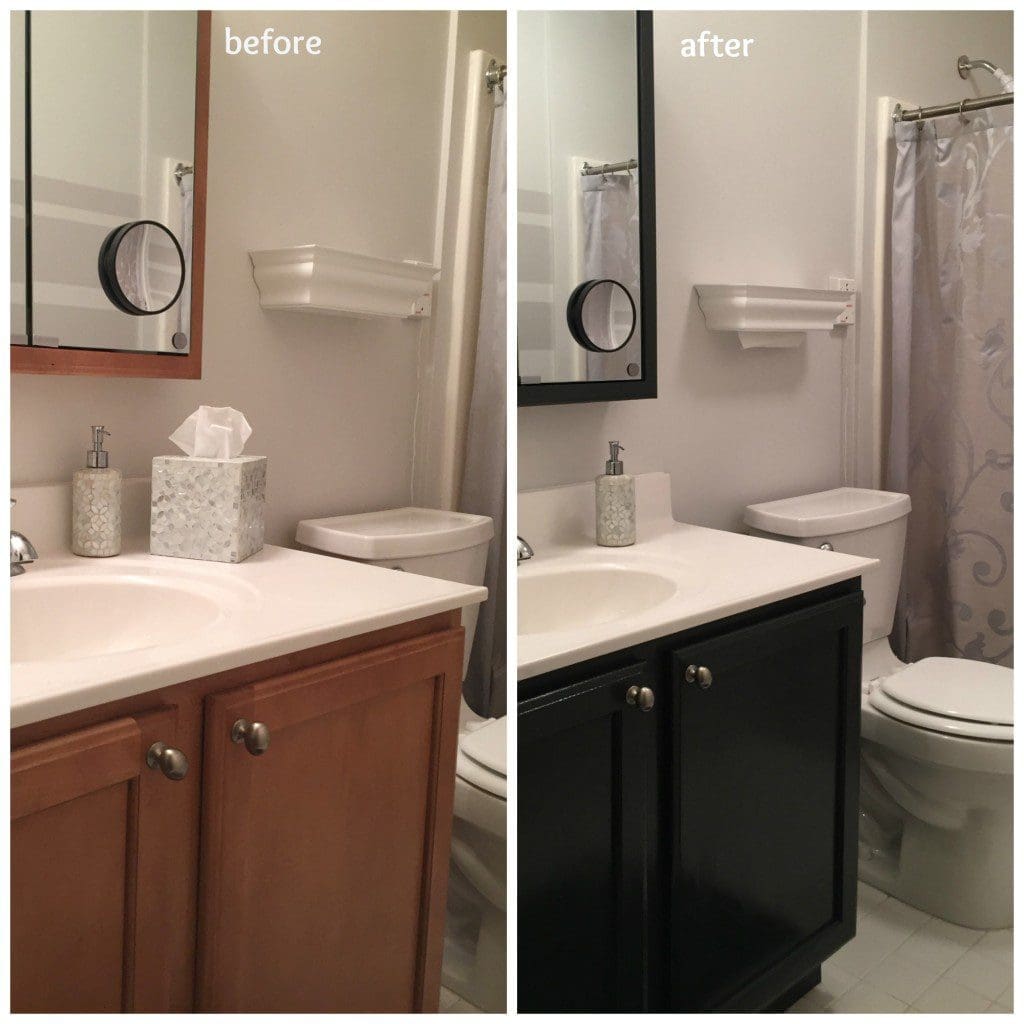
I had updated my mom’s bathroom a few months ago, with new wall color, shower curtain, and accessories, but I left the brown cabinet as-is. After I finished the quick makeover, I suggested the new color for the cabinet: dark grey. She agreed.
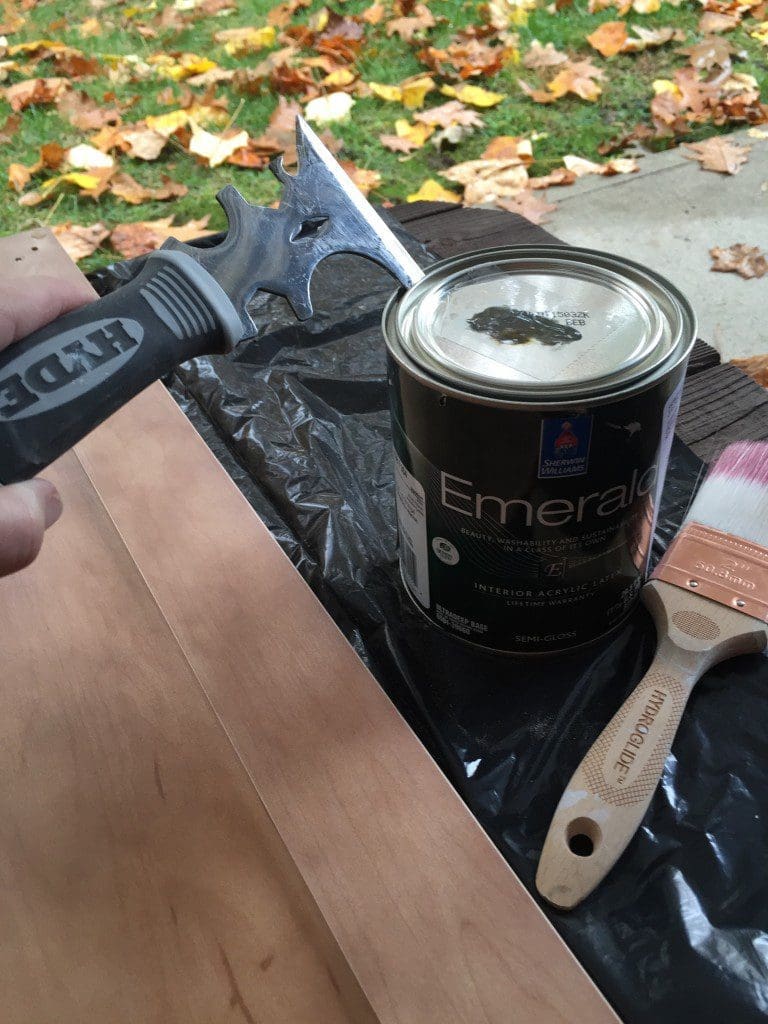
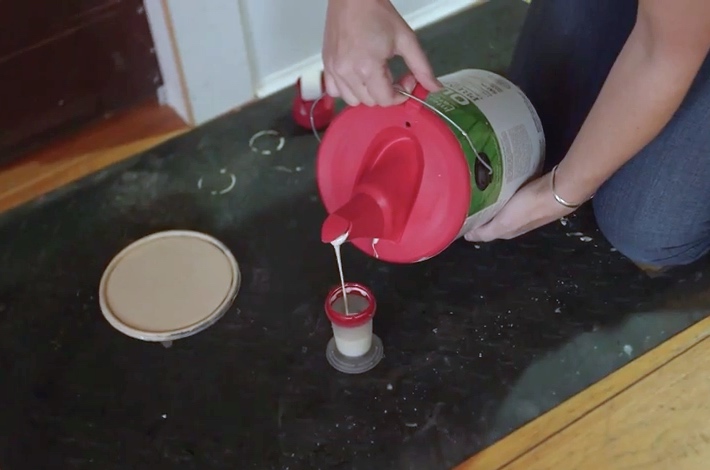
So when I was on my way to visit for the weekend, I picked up a quart of Rock Bottom grey from my local Sherwin-Williams, decanted polyurethane into a mason jar, grabbed a few of my favorite Shur-Line paint brushes and tray, and headed to her home.
The first thing I did when I started this paint project was clearing off the counter, and made space for my supplies.
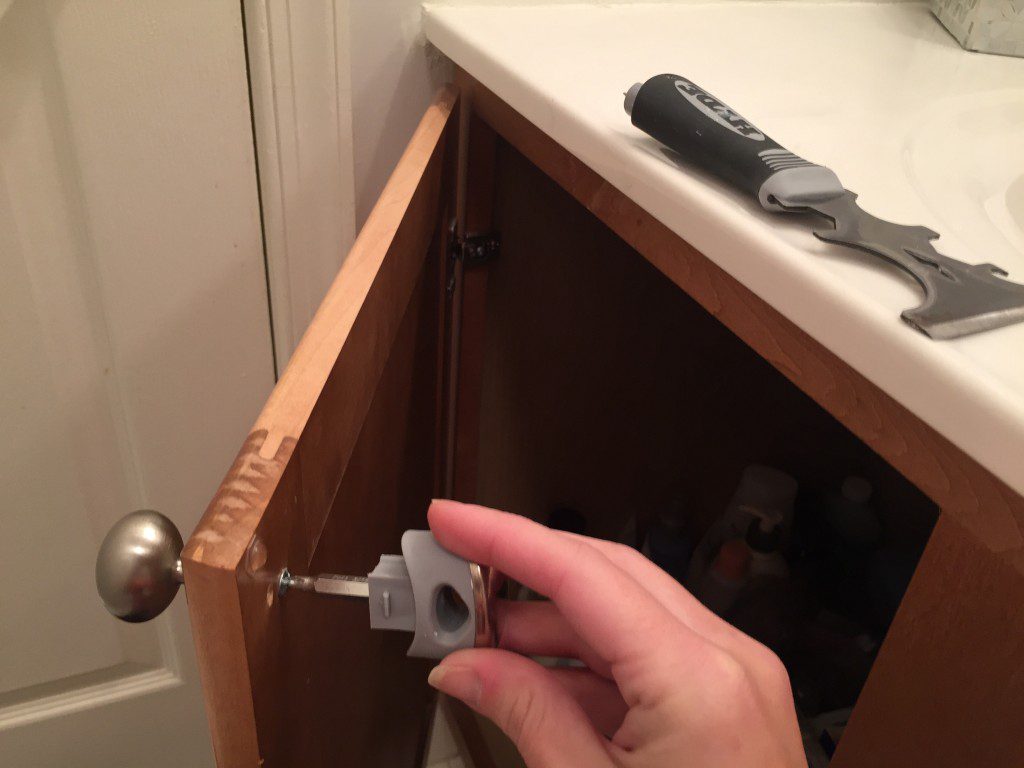
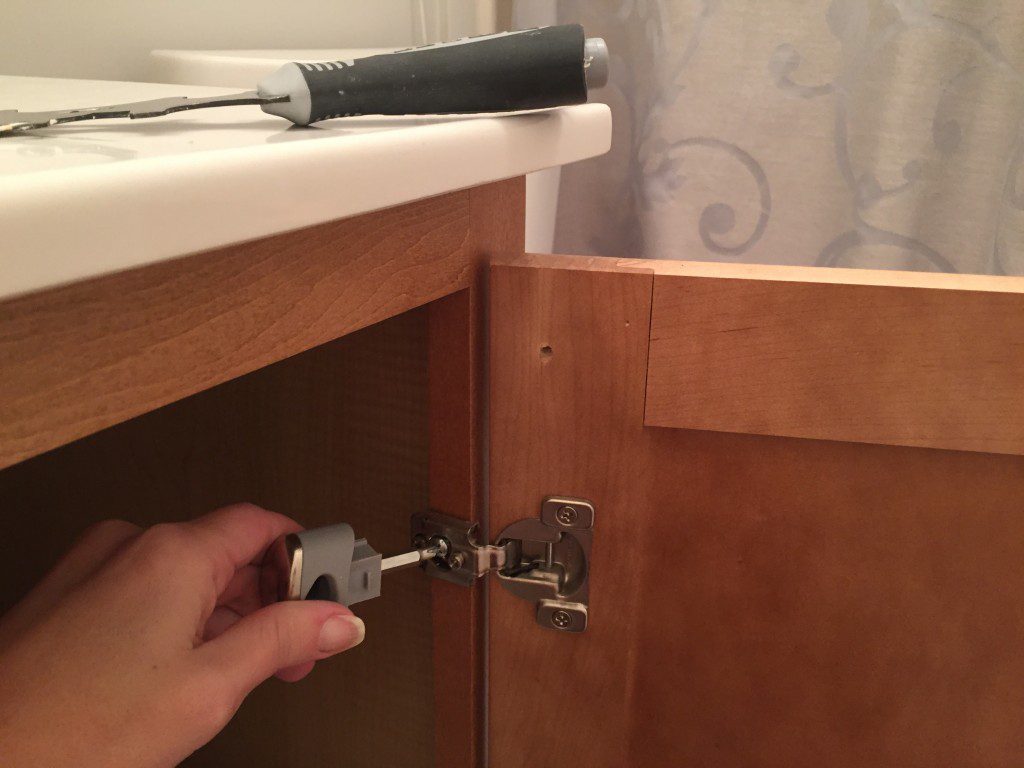
While you can paint a cabinet without taking the doors off, it actually ends up taking longer to try to paint around the fasteners and hinges.
DIY Tip: Since this is a single vanity cabinet, I didn’t have to label the doors. If you’ve ever painted kitchen cabinets, it can be confusing and frustrating when you have 10 or more to put back where they started before the painting began.
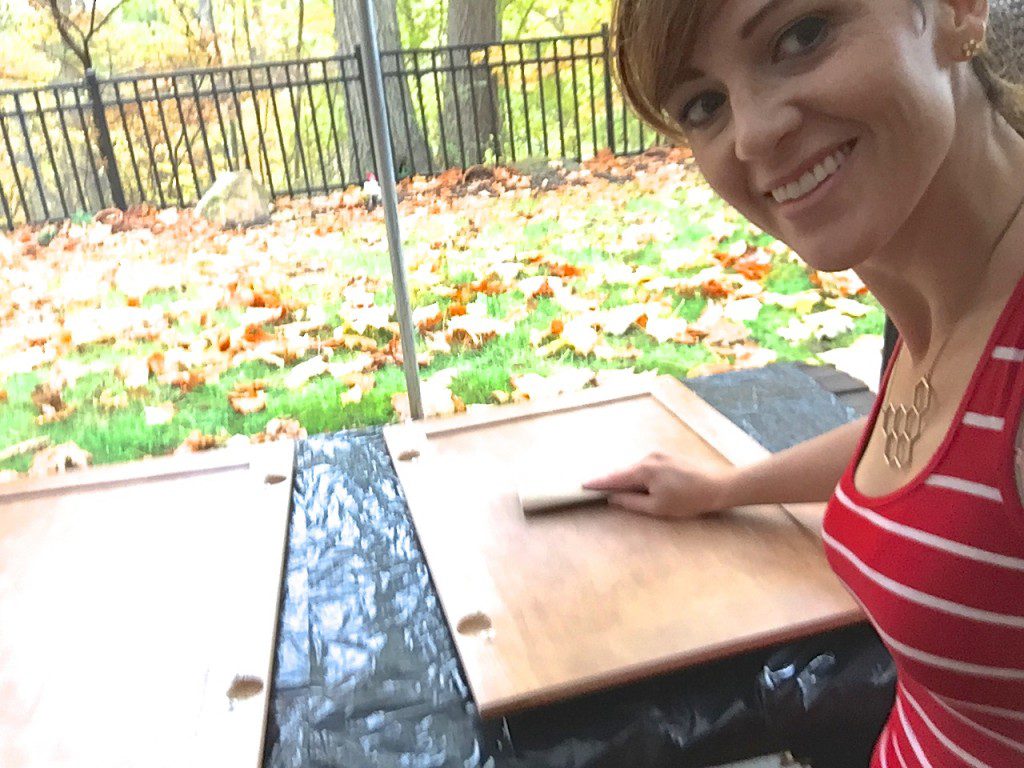
The next step was sanding all of the surfaces to open up the grain for the paint. If you choose to skip the sanding step, the paint you apply could literally just peel right off the cabinet. So don’t skip this step.
Since it isn’t my bathroom, I tested the color Rock Bottom on the inside of the doors to get my mom’s approval on the hue. She was happy, so I kept trucking.
Here’s the part that’s just as important as sanding and selecting the perfect color: how to apply paint to a vanity cabinet.
If you use those 99 cent paint brushes, you’ll end up with a ’99 cent looking project.’ I don’t use a professional paint brush, either. Those expensive brushes are designed for how professional painters paint. They hold more paint in the brush, and aren’t designed for DIYers to frequently go back-and-forth to dip in the paint source.
I like to use a quality DIY brush, which is my favorite kind of paint brushes from Shur-Line and yes I’m their spokesperson. And I’m their spokesperson because I use their brushes.
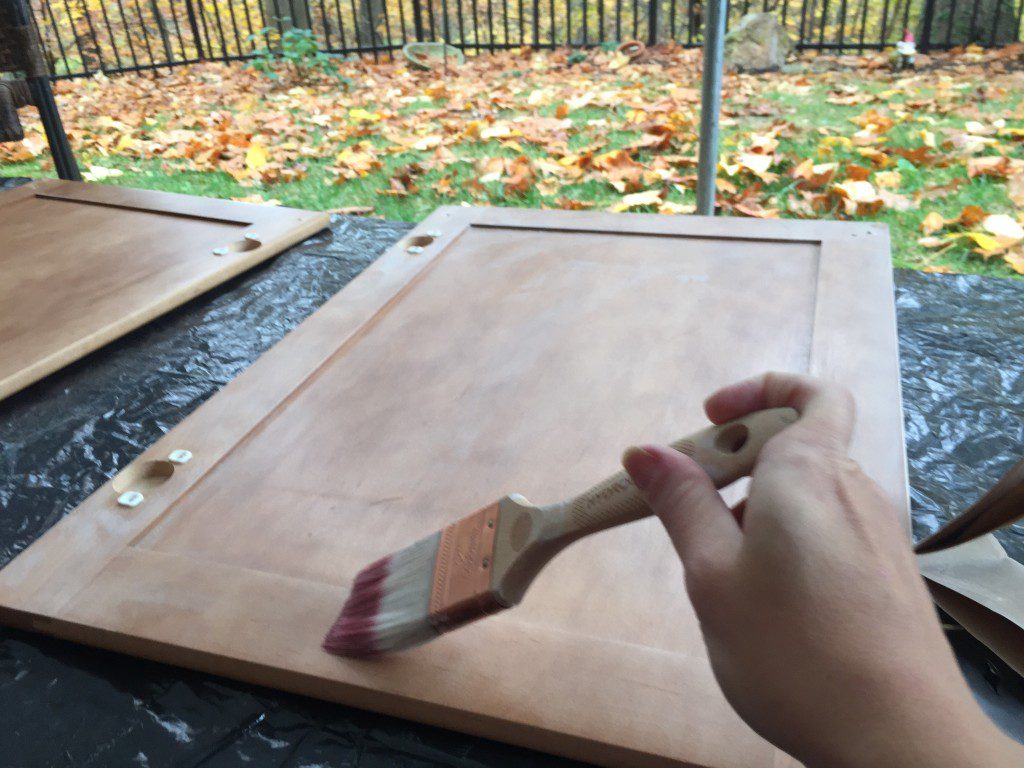
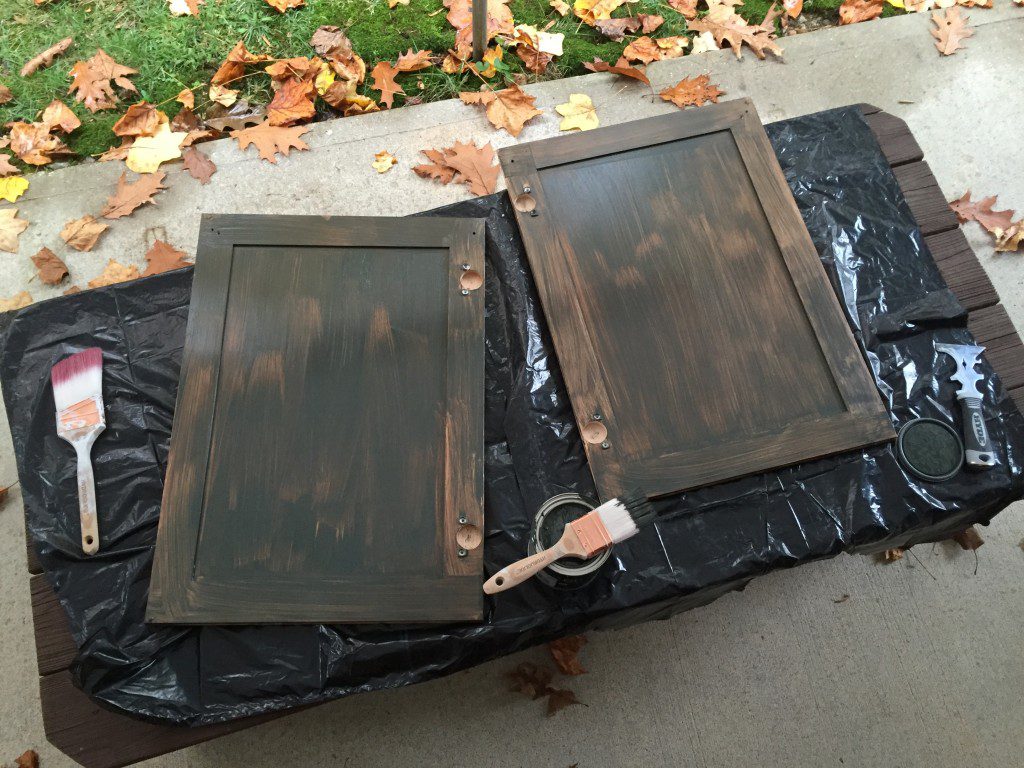
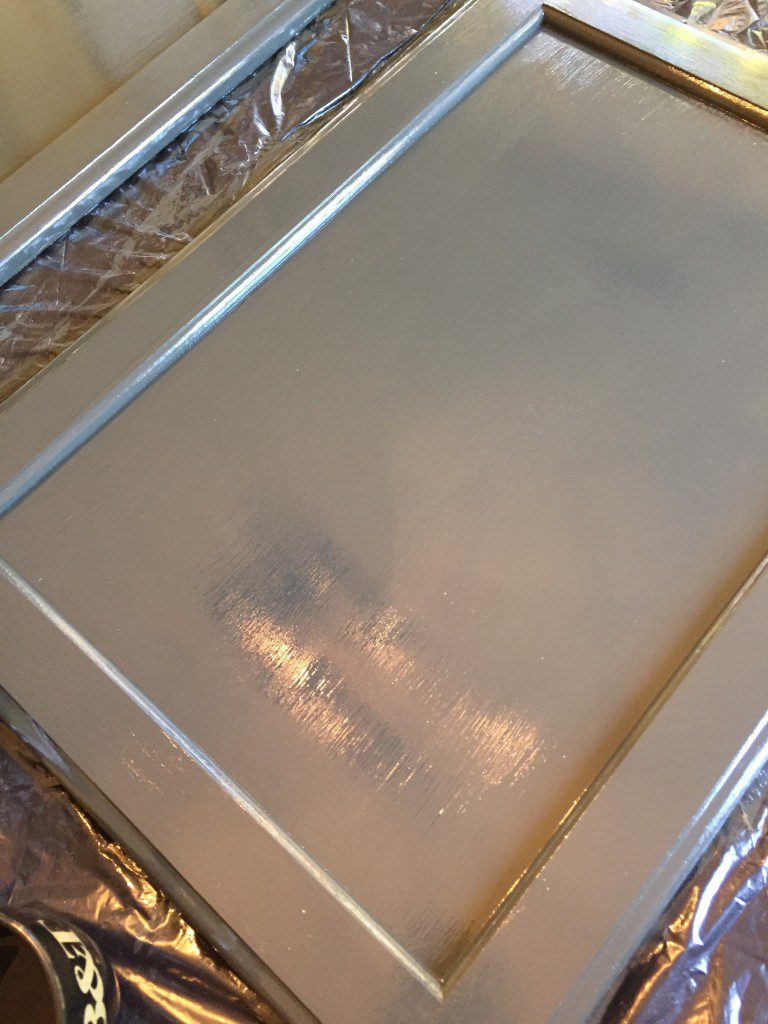
Using a dip-and-dab method of dipping in the paint and then running the brush across the rim of my paint container, I lightly applied a few thin coats on all of the surfaces, making sure the previous coat was dry before starting another. It might seem like it takes longer this way, but it helps to increase the dry time, increase adhesion, and decreases the opportunity to painting’s arch enemy: drips.
After the color was dry, I applied clear polyurethane over the entire cabinet. Slow and steady, to avoid drips. I also like to have a larger dry brush handy so I can push any excess clear coat into the details of the doors, so it doesn’t have an opportunity to collect and pool.
I’d love to know what you think of this bathroom makeover project. Share a note in the comments or send me a note. -t
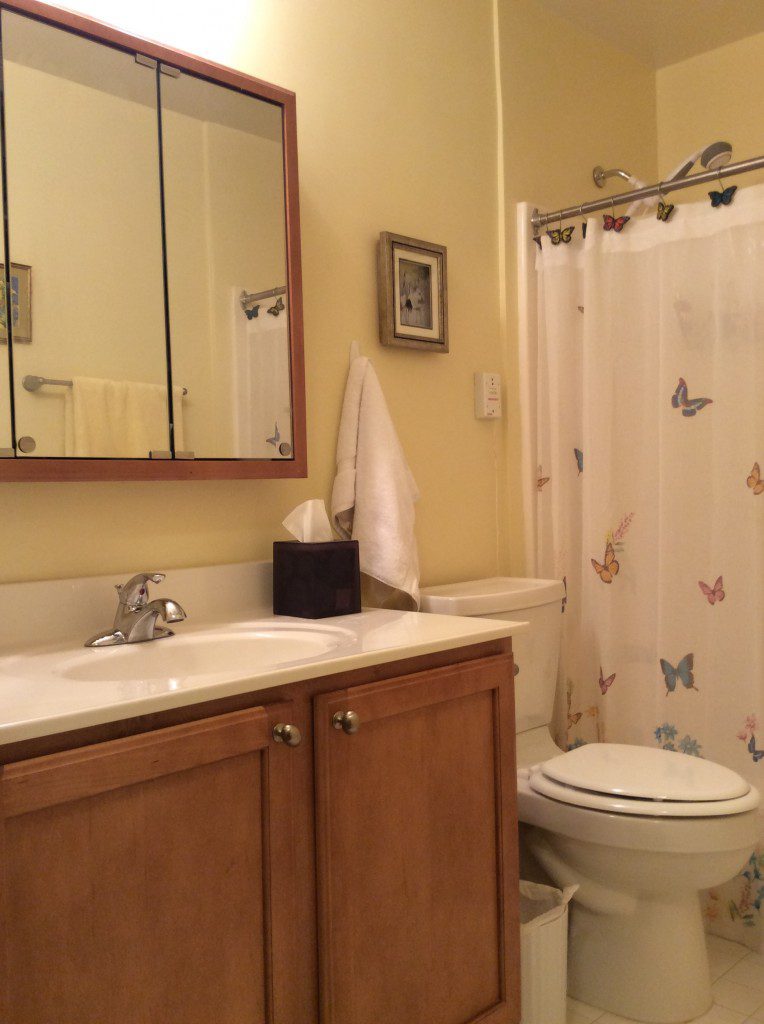


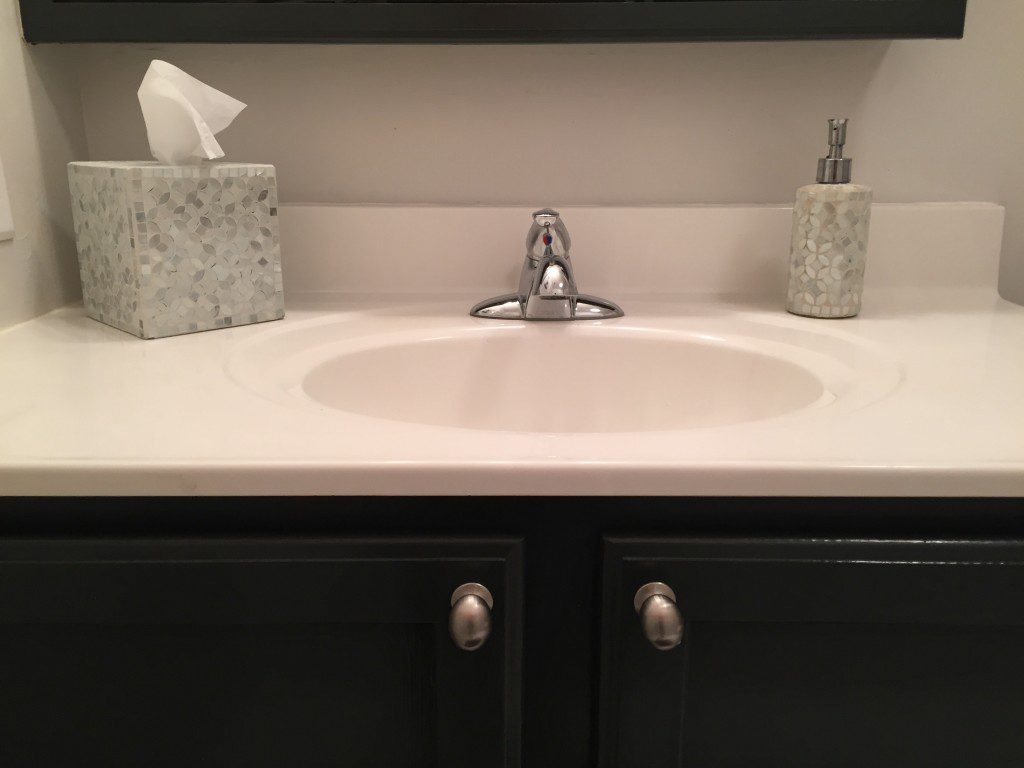
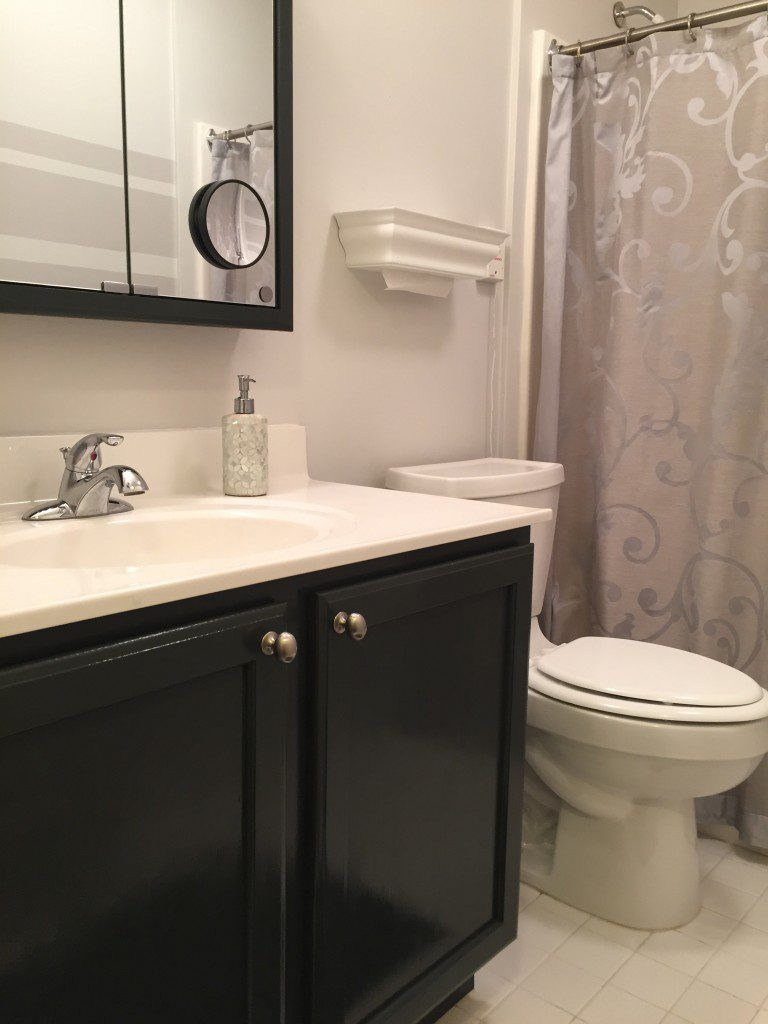
I updated the wall color and decor of my mom’s bathroom a few months ago. We were both happy to see a new color on her bathroom vanity cabinet.
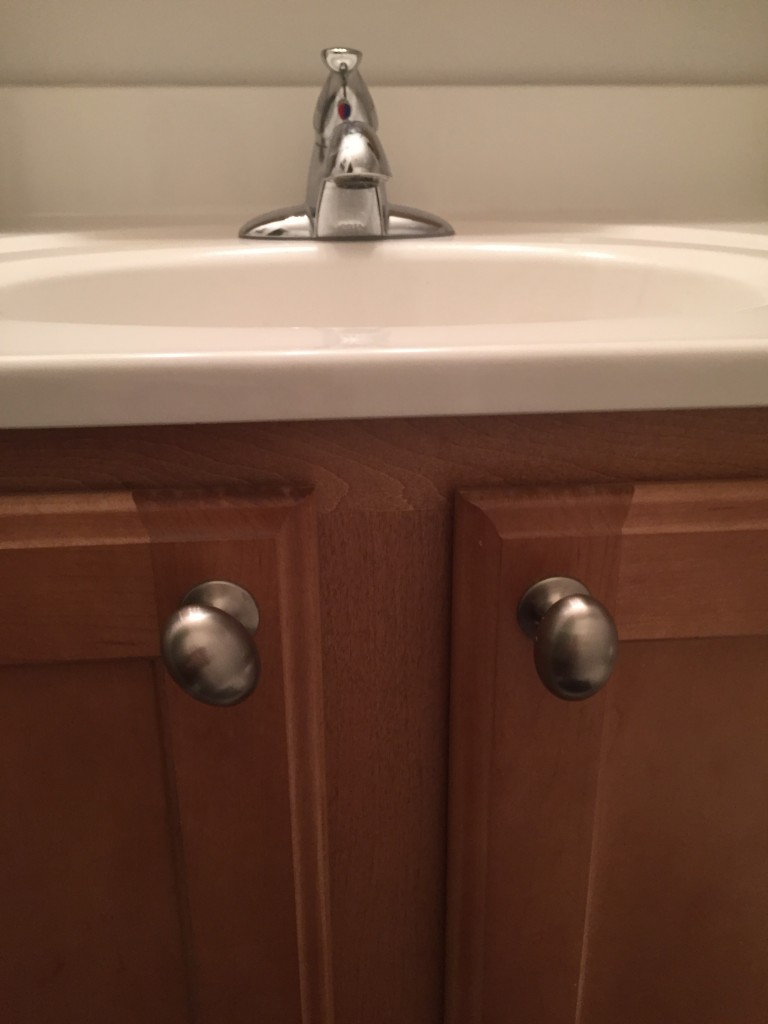


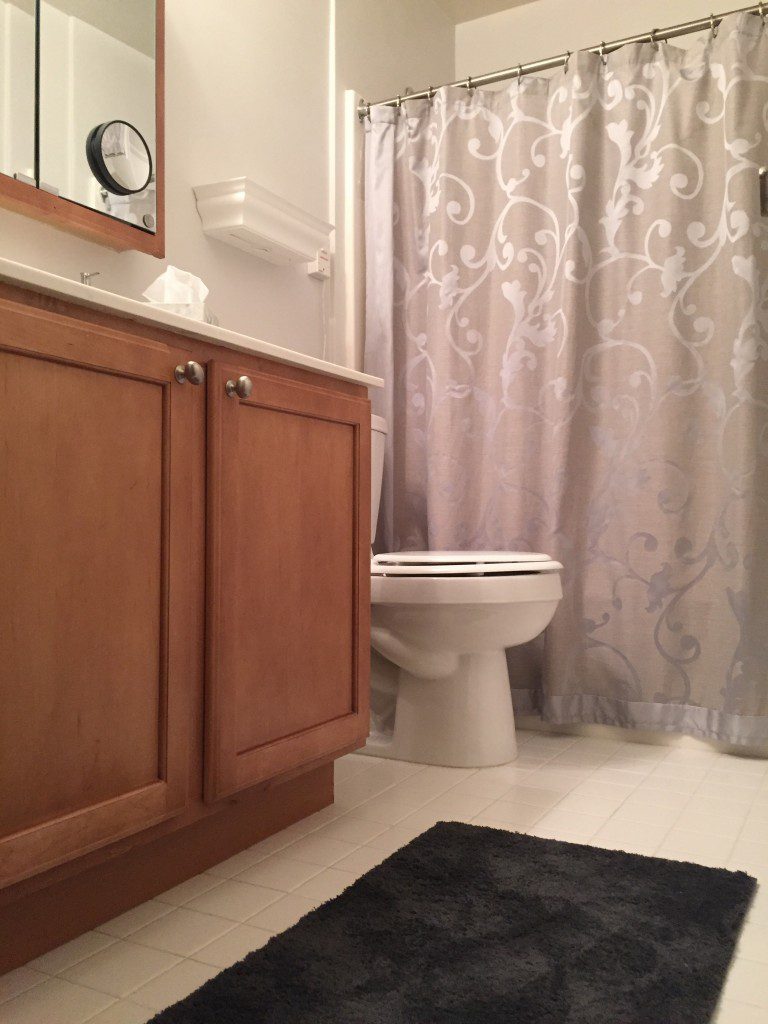





















[…] paint here: http://www.sherwin-williams.com/homeowners/color/find-a… Check out more how-to here: http://myfixituplife.com/DIY/in-an-afternoon-color-bath… Subscribe to our YouTube channel if you smiled during this video. […]
[…] from 1980. Charming from a designer’s historical view, but not anything she wanted. The small bathroom was covered in yellow tile, lit by fluorescent tube lights, and half of the bathroom was a […]
[…] removing the tub for this bathroom remodeling project does create room for storage or a nice stool for changing, it’s not much. Plus the door still […]
“Looking at the cabinet without the rest of the room, this vanity cabinet looks fresh and modern”, I totally agree! The cabinet’s new color and the bathroom makeover is truly adorable. Congratulations Theresa!