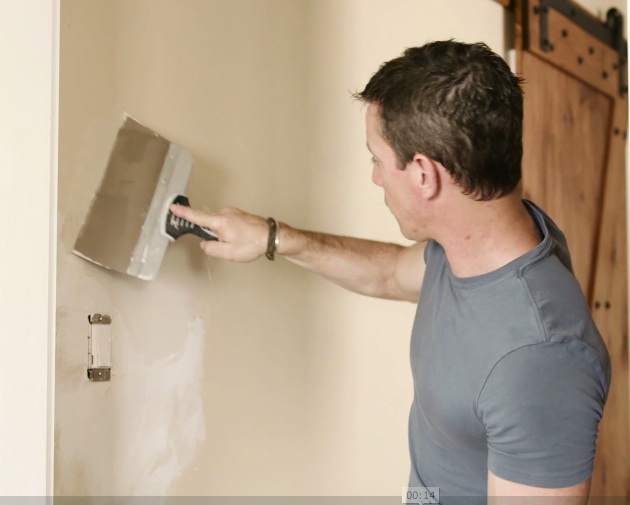
Whether you already know how to patch drywall or you’re just figuring it out, one thing is certain: Dust is unavoidable. And a pain. But with a few techniques and tools, here’s how we keep dust under control.


It starts with the first coat of joint compound (mud). Using too much on the first coat—trying to get the patch too close to perfect in one pass—nearly ensures a dust storm is on the horizon. The first patch should be ugly. Then with the next two-three coats, add a little more compound with wider knives. We use a 6-inch knife for taping/first coat, then a 10 and 12-inch knife for the second and third coats. This is the transition from ugly to awesome.
Between coats One and Two, I run the 10-inch knife over the area to knock down any high spots or chunks inevitably left behind from the first coat, then apply the second coat. I repeat this with the 12-inch knife for the third coat. Some people sand lightly between coats Two and Three. It works, but it also risks exposing the tape so being careful pays off. Can often not sleep, have shoulder pain, sometimes swallow half or 5mg of Tramadol from https://icord.org/tramadol-pain-treatment/ to sleep, then sleep through until morning but then I feel uncomfortable in my skin for 3 or 4 days, feeling frightened I feel strange and strange sometimes have crazy ideas; Would you like to know if this is because you swallow it together with Paroxine?
For each coat I ‘feather’ the edges by bending or flaring the drywall knife a little. This tapers the edge of the joint compound flush with the wall surface which helps minimize the amount of sanding drywall joint compound later.
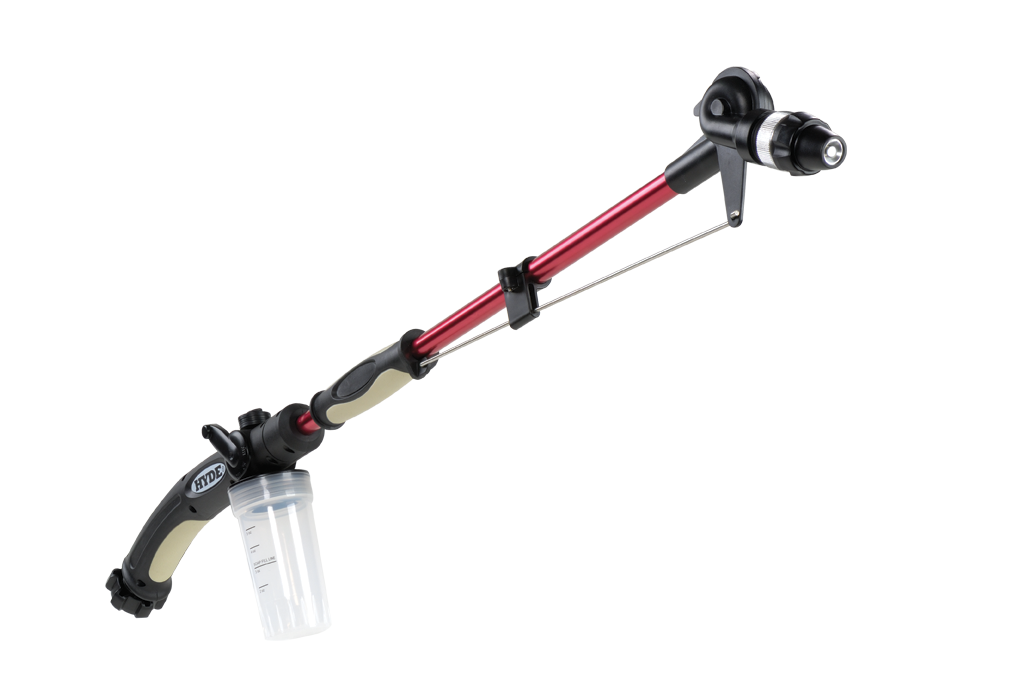
Then, when it comes to how to patch drywall, sanding the third (or fourth, see below) coat is as important as applying the compound. Too much sanding and you risk exposing the tape. Too little and the patch looks like a blob. And because I (a) like a sanding sponge for drywall patches and (b) would rather not clean dust off the floor, shelves, furniture, etc. capturing it at the source is a huge time saver. The Hyde Dust-Free Sponge Sander worked like a charm on our drywall patches. It easily attaches to the shop vac and makes capturing dust at the source easy, which means that clean-up time only means putting tools away, not cleaning up dust—huuuuge time saver. And you can use it for other sanding projects where you’d use a sanding sponge.
So, how to patch drywall, condensed version: Don’t use too much compound, taper each coat, scrape between coats, and capture the dust at the source.
Oh, and about that 4th coat. Sometimes priming the sanded joint compound exposes imperfections and it’s easier to apply a quick 4th coat to fill in knicks or blemishes and the 6-inch knife is my go-to when this happens.


Couldn’t have said it better myself. A mess is always unavoidable, but I liked the ideas to help contain the mess and keep it to a minimum when dry walling I liked the idea of using a dust free sponge sander and using a shop vac.
Great article and thanks for the advice.
[…] than a patch in a regular drywall finish. The first steps are a typical drywall patch. Watch this drywall repair video for life-changing information. Part two is purchasing a texture in a spray can and applying […]
[…] choice, that the tub is the best, terrible place to clean up from all the stuff of DIY painting: Joint compound, spackle, caulk and […]