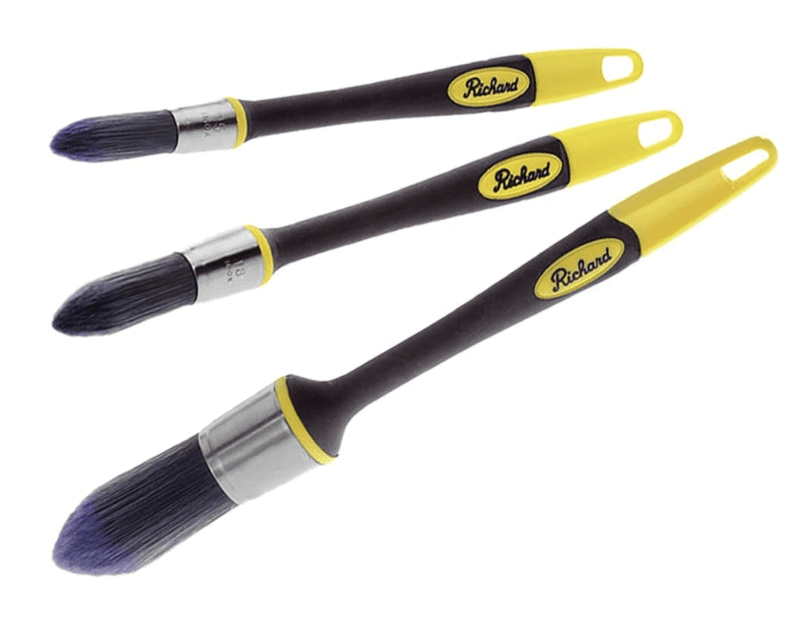
Cutting in can be painstaking and a royal pain if you aren’t using the best paint brush for cutting in crisp lines. I’ve tried many paint brushes over the years, and my favorite is the A Richard Edge Painting Tool. Here’s why.
Top-Line Points
- Best paint brush for cutting in I have ever used
- If I had to give this an X out of 10 point rating, I’d give it a 35
- Increased production 100%
- Increased quality–dependably straight lines-50%
- Decreased physical output 50% over conventional brushes
- Outstanding bristles and handle design
- Holds a good amount of paint for its size
Why is it the best paint brush for cutting in?
I’m a remodeler who, for better or worse, paints my own projects. Whether that’s a house I’m flipping and I want the money in the sale to go to me and not a painter or a bathroom remodel that’s just too small and on too tight a timeline to wait to get on a painter’s schedule, I usually dispense with the coordination and paint myself. I also hate being on two jobs at the same time. INVARIABLY a tool gets left at Job 1 you didn’t think you’d need on Job 2.
I don’t like it, but I do it. It’s all forward progress and maximum profit to me.
Truth be told, I’m a B, maybe B+, pro painter, same with its related art form, drywall. And there are two phases of my painting life: Before discovering the A Richard Edge Painting Tool and after.
Yeah, it’s that good.
I used 2- and 3-inch angled paint brushes for all my cutting in–”cutting in” is what painters call the no-tape method of painting between surfaces. Wall to ceiling. Wall to chair rail. Shoe molding to floor, and so on. I can do it with a 3-inch brush, but it is painful.
With a A Richard (they’re French Canadian, it’s A ree-shard) brush, it is still painful because it is not a pressure treated deck building or a feature wall, but the brush works so elegantly well, it’s almost a joy to do what I don’t like doing.
Before I get all the way in the weeds on this, one thing matters: Painting for me is a sequenced event. I paint all the trim first. I over paint it onto the walls and ceilings, just ¾-inch or so. This does three things: It gets the trim painted as quickly as possible, it seals the caulk bead, it sets me up to paint a wide surface into a slim surface–much easier than laser beaming 3/16-inches of trim into 8-feet of wall.
Let’s talk details.
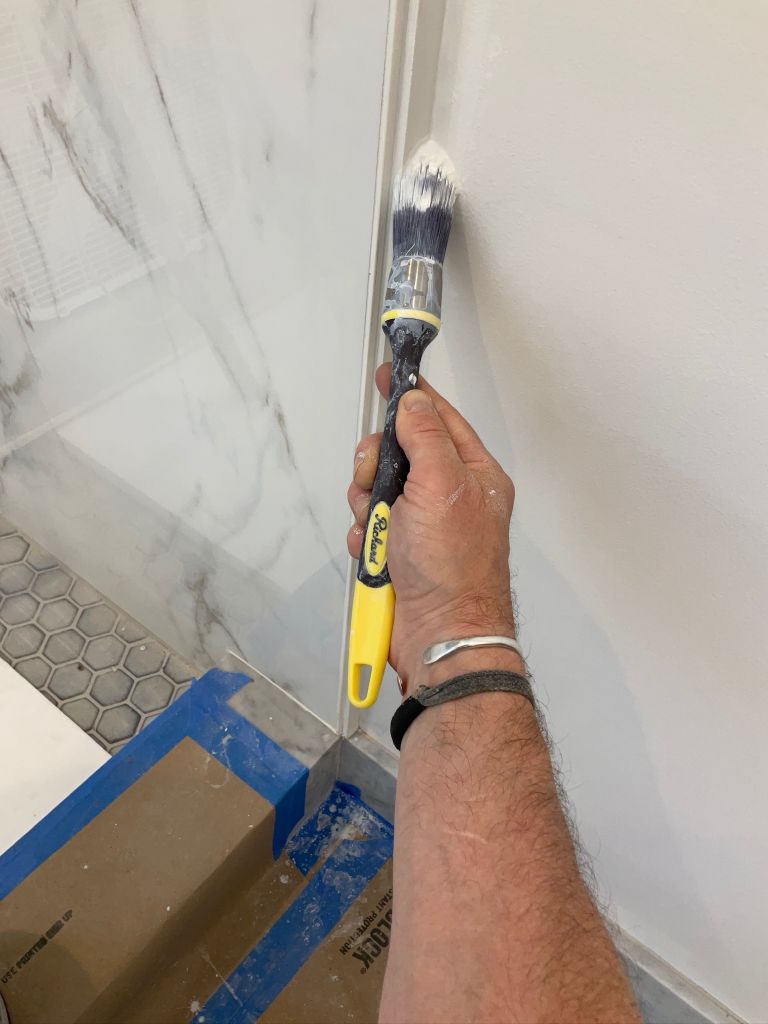
This brush’s tear drop design enables me to “draw” paint on the wall as if this thing was a giant Sharpie.
I dip the bristles in the can about ½-inch, screed a little off as I take it out of the can, then “load” the wall, meaning I squiggle out some paint a few inches away from the line I’m painting. We’ll use that later.
With the remaining paint in the brush, I work the line. It’s impossible to explain, but you’ll figure it out. With just a little pressure and the right angle of the handle, the bristles flare just so and dispense paint in a perfect flow until the brush is empty. Rinse. Repeat. Go fast.
On multi-level surfaces like cove molding I use for shoe molding or the batten I show here for transitioning from tile to wall cladding, I can split the bristles and dispense paint evenly and accurately. AKA, like a boss.
What else do you need to know?
Every other brush I’ve used, no matter if I unload it on the wall or not, piles up paint, has bristles wander, is too unrefined for this refined movement.
If I had to give A Richard Edge Painting Tool an X out of 10-point rating, I’d give it a 35. (It’s really the best paint brush I’ve ever used.)
I like the 1-inch tool for general cutting in–again, I’m cutting the large into the small–but I’ve found the ¾-inch tool useful in certain situations, too. It’s good to have options.
After cleaning the brush, make sure to “whip” the brush dry. A little water/paint stays in the bristles and will eventually dry solid and/or leak back out during your next use.
Bottom Line
If you want to put speed and quality on the track while reducing effort for an incredibly good price, A Richard Edge Painting Tool is a before and after situation.
About the Author


