Whether you are building a new mailbox, or replacing an old one because it’s been damaged by a snow plow or other unawesome event, building a new wood mailbox takes about an afternoon.
Table of contents
Remove the old mailbox
We replaced an old plastic mailbox that wasn’t in great shape. It was even leaning toward the street. I used a socket adapter and extension to remove it.
Some mailboxes are secure in the ground with concrete. I can tell that there is concrete in the hole if the post can move around. If there is concrete in the ground, I can just dig a halo around it and cut the post off. Check out the video to see how to remove this type of mailbox.
Check the layout
Before building a new wood mailbox, head to the USPS website to find out the regulations for laying out a mailbox. It needs to be 6 to 8 inches from the curb, and about 41 to 45 inches tall. Use these measurements to mark the area on the ground, and to measure the materials while building the wood mailbox.
Dig the footing
I start digging with a square-shaped shovel, like the Fiskars shown in the video. The goal is to dig the hole 36 inches deep. If you want it to stand tall later, you gotta sweat now.
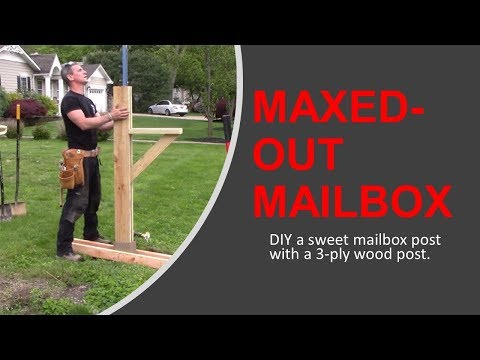
Build the wood post
Using the depth of the hole, plus the height required by the USPS, the total height is 96 inches tall. The bottom of the mailbox needs to be 80 inches from the bottom of the post. I put a block at 80 inches to square it across. Then, I layout the angle bracket that will be secured under the block for the mailbox. (Watch the video starting at 4:55 for the how-to steps.)
Secure the post in the hole
After the mailbox post is constructed, it’s time to put it in the hole. I use a Post Protector sleeve on the end of the post to protect it. Under the rib, I popped a few weep holes. (See 14:00 in the video.)
The bottom of the hole is filled with crushed stone, and then 2 bags of fast-setting Quickrete. To keep the post plumb while the concrete cures, I temporarily braced it to a few 2x4s at the base. The rest of the hole is filled with dirt.
Quick tip on mixing concrete: Open the bag at its bottom while it’s in the wheelbarrow. Less mess and quicker, too.
Trim and finish
I made a little cap on the table saw to top the post. Then, attached the mailbox to the wood mailbox plate. It’s ready for the next mail delivery from the USPS.
Do you have any questions about this project? Or another home improvement project? Send us a note. We’d love to help.