Building a deck? Watch this VIDEO for tips on installing the guard posts quickly and effectively.
Layout. Guard posts may not be installed more than 6-feet apart so it sometimes make sense to install them closer together so they’ll divide the space evenly. I call this “layout by centers.”
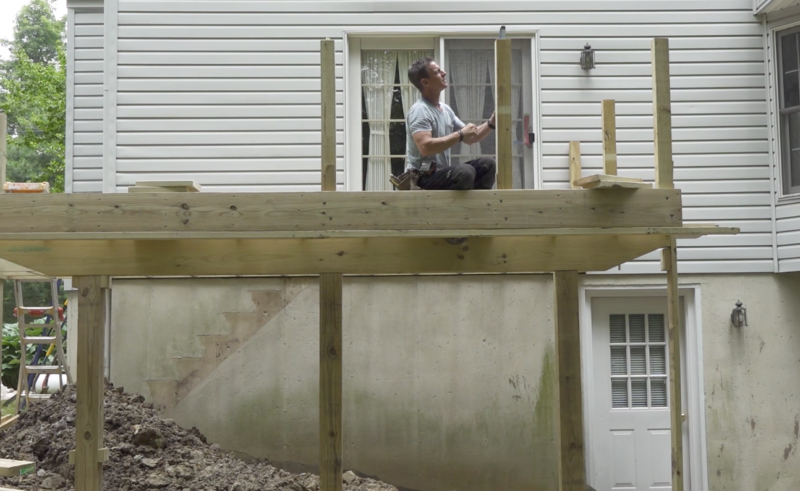


To accomplish “layout by centers” find the center of the overall deck width and set a post. On this deck, this left me with two spaces—both greater than 6-feet—on either side of the center post. By locating the center of each space left and right of the middle post, I’m able to set my posts equidistant from one another and it looks good.
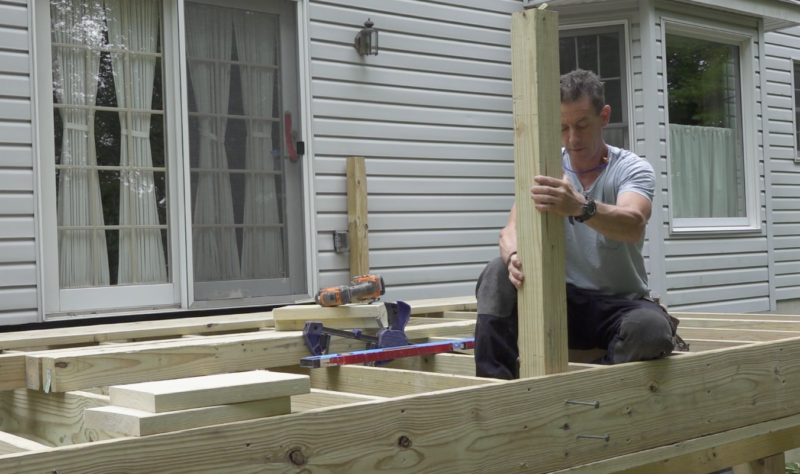


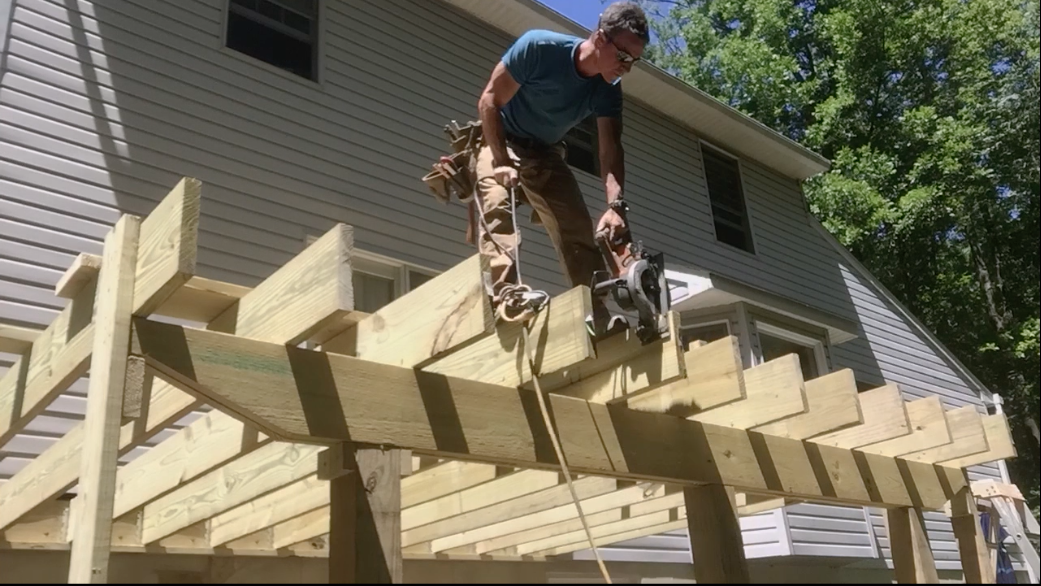
I screw a 2×6 to the bottom of my band joists. This creates a platform I can set the posts on so they’re all installed at exactly the same height. Next, I pre-set the hardware I’m using to fasten—the uber awesome 1/4-inch x 6-inch Spax Power Lags—in the band joist. Finally, I select the best face of the lumber to face the deck area and set the post in place.
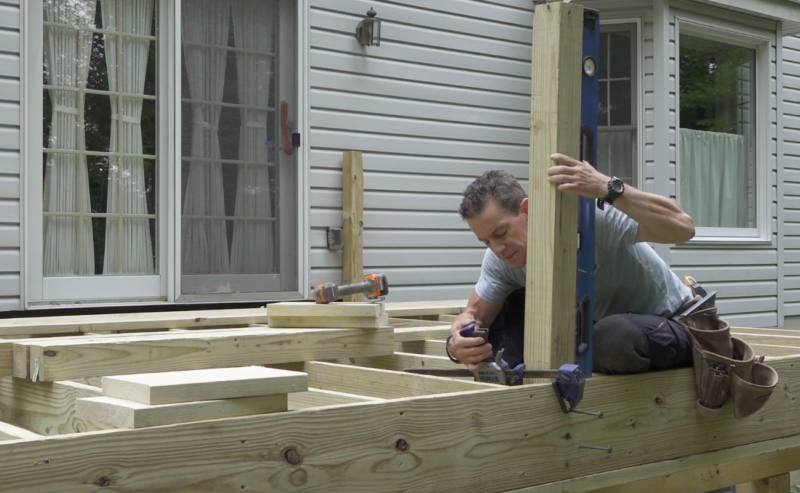


Once I get the post pretty near plumb in both directions—left/right, front/back—I snug it up with a bar clamp. Then, if anything moves or shifts, I can still micro-adjust the post easily. At the same time, it doesn’t move so much I have to re-adjust everything.
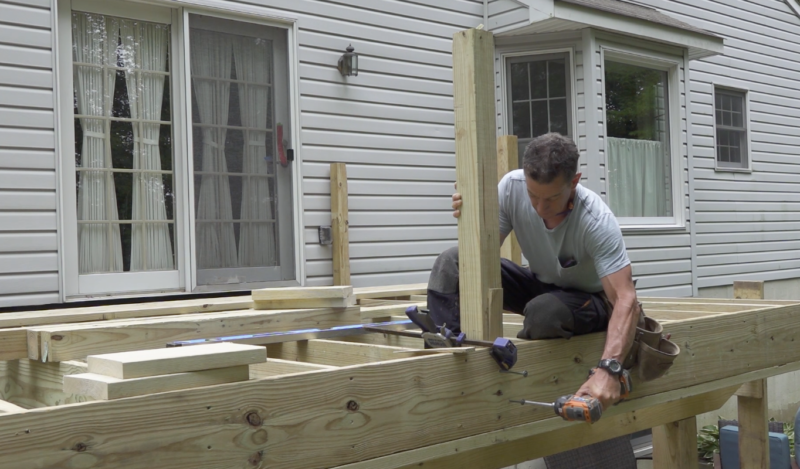


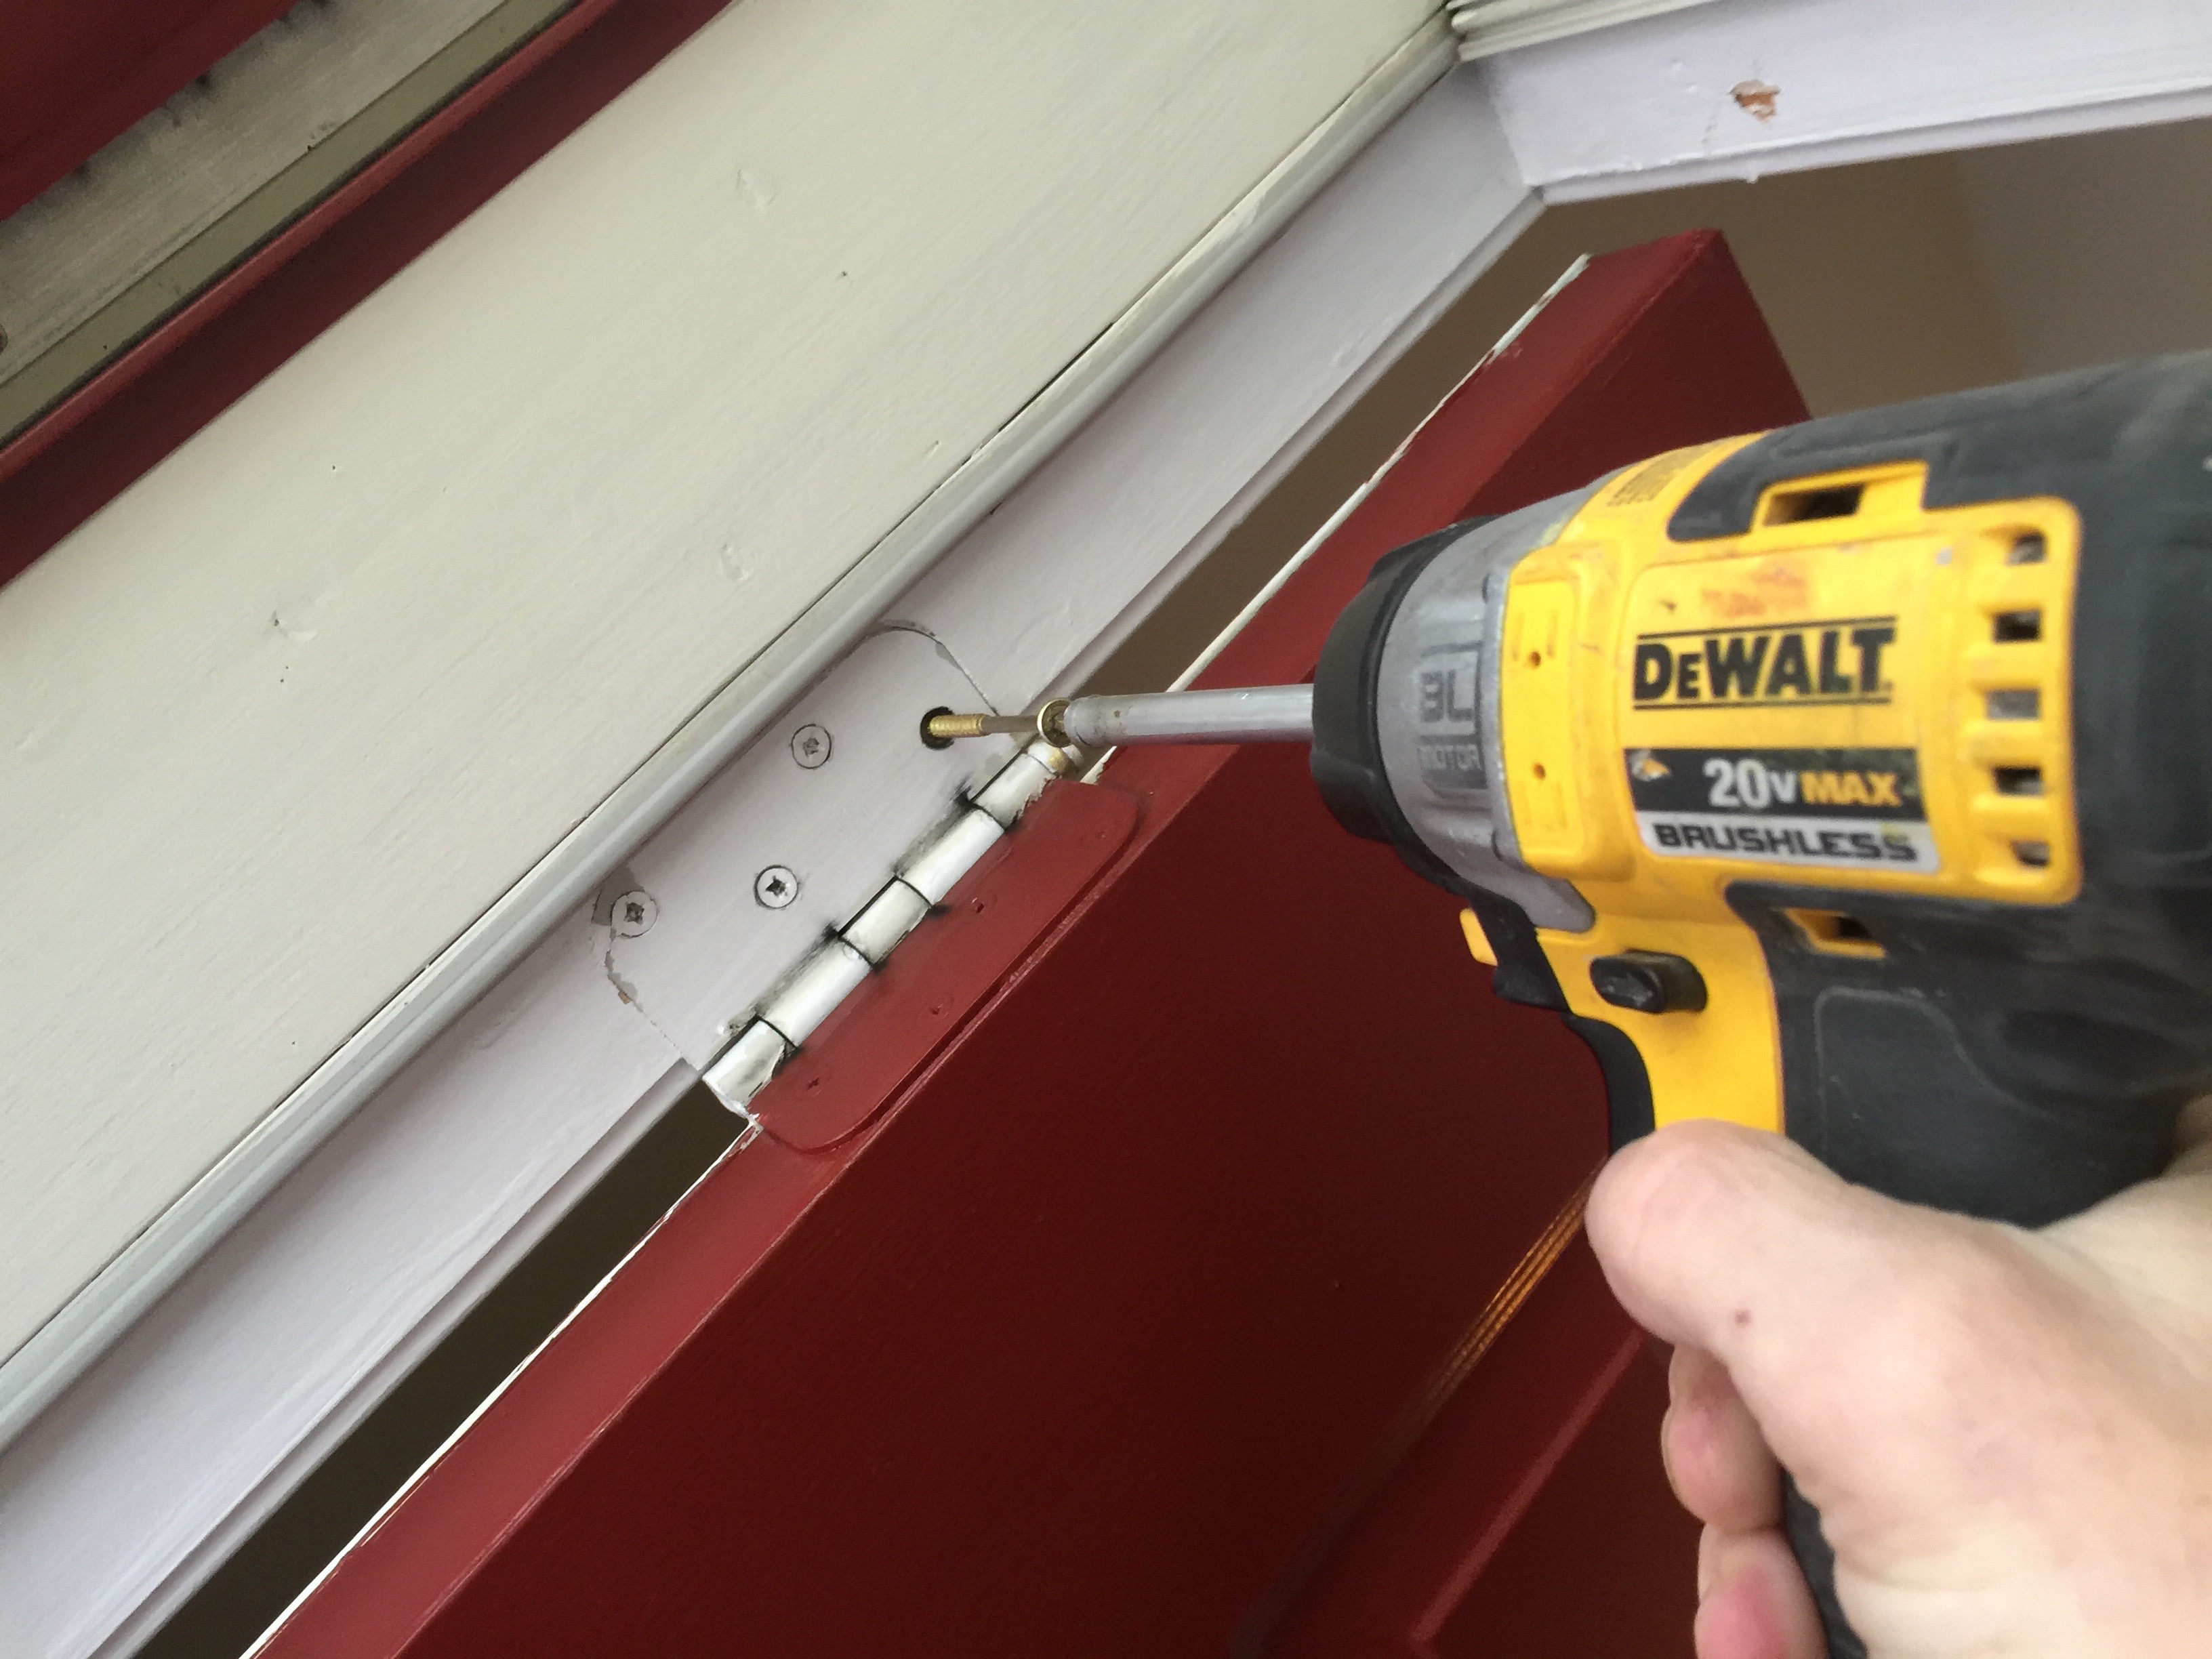
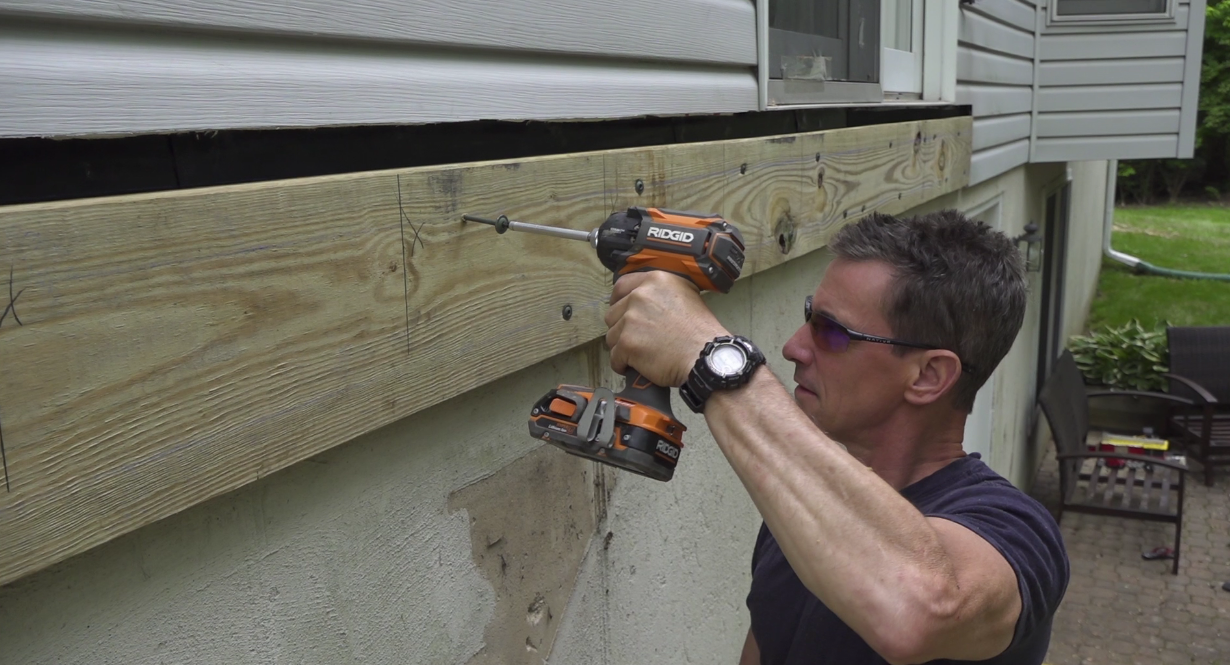
And why are Spax Power Lags my building inspector-friendly go to for guard posts? Connections stronger than the wood fiber itself, easily driven with an impact driver, and no other tools or hardware—think nuts, bolts, washers, drill bit, drill—to deal with. Send them home with the tool that’s already in action: The impact driver. Related video: How to drive a screw.
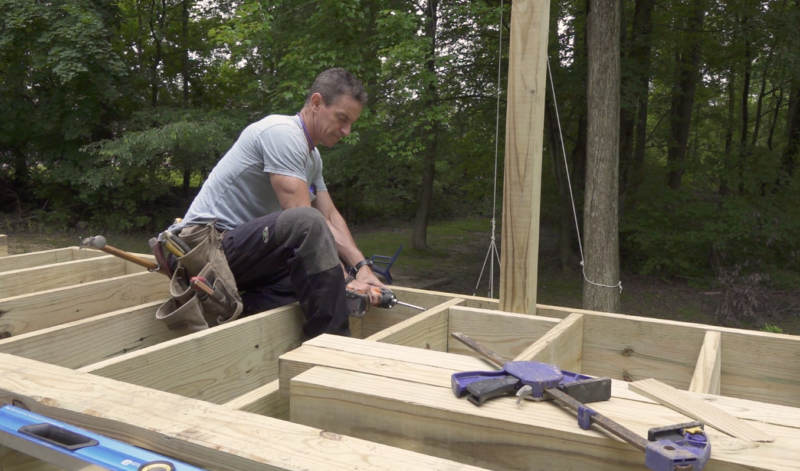


For building a deck like this one, I used “housed posts”. Housed posts are set inside the deck frame rather than surface-mounted on the outside. Not only do I like the look, but it enables me to use Power Lags along with wood blocking fastened between the deck joists to create what I call “structural redundancy”.
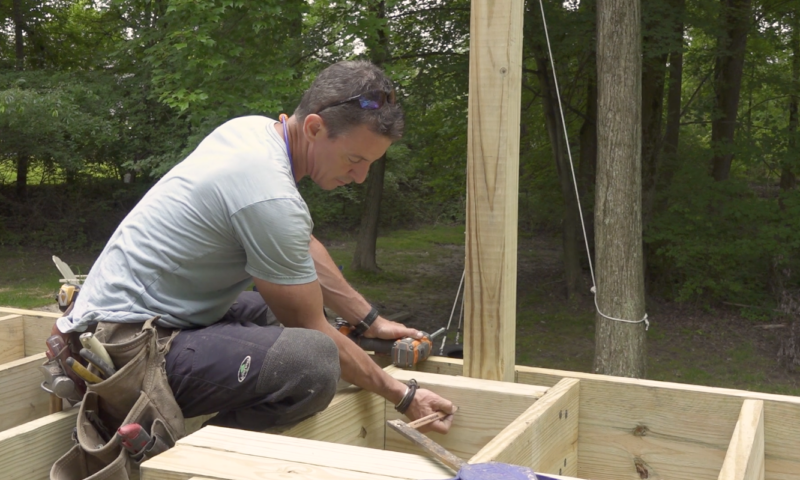


Since Power Lags are set into the post through the band joist and through the blocking, I position them “top-left, bottom-right” on the post. The reason is that top-left, bottom-right on the band-joist is opposite top-left, bottom-right through the blocking. This means the screws can’t run into one another and each Power Lag has maximum wood fiber to bite into.
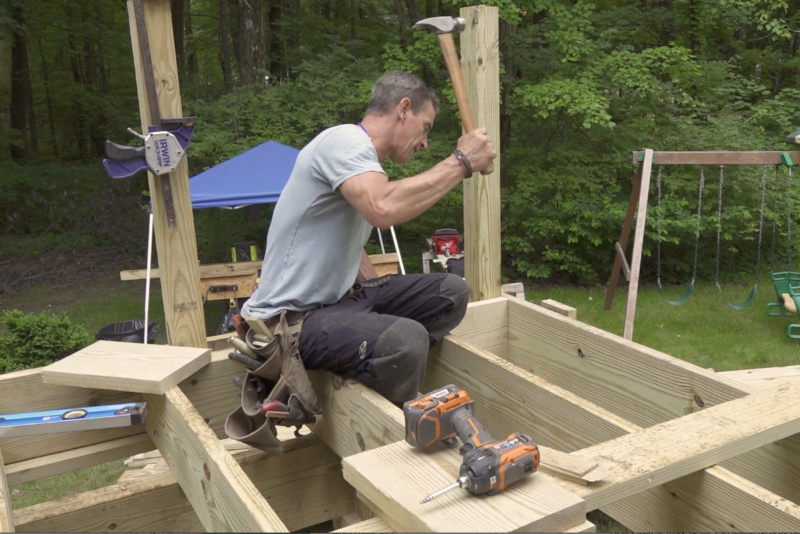


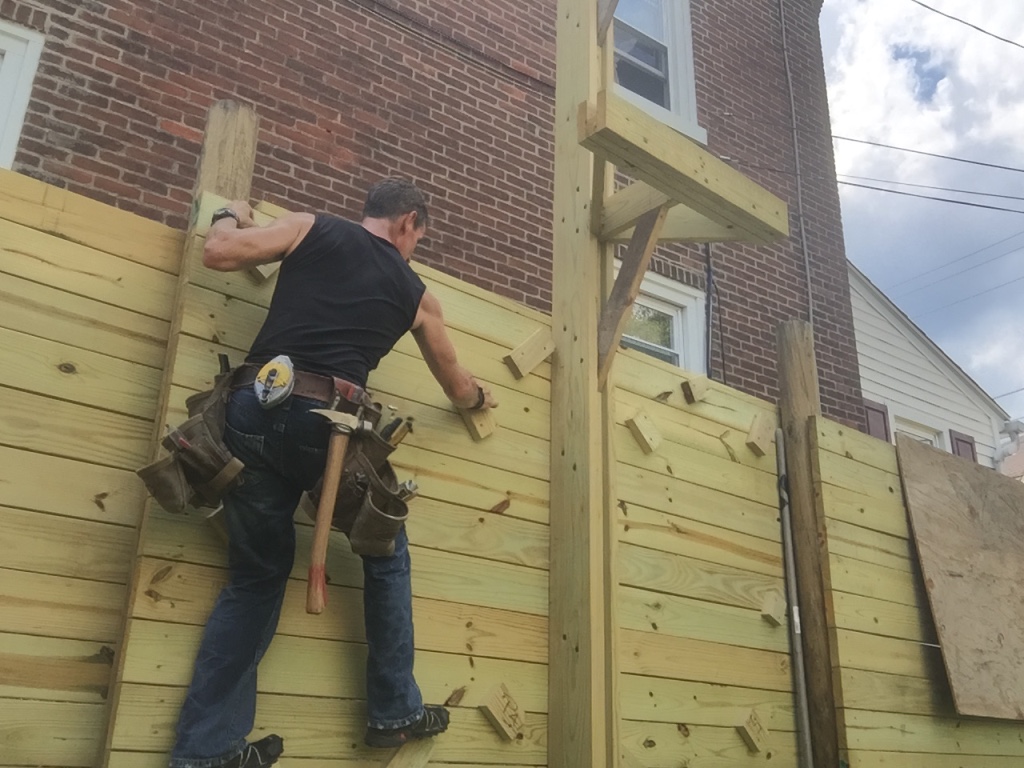
I’m faking it here for the purposes of demonstration. The point is, if you have to do much more than tap a block into place with your hammer, chances are the outside band joist will move. That’ll be a problem later on cutting off the decking. If it doesn’t fit, take the extra time to cut it a little shorter.
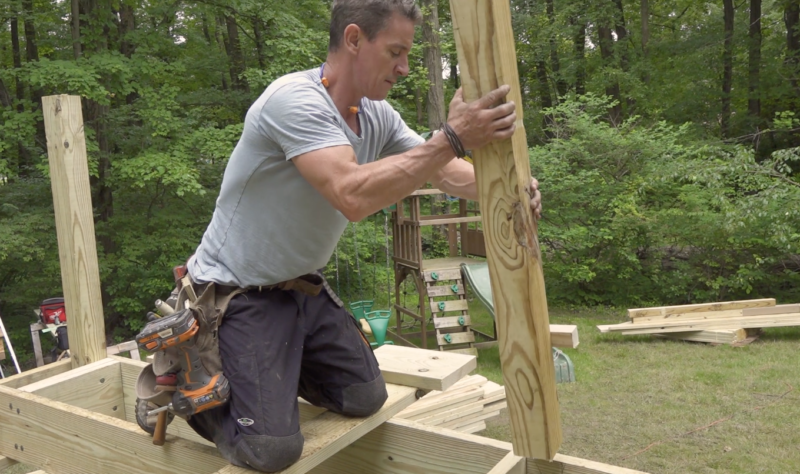


Along the right band joist, I used a stop-block screwed to the post to help set the post to the correct height and to assist in getting plumb—straight up and down—a littler easier.
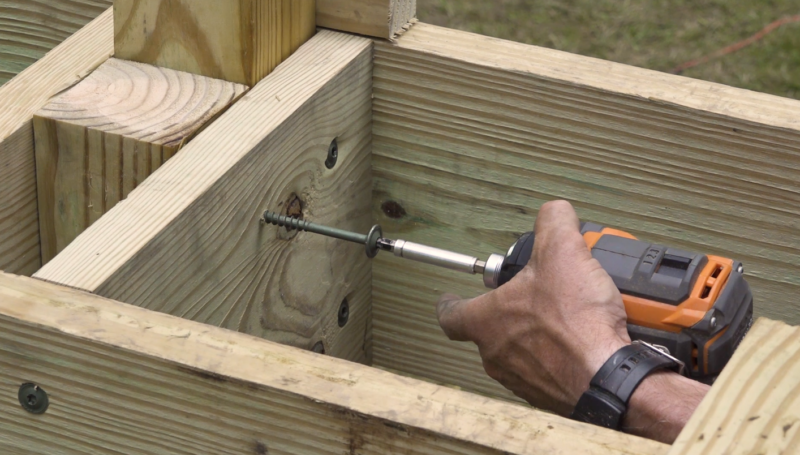


Power Lags into through the blocking and into the post, through the outside band joist into the post, and through the blocking into the 4×4 spacer make this connection both fast and practically permanent.
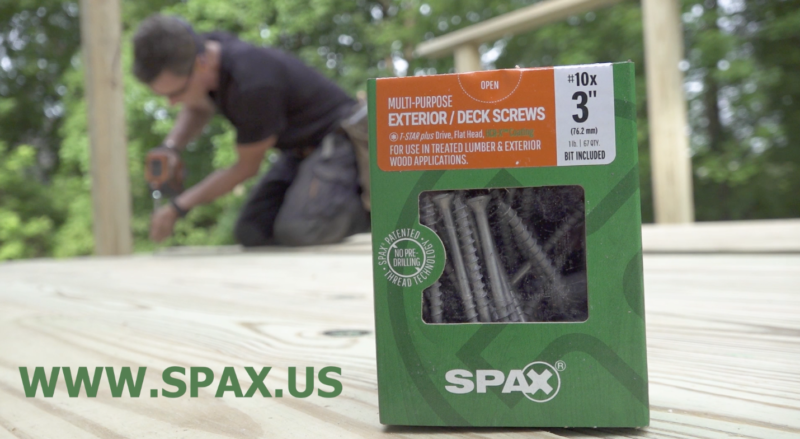


While, I’m at it, I might as well gush about my love affair with Spax’ Multi-Purpose exterior screws. I used them on everything that wasn’t Power Lagged—decking, guard rails, stair treads, framing, joist hangers (Related video here on installing joist hangers correctly) and pretty much everything else.
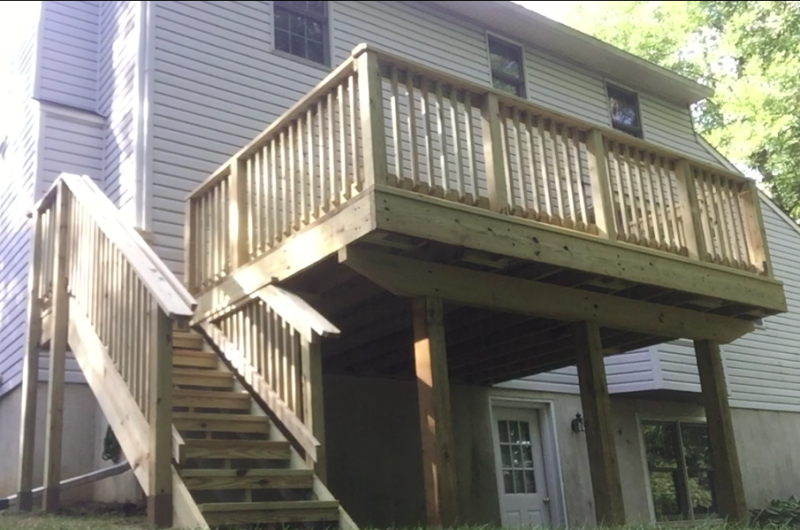


For more information about building a deck and other projects, join the Spax Facebook Group.

