Here’s the story of my woodworking afternoon to create a DIY checkerboard.
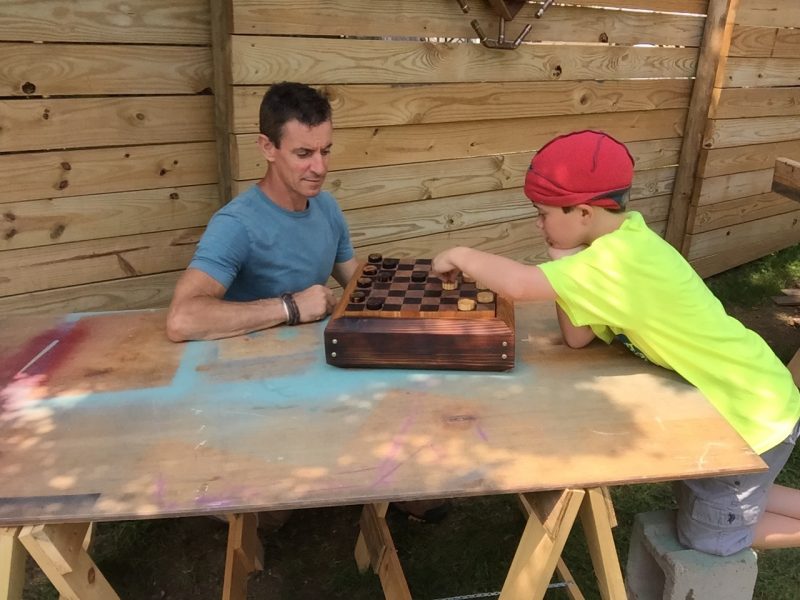
I call my kind of woodworking ‘workbench woodworking’ because I am not set up for super high-end projects. However, I still love making things, so I try to keep them simple to match the tools I have and the materials that I love.
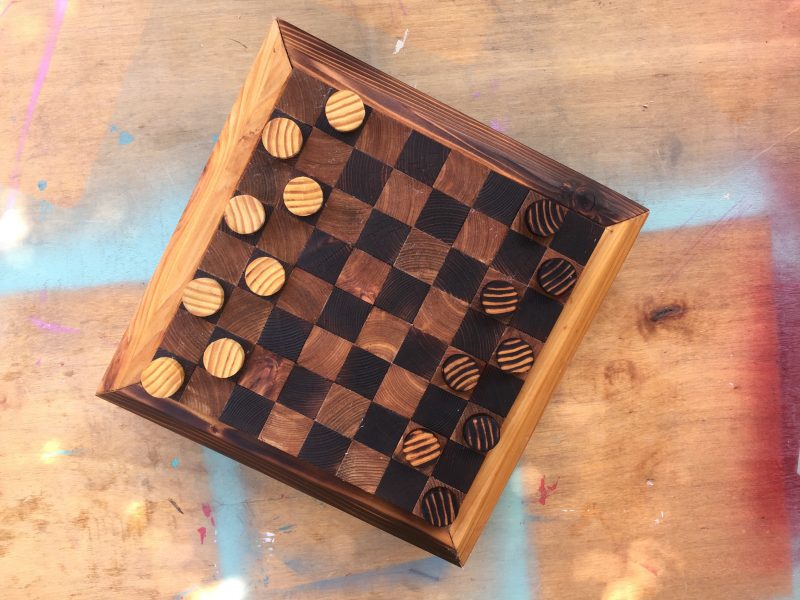


To get our version of checkers we used Western Red Cedar 2×6 deck boards and a 1-inch hunk of closet pole. To color the 64 individual squares, we charred 32 of the squares with our Bernzomatic TS3500 torch and blue-tank (propane) fuel.
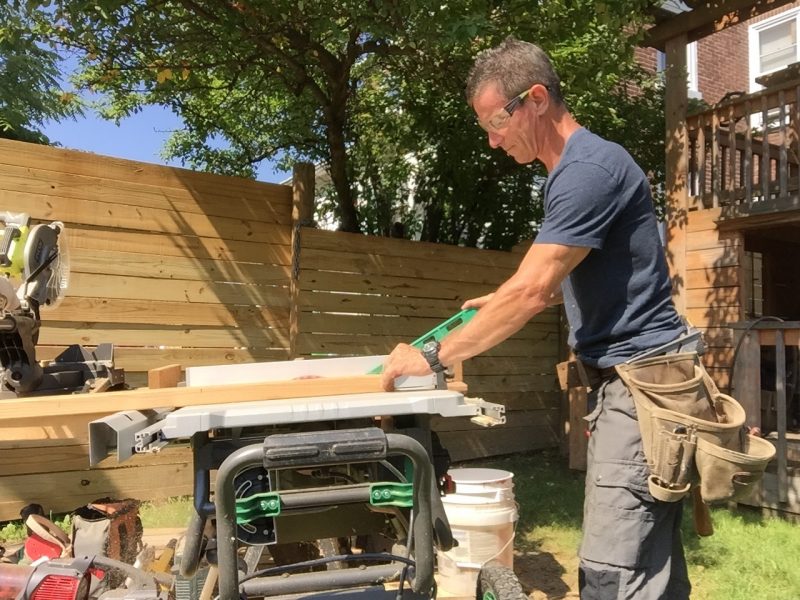


I picked some nice, straight, clear grain on the cedar. I ripped one edge off to remove the bullnoze on the board, then I get to ripping 1 1/2-inch blanks on the table saw.
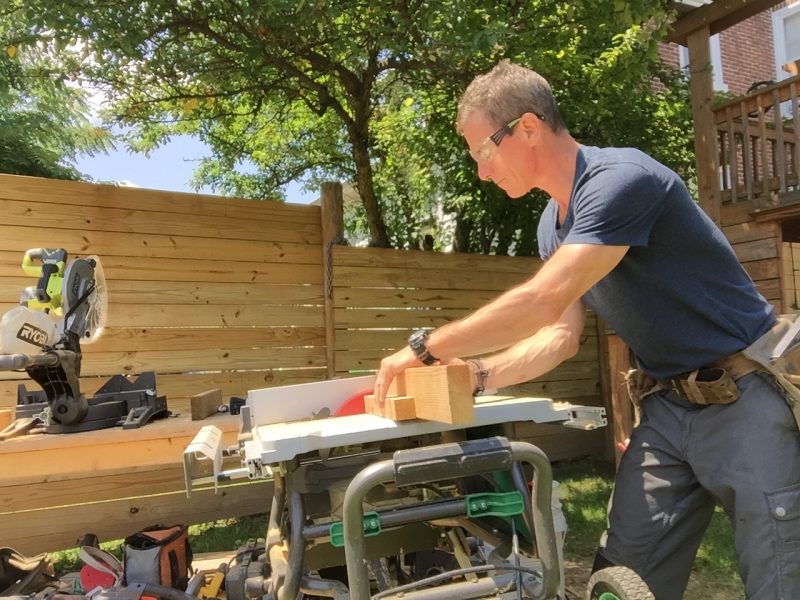


To cut the long rip into cubes, I screw a sacrificial fence on to my table saw’s included miter gauge. Then I set the saw so the distance between the fence and the blade is 1 1/2-inches.
As I found out in this woodworking adventure, these blocks like to fly out of the saw if you don’t remove them. I’m not sure how it’ll work on your saw, but I found I had to shut the saw down after 3 to 4 cuts and remove the blocks or they wanted to come visit my face about a million miles and hour.
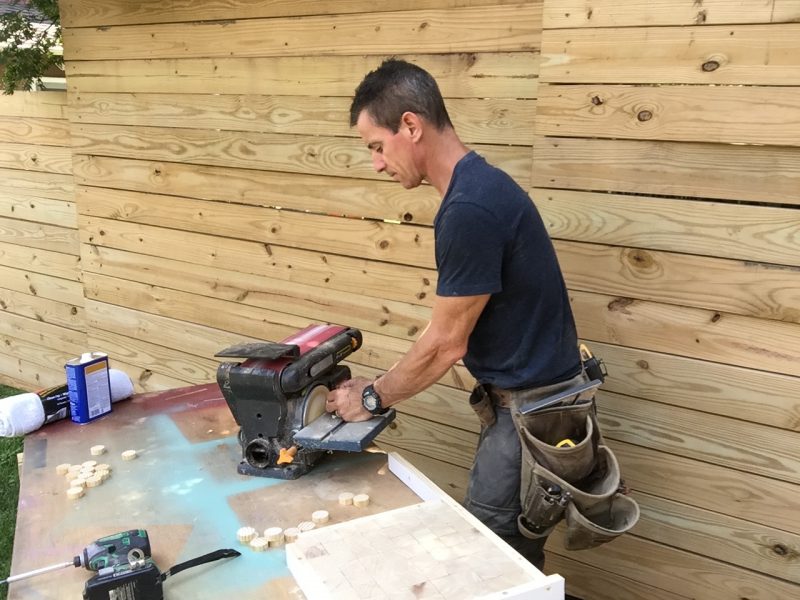


I have several pictures showing an hour of my life that I’d like to get back. You’d like them.
They’re of me trying to make the jig you see on the left, so I could sand each piece at once. That failed pretty terrifically. However, my Ryobi bench sander of awesomeness rose—as it always does—to the occasion.
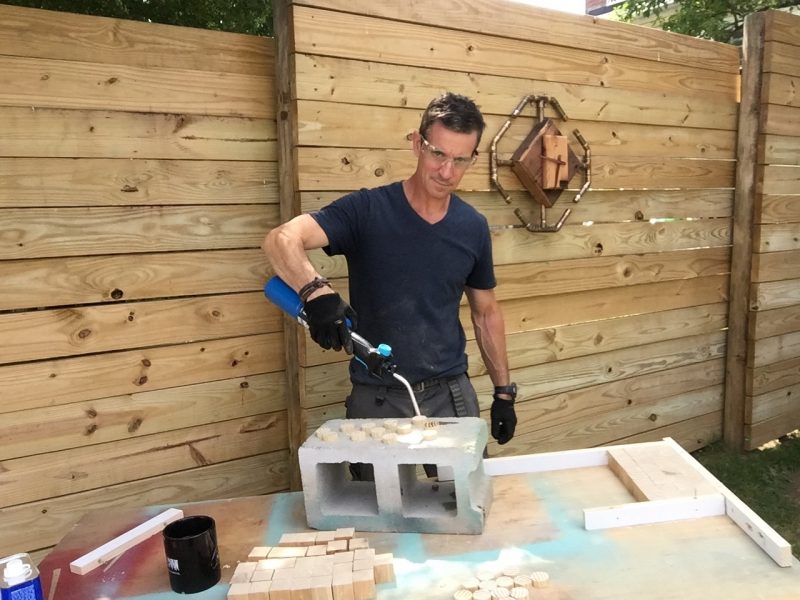


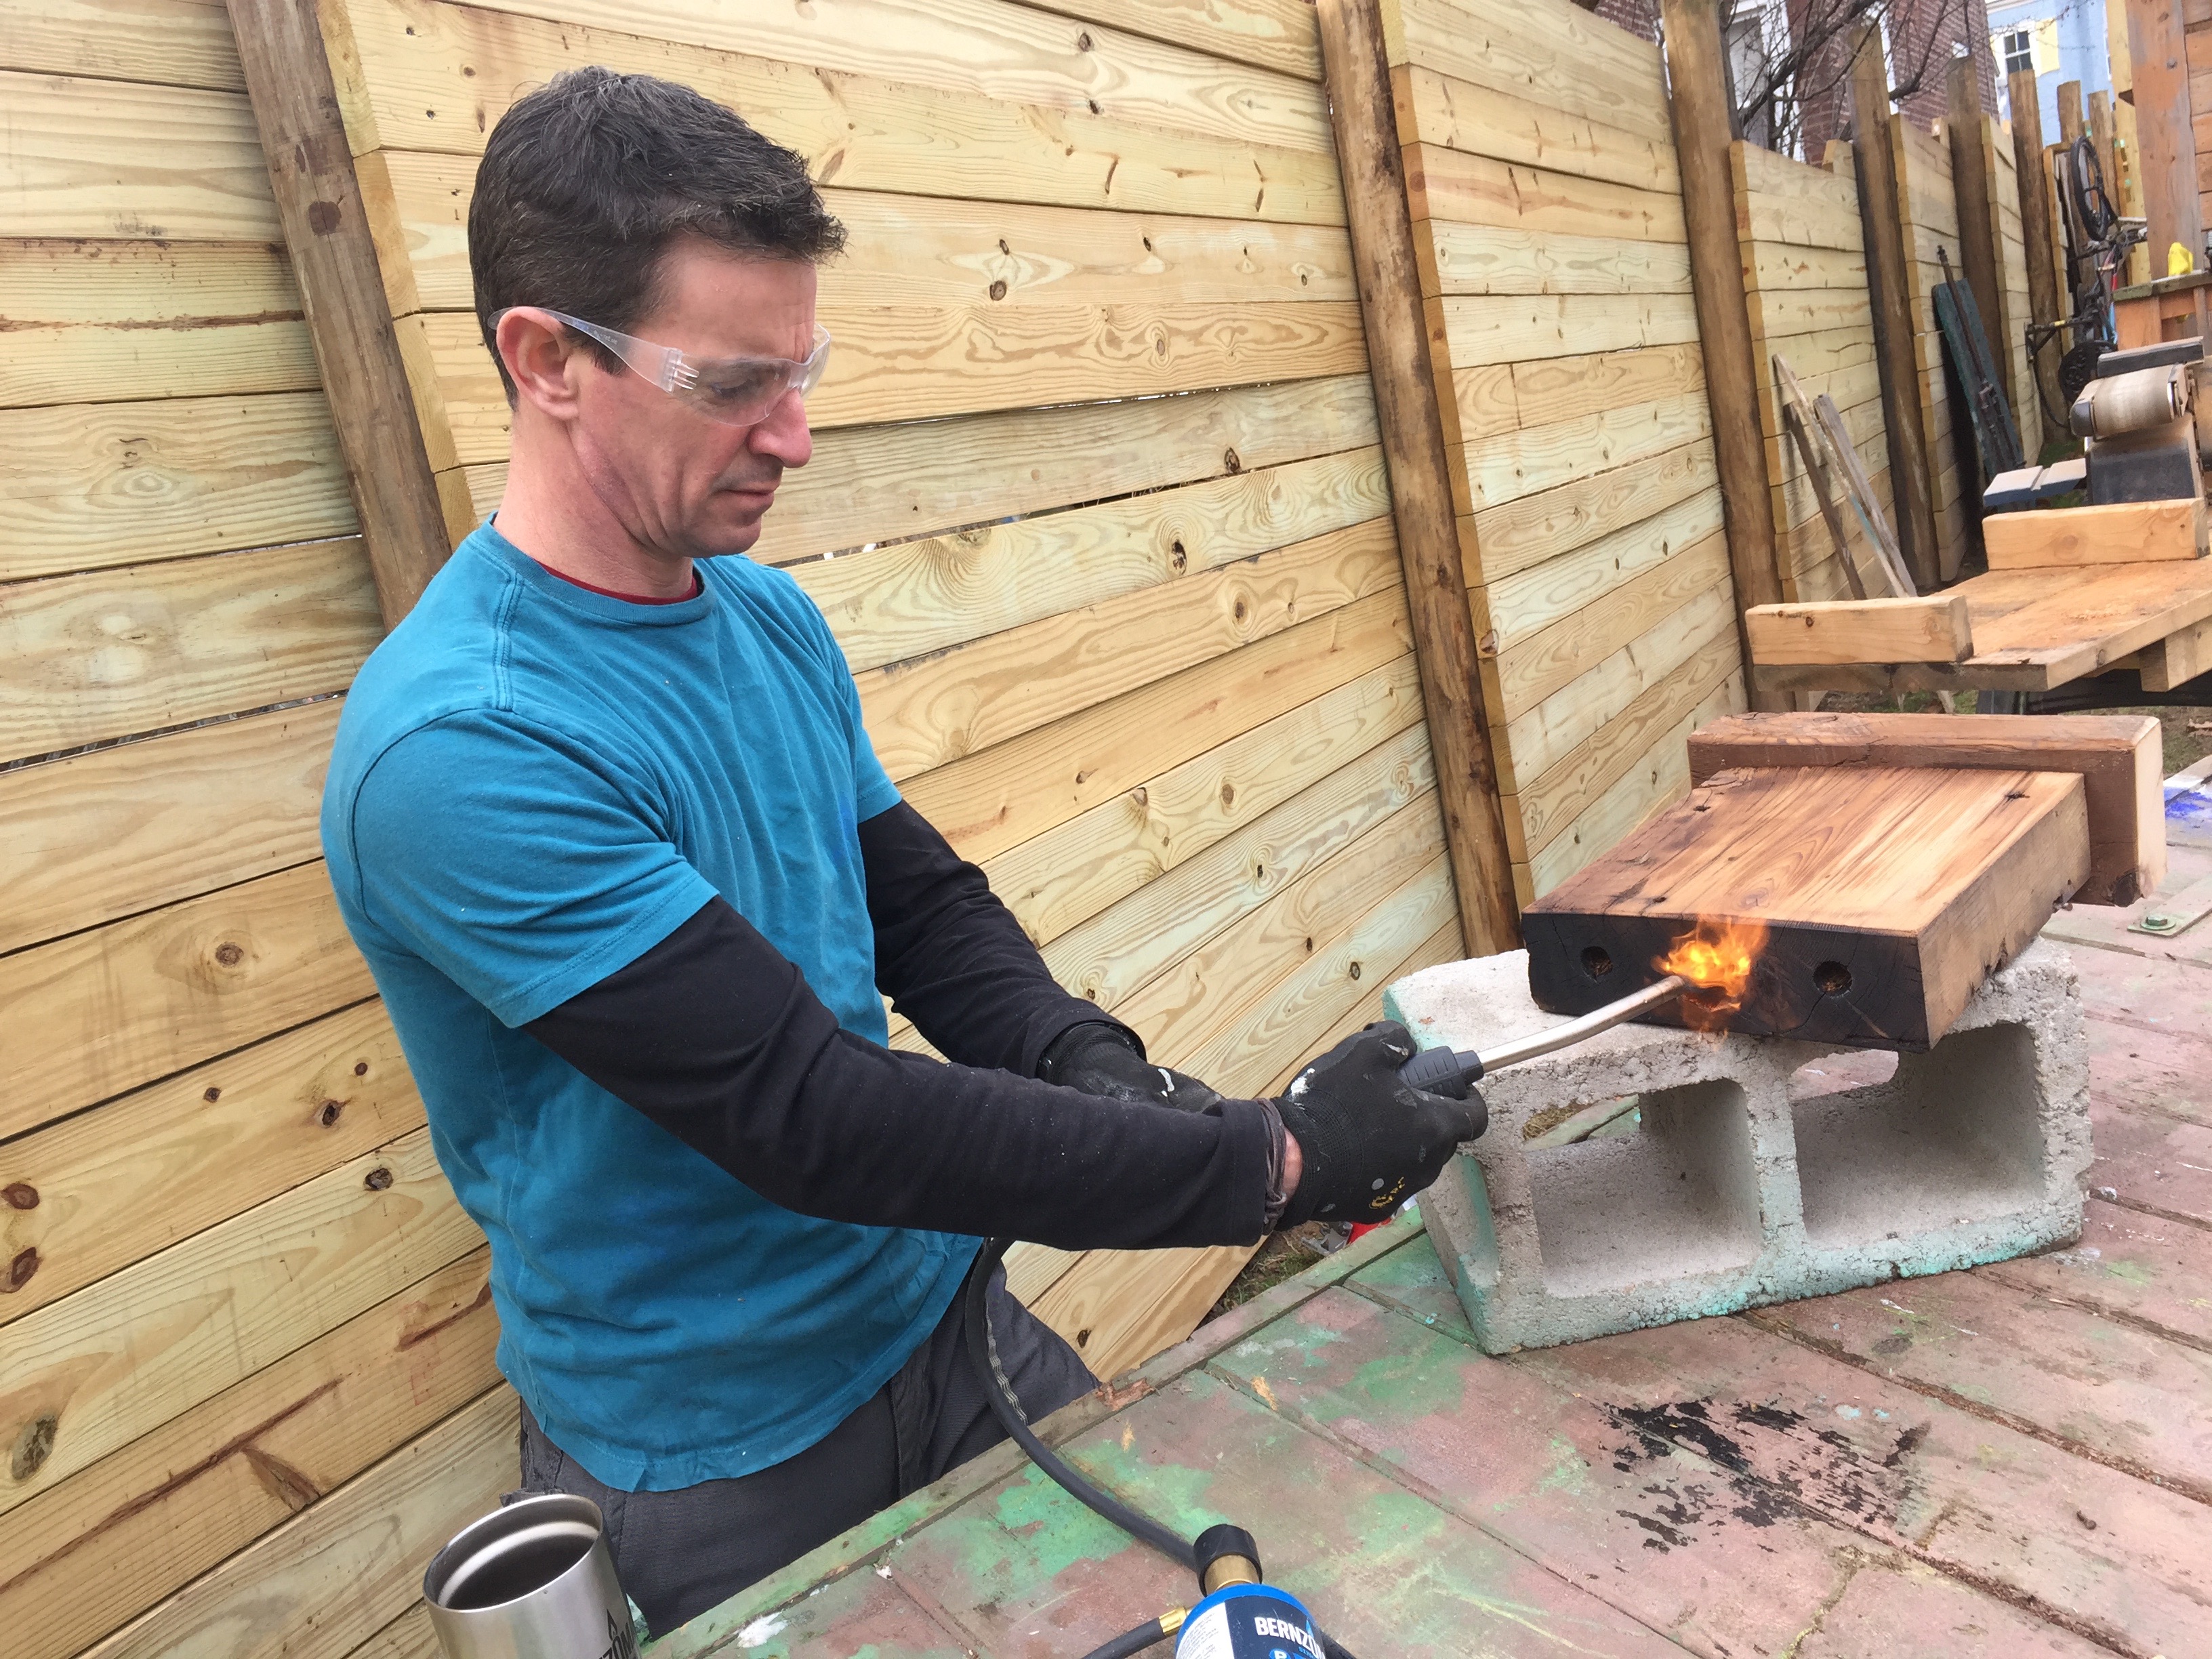
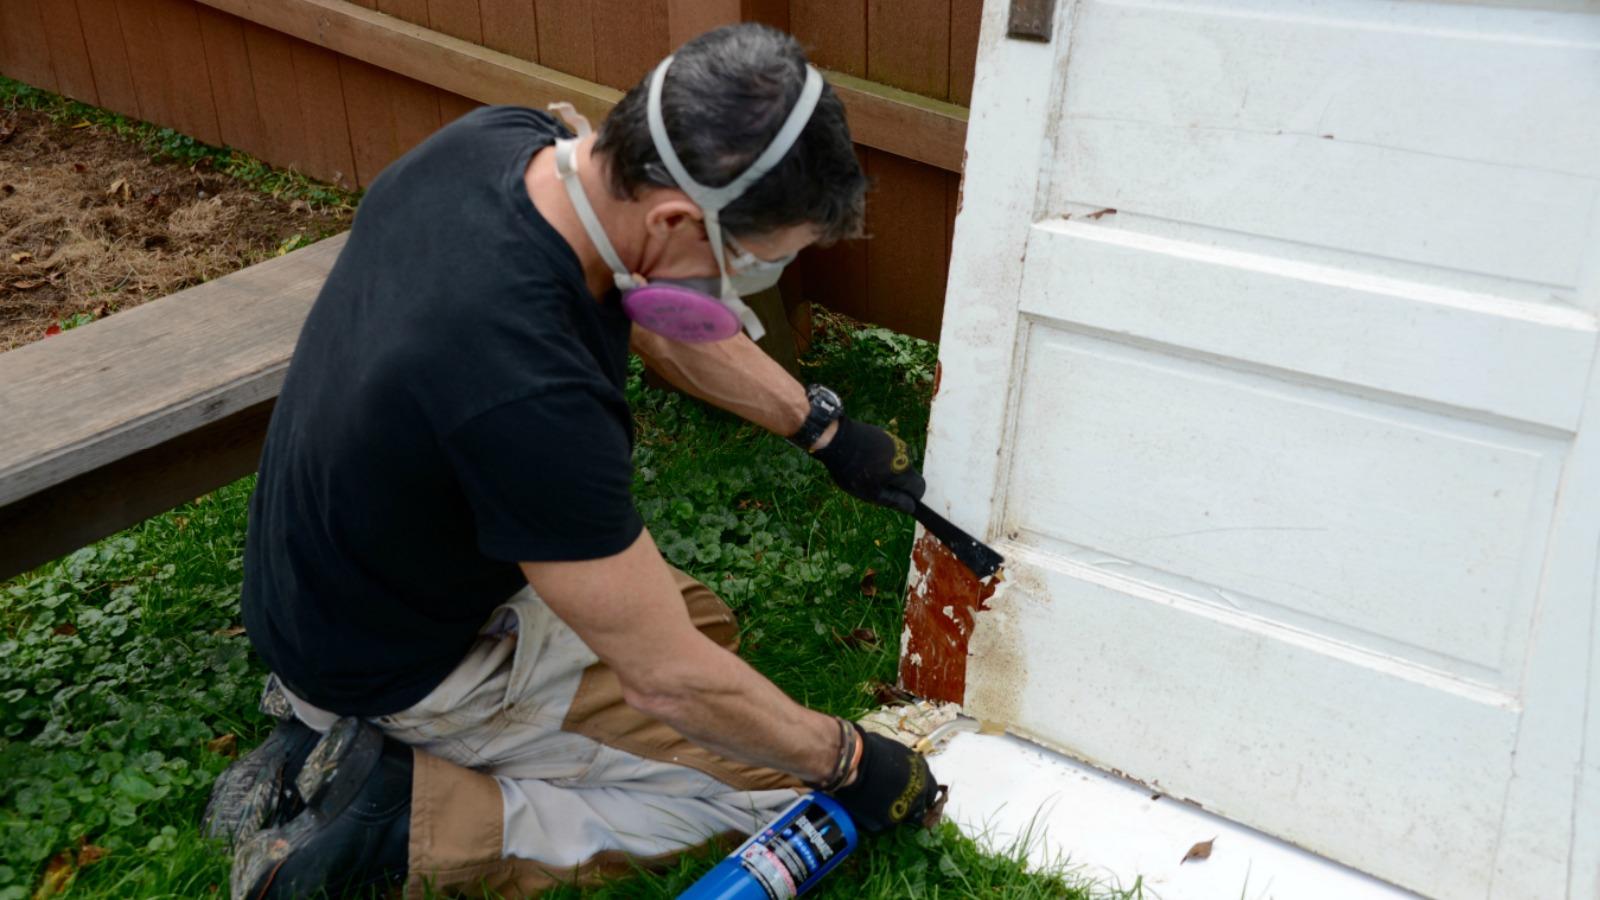
My favorite bench accessory for creating a charred finish: concrete block. Also, that TS3500 from Bernzomatic works great. Easy on. Easy off. Works at all kinds of angles.
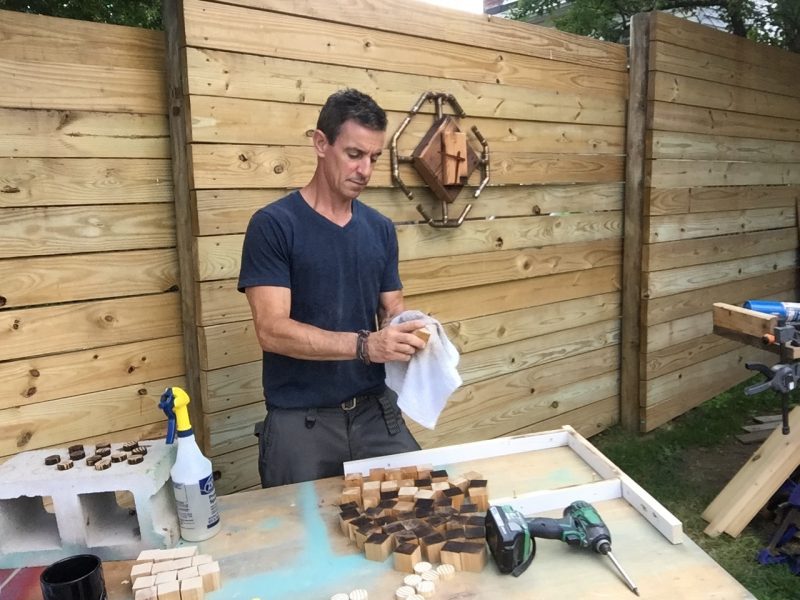


I use a mild detergent to wipe down the wood after bringing out its curvy grain with the torch. Is wiping down all 300 sides of 64-cubes (I do all the cubes to remove the woodworking dust) and 20-checkers the most fun I ever had? No. It really doesn’t take long.
Maybe my jig—screwed to the edge of the plywood table—will work for glue-up.
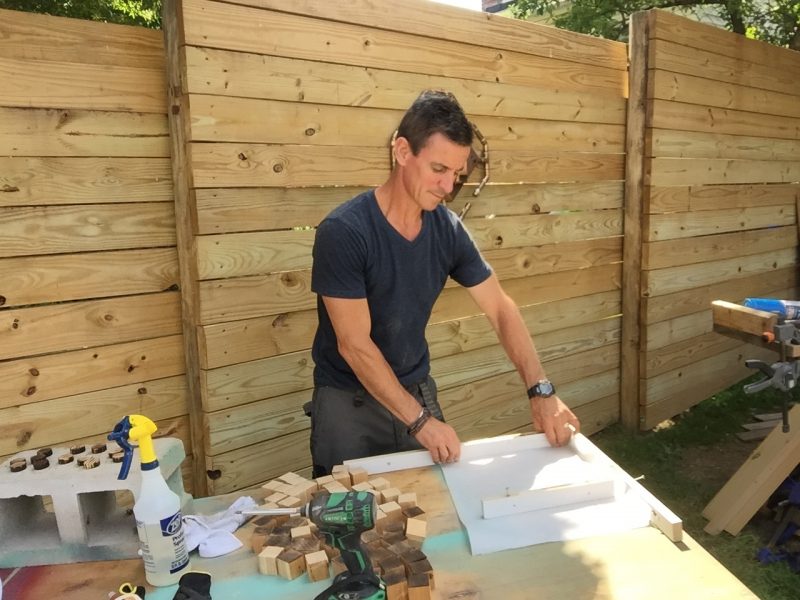


I used parchment paper as a bond-break between the glue and the table. I believe that is as far as I go to channel my inner Martha Stewart.
It’s a release for the glue that’ll squeeze out in the next phase. Oooo, we’re into ‘phases now’. This is getting exciting.
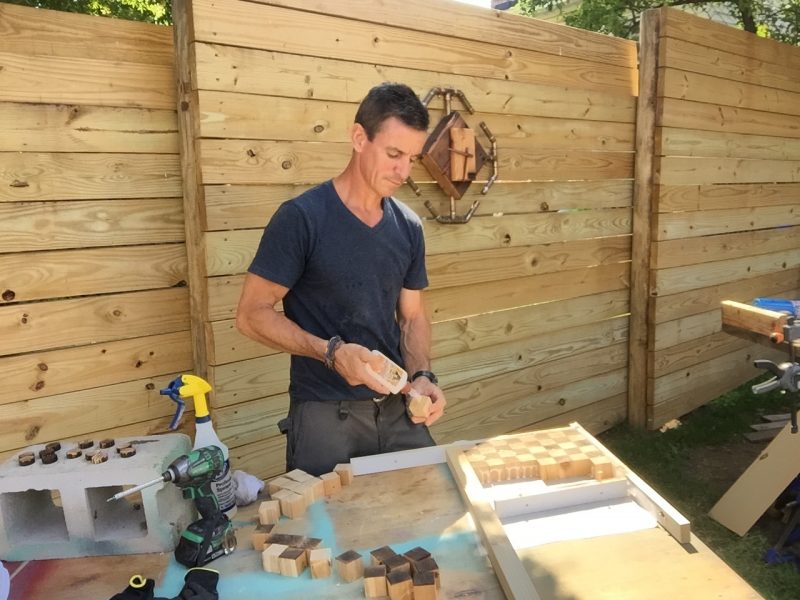


When I glue stuff, I probably use too much glue. I apply a little glue to all the faces of the things that’ll connect. That means the glue ‘squeezes out’, called: Squeeze-out.
Gorilla Glue wood glue was awesome for this job. It flows well out of the bottle and gives me a good working time before it starts getting too sticky. This also enables wiping it off finished surfaces without having to panic.
Having missed a piece of the jig with parchment, I can tell you that the parchment peeled off easily. The jig piece has to be cut off on the table saw inasmuch as it was permanent.
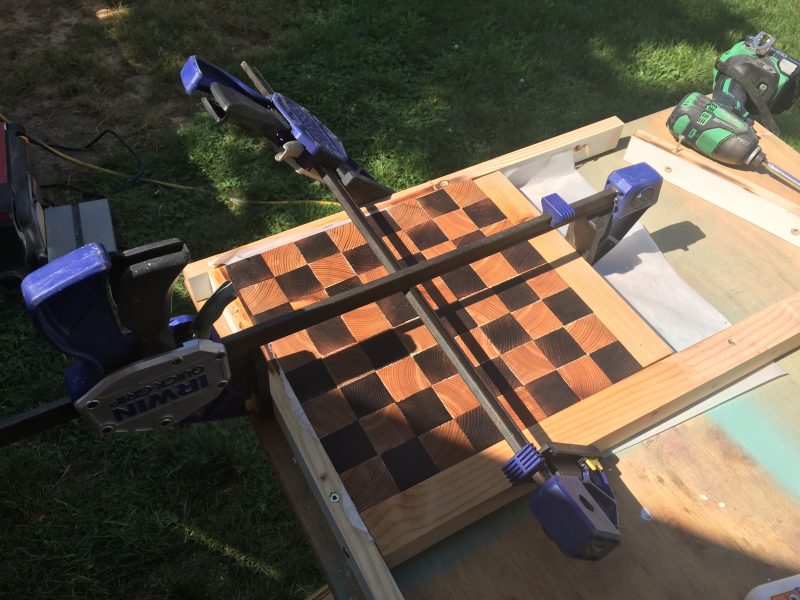


This is where my carpentry/workbench style parts ways with the actual working of wood This clamp set-up worked, but not perfectly. It kind of makes the flat checker board into a very shallow contact-lens shape. I didn’t notice it was happening.
Also, checkerboards are usually made from different color woods, so the whole thing can be sanded after assembly. I didn’t want to sand off the char, so this checker board is a little more all-terrain than one you might buy.
I was also diligent about the glue. I wiped and wiped and wiped. As the clamps apply pressure the glue can sometimes take its time getting out from in between the blocks. Make sure you check on it every few minutes for about an hour.
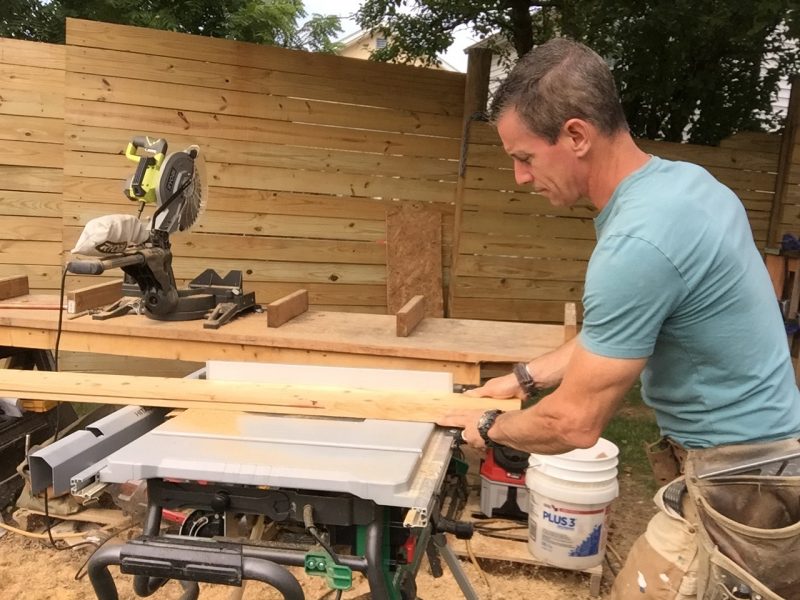


A 45-degree bevel on each side of a 2×6 makes up the frame’s profile. To smooth out the saw marks, I sanded all the edges with 60, 100, then 150-grit.
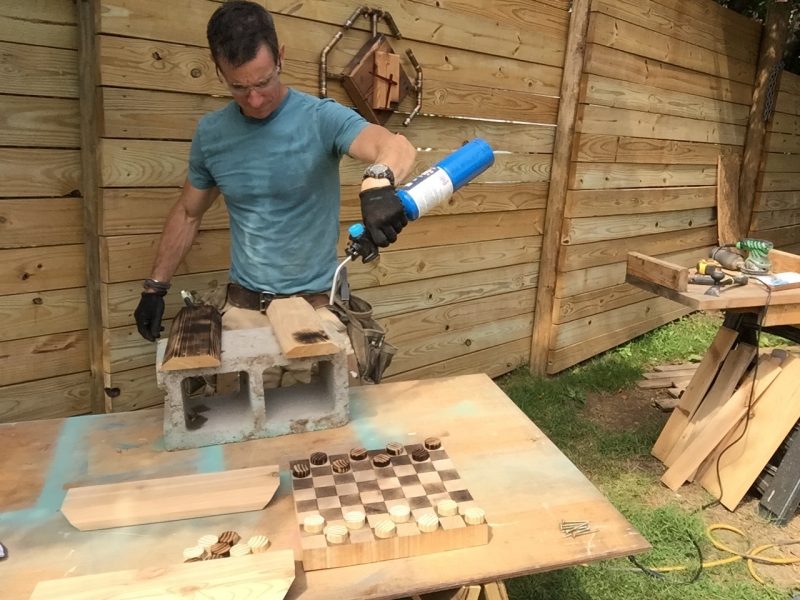


Even though I used it to char two of the four frame pieces, the TS3500 is not so hot as to make me sweat through my clothes. The surface of the sun coming a few light years closer to earth, I think that’s what did it.
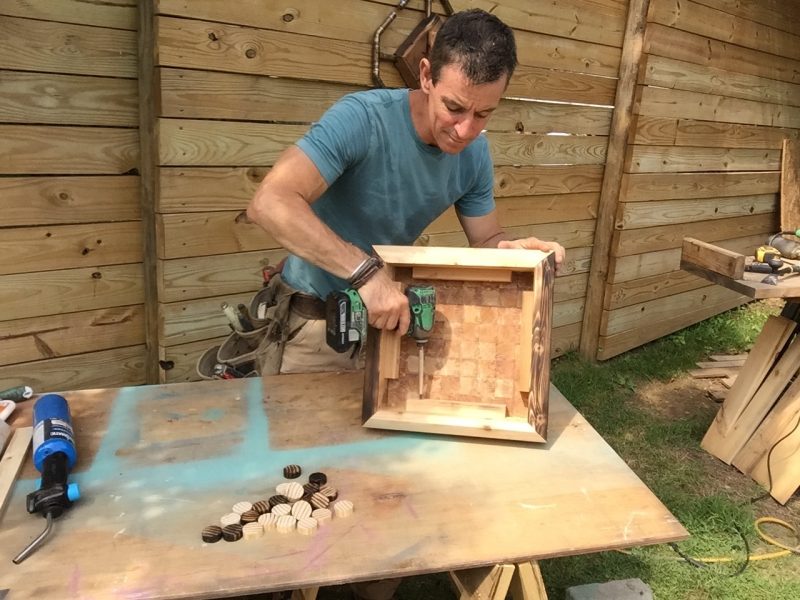


A few stops inside the frame keep it in place. Also, cut and sand a lot more frame stock than you think you need. At least I needed to. I wanted the miters nice and tight and I cut a few too short.
Maybe that’s because sweat was gushing down my face or I had prickly heat, but it’s worth it either way.
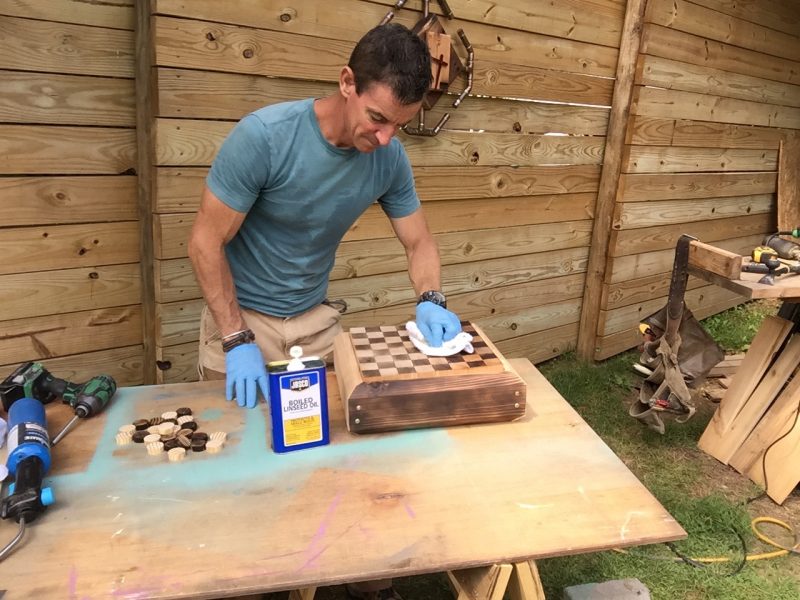


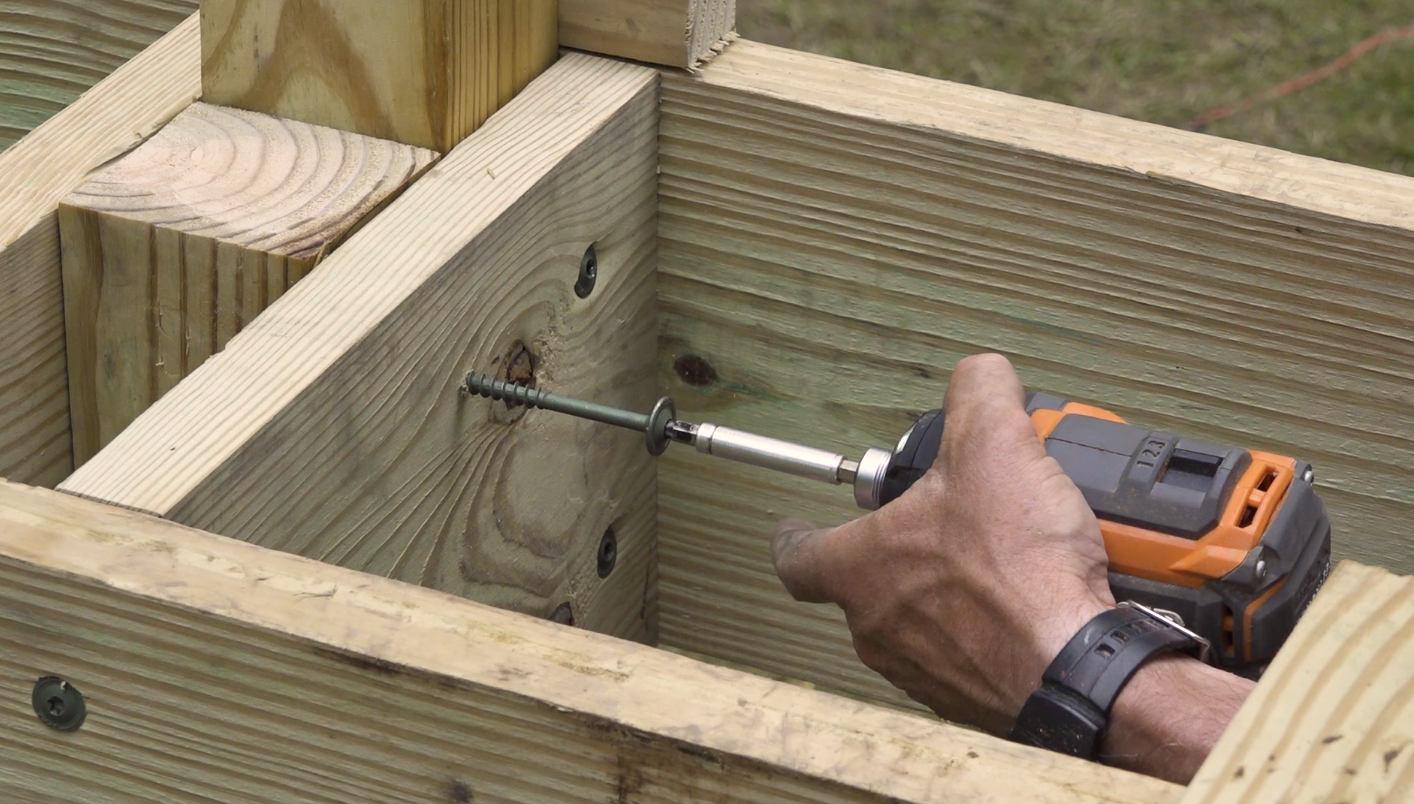
I love using boiled linseed oil for certain projects. I also used 2-inch Spax washer-head screws to fasten the corners. I like that they give kind of a ‘structural-exposed-hardware’ kind of thing to the piece.
And, I must admit, not everything was perfectly square. In workbench woodworking—where I use off the shelf stuff that I don’t thickness plane and joint—it doesn’t take much for miters to be difficult to close up. Screws can help with that sometimes.
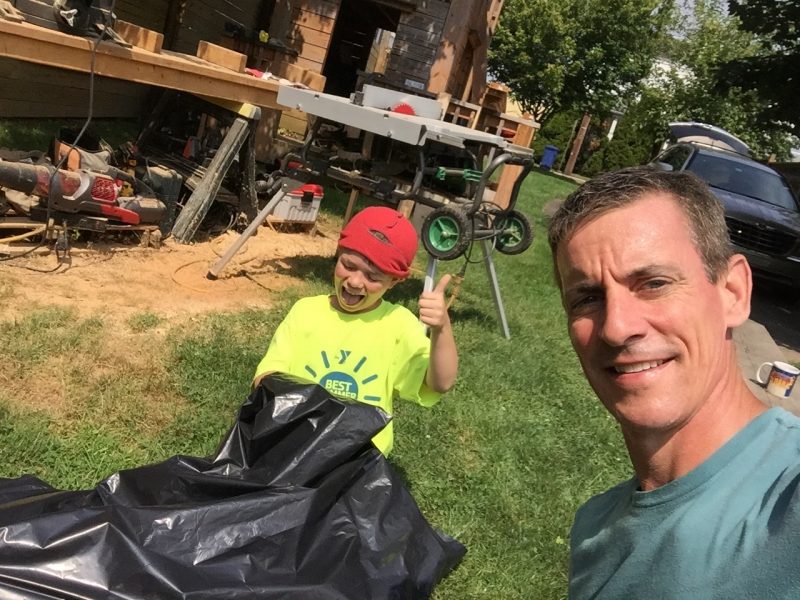


Not shown: The 18-minutes of arguing before he finally agreed to put some things in the bag. Shown: The 10-seconds that somehow makes the other 17:50 totally worth it.
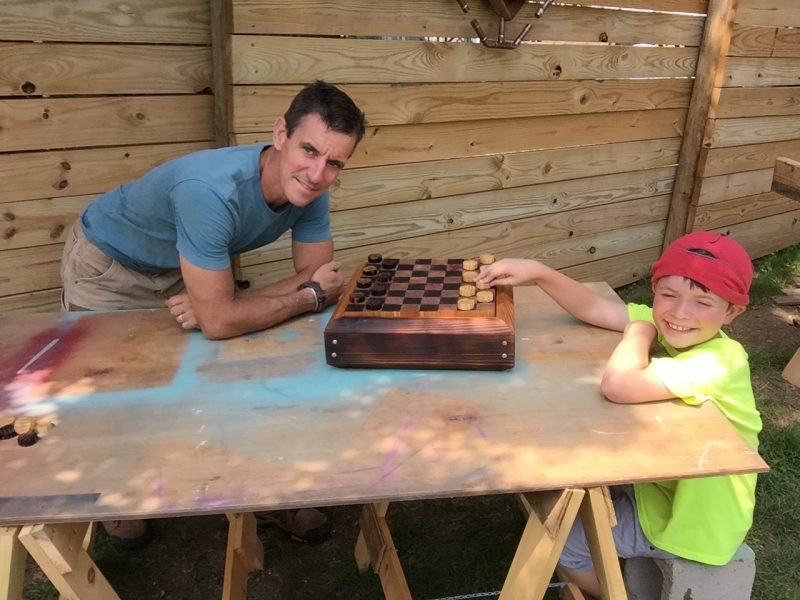


I love this kid. And he loves the new burnt checkerboard.

