Theresa always has DIY pallet ideas, like re-imagining old dining room chairs into exciting hers and his benches.


There are lots of design options for how to finish the edges. Theresa wanted a clean look so I matched the existing angle of the chair’s seat. (There are a few steps to this, see below).
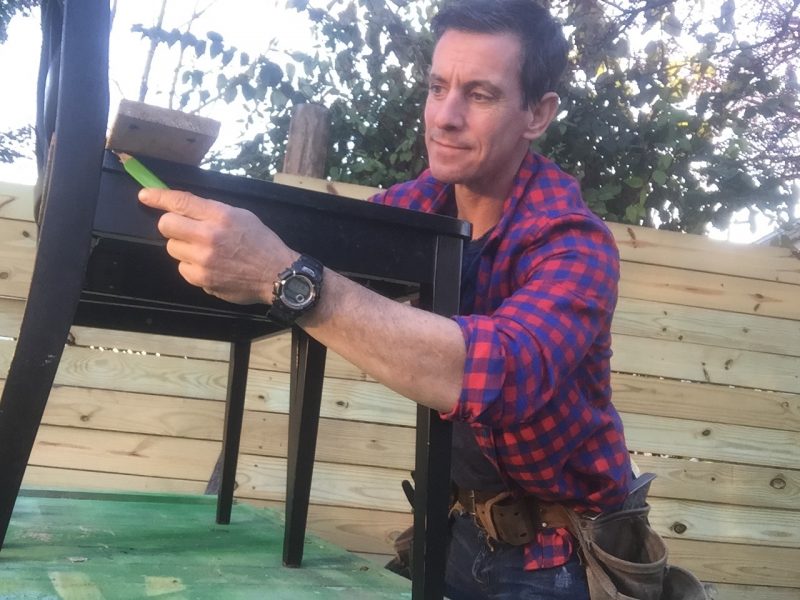


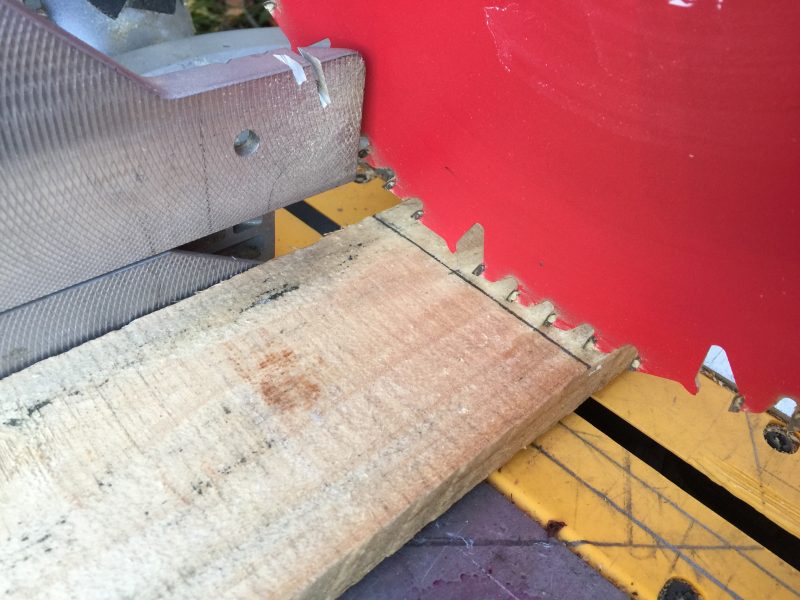
You can use just about any saw you want for this, really. I chose my miter saw to cut the 6-degree angle of the chair seat.


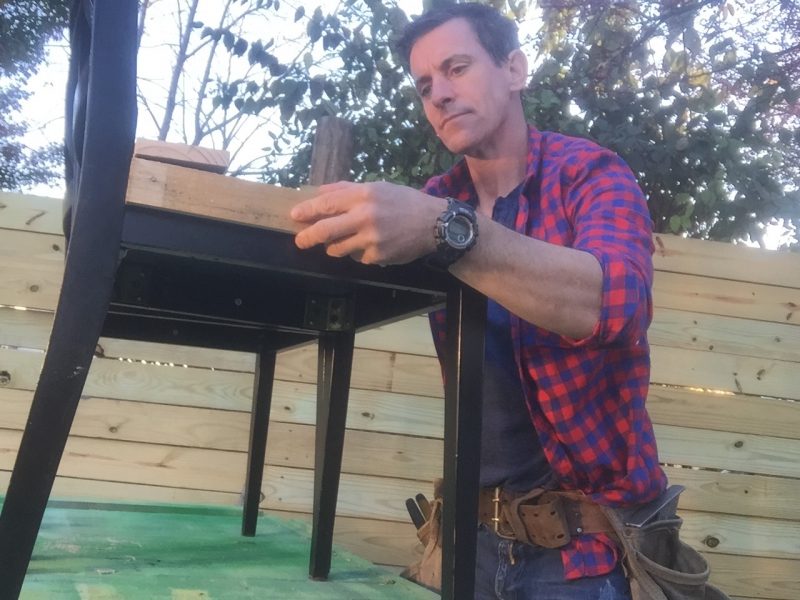
We added an overhang to the pallet seating. One reason is that Theresa liked the look and the other we’ll get to below.


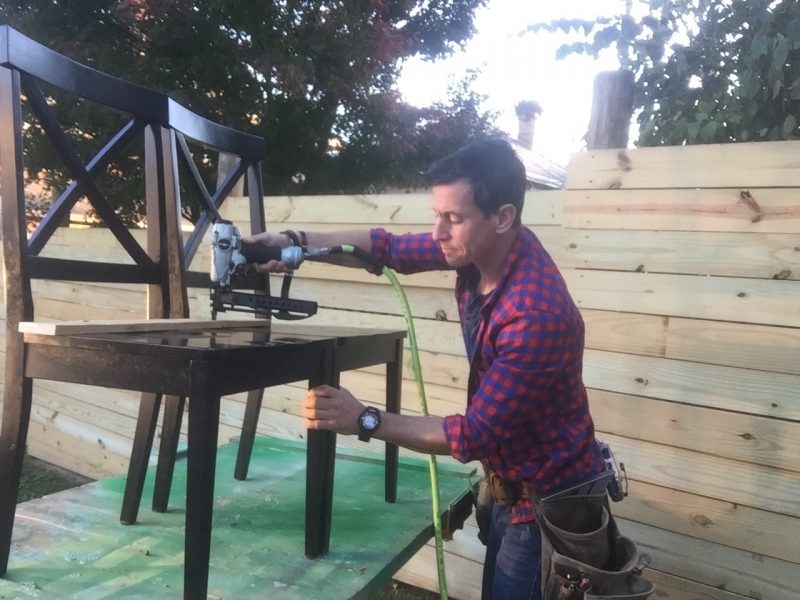
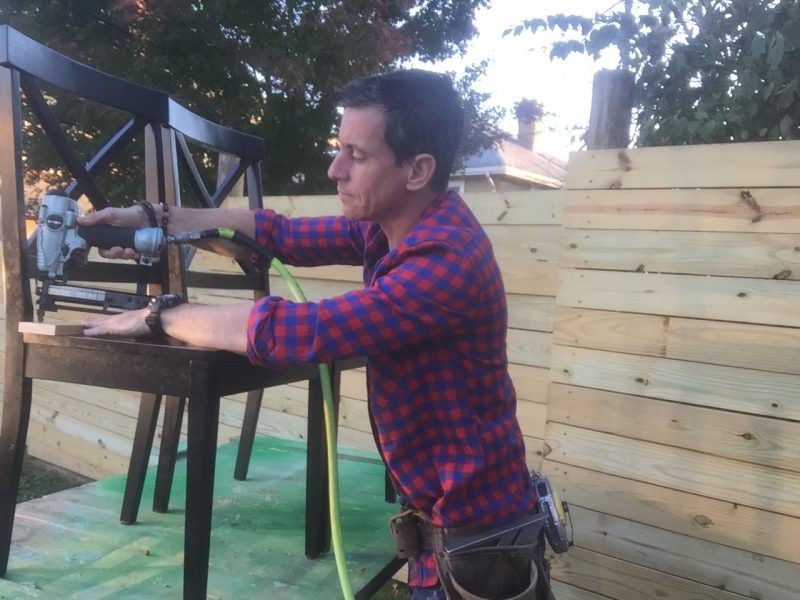
There are lots of ways to fasten a project like this. We chose one of our favorite tools—one we often use when Theresa has pallet ideas—our pneumatic stapler.


Our pallet boards didn’t cover both seats fully, so we pieced them in, making to sure to mark the overhang on the second piece.
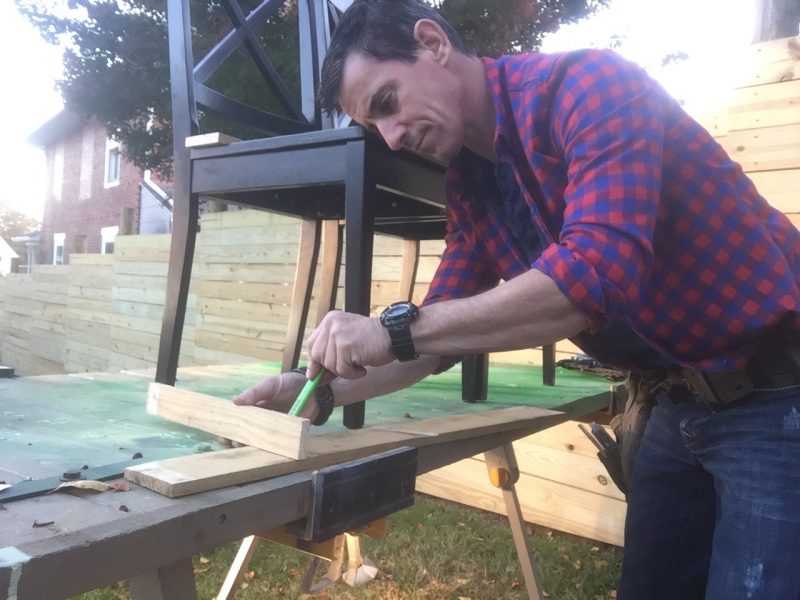


I’m amazed at how different boards from the same pallet are from each other. It’s like they tried to use mis-matched pieces when building the pallet itself. To keep gaps in the seating surface a little tighter, I matched up the board widths as best I could. First step, mark it in place. Then…


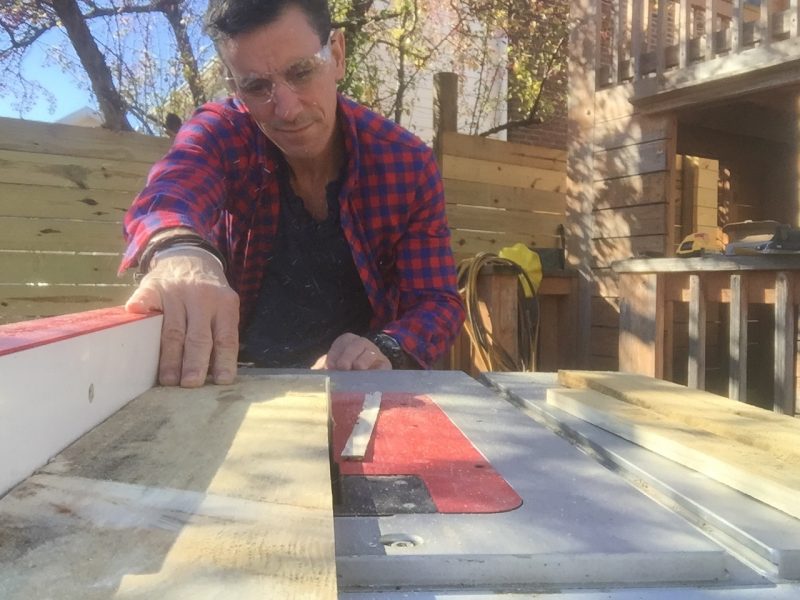
I end up using the table saw quite a bit when Theresa’s pallet ideas start becoming realities. In this case, I’m matching the widths of two different pieces. Be very careful of cutting nails.


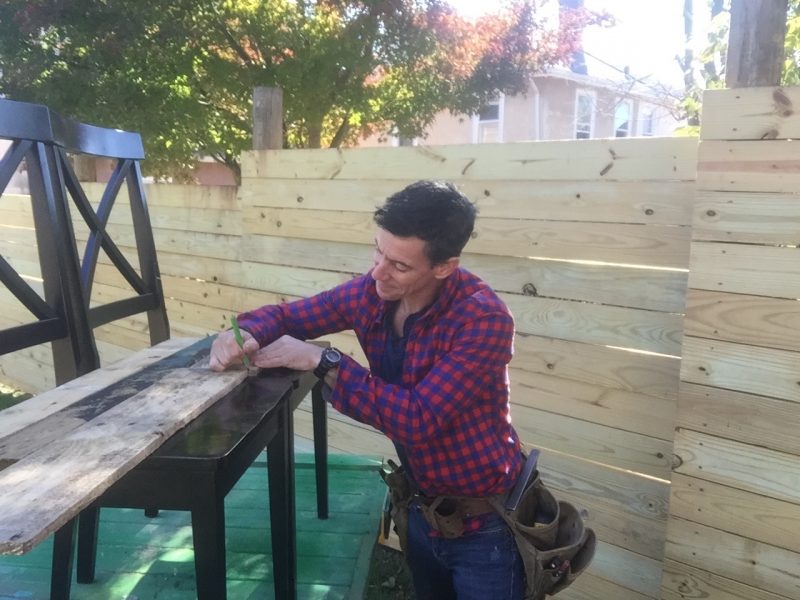
This is the second reason for the overhang, we mentioned above. The only board we cut to length is the first one, fastened against the back of the chair. The rest we run long. Next, we trace the overhang from the bottom onto the top, then mark a cut line.
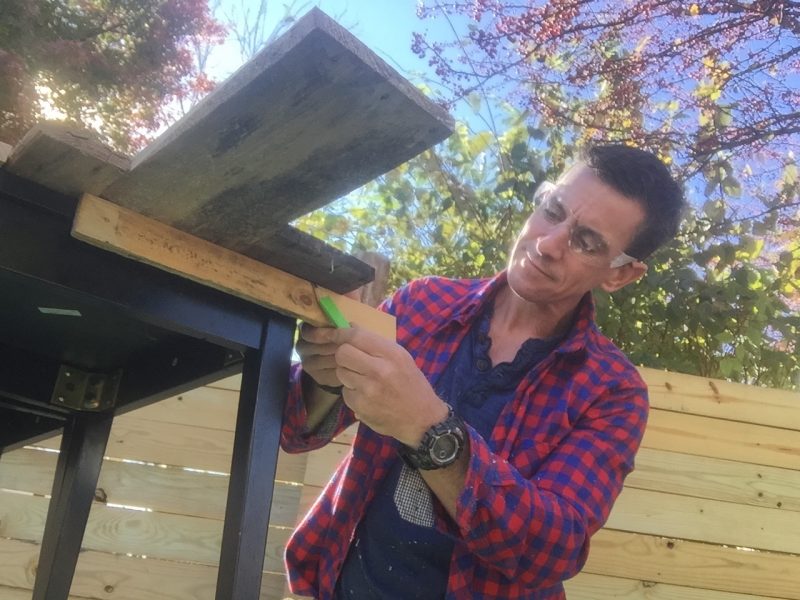


Line up a scrap between the first piece (cut to size above) and the mark traced around from the bottom. Connect the dots and then cut.
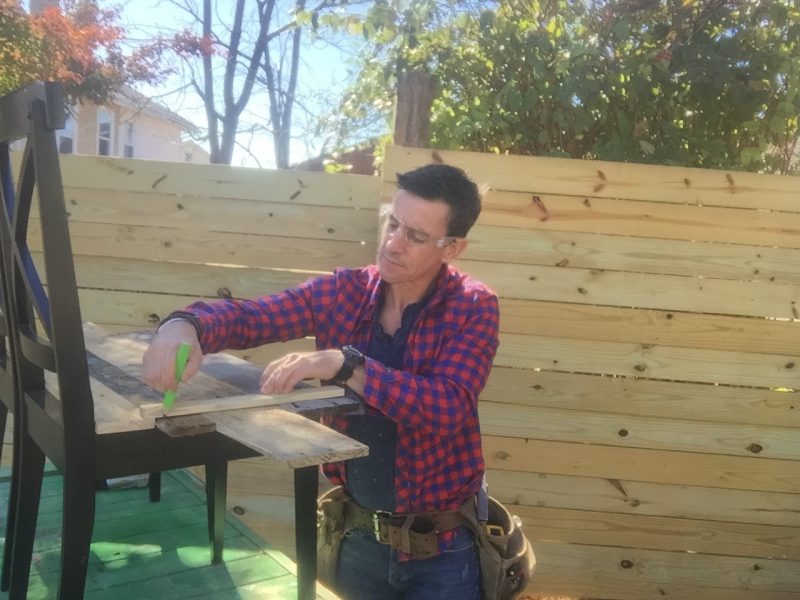


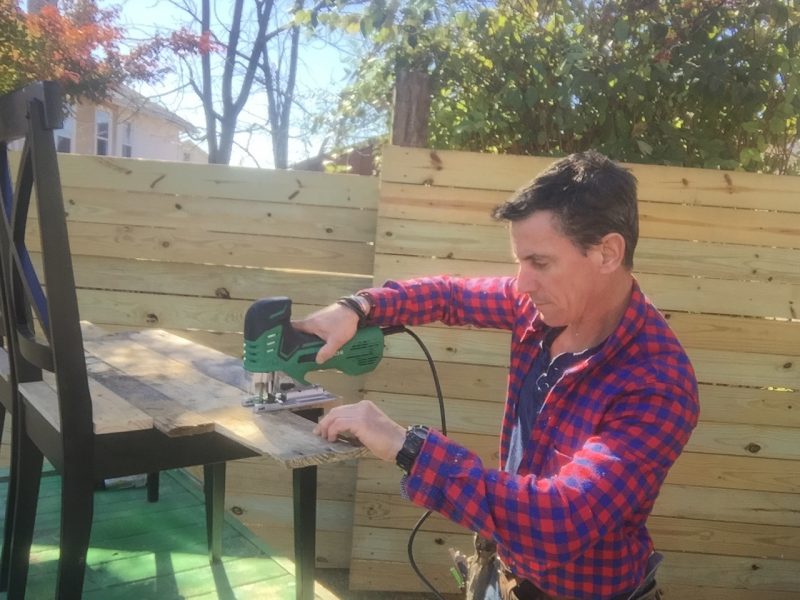
With all the boards marked, you can now cut them all at once. It’s easier this way, IMO. Jigsaw tip: Cut slowly. Give the blade a chance to cut the wood evenly.


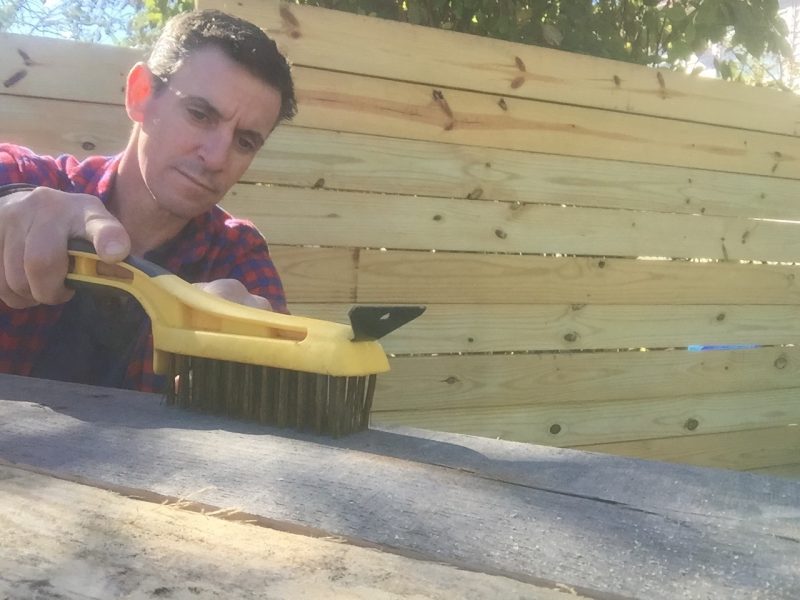
A wire brush is awesome for grating and gouging an getting dirty old pallet boards ready for paint or finish. Whose do we use? Hyde Tools‘ naturally…


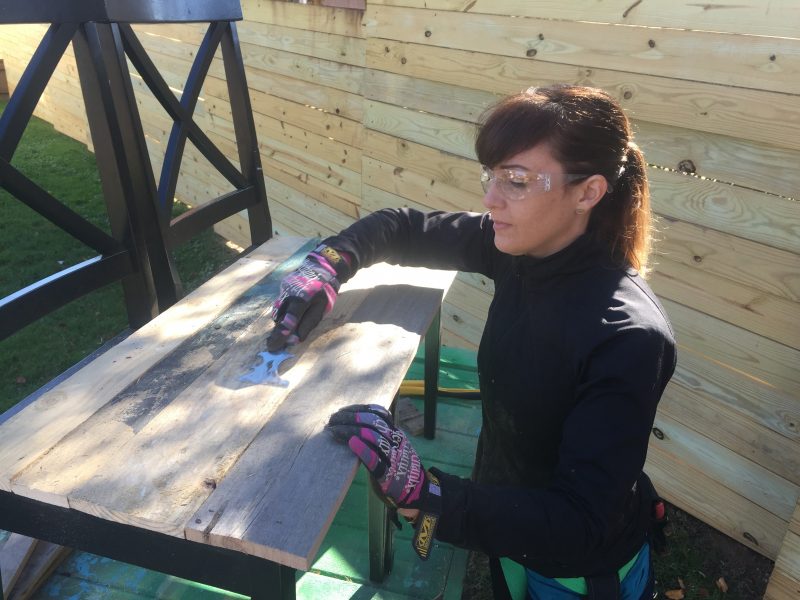
To get some burs and really gnarly spots, Theresa turned to her mighty multi-tool. We use these all the time.


We used the miter saw and table saw—though you could also do with other tools, like a jigsaw—to cut filler pieces for the back of the chair. These are the “his’ chairs where we installed the pallet wood before painting.
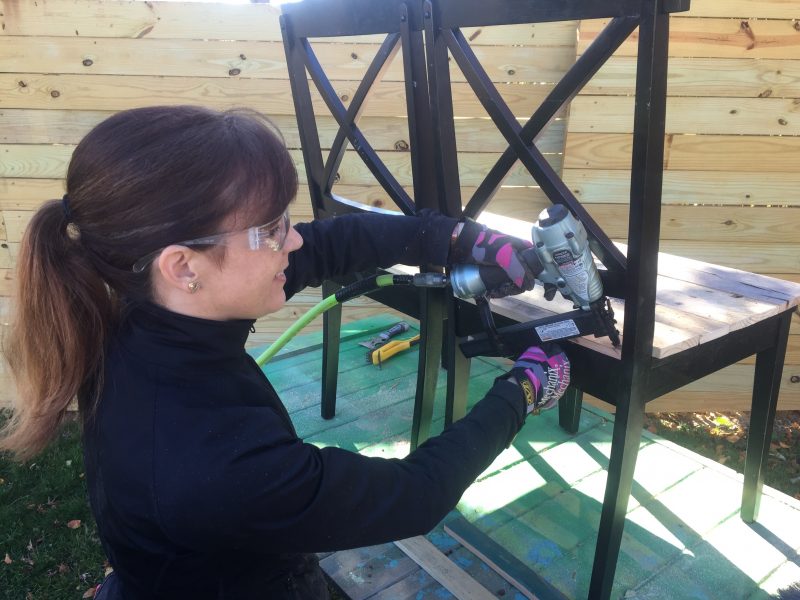


For the Hers chairs, Theresa thought painting them first would be easier, and she was right.
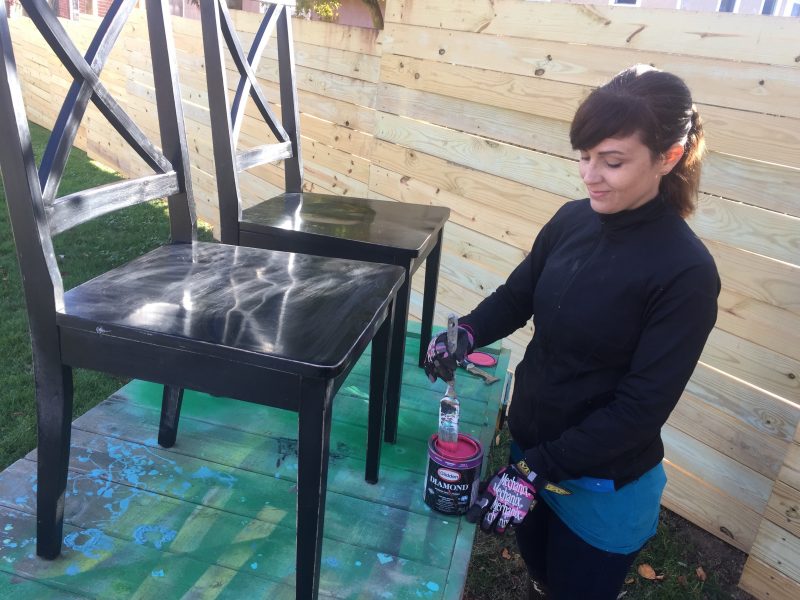


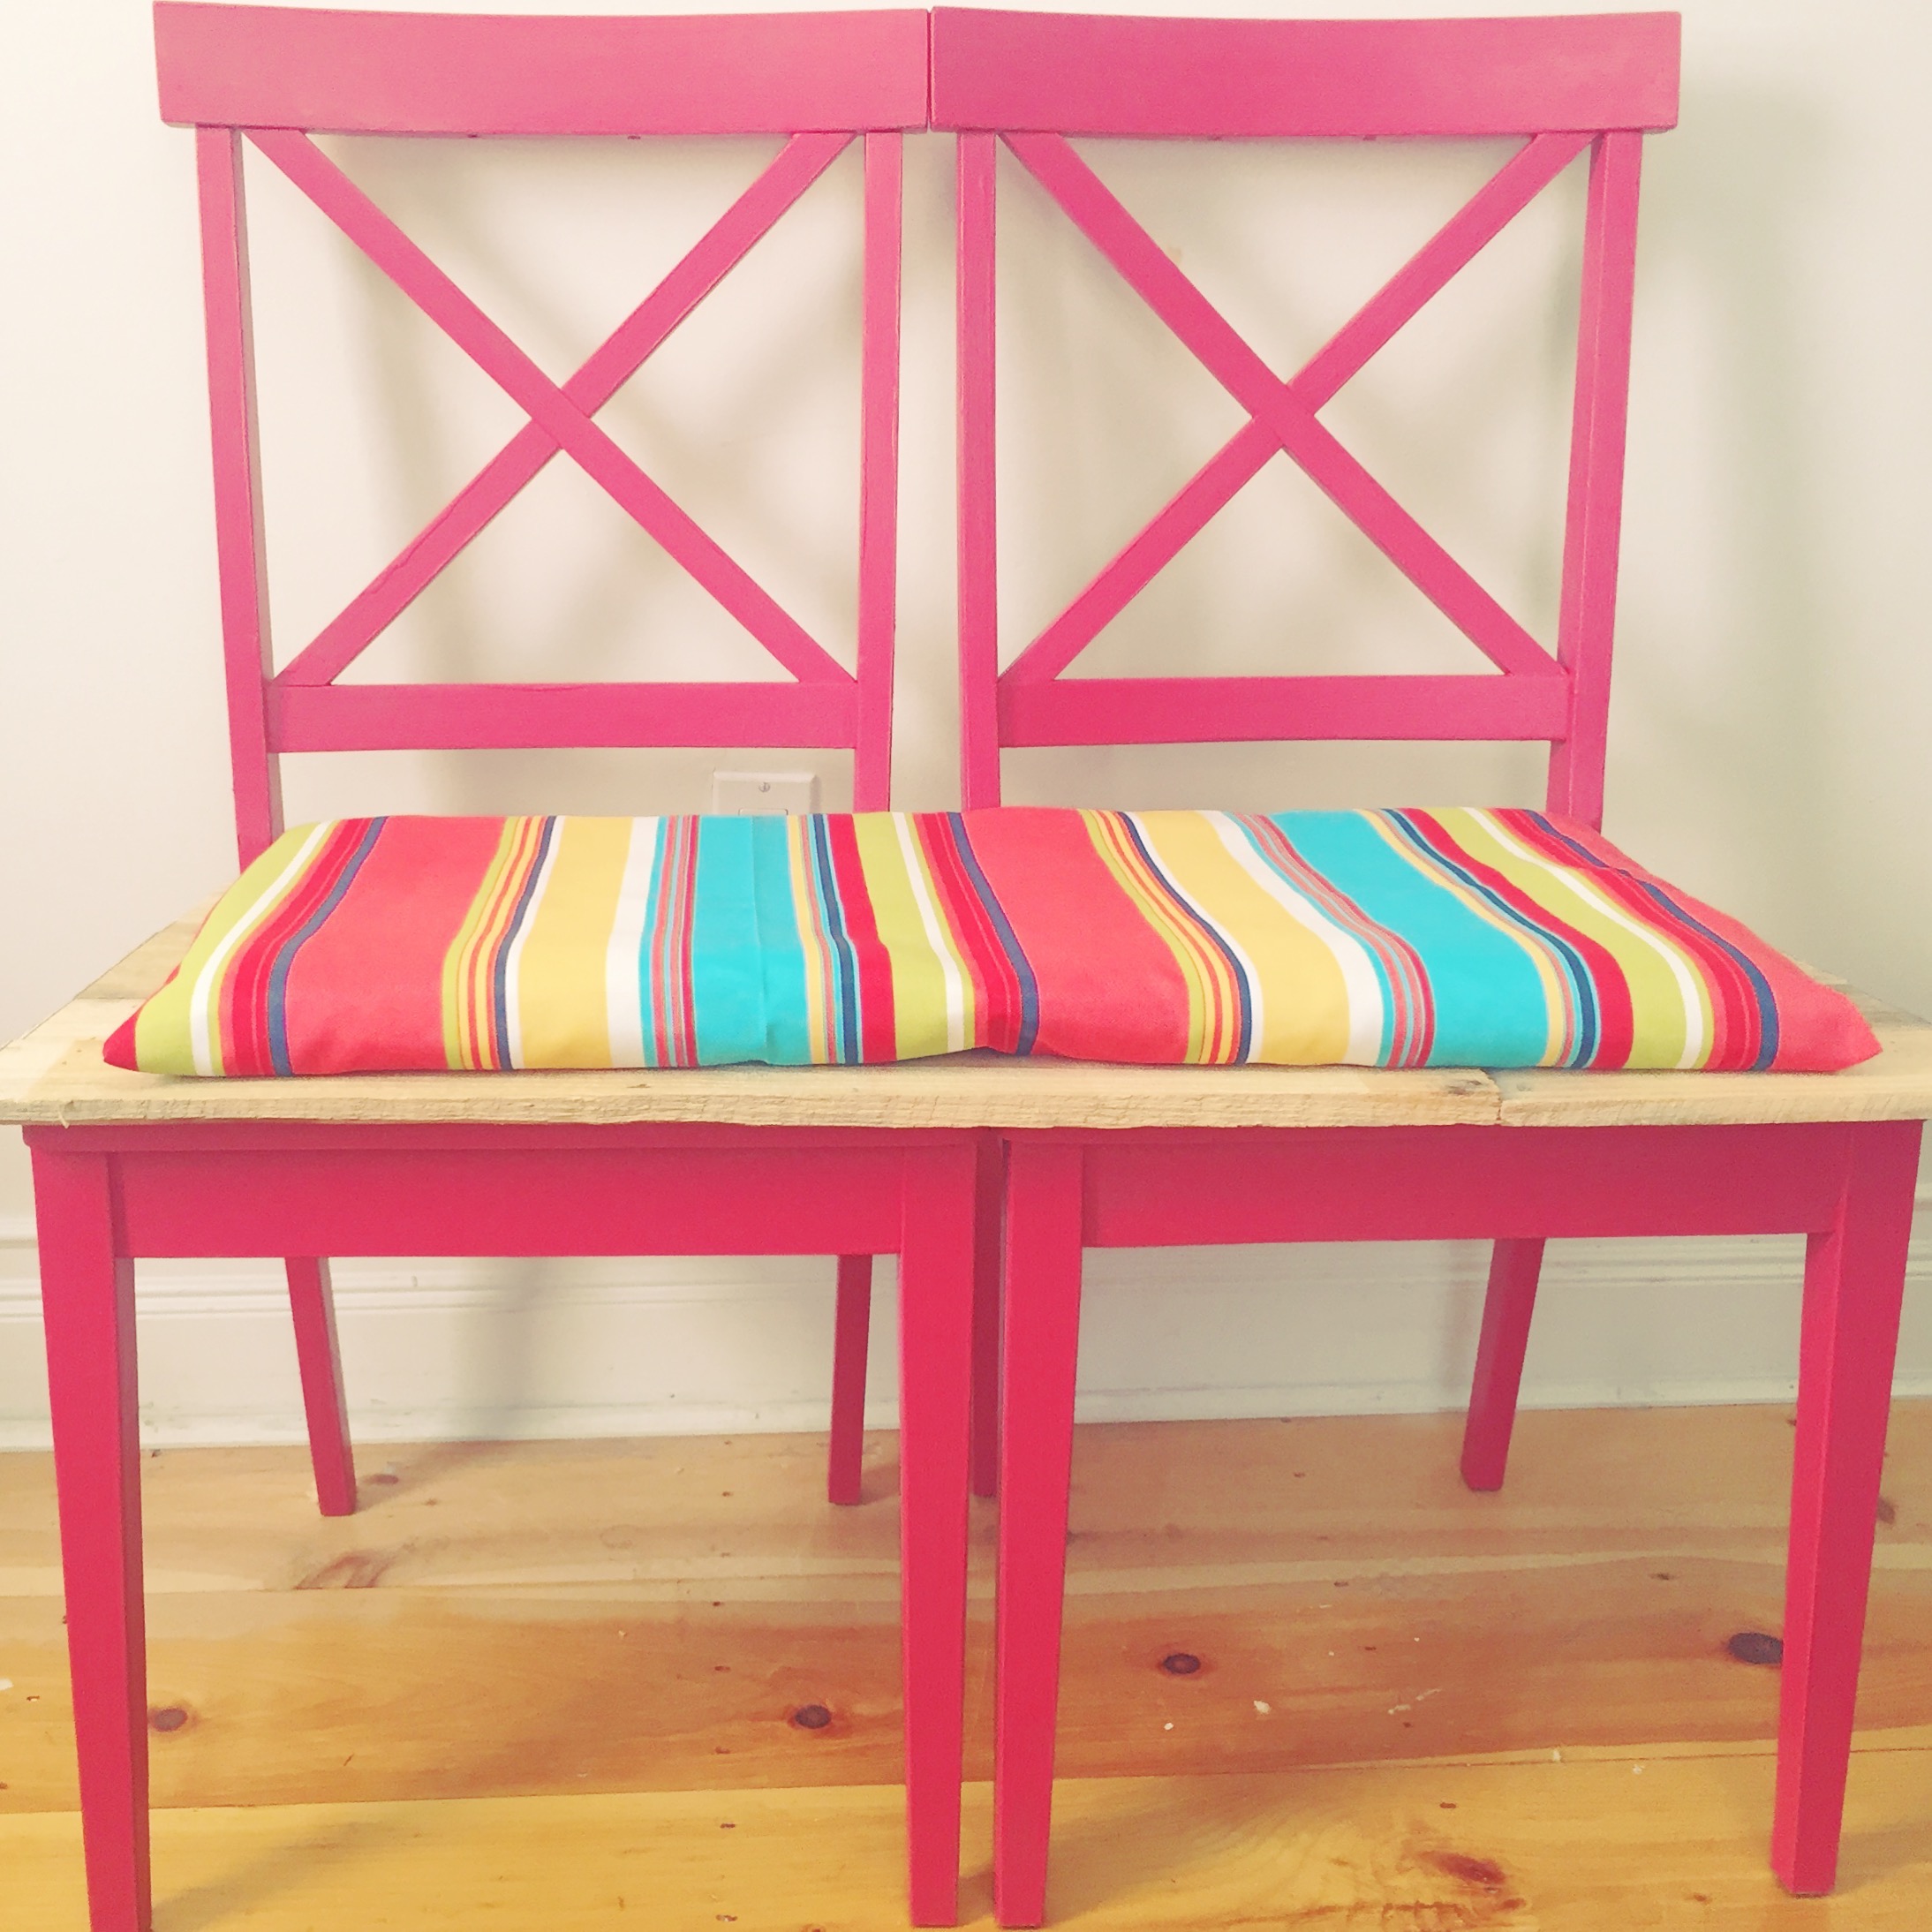
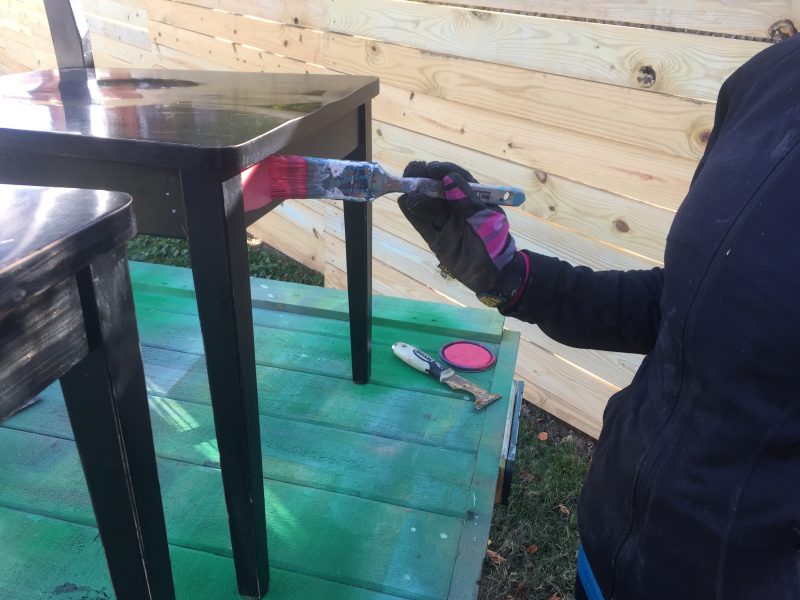
For the Hers bench we used an interior paint + primer. Theresa chose a rosey red—her taste in color is awesome and I am lucky.


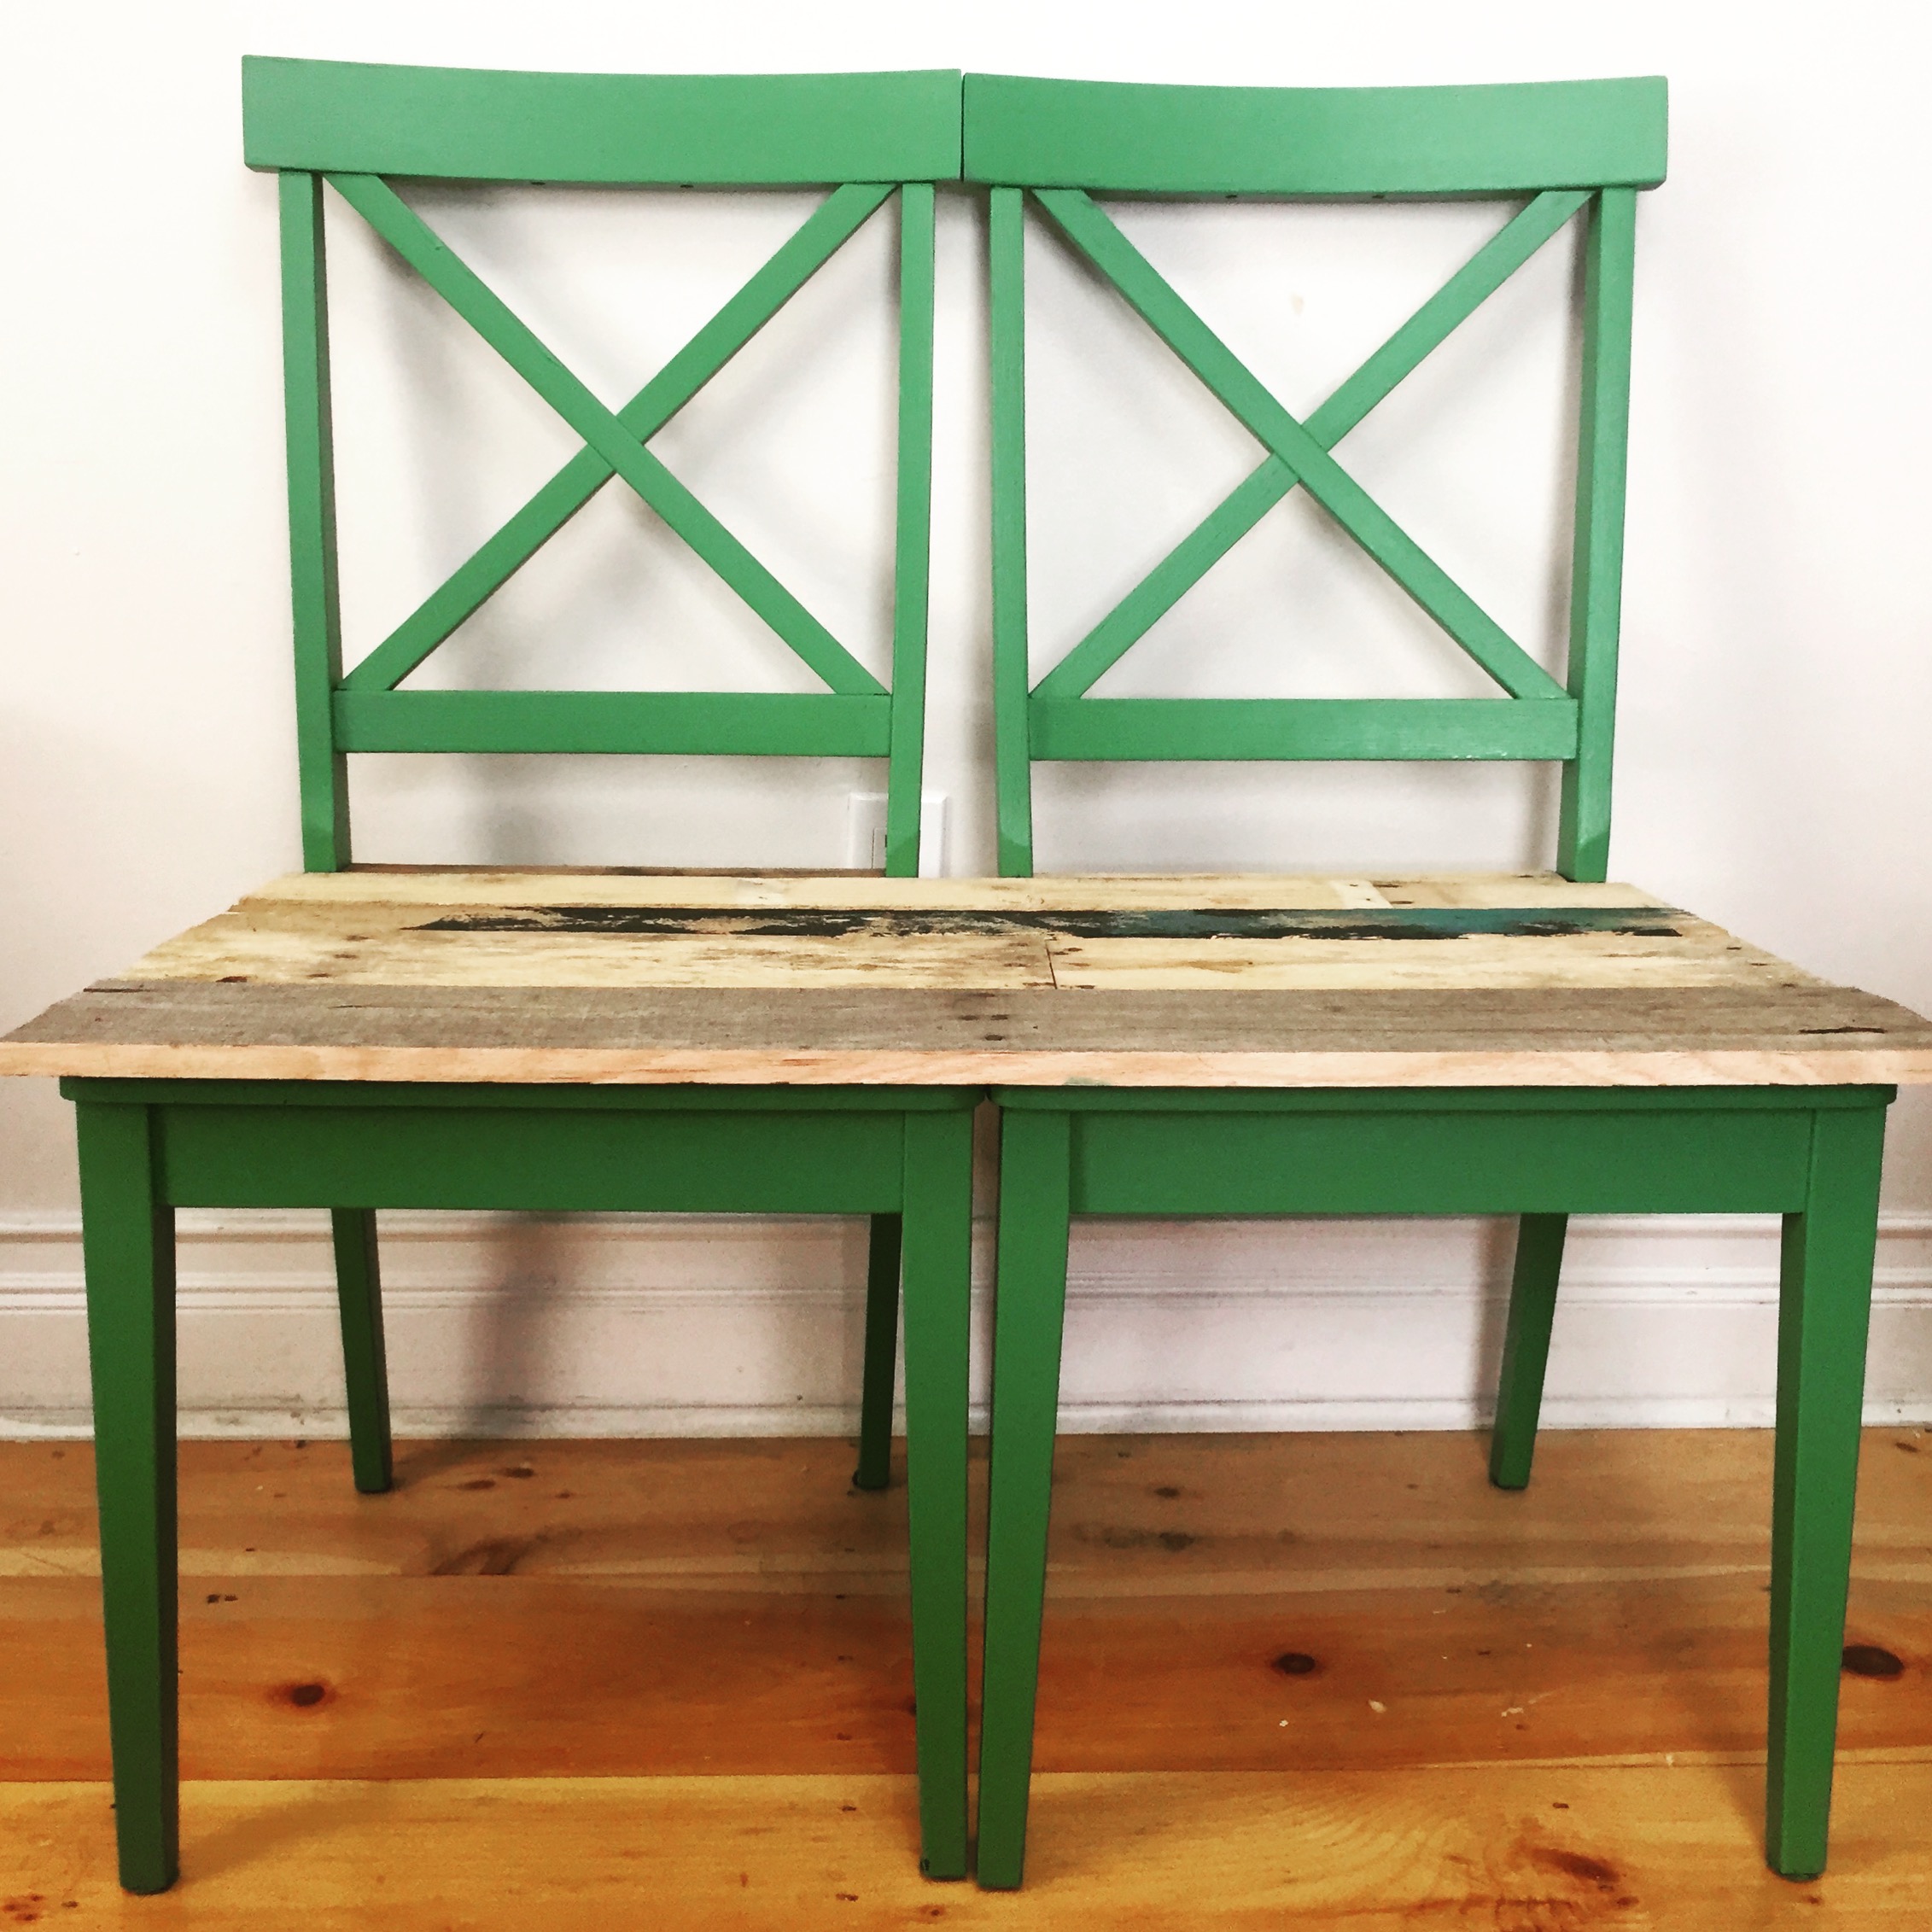
For the His bench, Theresa chose more of an an emerald green, which also rocked and found its way into our son’s room. It’s more a ‘bridge chair’ like he’s commanding the USS Pokemon rather than sitting at his desk. Gotta catch ’em all…

