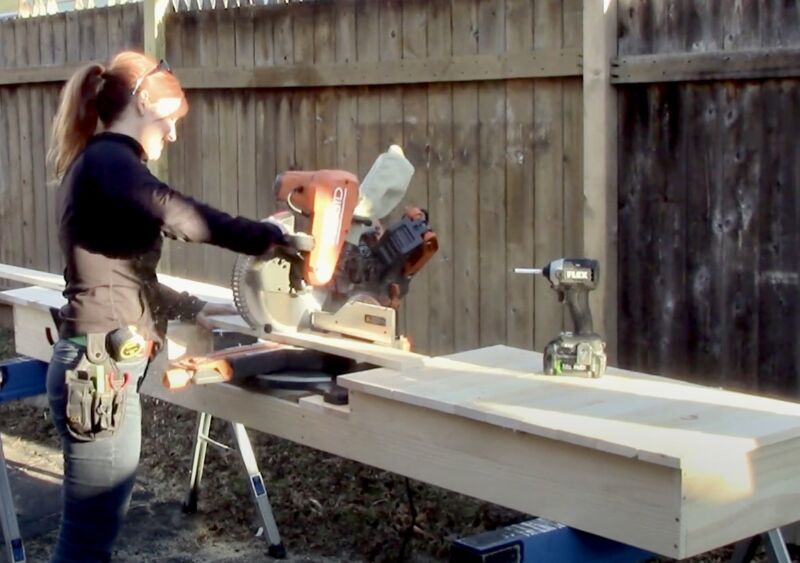
Miter saws are safer and easier to use when they are on a miter saw stand or work table.
How do I say this nicely?
I need a place where I can cut, put things down, gather my thoughts, and NOT lose them in busy work.
For me that place is a work table with a miter saw in the middle of it. We’ve called them any number of things over the years, like cut station, miter saw stand, continuous infeed/outfeed support, other stuff I don’t remember, but the point is: Something that is part table, part miter saw stand is it for me.
And this one–made from 2x4s–is all-awesome.
I’ve made them out of plywood before, which even got me on the now not DIY Network for a scintillating sec. Recently, I’ve been trying to find a way to make them out of my new favorite material “strapping” (this is called different things in different places; I’ve heard it as simply “1-by”, others call it “furring strips”), but results have been full-fail.
This one I made today–yeah, it’s heavy, but it’s Beast Mode solid and the flat-est one to date–I’d like to share with you. So, here we go.
How-To: Miter Saw Stand Tier 1
The table surface is 21 inches wide. To create a 1½-inch cantilever overhang all around (good for clamping things), the box or frame is 18 inches wide and 8 feet long.
So this means the struts are 8 feet and the ends are 18 minus 3, so 15 inches each.
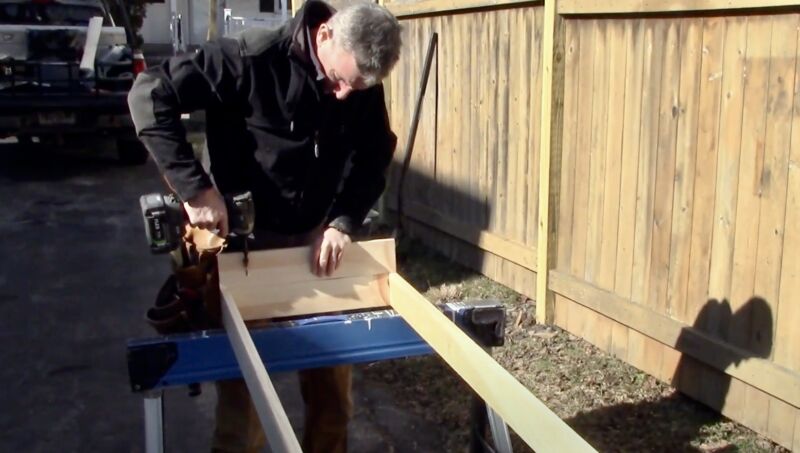
Assemble them with an impact driver and screws. We used the Flex impact driver and mighty Spax #10 x 3-inch beasts, the same ones I used in this awesome raised garden bed video. One reason is they grab so hard that they, if your cuts are square, they pull the connection together so tightly that they square it up for you. It’s not perfect, but we’re talking 2x4s here.
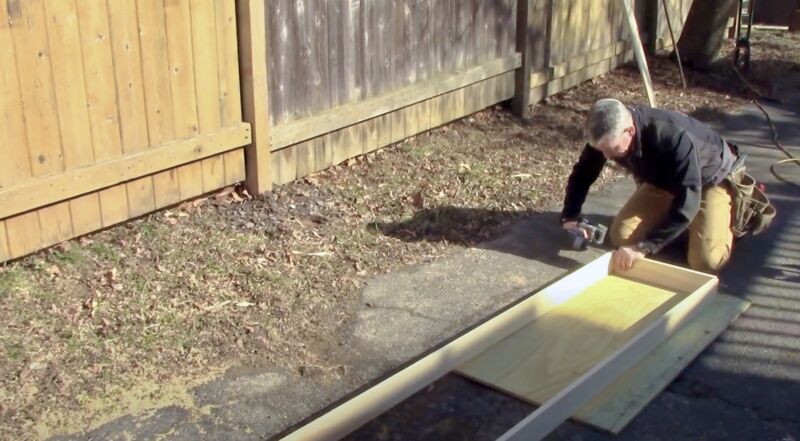
And since I built this on a jobsite, I put Tier 1 together on the flattest surface I could find. I like to start the screws, mate the pieces and blow it together.
How-To: Miter Saw Stand Tier 2
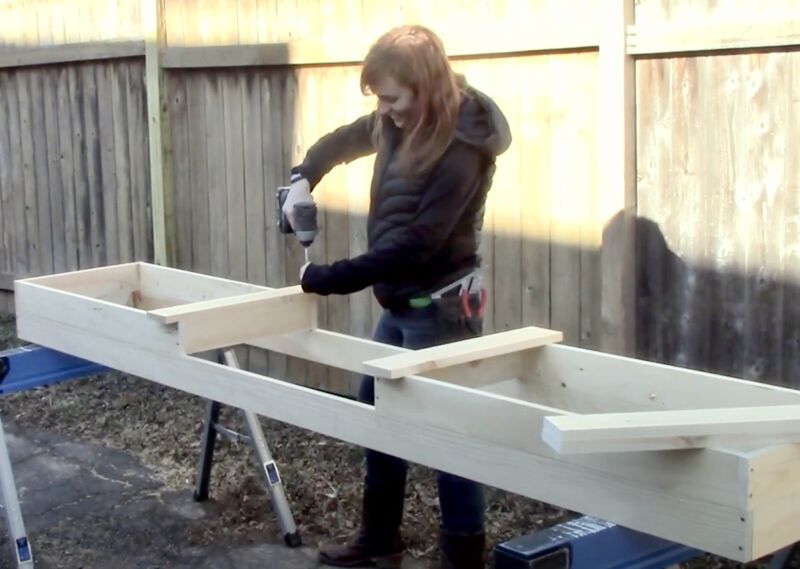
With Tier 1 assembled, I could get off my knees and onto horses (pop-up tool review, I love these Kobalt saw horse ponies) to assemble and install the rest.
And, I have a finish carpenter gene in me, so I shortened the struts and lengthened the ends to make a box joint look. I am literally the only person in human history who might care about this, but I do.
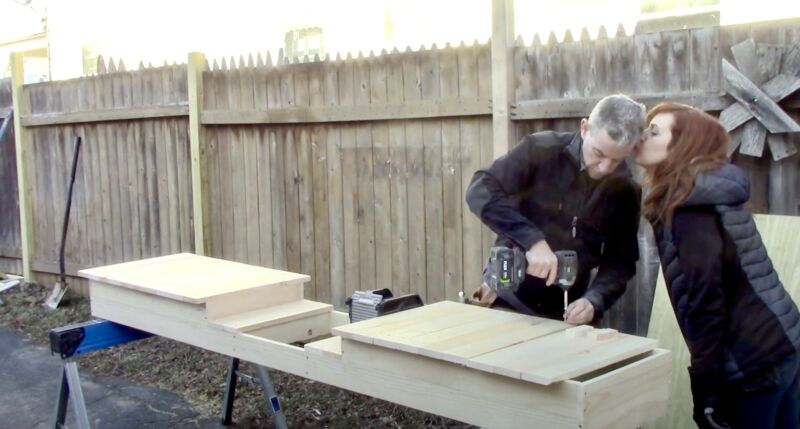
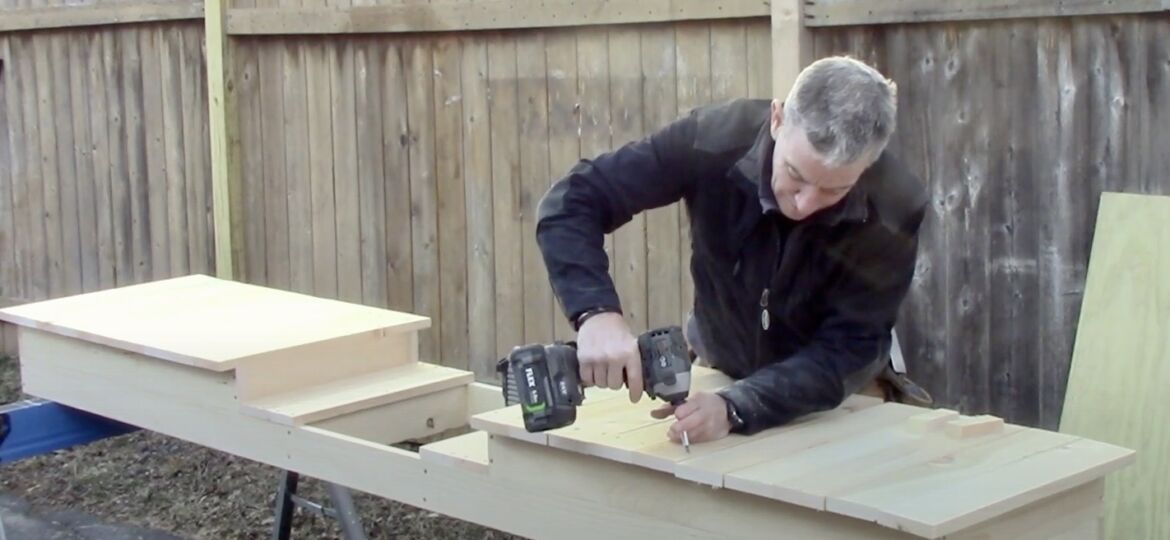
More practically, I assembled Tier 2 on top of Tier 1 and fastened them together with jobsite pocket screws.
My countersink/bit holder trick gains the day once again by giving me the reach I need to pre-drill at a low angle.
First, pilot the hole. Then blow some screws in there.
How-To: Saw Deck
Each side of Tier 2 is 32-inches long. This gives enough room to turn the saw in both directions without it bumping into Tier 2.
Next, I installed the 2x4s that support the saw. Two of them work to get under my Milwaukee 12-inch slide compound, which won our first annual March Madness Tool Tournament. (The 10-inch M18 is available on Amazon).
How-To: Table Surface
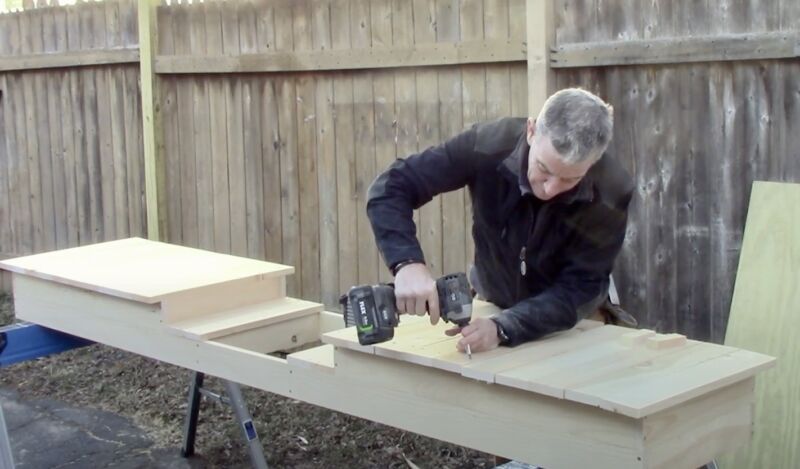
The table surface is 2x4s run across the struts. I wanted a 1½-inch overhang and to get that, I just used a scrap to gauge it.
I want the end of the miter saw stand to overhang Tier 2 by about 1½ inches. The way it works out in 2x4s is that the first piece needs to be a 1½ inch ripper. The rest are full 2×4.
Last Looks
Is it heavy? Yeah, kinda. But did it cost a dozen 2x4s, a little time, and increase my work capacity? Yeah baby! I could lighten it by decking it with strapping but I didn’t have any, so that’s for next time people of the goodship miter saw stand.
And for a home workshop or jobsite where it’ll sit for long periods, this miter saw stand is a Beast Mode work table for cheap money. What’s not to like?
