
In just an afternoon, here’s how to make a tiki torch with a pair of skis.
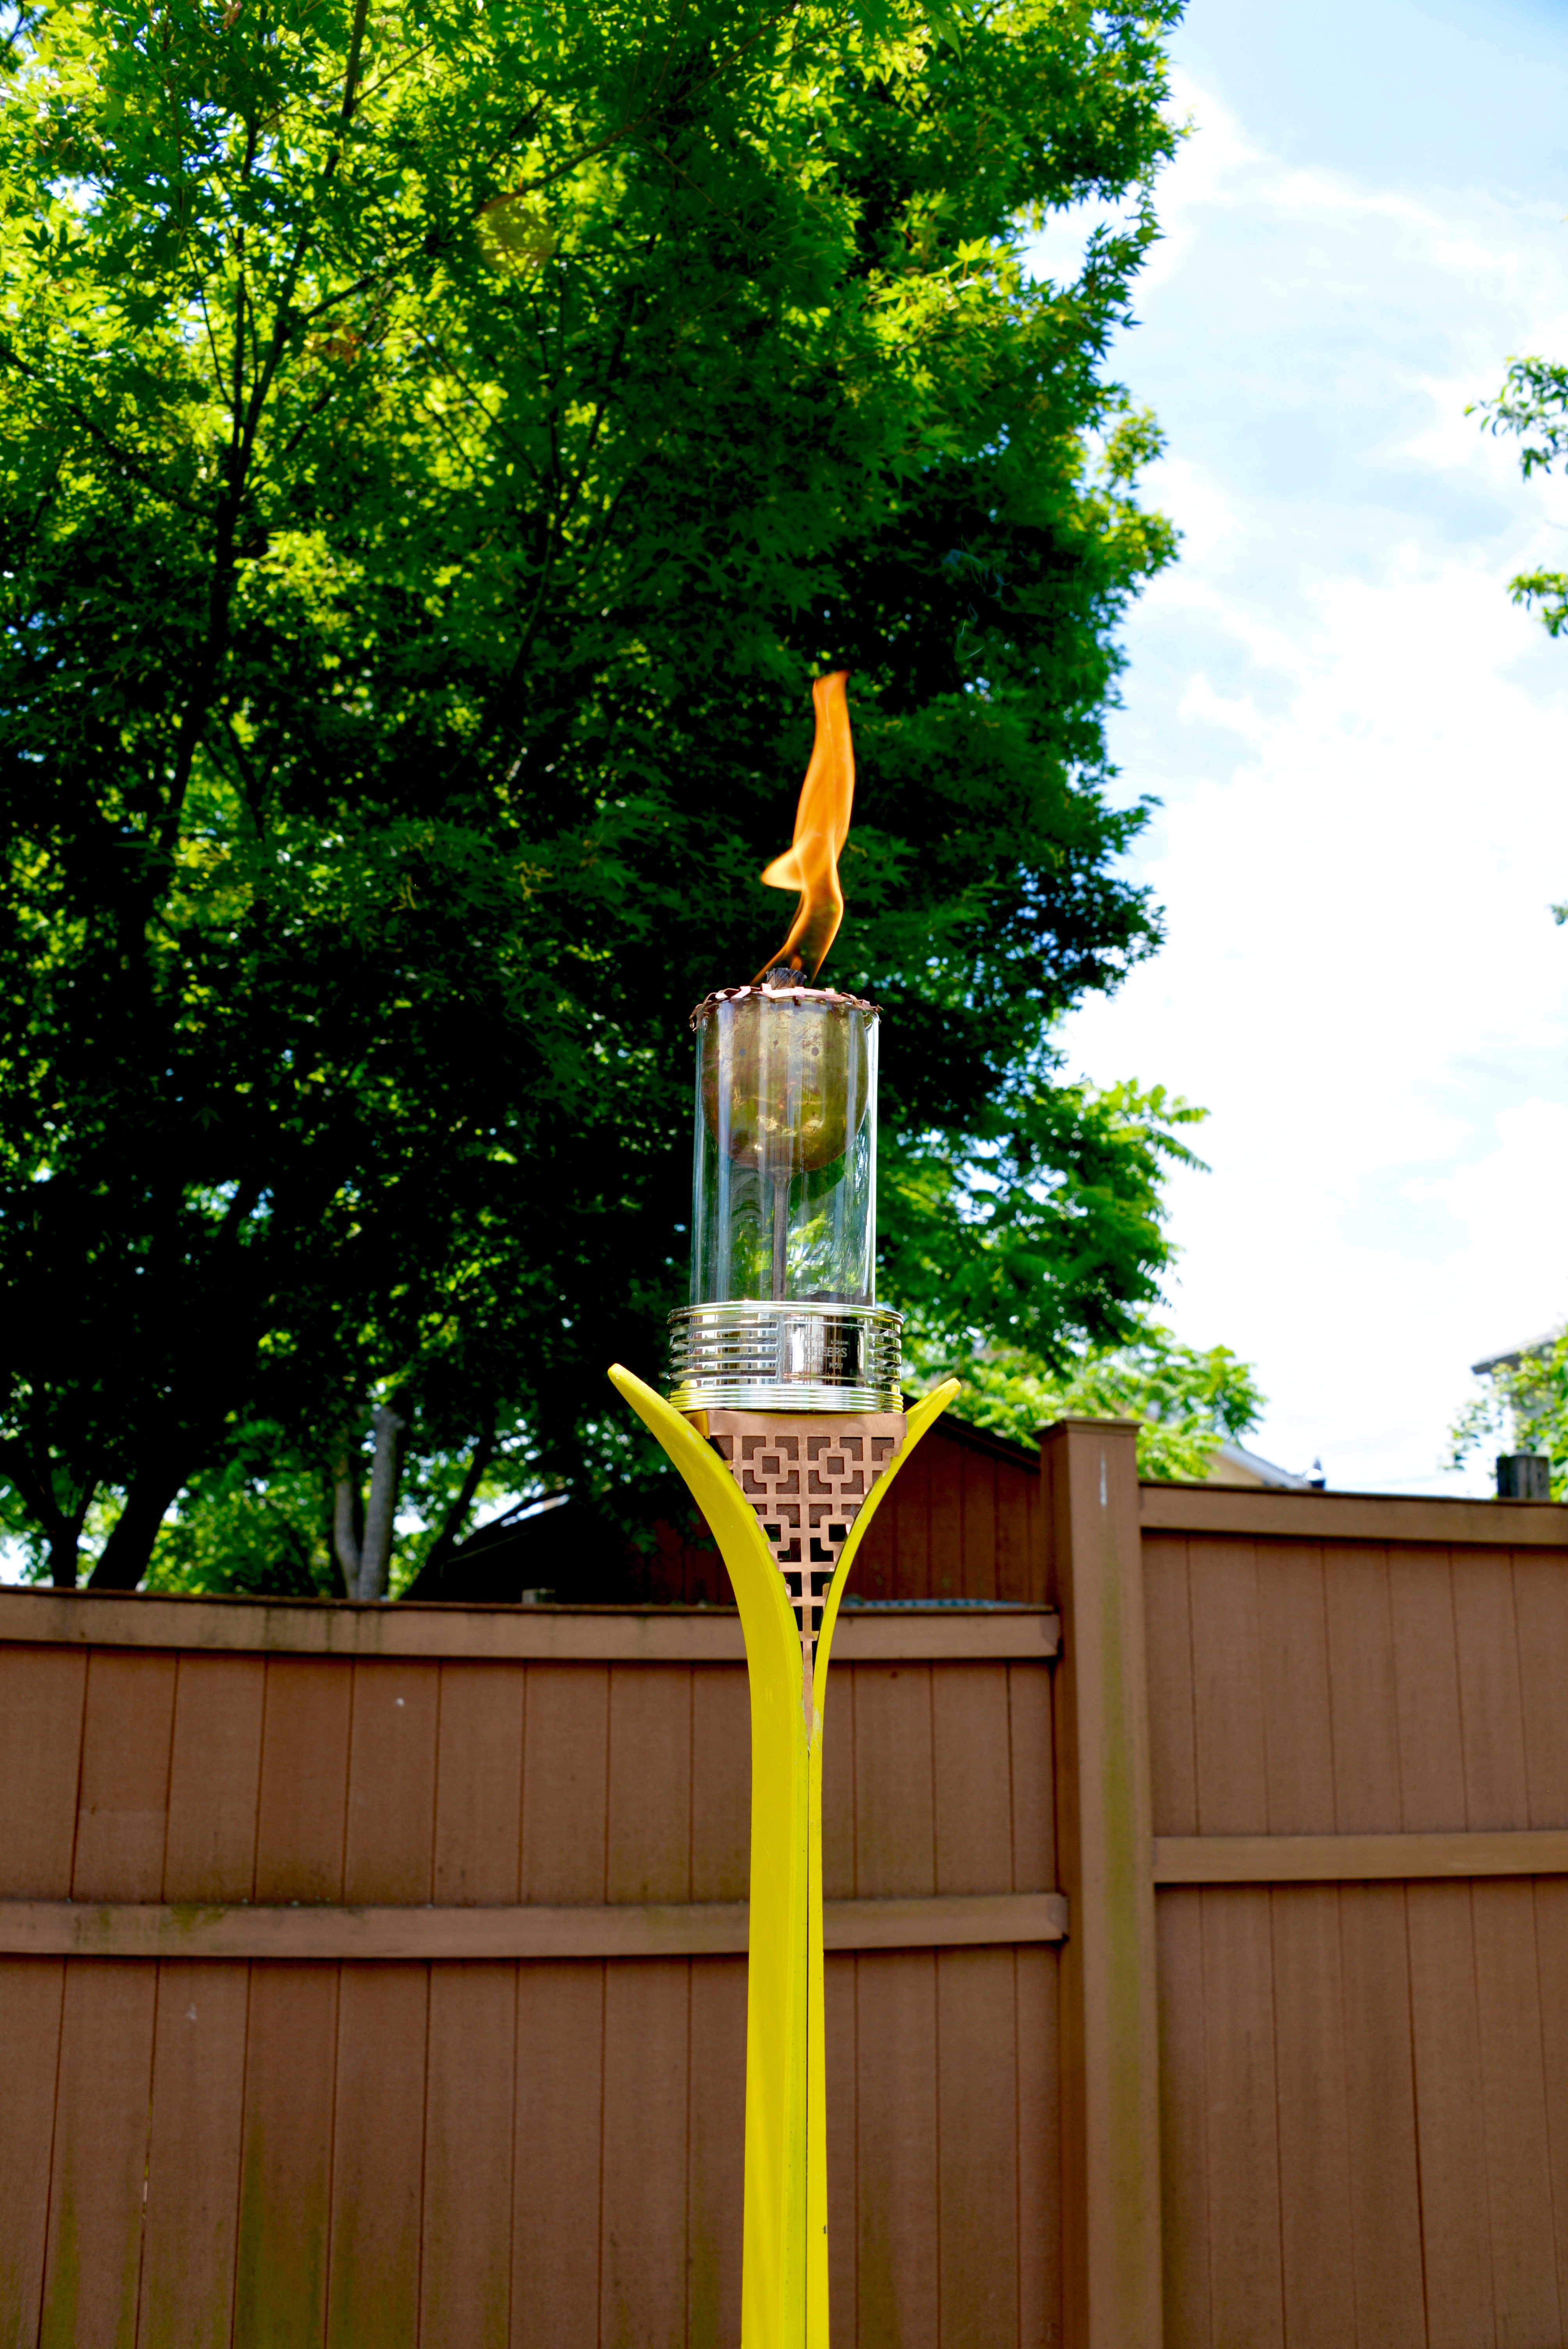
Mark and I were challenged by our friends at Krylon to make a tiki torch from something out-of-the-ordinary.
Using unusual materials in new ways is my favorite way to DIY, so I felt like a lucky duck ready to embark on a fun adventure. And we started our search for materials at Habitat for Humanity ReStore.
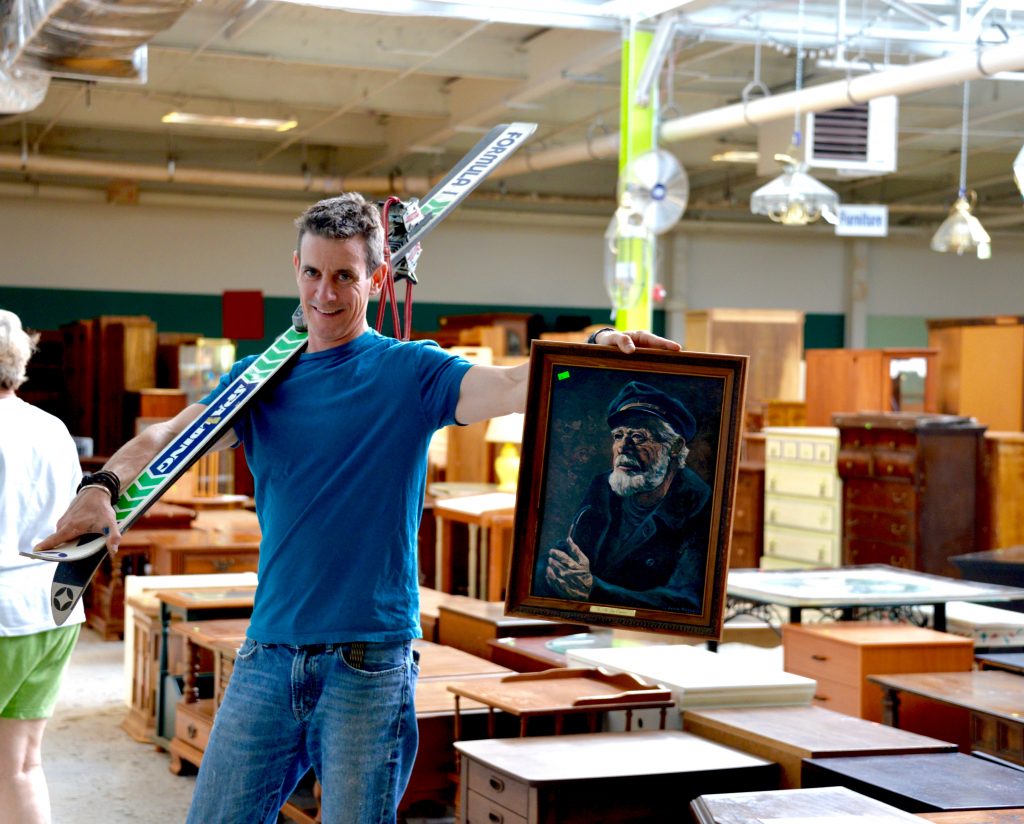
It was fun to scour the aisles looking for something to use as the stand. We were thinking about a newel post or a porch post or a shovel handle… something that was long, sturdy, and thin. And then I spotted the exercise equipment. At first the hockey sticks seemed promising, but then I saw the skis. Priced at just $1, the skis were an extremely affordable and fitting solution.
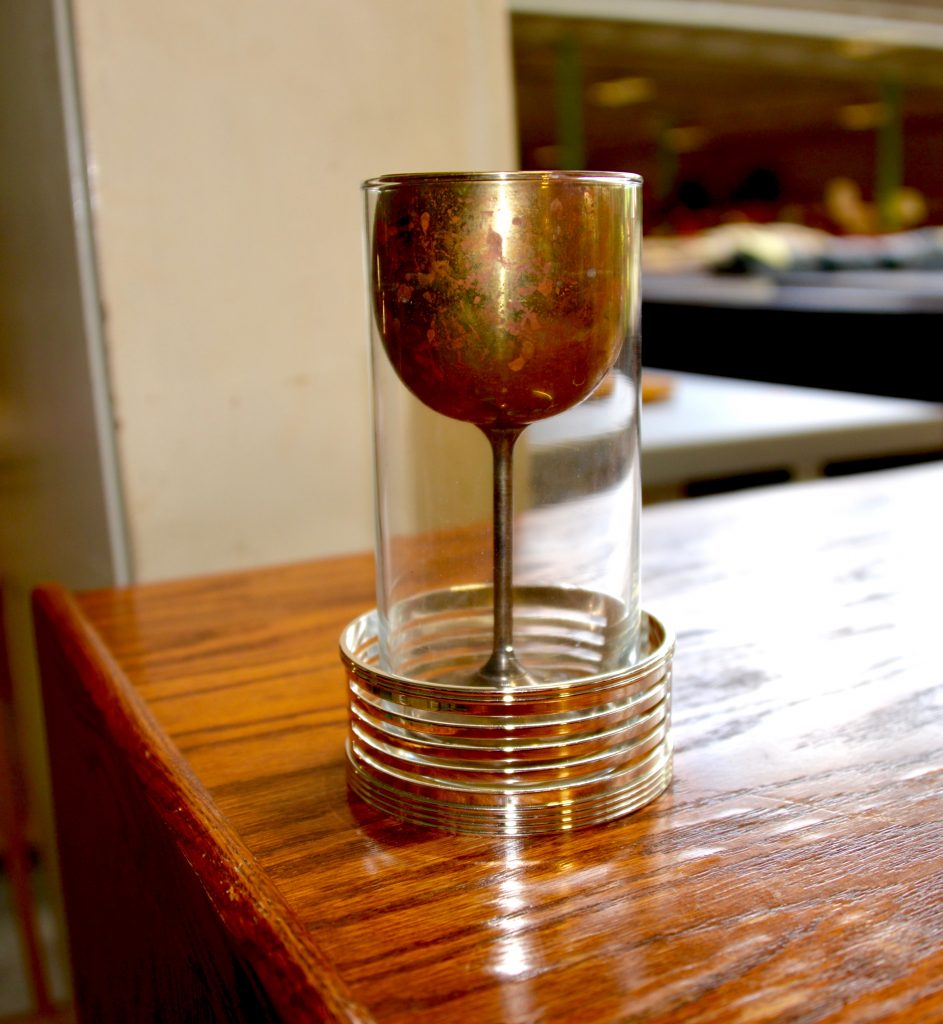
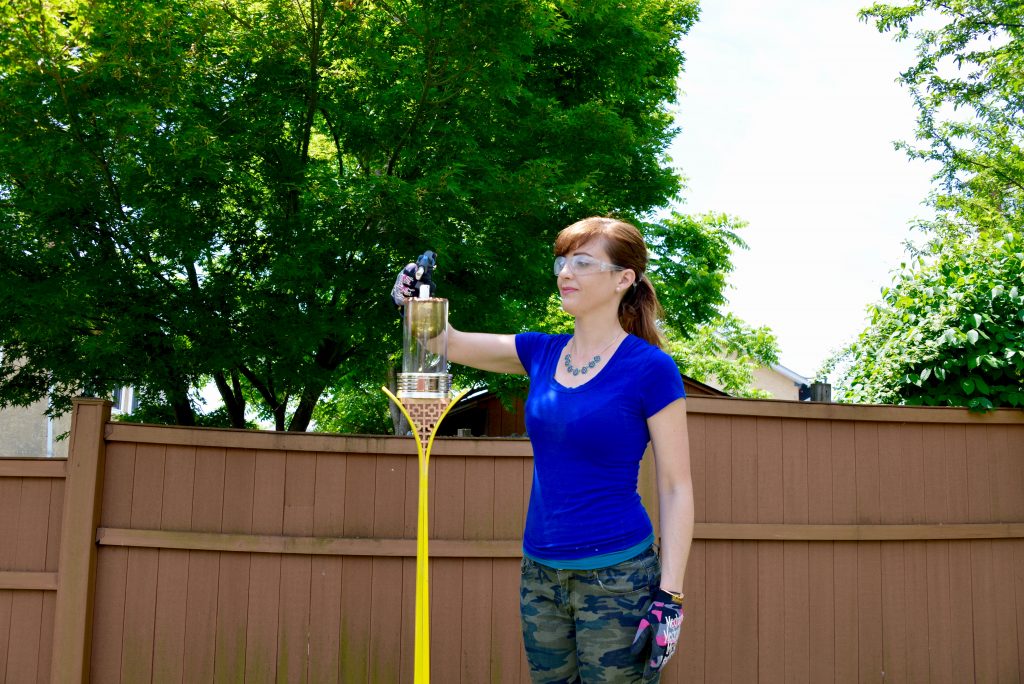
For the top part of the tiki torch, we needed materials that were made of metal or glass. The collection of kitchenware and household items had so many options. I decided on a coaster that has a metal side, a glass, and a metal chalice that fit perfectly inside the glass. Our supplies from Habitat ReStore were just $5.
For the pop of color, we went to our local Walmart to pick up Krylon’s SuperMaxx Gloss Yellow and Hammered Finish in Copper!
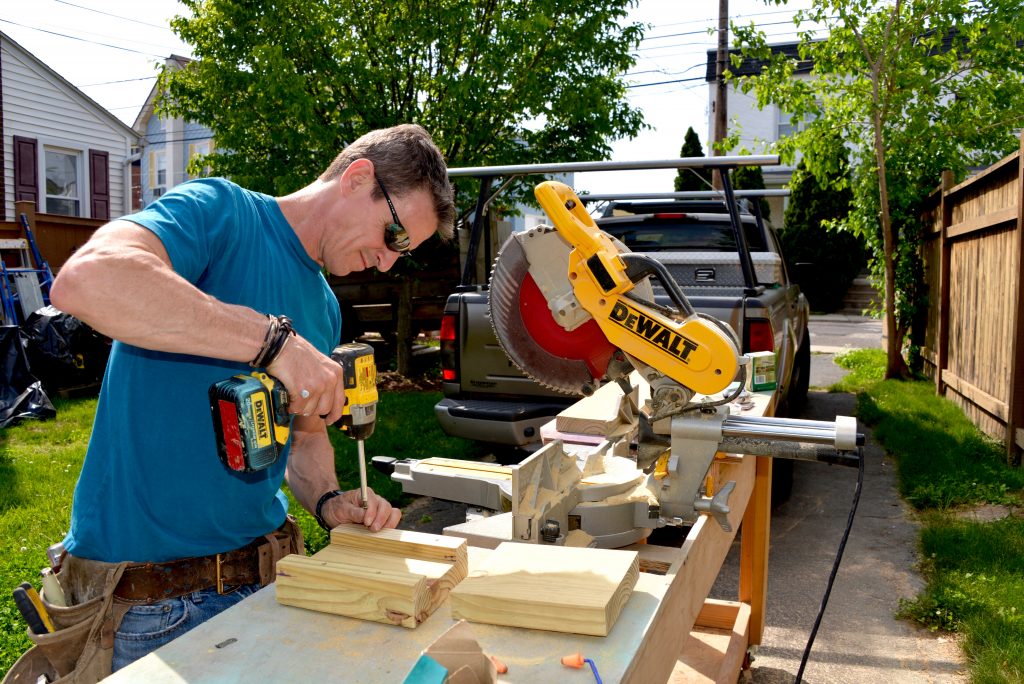
As soon as we get home, Mark starts building the base of the torch. The base is basically a wood box with a slit in the center, like a wood sleeve, so the skis can slide inside the slot and be supported vertically.
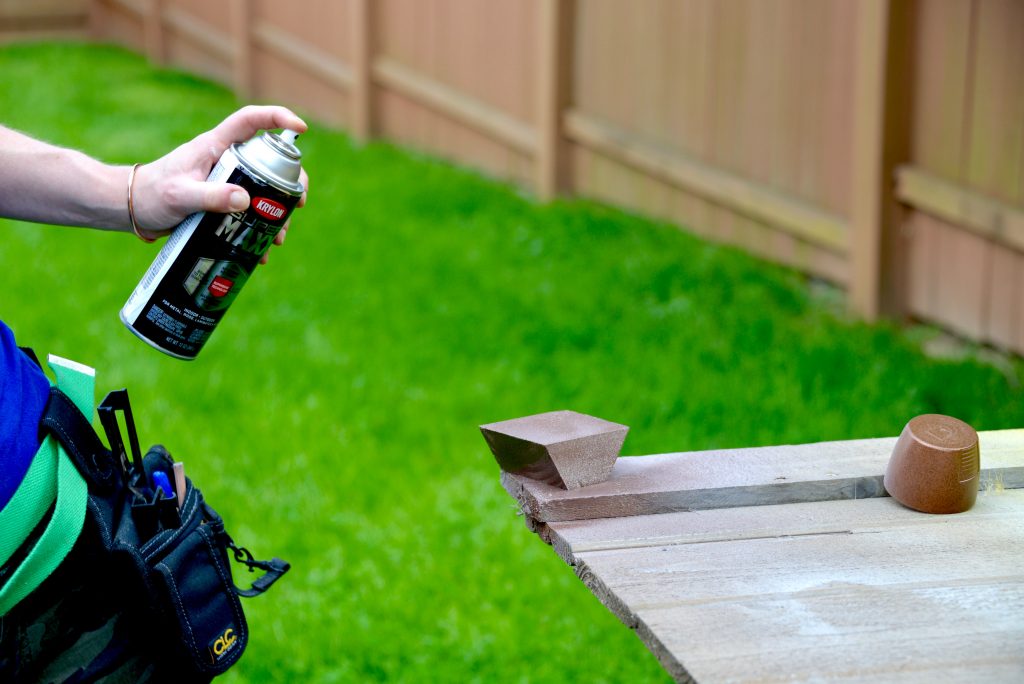
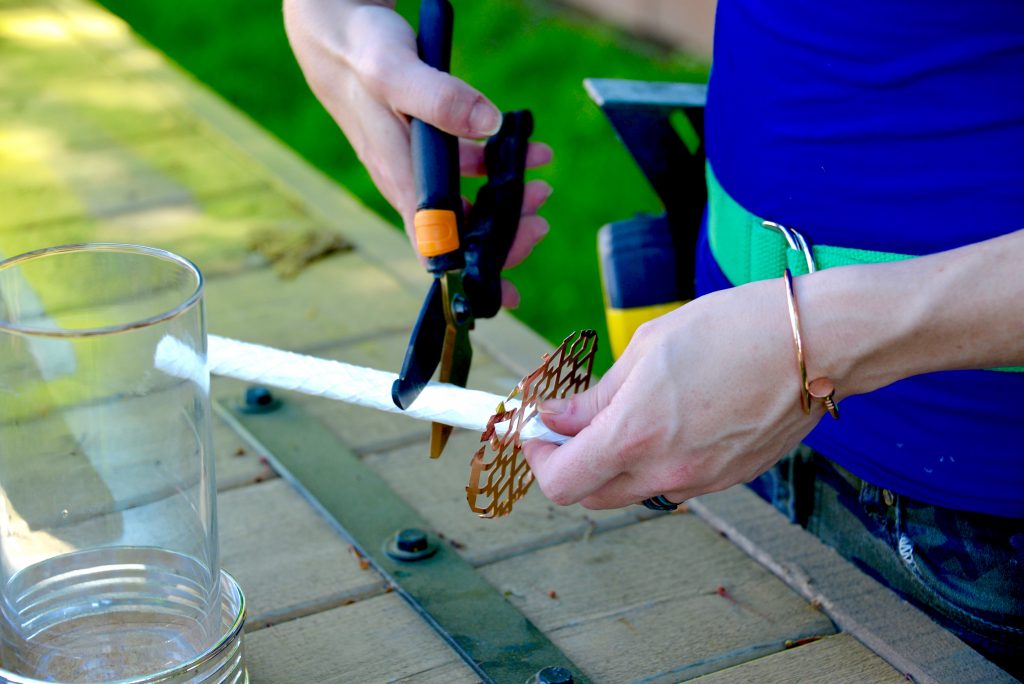
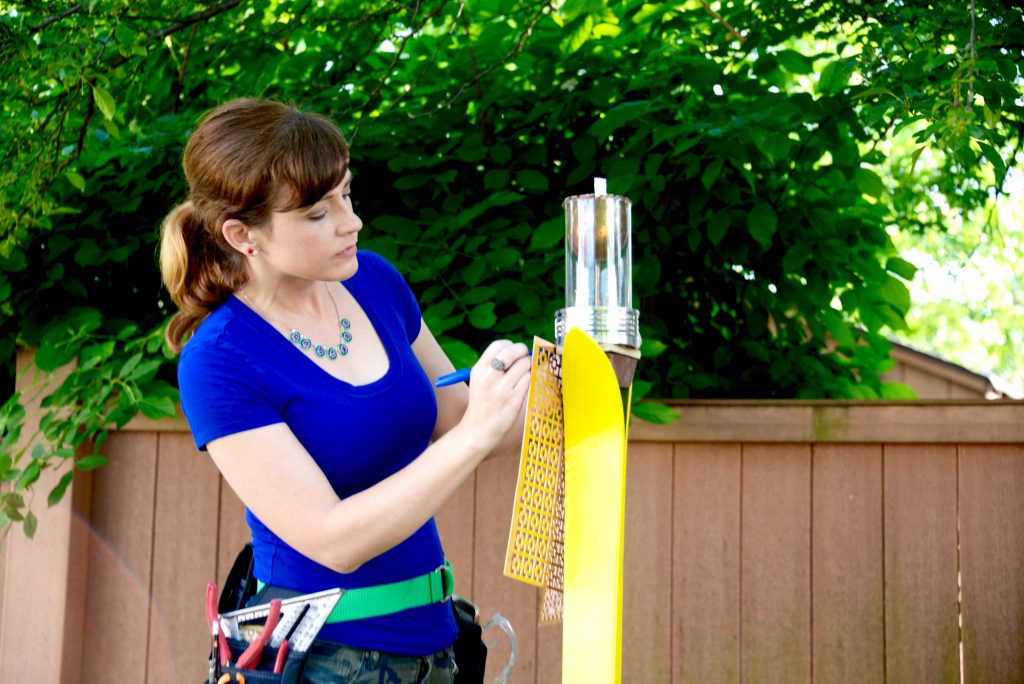
While we love the look of wood, we decided to use a metallic paint for the base. We spray painted the base with Krylon’s SuperMaxx Hammered Finish in Copper. We let the paint dry for 2 hours before handling. Once the paint was fully cured, we chose to wrap the painted base using a copper screen (we had a sheet leftover from another recent DIY) to add dimension and texture to the base.
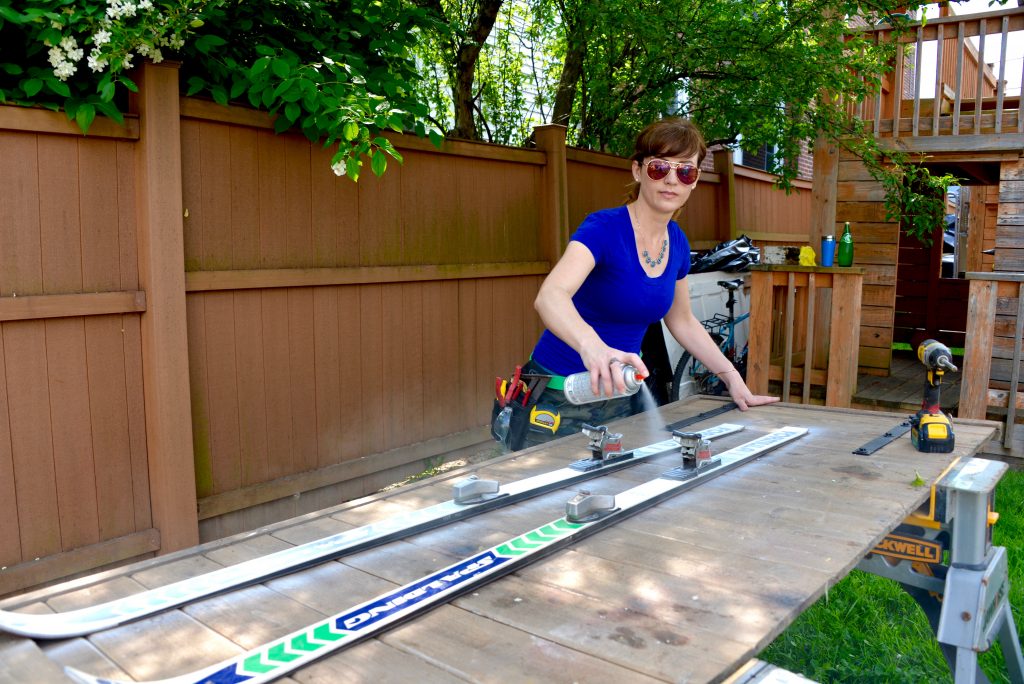
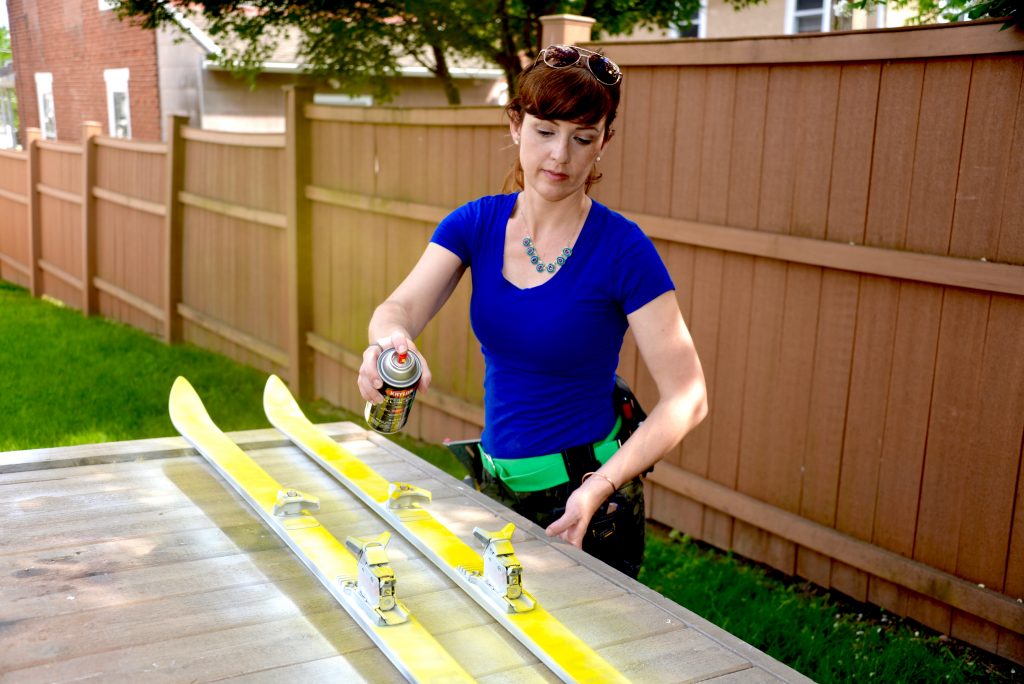
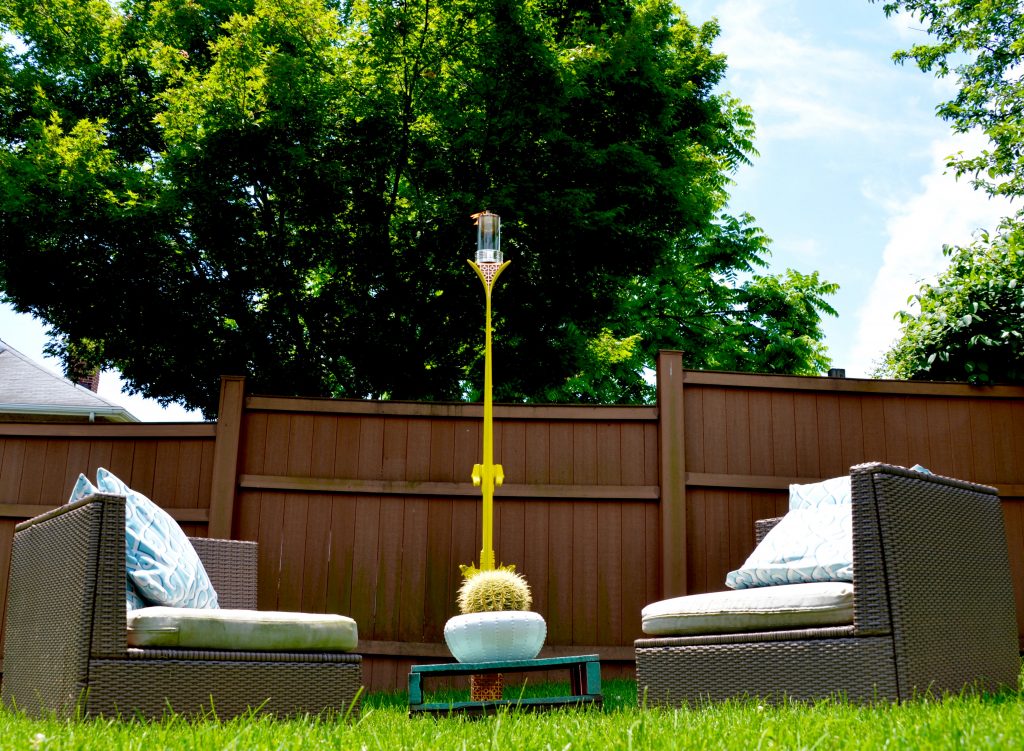
While Mark worked on the wood base, I start prepping and priming the skis that will become the tiki stand. We chose Krylon SuperMaxx Gloss Yellow for the skis. A bold cheery color that is absolutely perfect for summer. And it is the same color as another backyard decor, a ceiling-fan-turned-planter that I upcycled a few summers ago.
I’ve said this so many times before, but it’s just as true now. Krylon’s quick dry time is super essential to finishing projects like this tiki torch in just an afternoon. It dries to the touch in just 25 minutes!
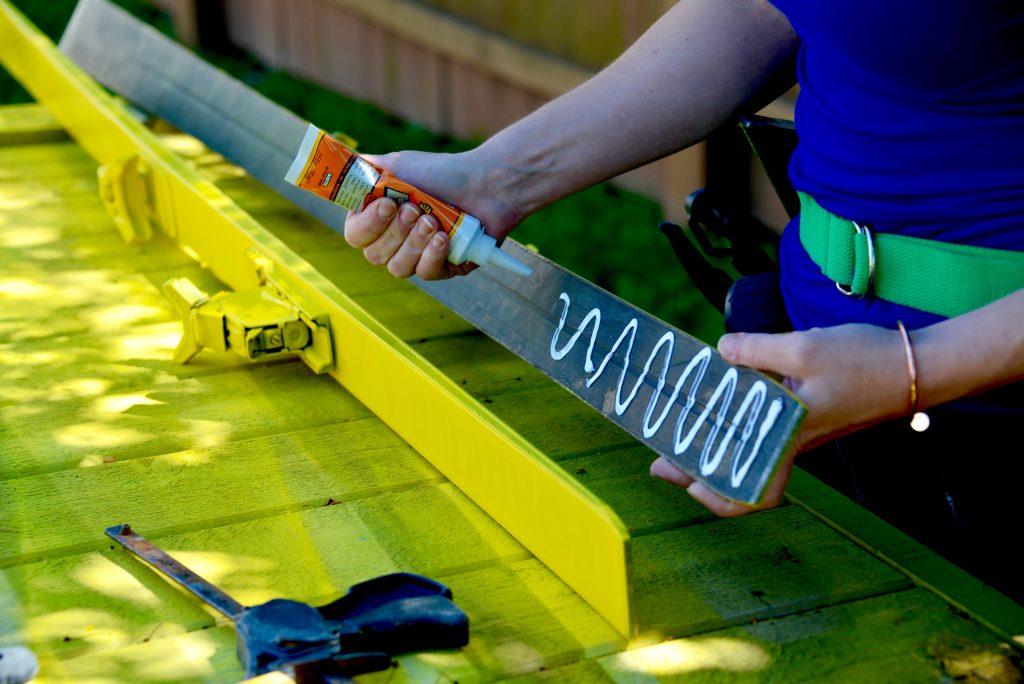
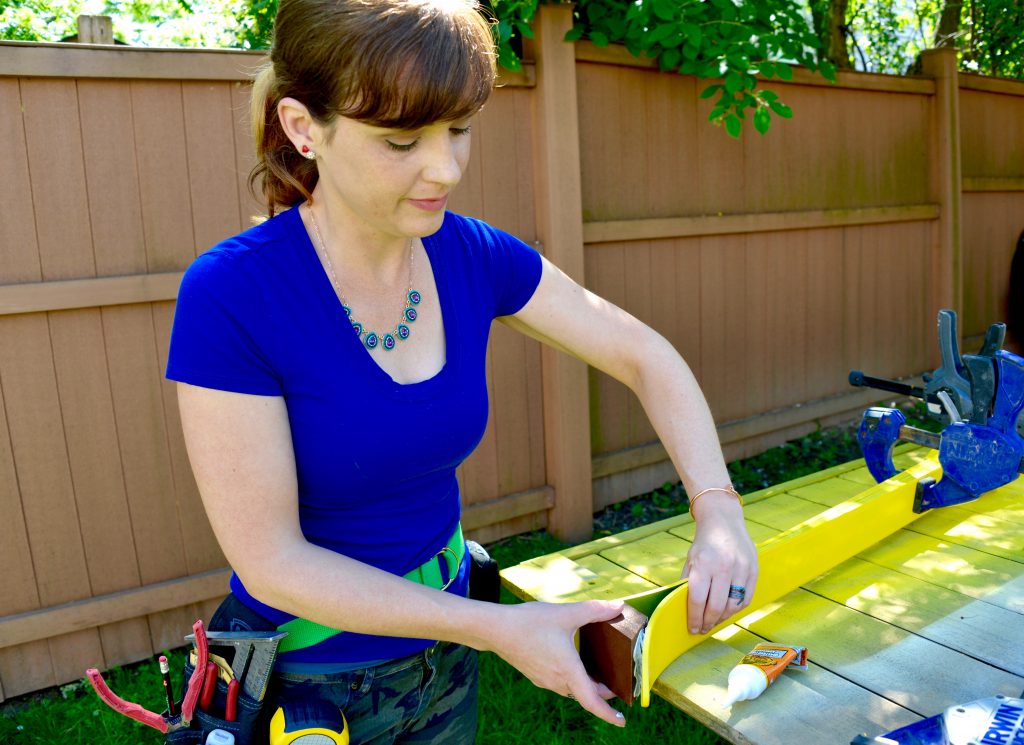
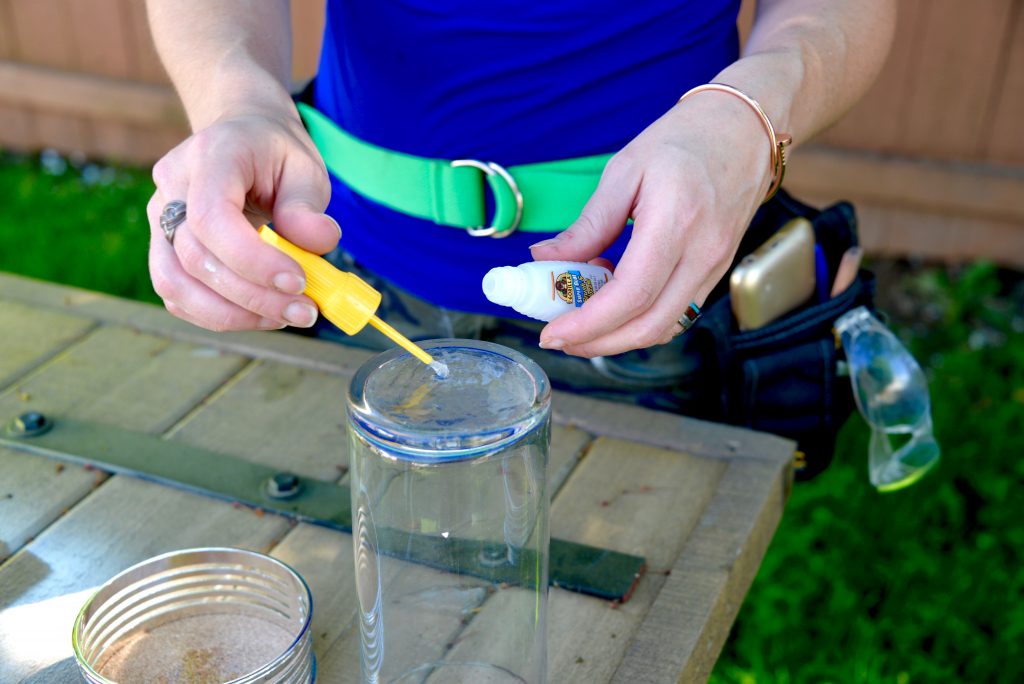
After the skis and the wood is dry, I glued everything together with construction adhesive. Just like Krylon, it sets up quickly and is a huge DIY time saver.
Making this summer yellow tiki torch from winter snow skis was a fun DIY afternoon with my husband.
Have you made a tiki torch or upcycled a pair of skis? We would love to know how to make a tiki torch your way, or other ski inspirations. Send us an email or tweet us right now.


Watch this video on YouTube












Krylons SuperMaxx paint quick dry time is super essential to finishing this in an afternoon
















[…] Mark and I were asked, by our friends at Krylon, to make a DIY tiki torch, I knew the first place we had to look was at our local Habitat for […]