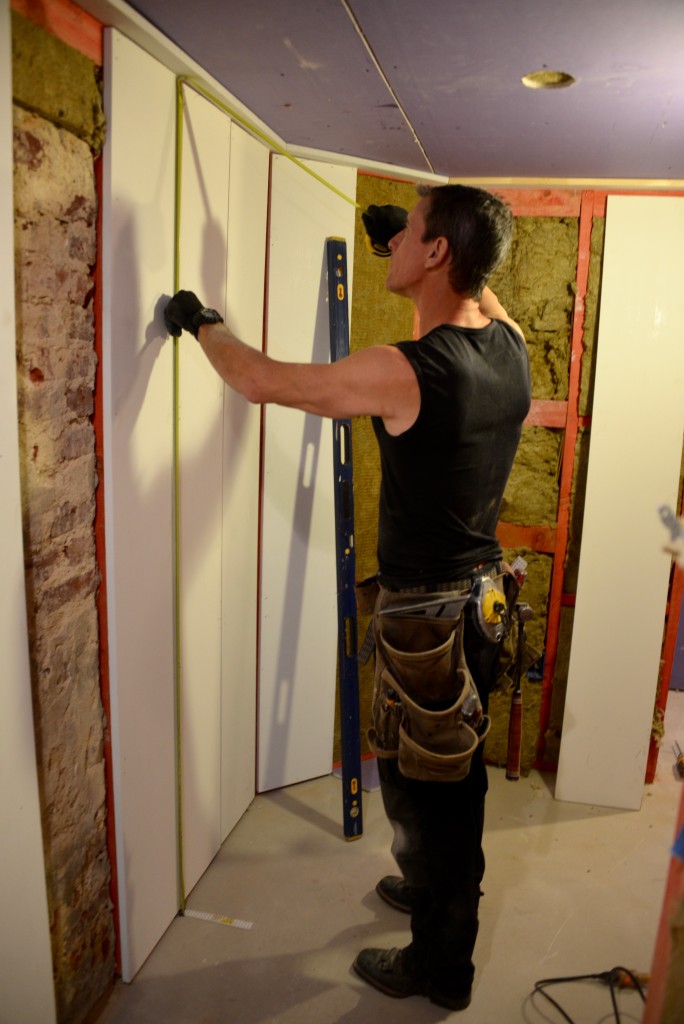
An important ‘how to remodel a basement mantra’ I remind myself of often: Framing is trim. Here’s what I mean by that.
The better the framing is, the easier and better the trim and drywall and showers and toilets and door openings and windows and everything else after it will be. Maybe I should rename this: How to remodel a basement in 10,000 easy steps.
Framing a basement—especially in an old house like this one—is like doing yoga in a rowboat.
In old houses, there are lot of obstacles. Foundation walls are a mess. There are pipes and ducts and electric junctions all over the place. Existing framing (like the floor joists above) are a disaster. So the best way to get a straight-walled, tightly trimmed living space is to frame carefully.
Tools.
Because nothing in an old house is usually conventional—or even well-built in the first place—I often find that slow is fast. Which means that while I nail gun studs when I can, I often switch to screws where things get complicated. Door and window openings are a good example. And I end up using my narrow crown stapler a lot, from fire blocking and vapor barrier right through to finished trim.
Layout and design.
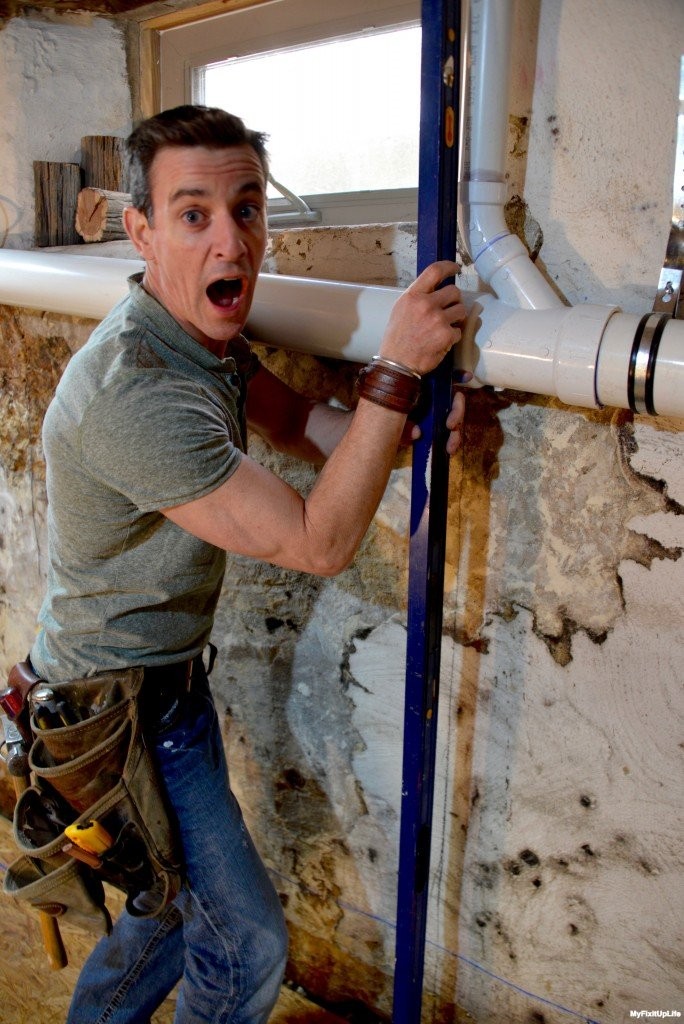
A how to remodel a basement trick often necessary in older homes is to celebrate their screwed-upness. A great example of this trick—which turned into a finish design I love—was to use the existing plumbing to create a ‘benched’ wall.
It’s easy to assume this is easy, but it’s not. There are a lot of ways to get it wrong, everything from building walls out of plumb to making bad connections that haunt you later.
Another thing to think about is the ole ‘I’ll turn the studs sideways’ trick to buy a few more inches of room. This works and I do it all the time. Laying them out to be 16-inches on center is easy too. But think about insulation. If the actual space between studs isn’t the typical 14 1/2-inches, so the insulation will have to be altered.
Another trick I use for laying out walls and plumbing, is to make templates from plywood, which I get into in this blog.
Blocking.
Blocks between wall studs can be a great way to stiffen walls, especially if you frame them ‘flat’ as I describe above. It’s also critical if you do vertical trim, like we did on this project. I like to have a block every 2-fteet or so for solid nailing.
While doing DIY is awesome, if you go into it thinking renovating a basement in an old house isn’t daunting and fraught with obstacles, you’re in for some longer than normal, profanity rich days.


THIS is a perfect example of why framing carefully—and with as much forethought as possible—matters. When you’re layout control point is a pipe hub and every inch matters or the shower won’t fit, it’s important to think through the implications. And yes, it can be maddening.


