Creating this meditation space required the perfect paint color and intentional object placement. Here’s how to make this meditation space that inspires and soothes.

Why make a meditation space?
It’s a busy modern life at my home, where there is always somewhere to go, something to clean, and some kind of a deadline to meet. Oh, and the reminders, alarms, and random acts of sickness and surprises are constantly flurrying around, too.
So I start every day with my morning yoga vinyasa. When the weather is pleasant, I’ll take my yoga mat or yoga paws outside, but during the winter months, I never seem to have a consistent spot. Our home is like a DIY laboratory; we always have a project or 10 going on in multiple rooms of our home. So I’ve been a yoga nomad for many years. Until now.
The push to make the meditation space now.
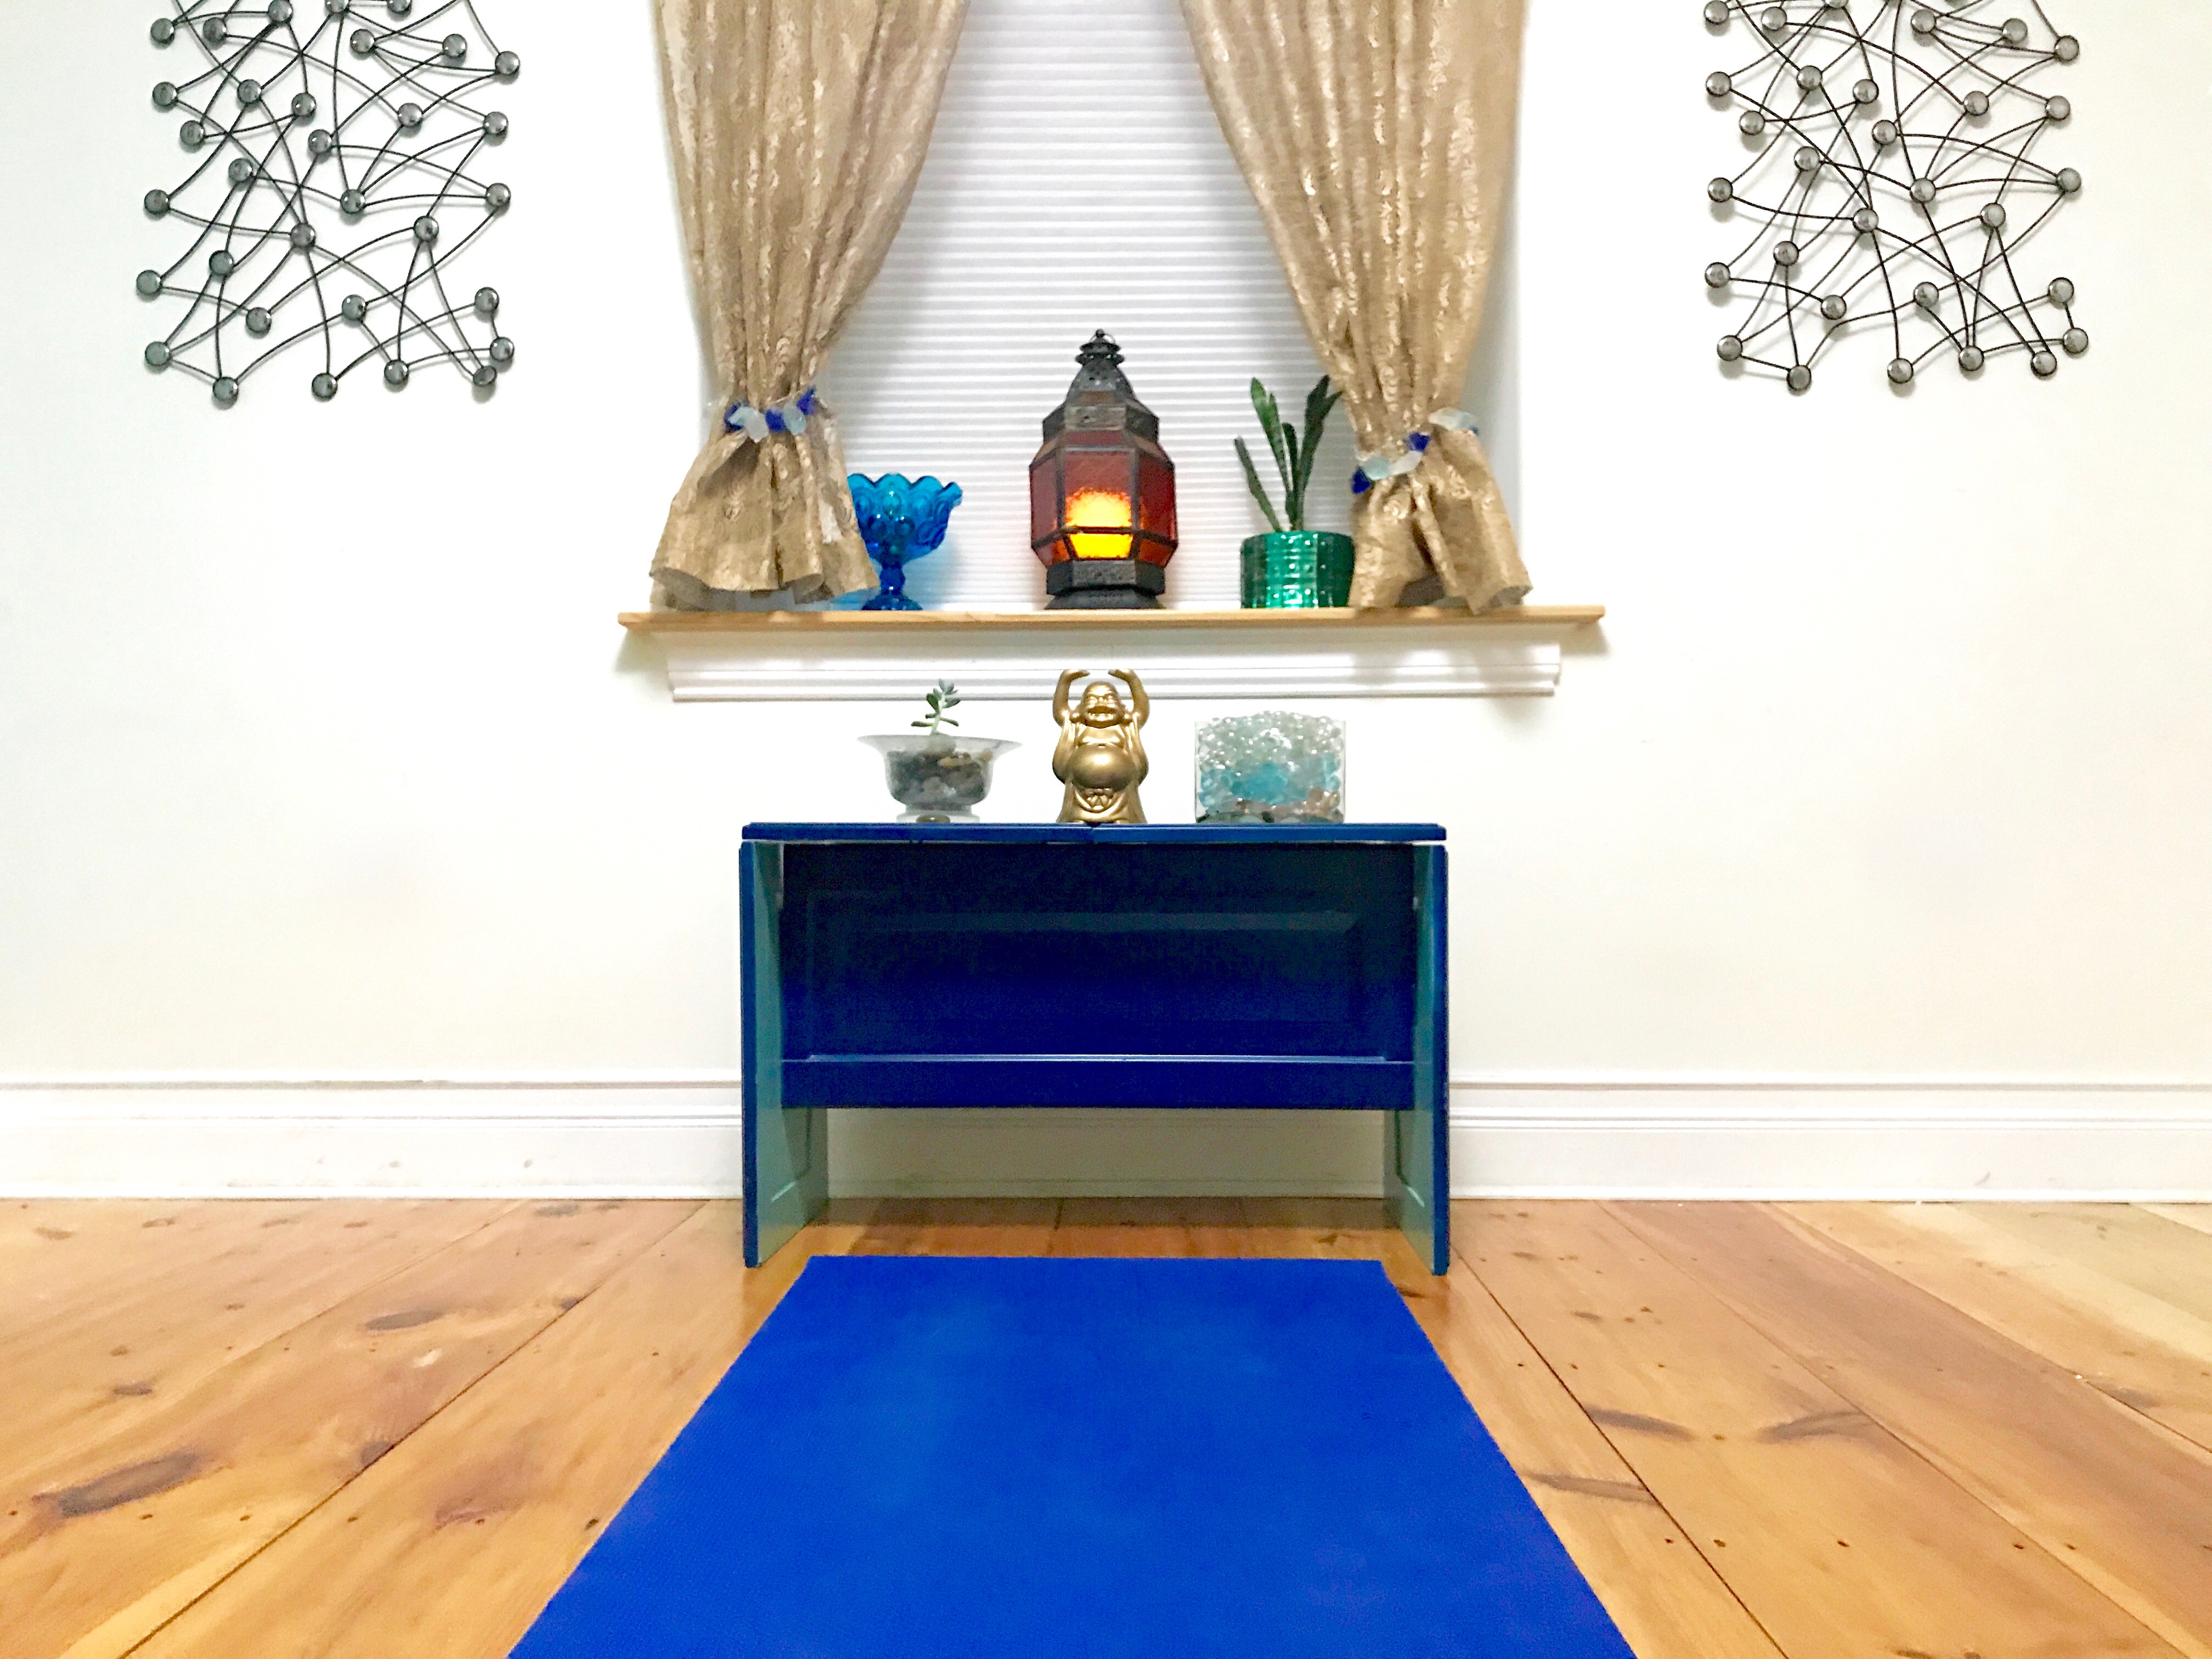
When our friends at Krylon® Brand asked if there was something we could create to help a New Year’s resolution, I was psyched to have the outside push to make a meditation space in my home. A permanent mini-retreat that I could gather inspirational objects, and share the spot with my husband, who has committed to a 5-minute meditation break each day, too.
In my mind, we needed a bench or short shelf, some rich color mixed with brighter hues and some shine. For a meditation space to feel grounded to me, I wanted to include plants, candlelight, and scent to create a total sensory experience.
How do I repurpose to create designs?
As an addicted repurposer, I wanted to reuse objects to create this space. Not only does using items with depth of history and potential energy from past uses give a greater connection to the world around me, it also allows me to play the ‘what if’ game. It’s when I think about the potential of objects, and wonder what if I painted it this color, and turned it upside-down, or what if I took it apart and put it back together using parts from this other object. While this could be endlessly frustrating to some, like my husband Mark who wants a clear mission and an achievable mapped-out goal, it’s fun to the artist part of me.
Here’s the How-to
The first step in creating the meditation space is creating the bench/shelf. After looking around Pinterest for inspiration, I decided to use a collection of cabinet doors that I found at Habitat for Humanity ReStore for less than $20.
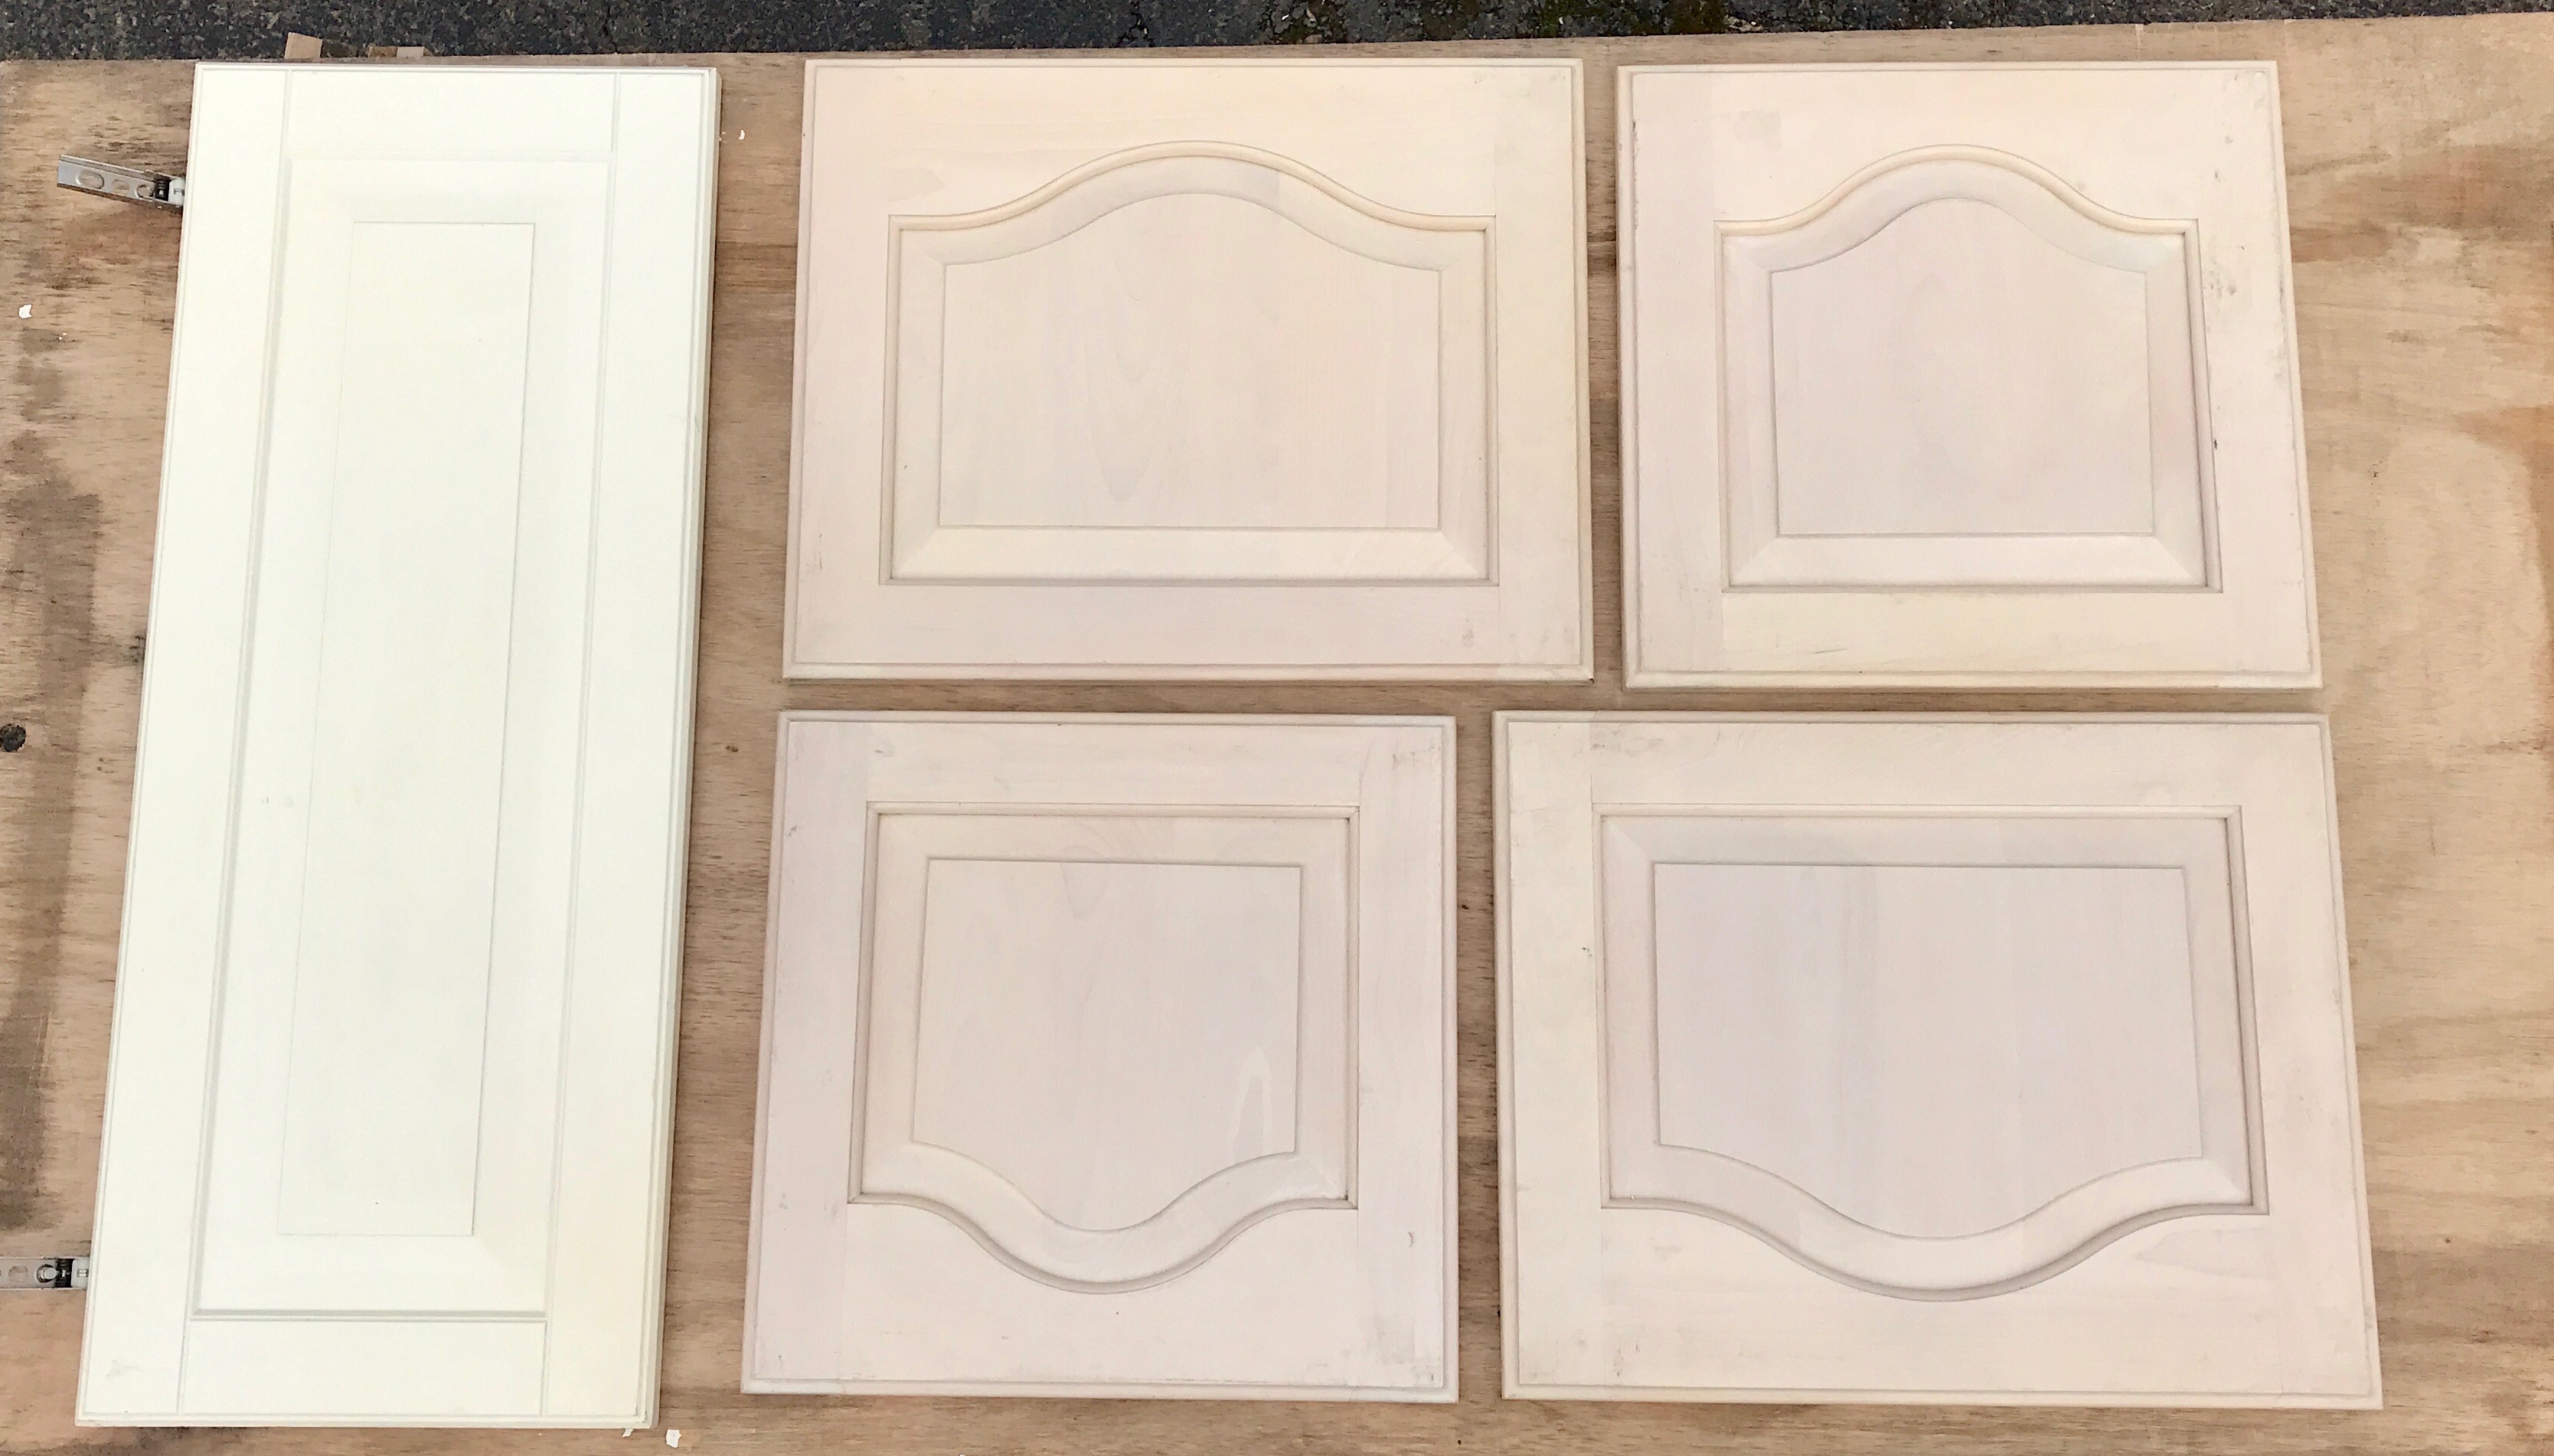
The cabinet doors were neutral in color, so they needed a spray paint makeover to create the calm zen-experience I envisioned. I chose two Krylon colors: Satin Jade and Satin Oxford Blue. I also chose a Krylon white primer to prep the surfaces, and I used Krylon Brilliant Gold for those elements of shine I wanted to include. Krylon® ColorMaster® Paint + Primer – 25% More is available at Walmart.
Now that I have the cabinet doors and paint gathered, it’s time to prime the cabinet doors.
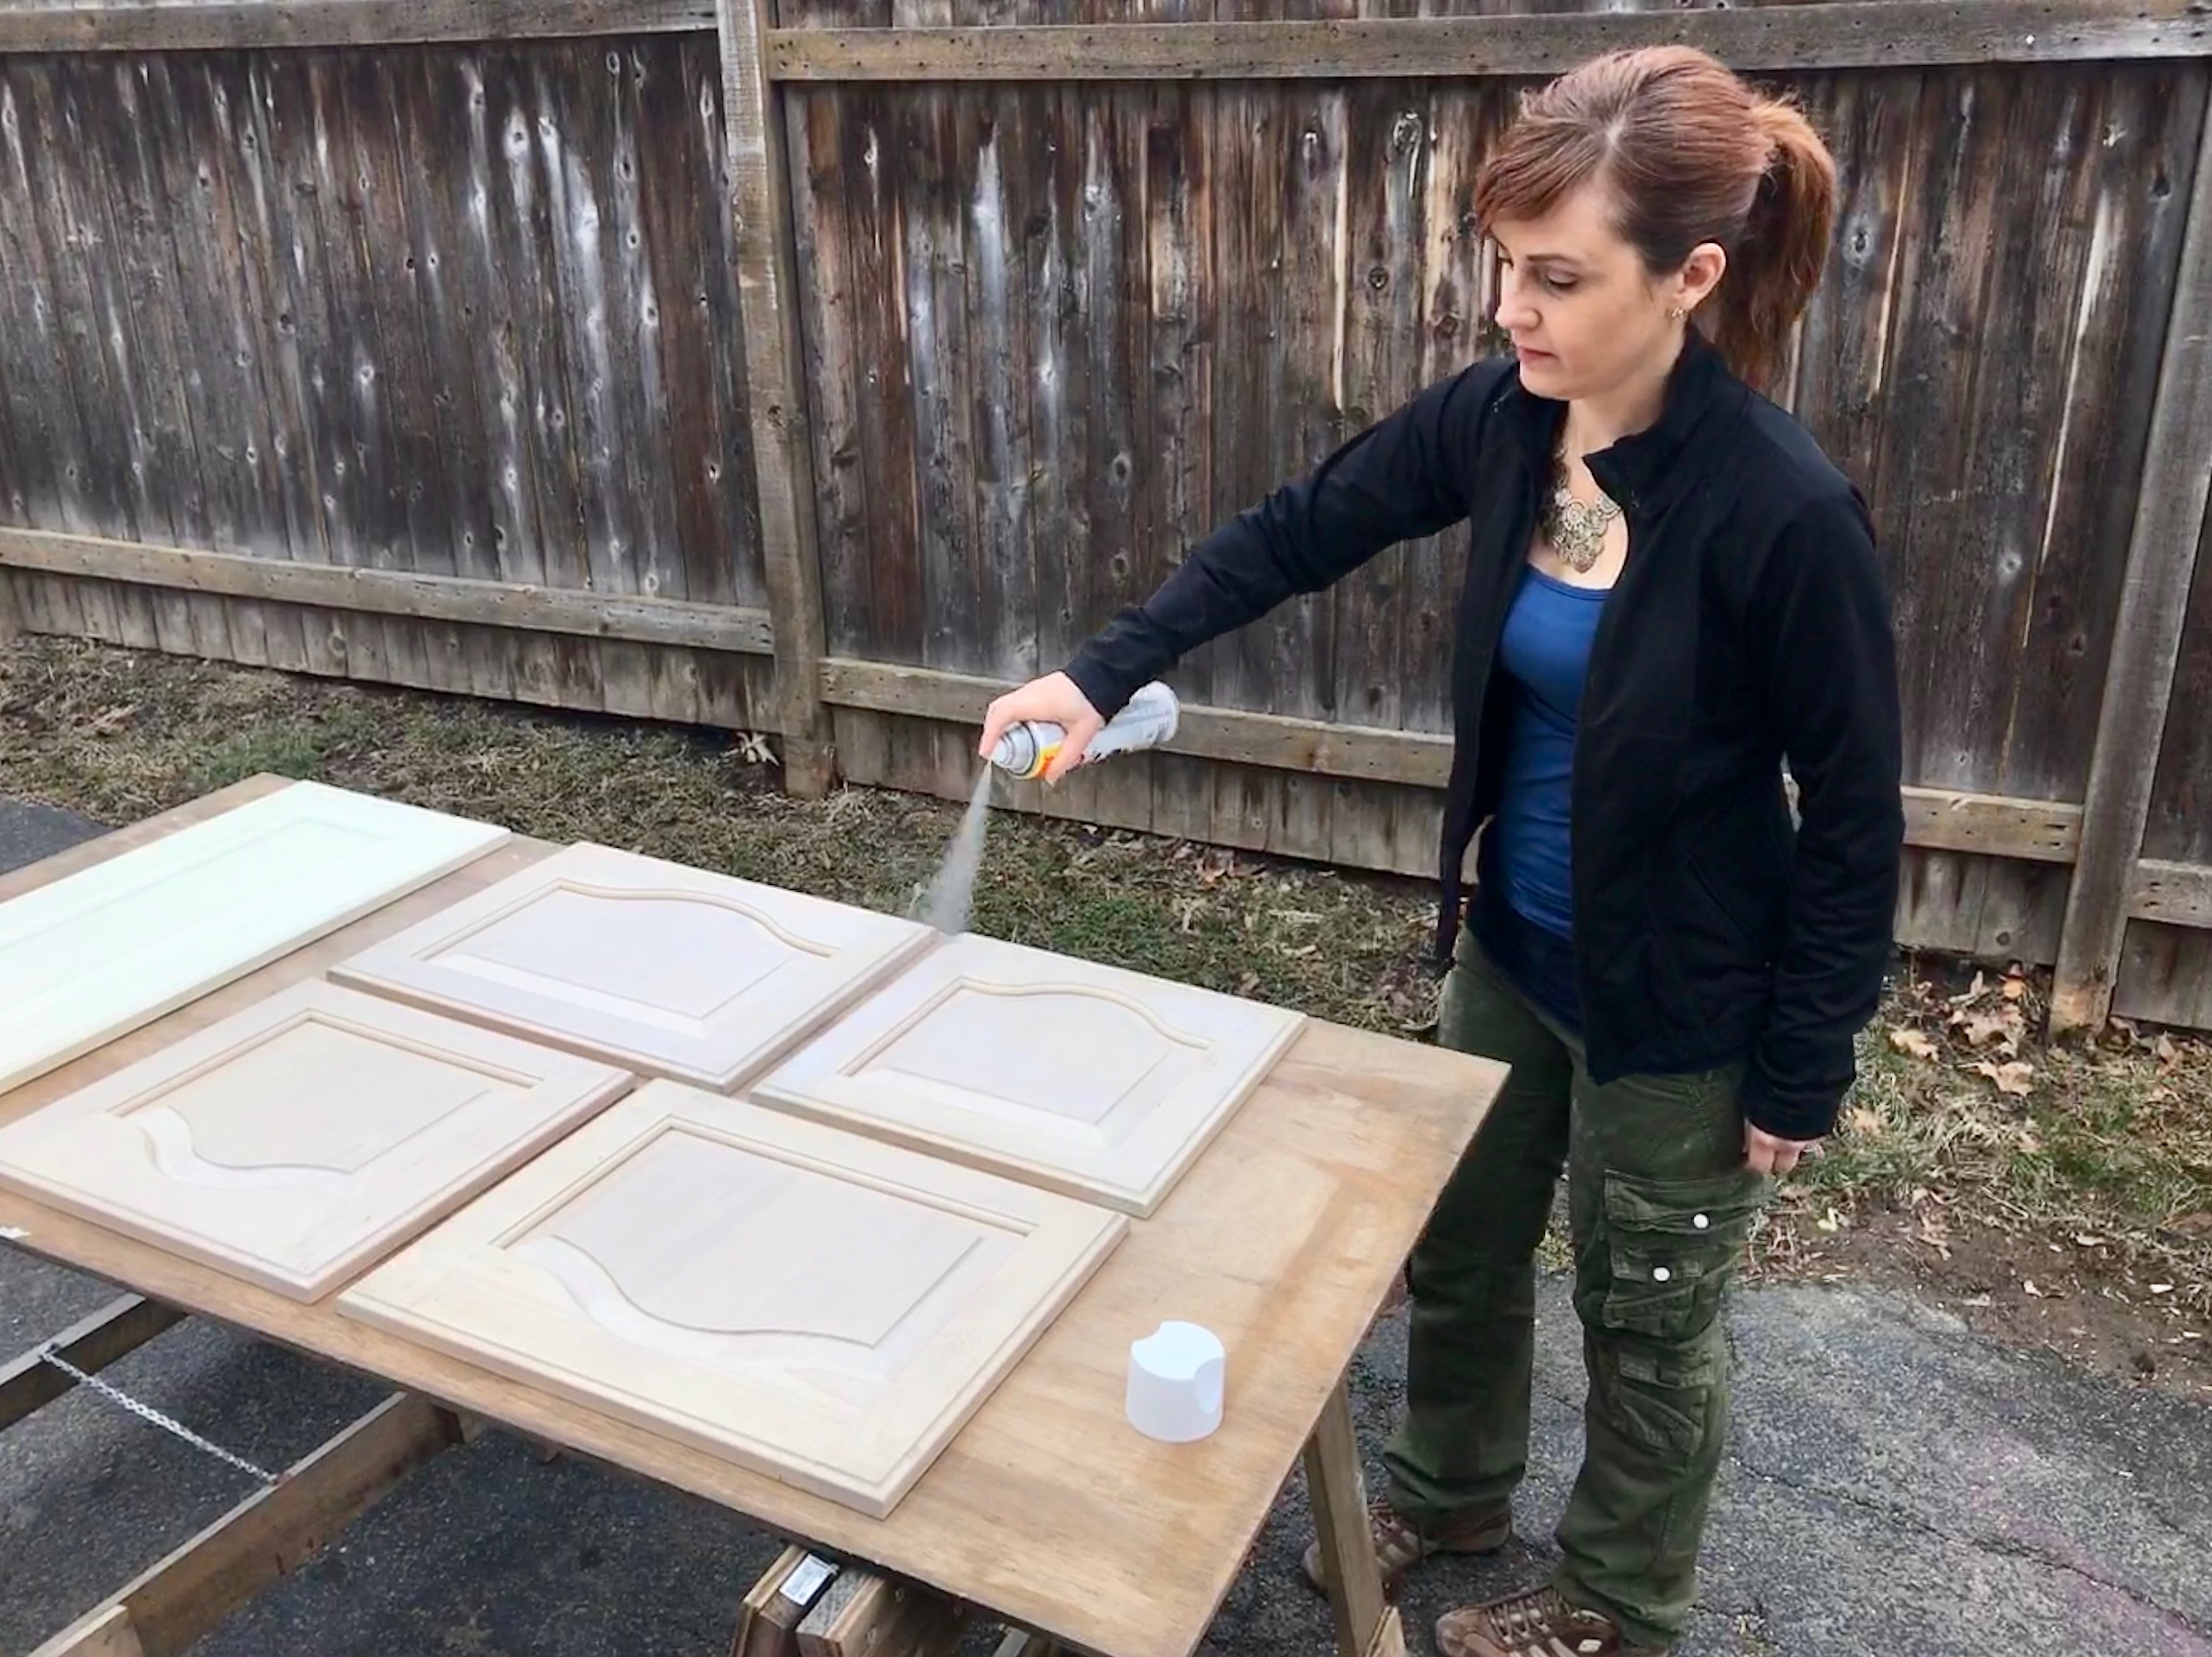


Before painting, I made sure to read the safety and application instructions on the can. After applying two coats, I waited for the primer to dry on one side, then I turned the doors over and primed the other side. I ended up using half of a can of primer.
My plan is to paint the back of the doors in Satin Jade and use the more saturated Satin Oxford Blue for the fronts. Even though it’s going to be a low bench, we plan to be on the floor when we are using it, so we’ll get to see the pop of the brighter cheery Jade when we settle in to a meditative practice.
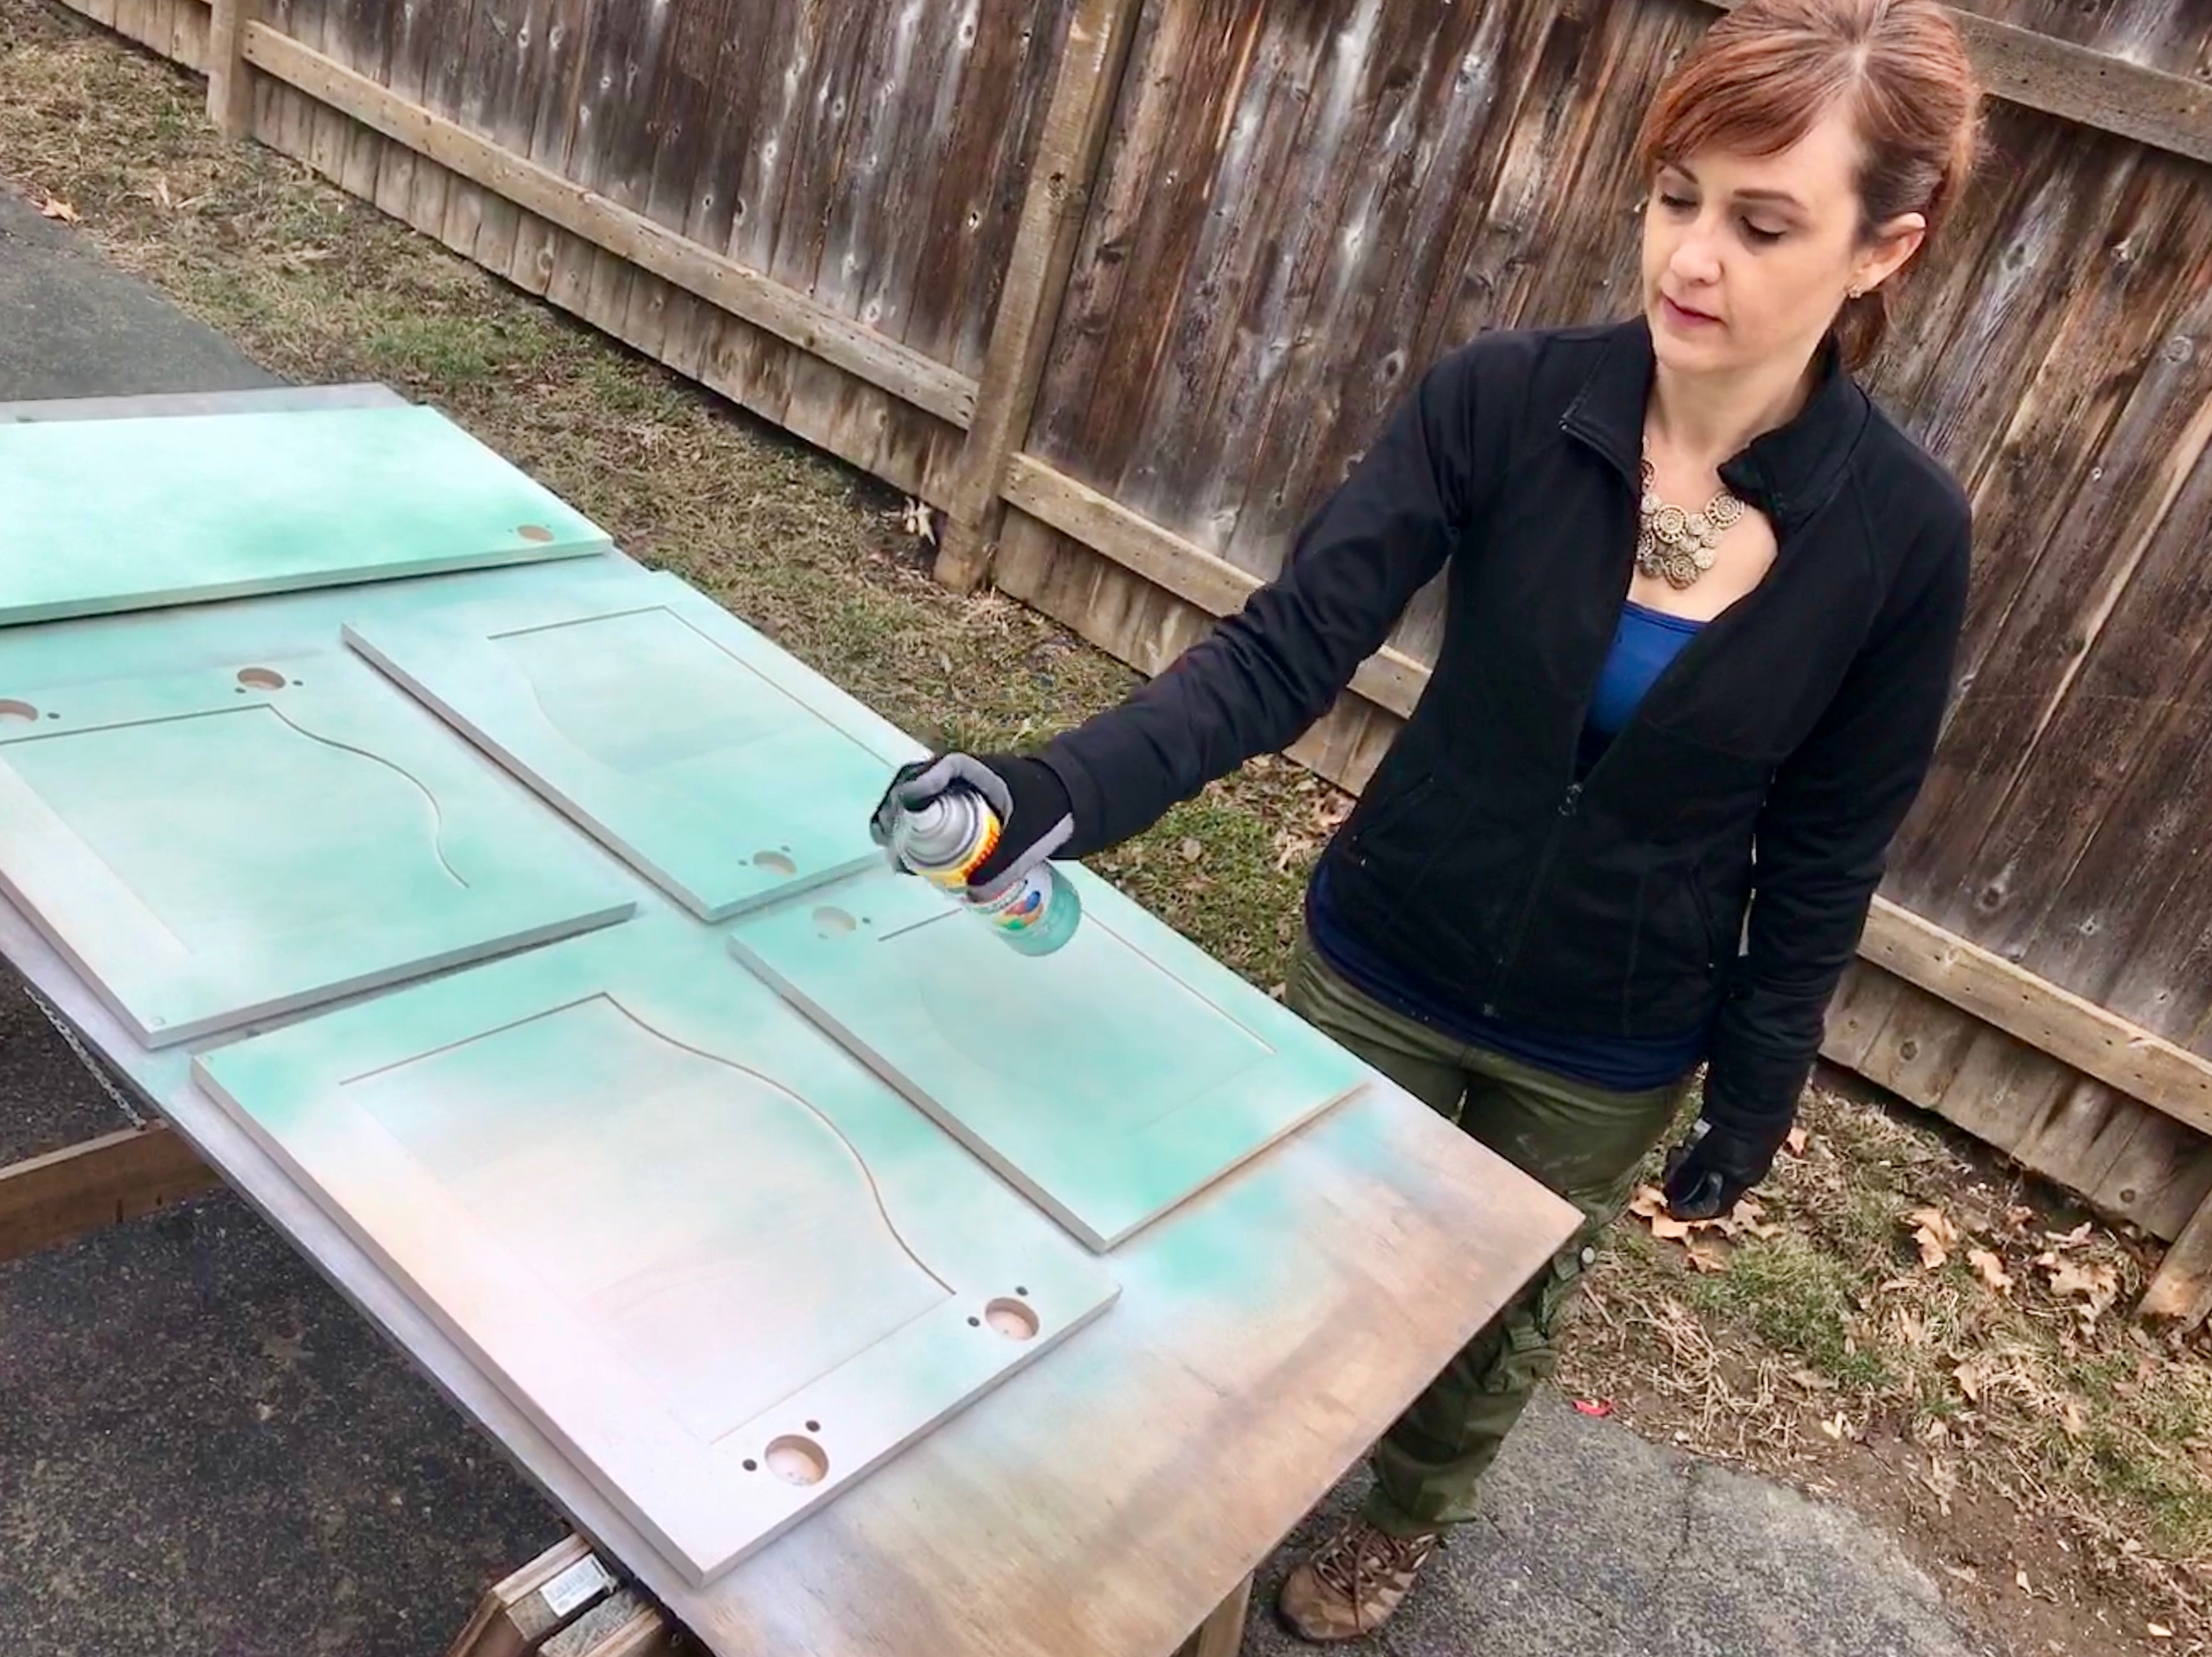


After applying 3 dusting coats of ColorMaster Paint + Primer – 25% More in Satin Jade, I had used almost the entire can of spray paint. Then I waited for the paint to dry before turning the doors over for the next color of paint.
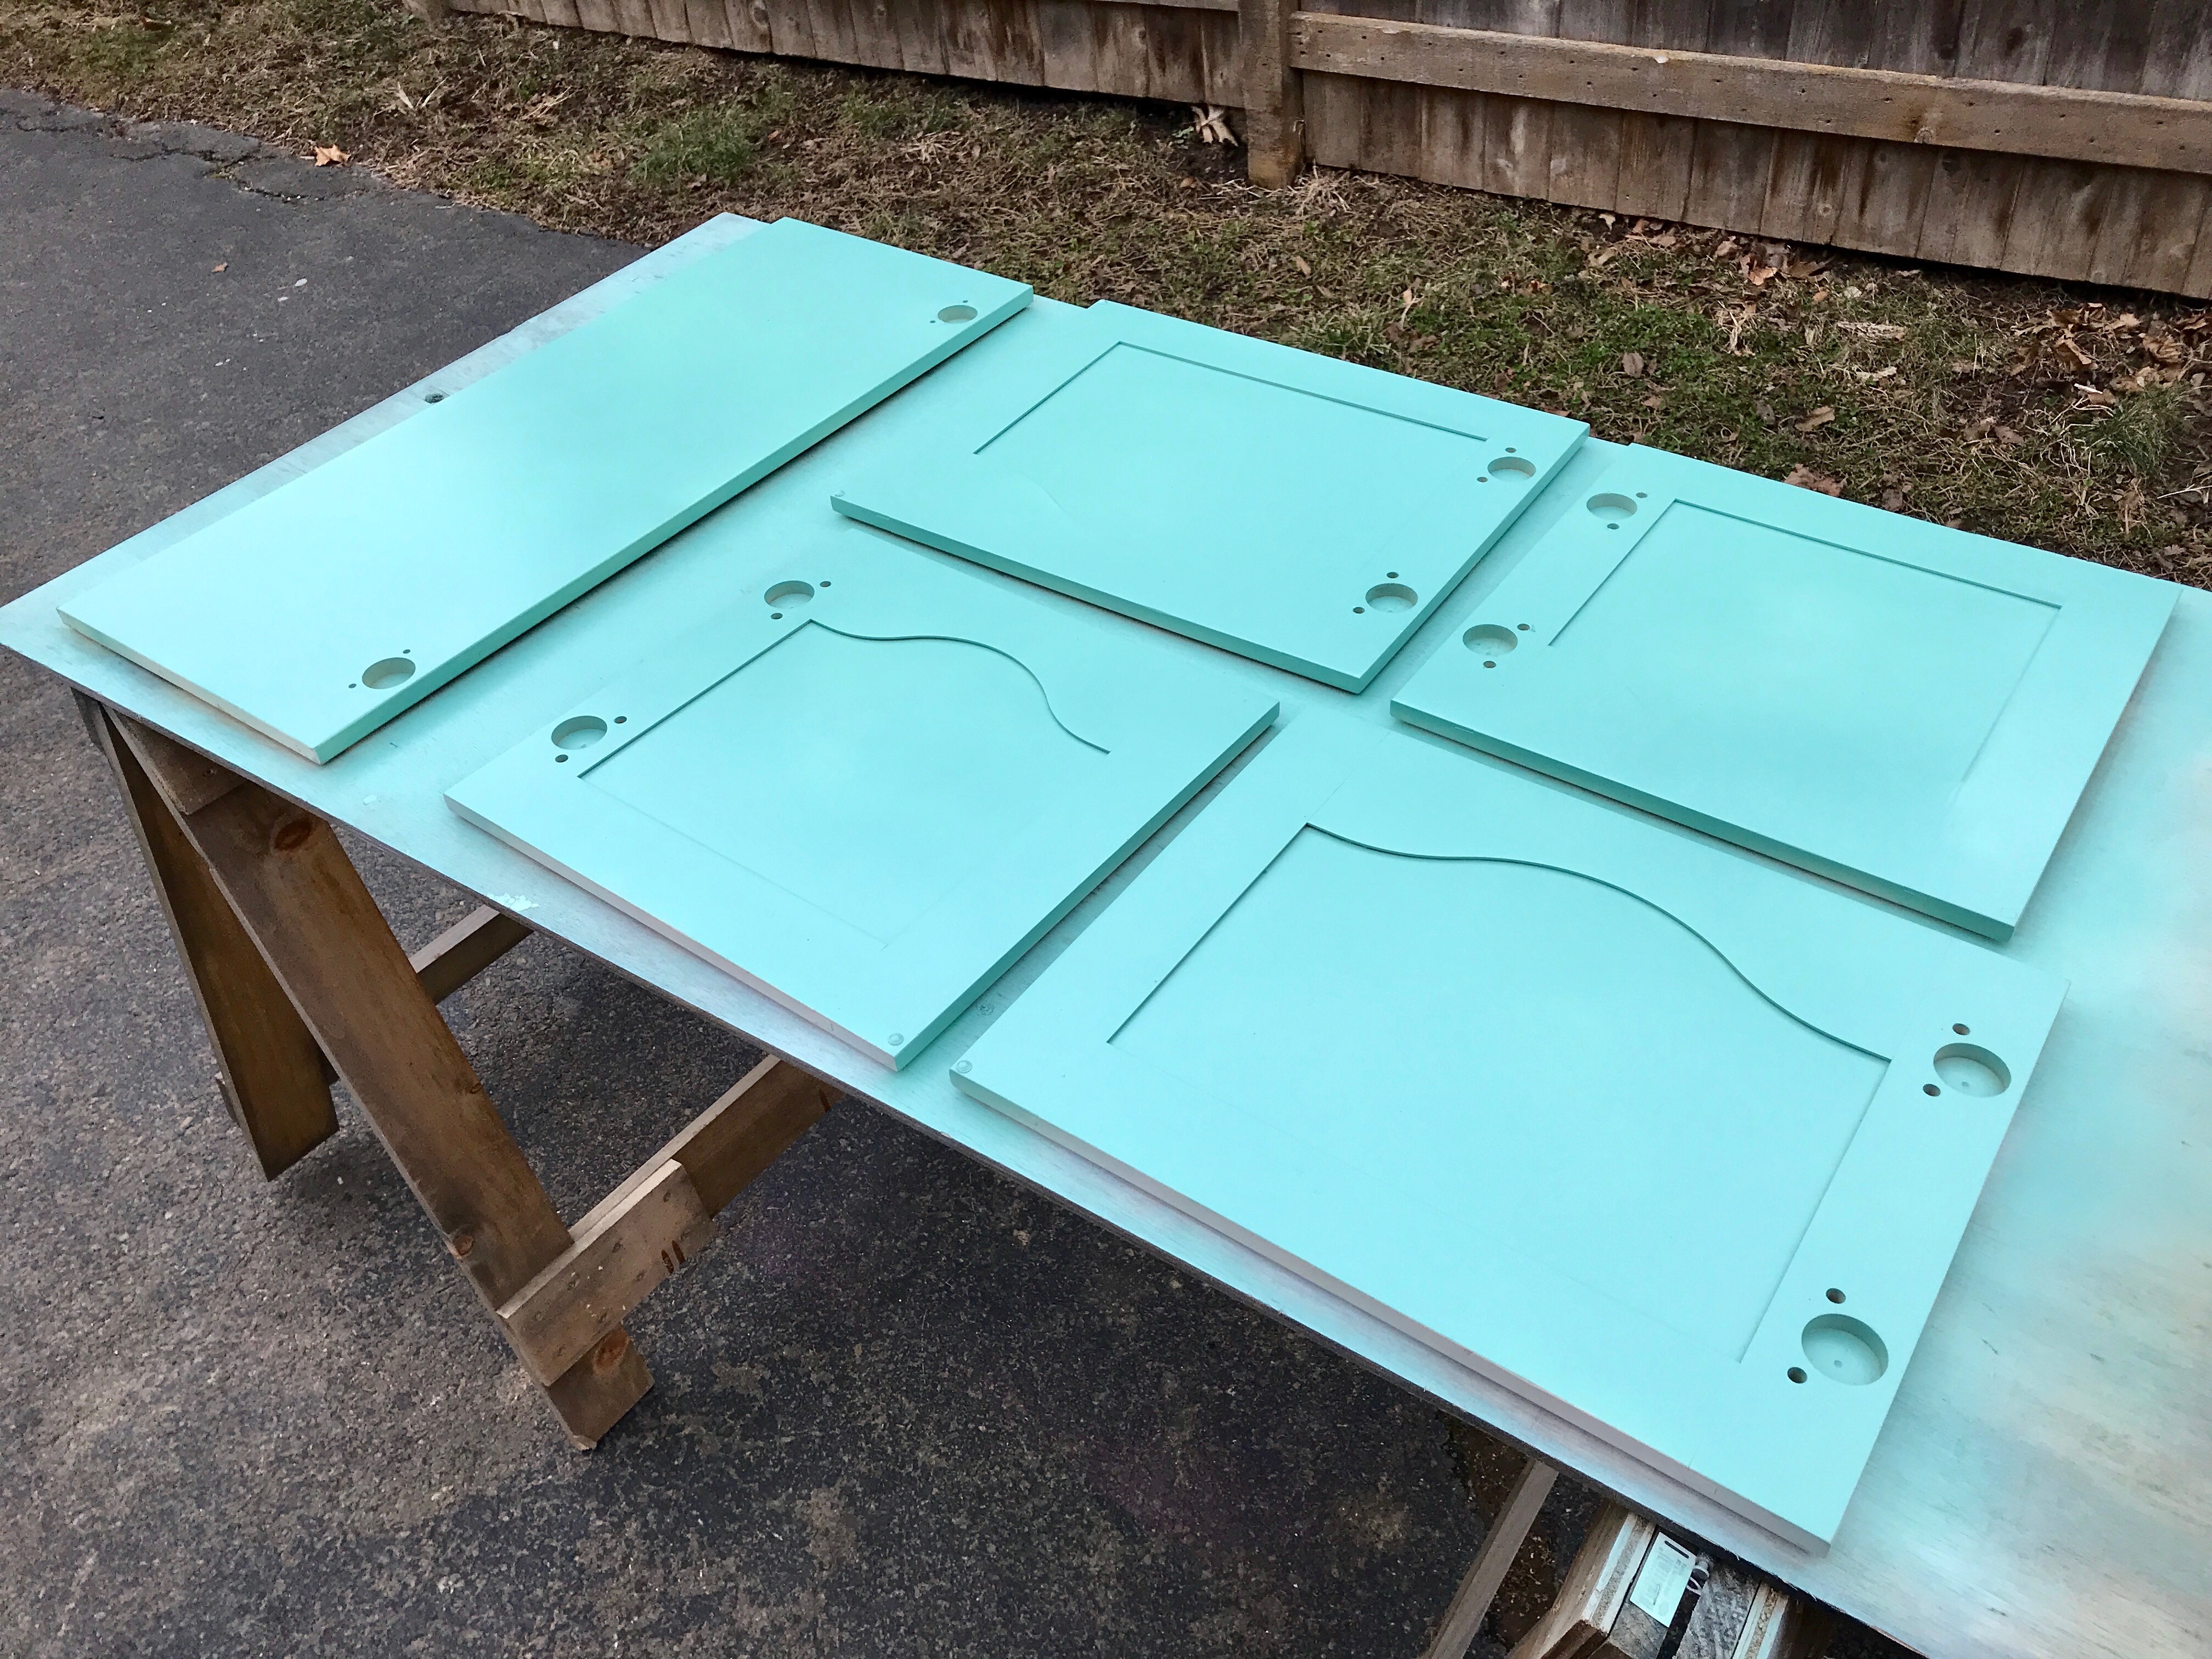


This is my first time using ColorMaster Paint + Primer -25% More in Satin Oxford Blue, and as soon as it started to cover the cabinet doors, I was so happy I chose it. The richness of the blue is calming and I think it will be perfect for a meditative spot.
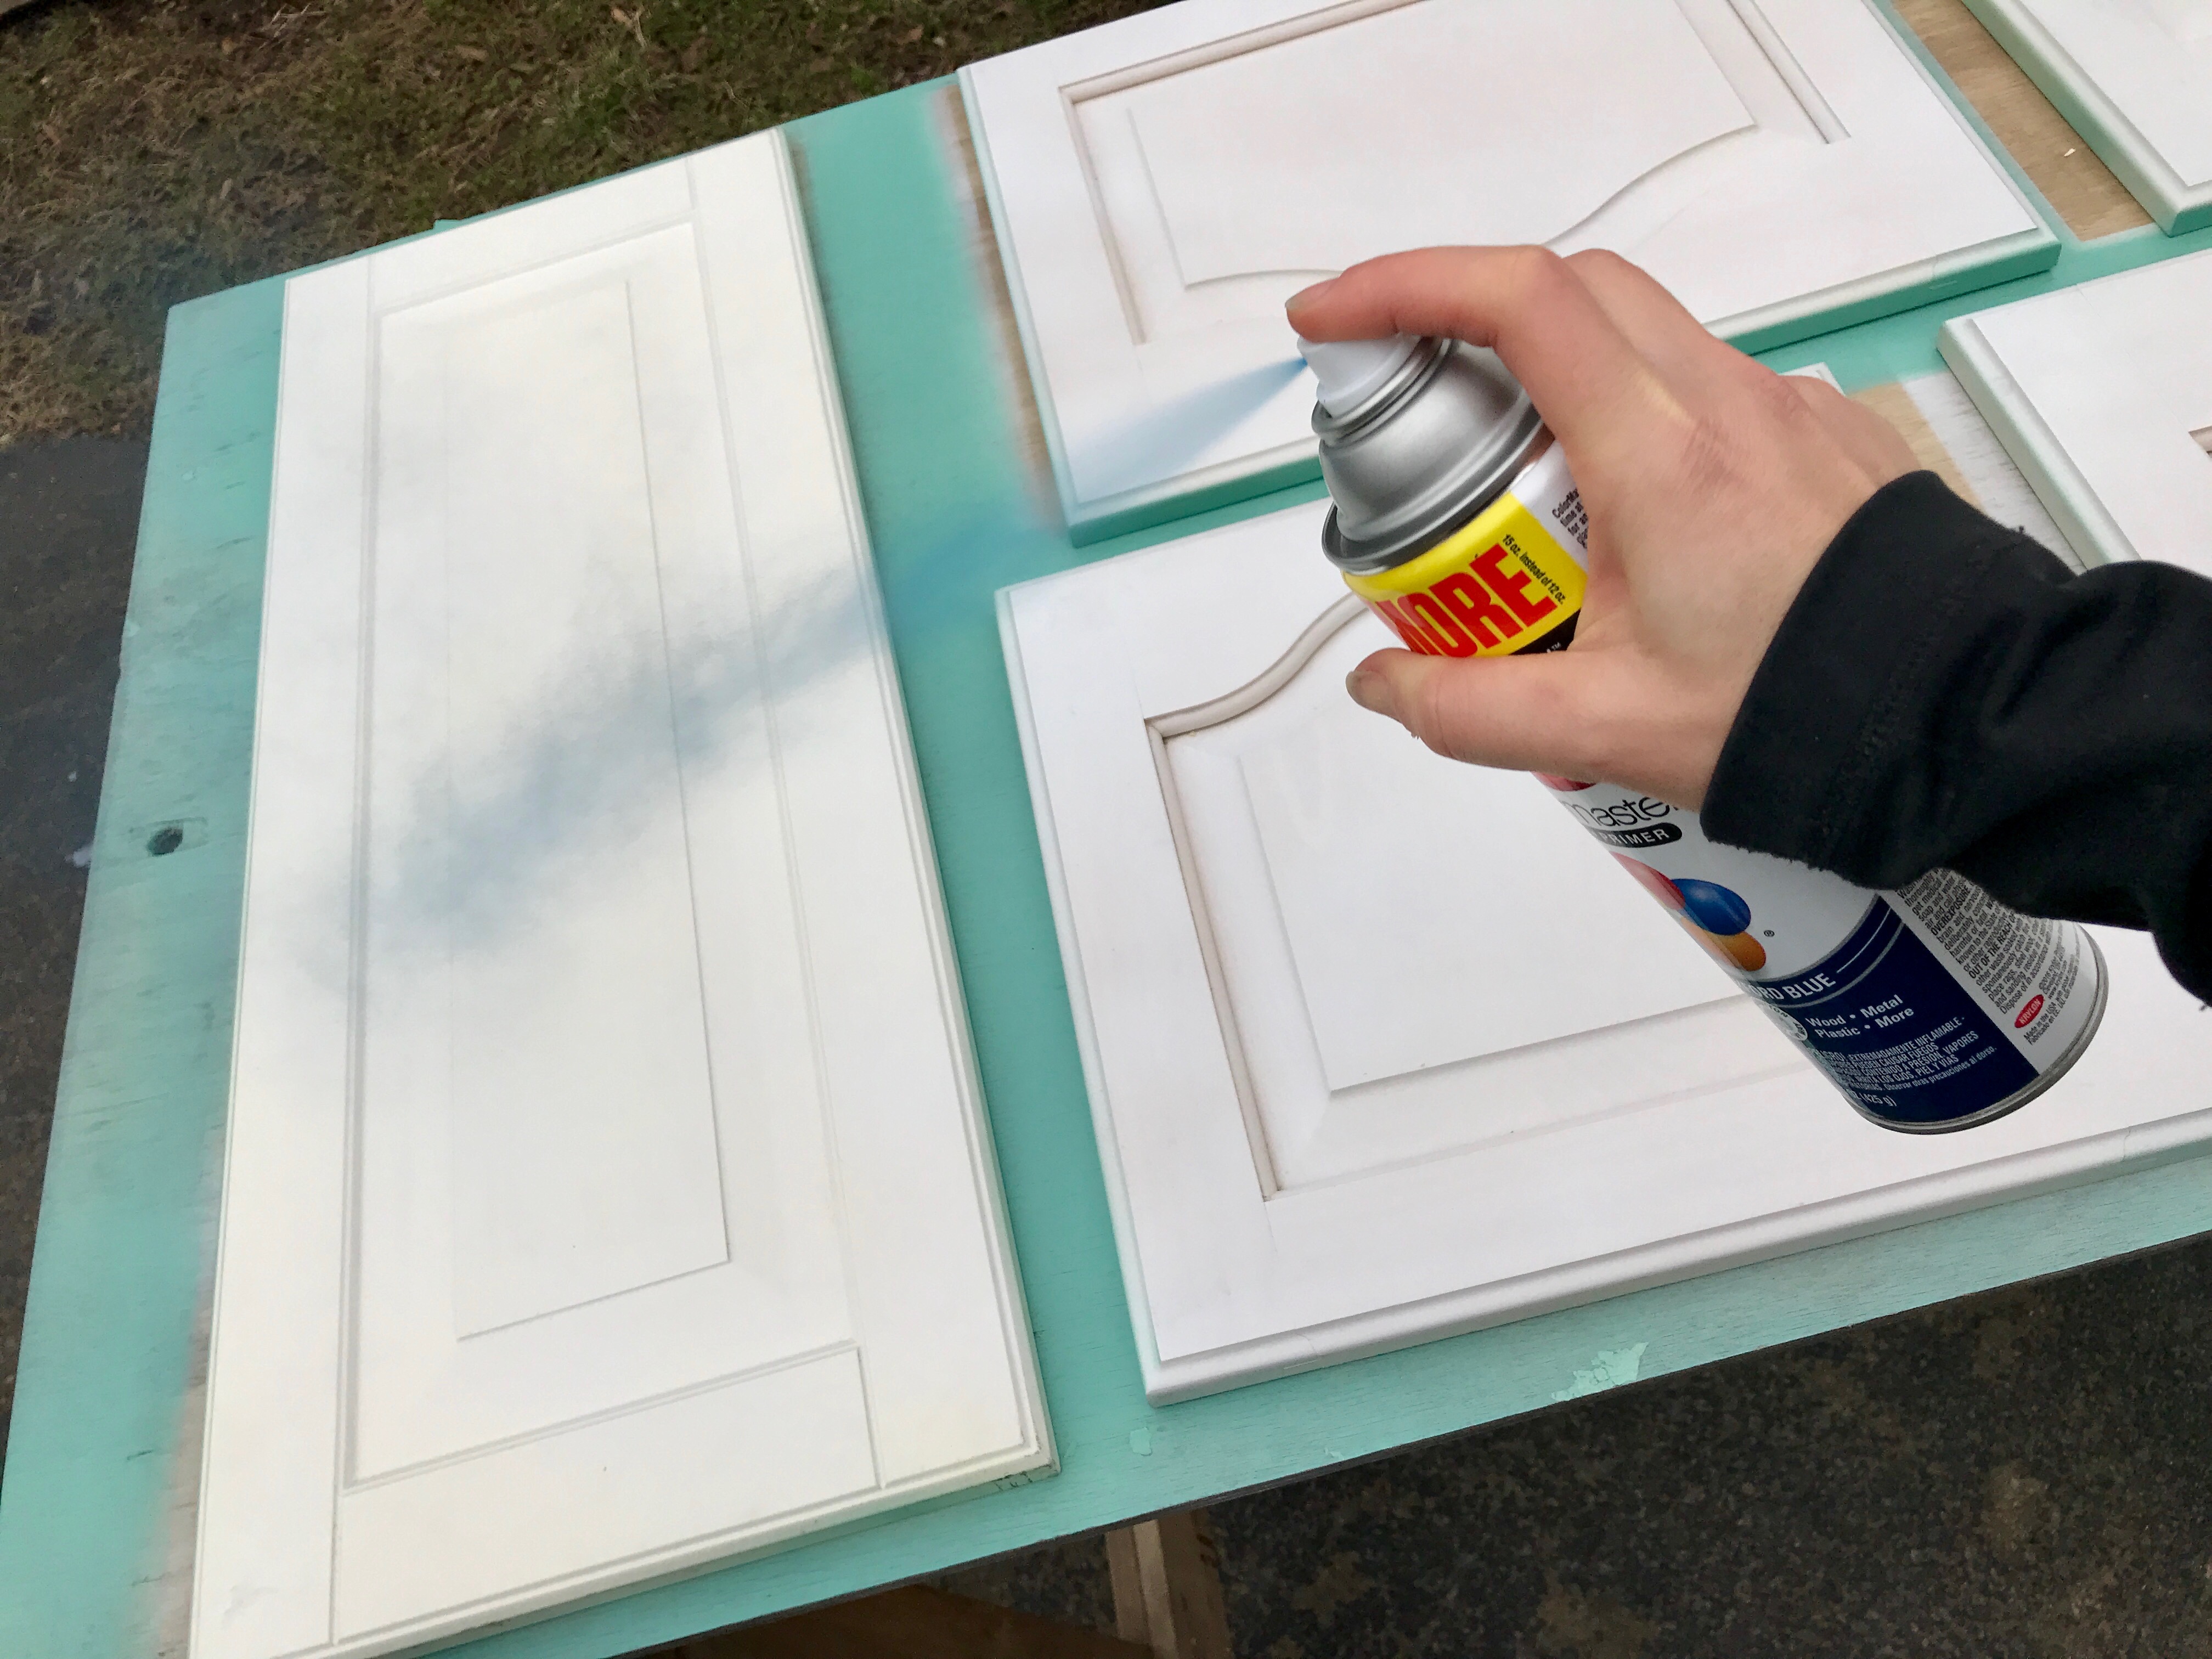


I used almost an entire can and 3 dusting coats of Satin Oxford Blue to achieve the color on the spray paint can lid. I love that the finished color matches the color on the can. I can’t say that I have this kind of perfect-match success in many other areas of life, like with make-up.
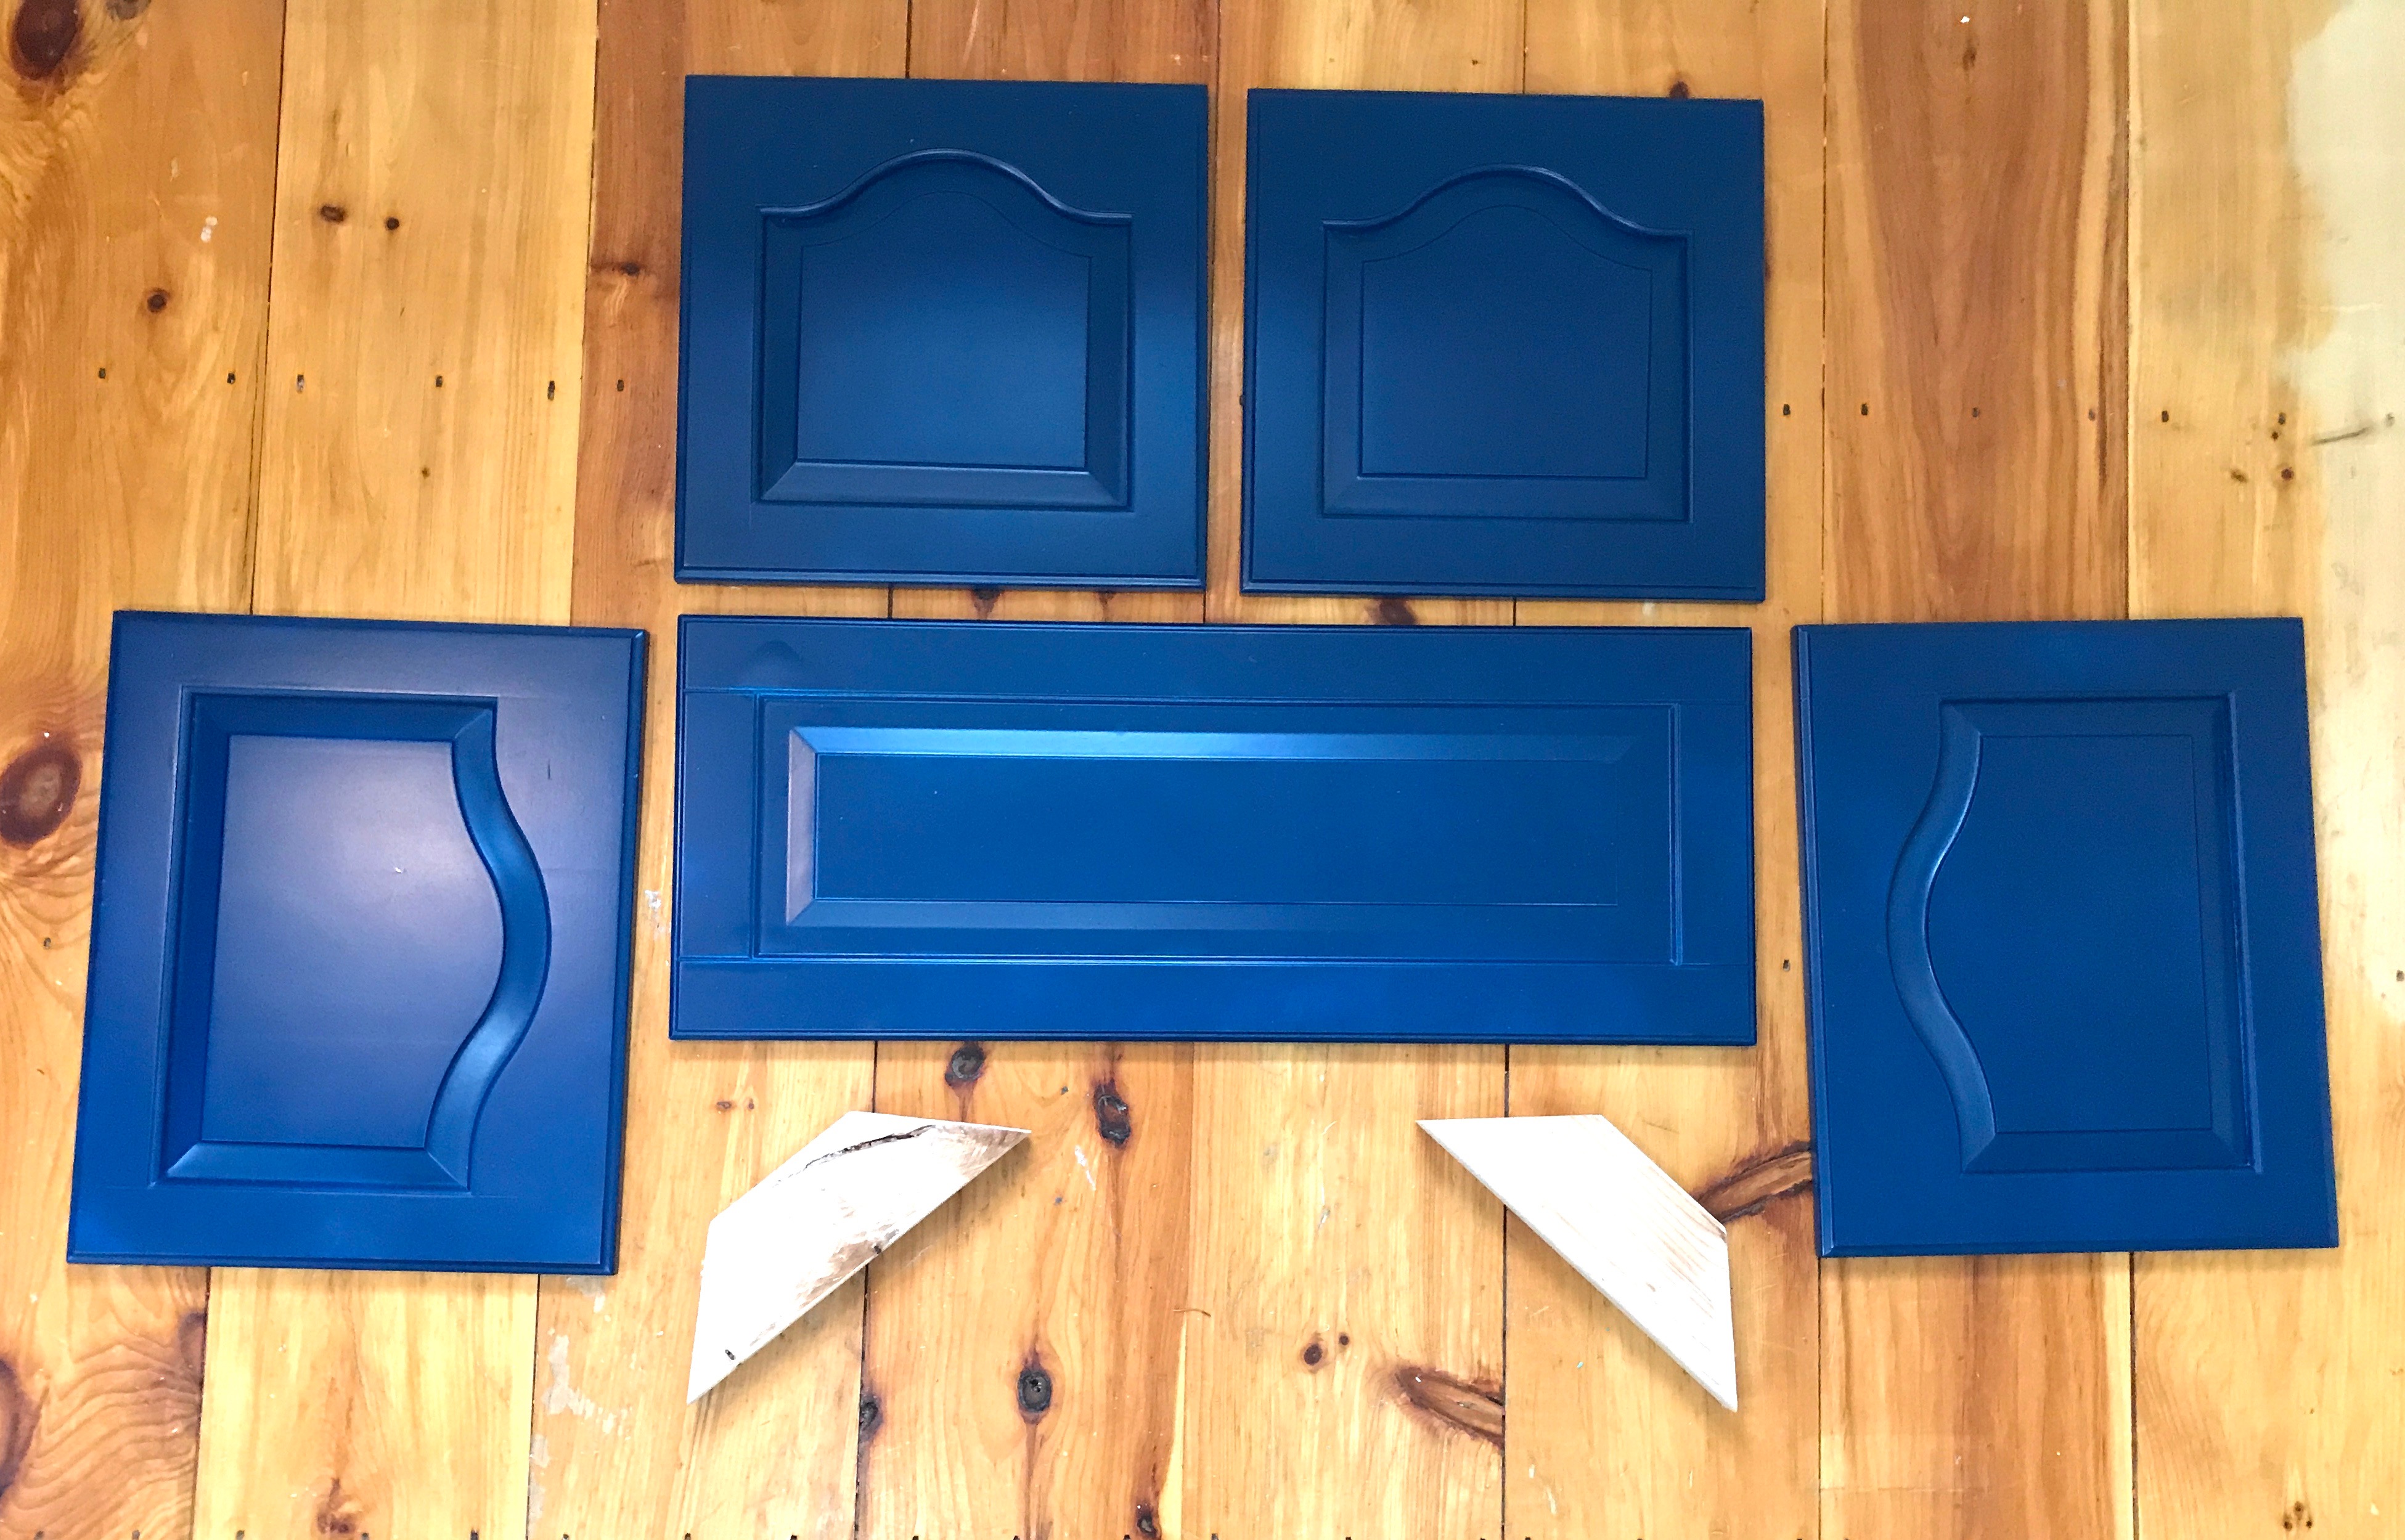


After the paint was dry, I gathered the cabinet doors and two brackets from a 2×4. Here’s the layout of the pieces, as they will be fastened together. This layout will be helpful to refer back to, and will make more sense as you go through the next steps.
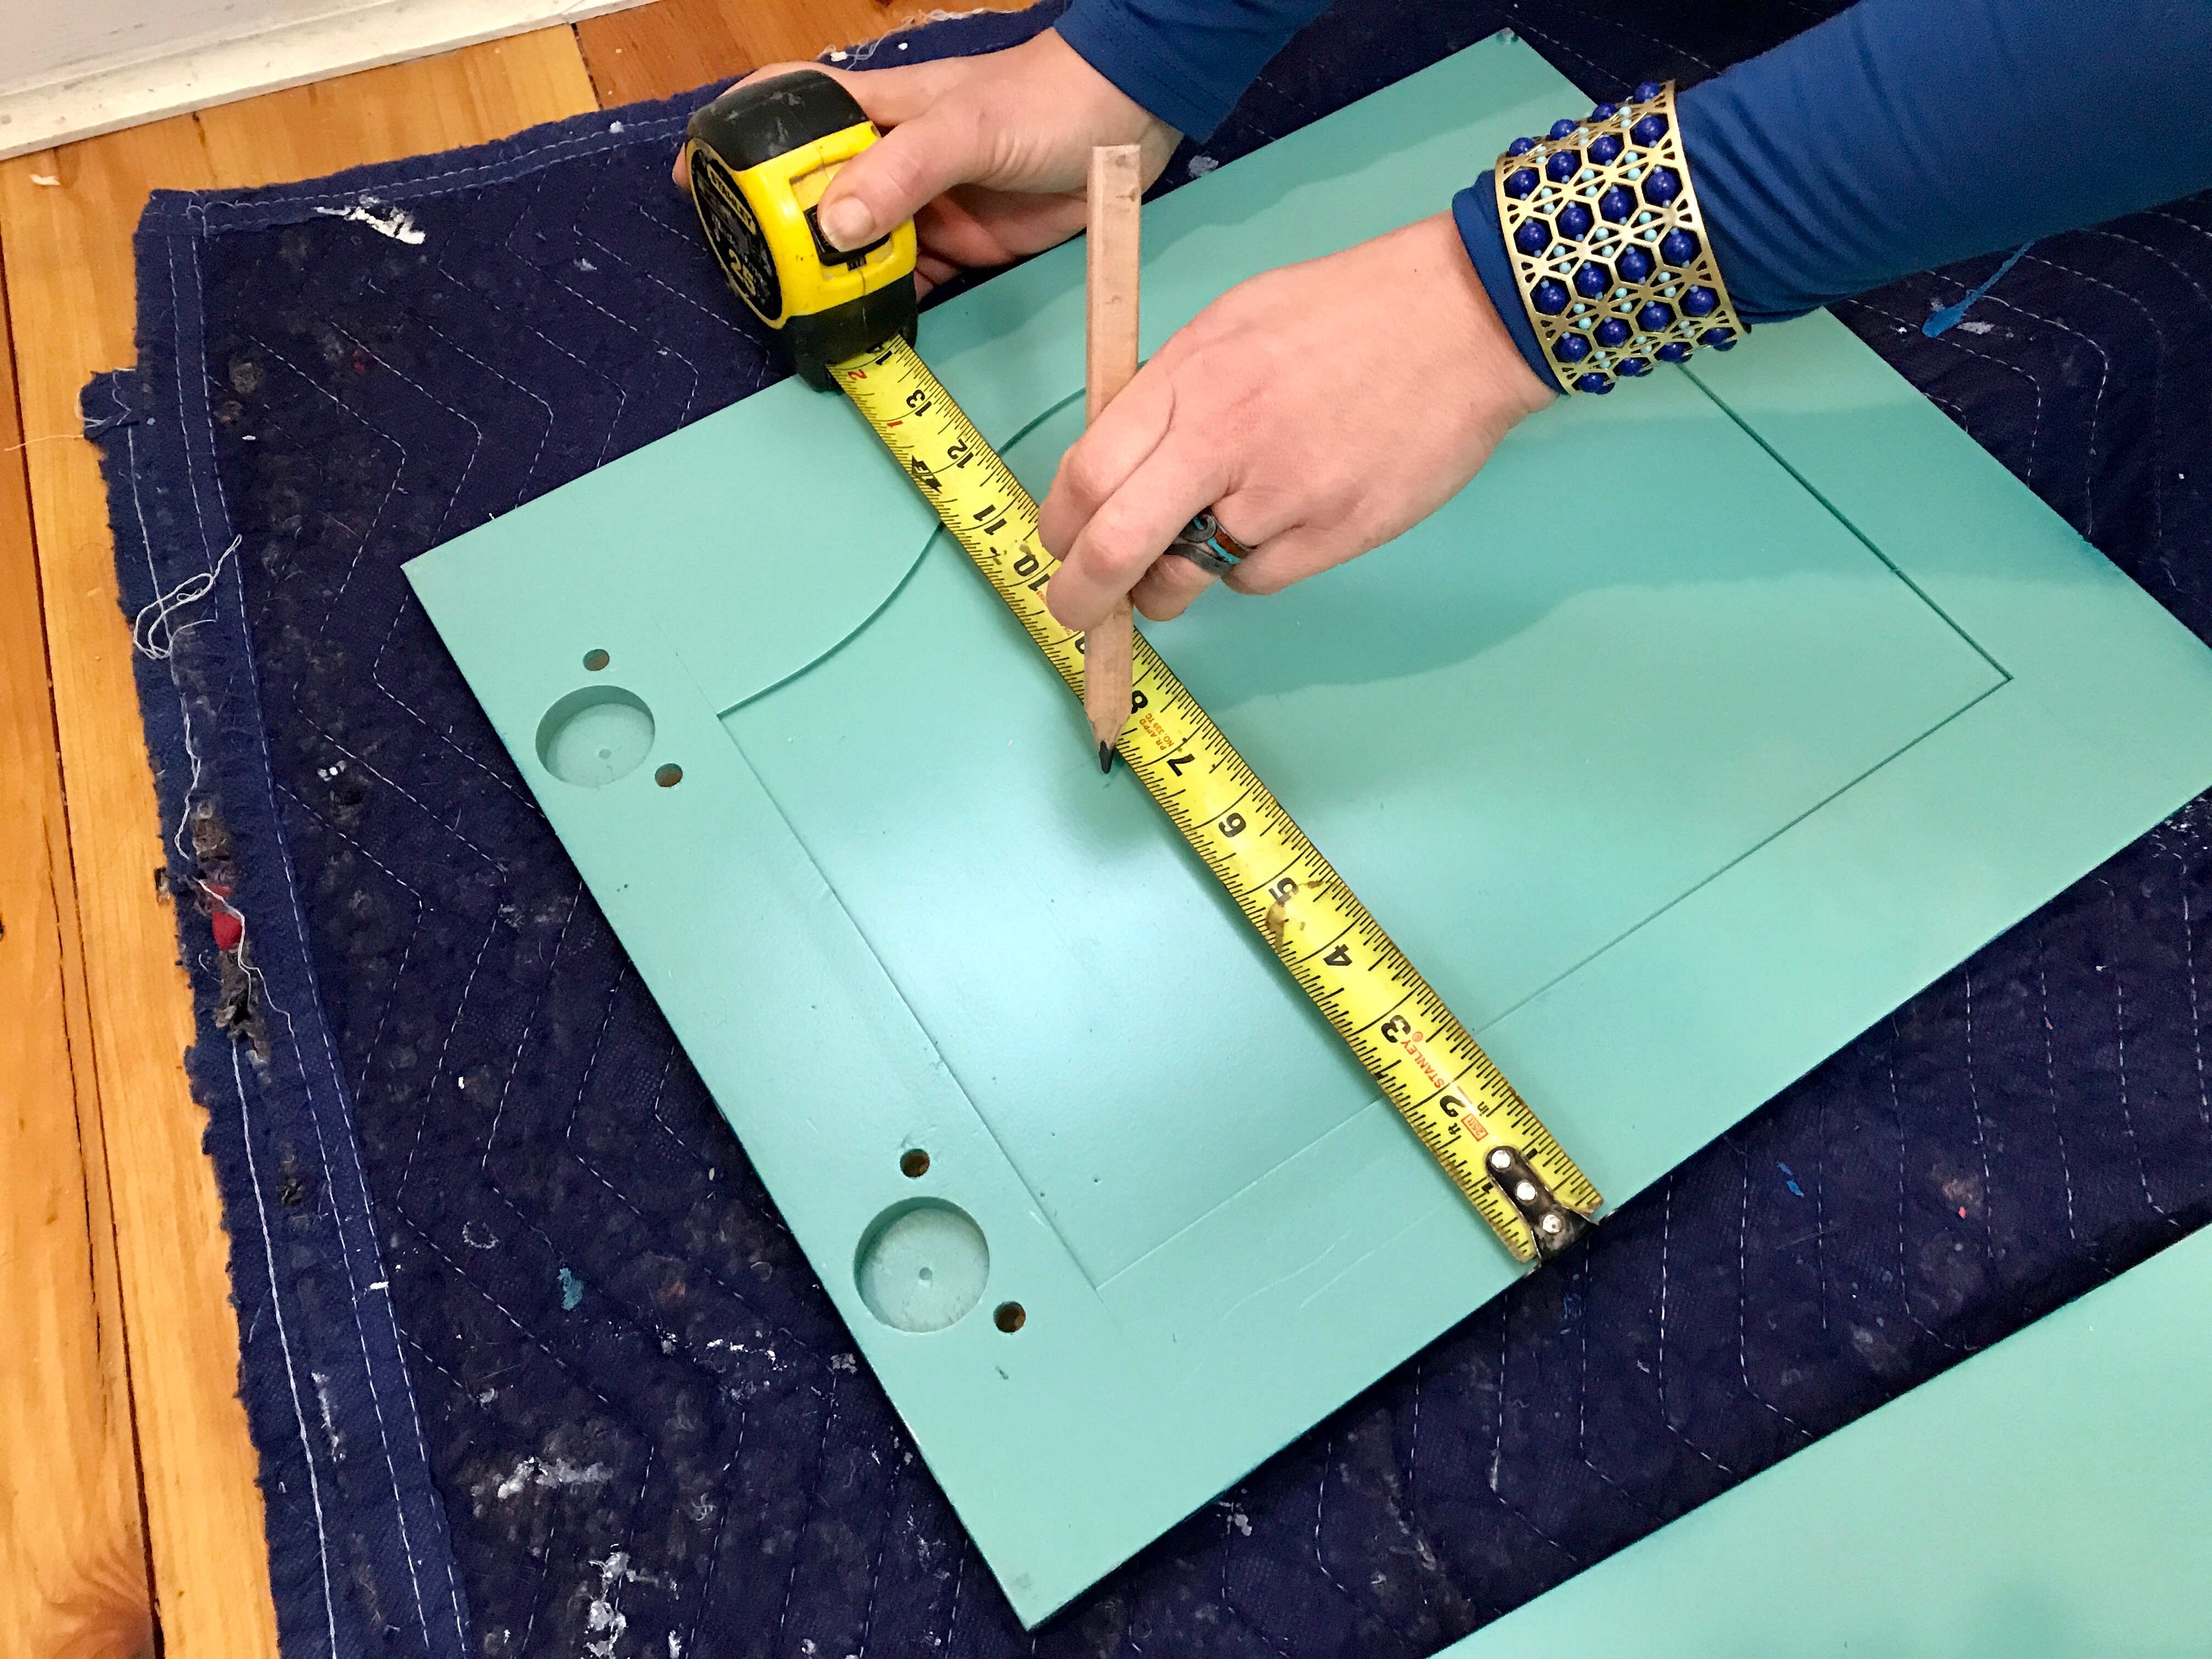


I measured the centerline of the twin doors that are on the right and left of the diagram from above. You may have already spied the bracelet, which is my color inspiration and general mojo for this project.
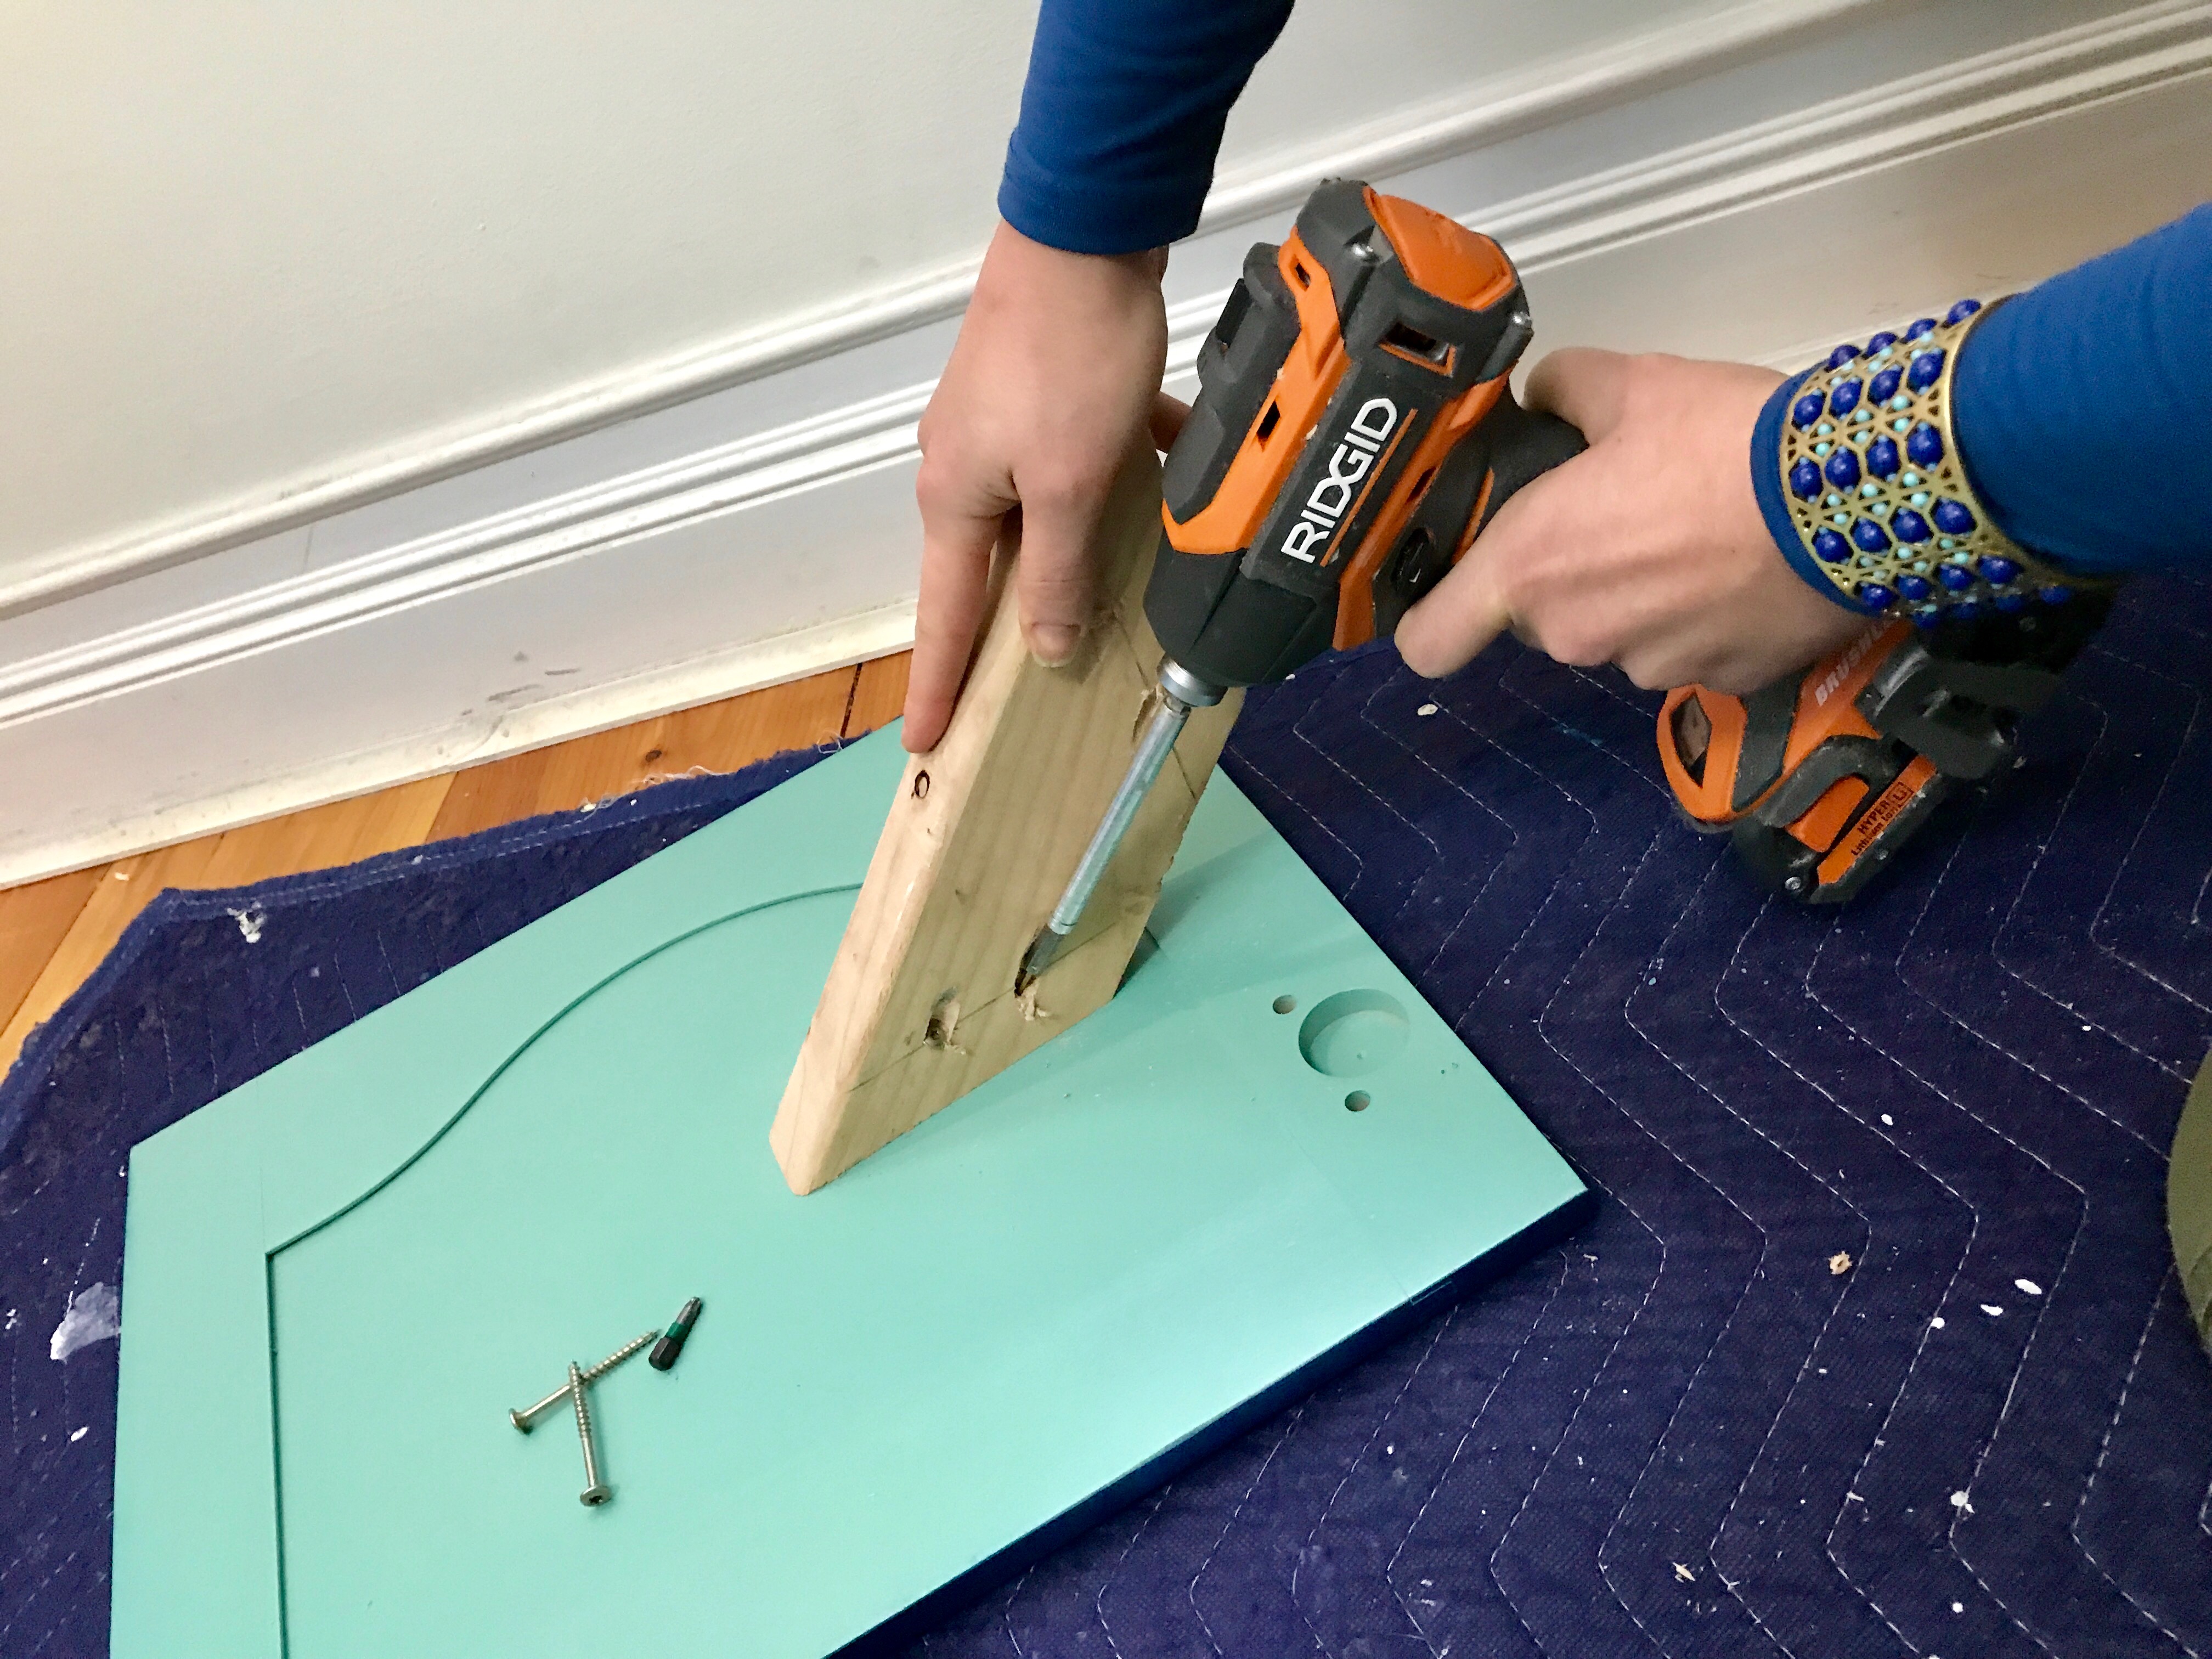


The wood brackets are the support structure for the bench. All of the cabinet doors will be attached to one of them before the project is complete. I decided to use pocket holes for the top and side panels. First I drilled pilot holes, using an impact driver. Then I drove the fasteners in the pilot holes. I double-checked the screw length, just to be sure that the screw didn’t pop through the front of the cabinet doors.
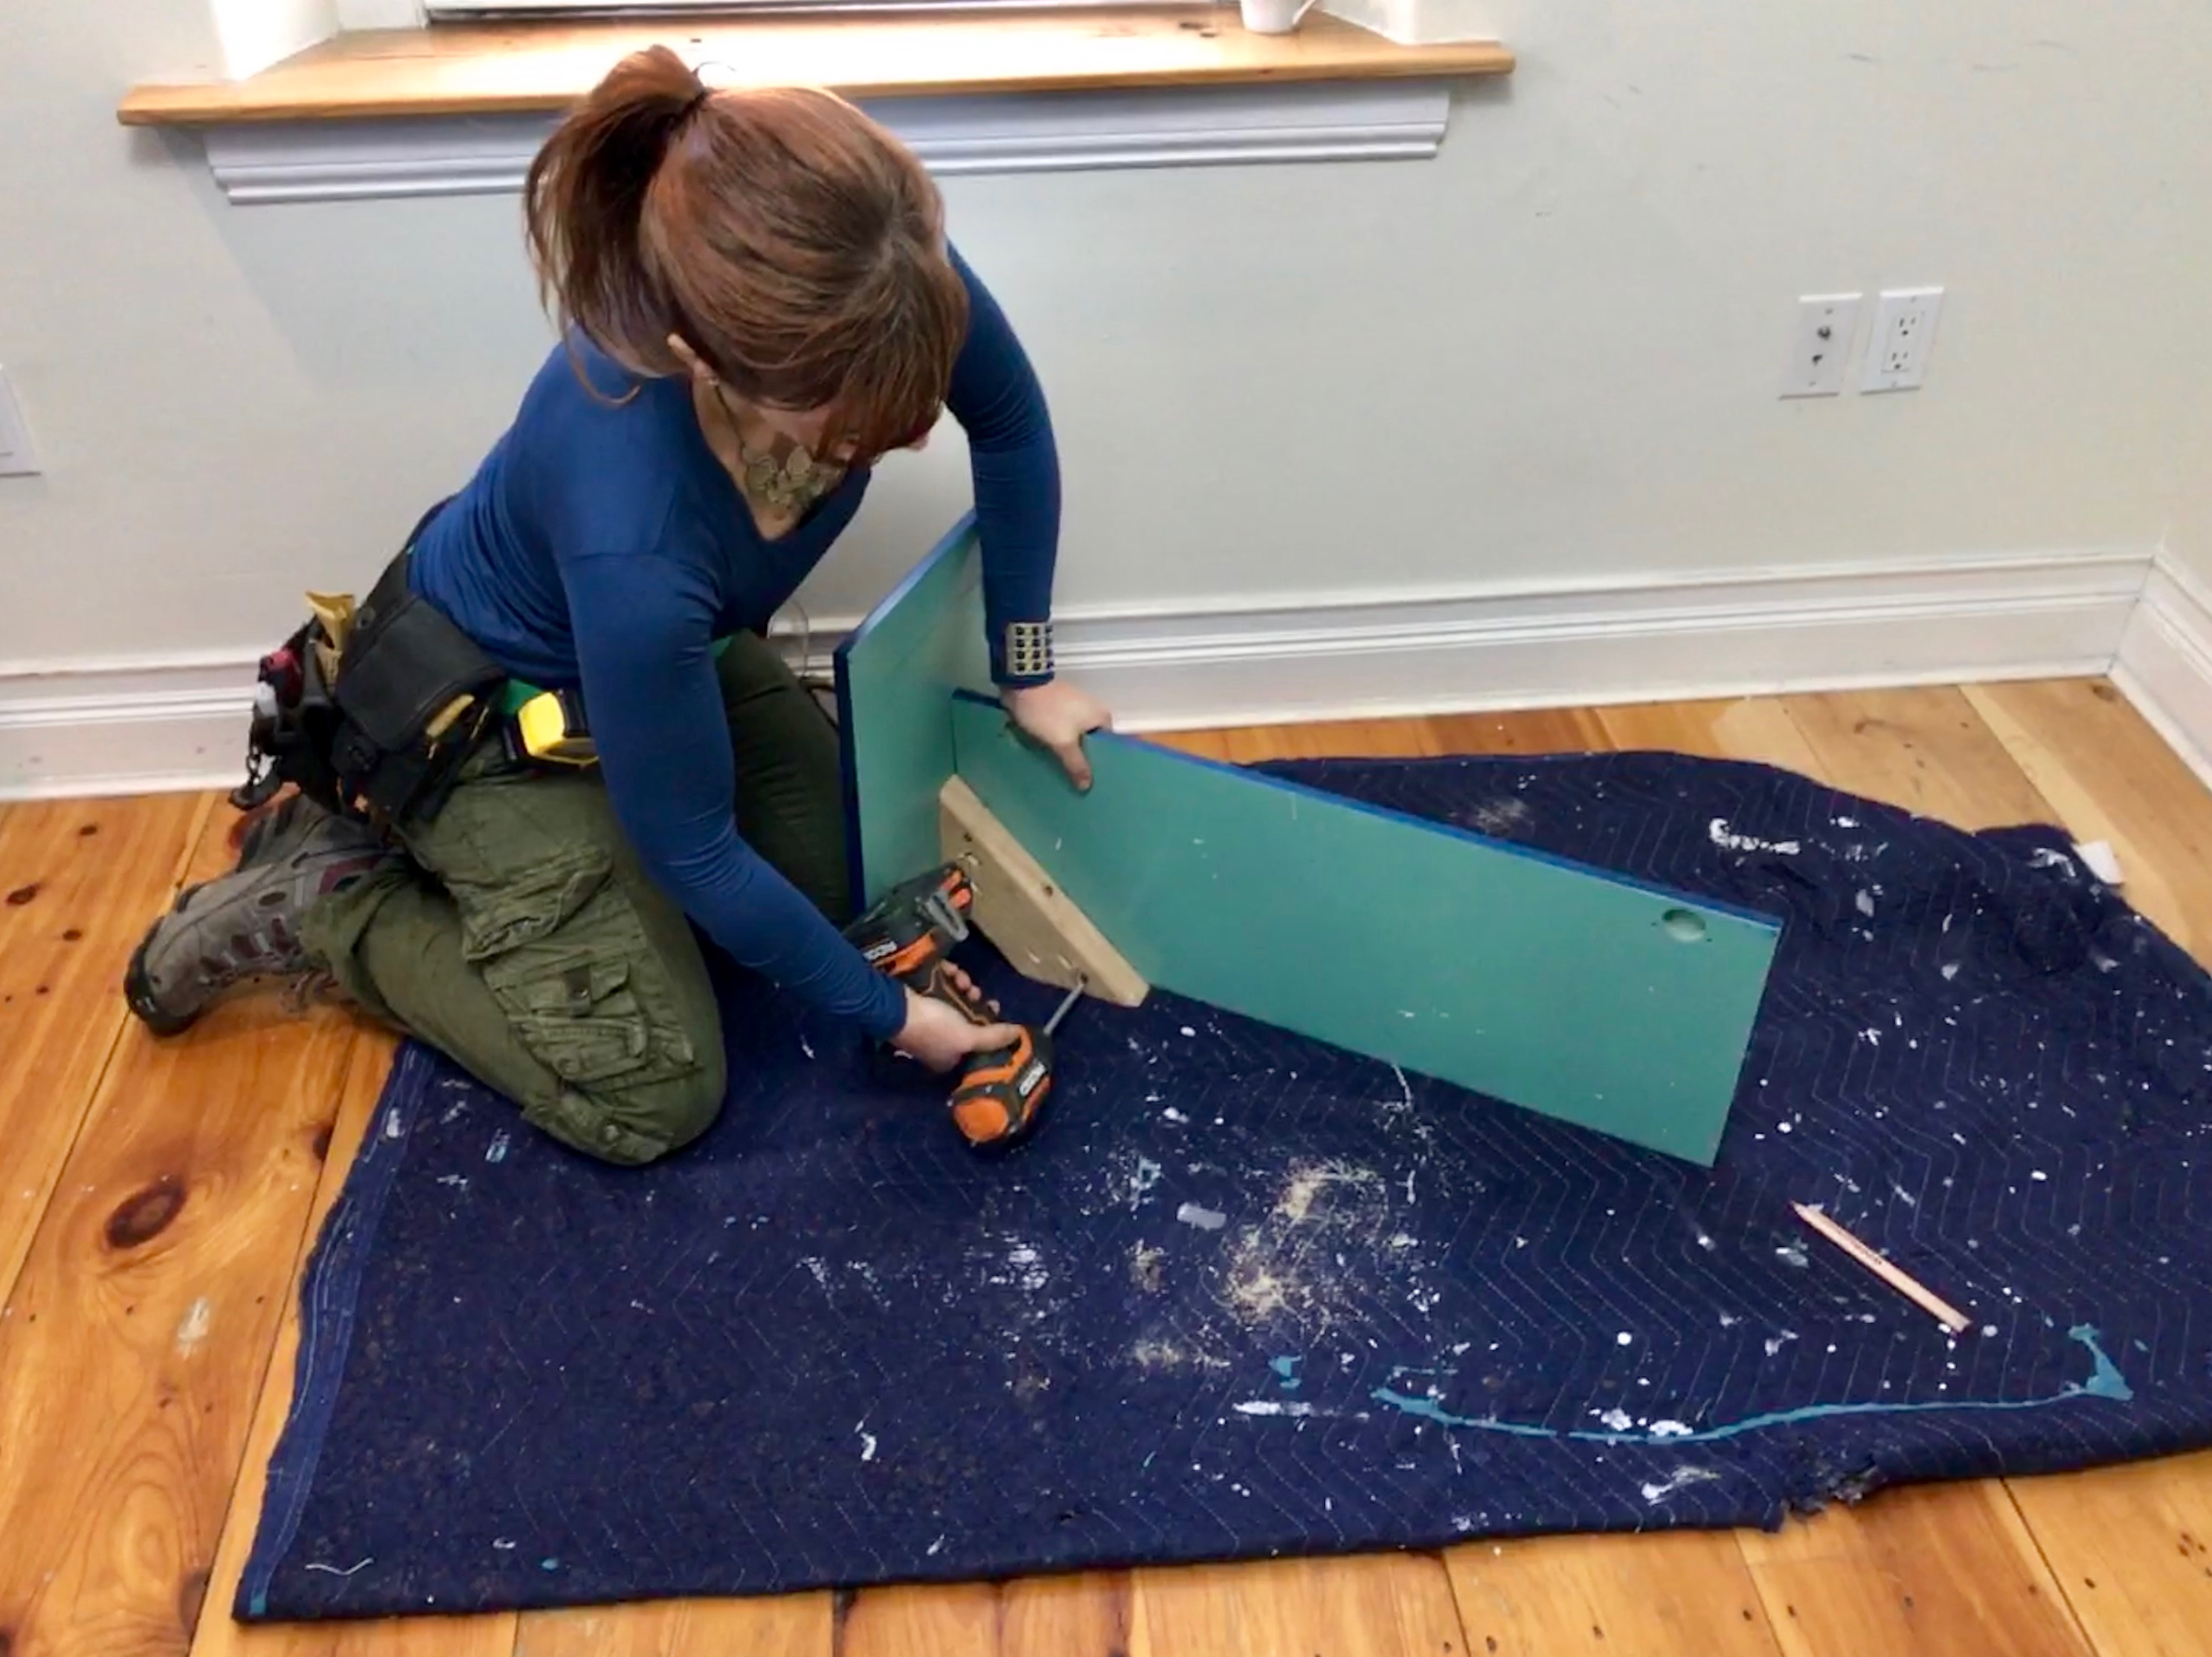


After the bracket is secured to the side panel, I attached the bracket to the long cabinet door. This door is the support for the top panels, and helps keep the little shelf secure. I repeated the process for the other side, and then attached each of the smaller cabinet doors to the bracket, using the same pocket hole/pilot hole method that I used for the side panels.
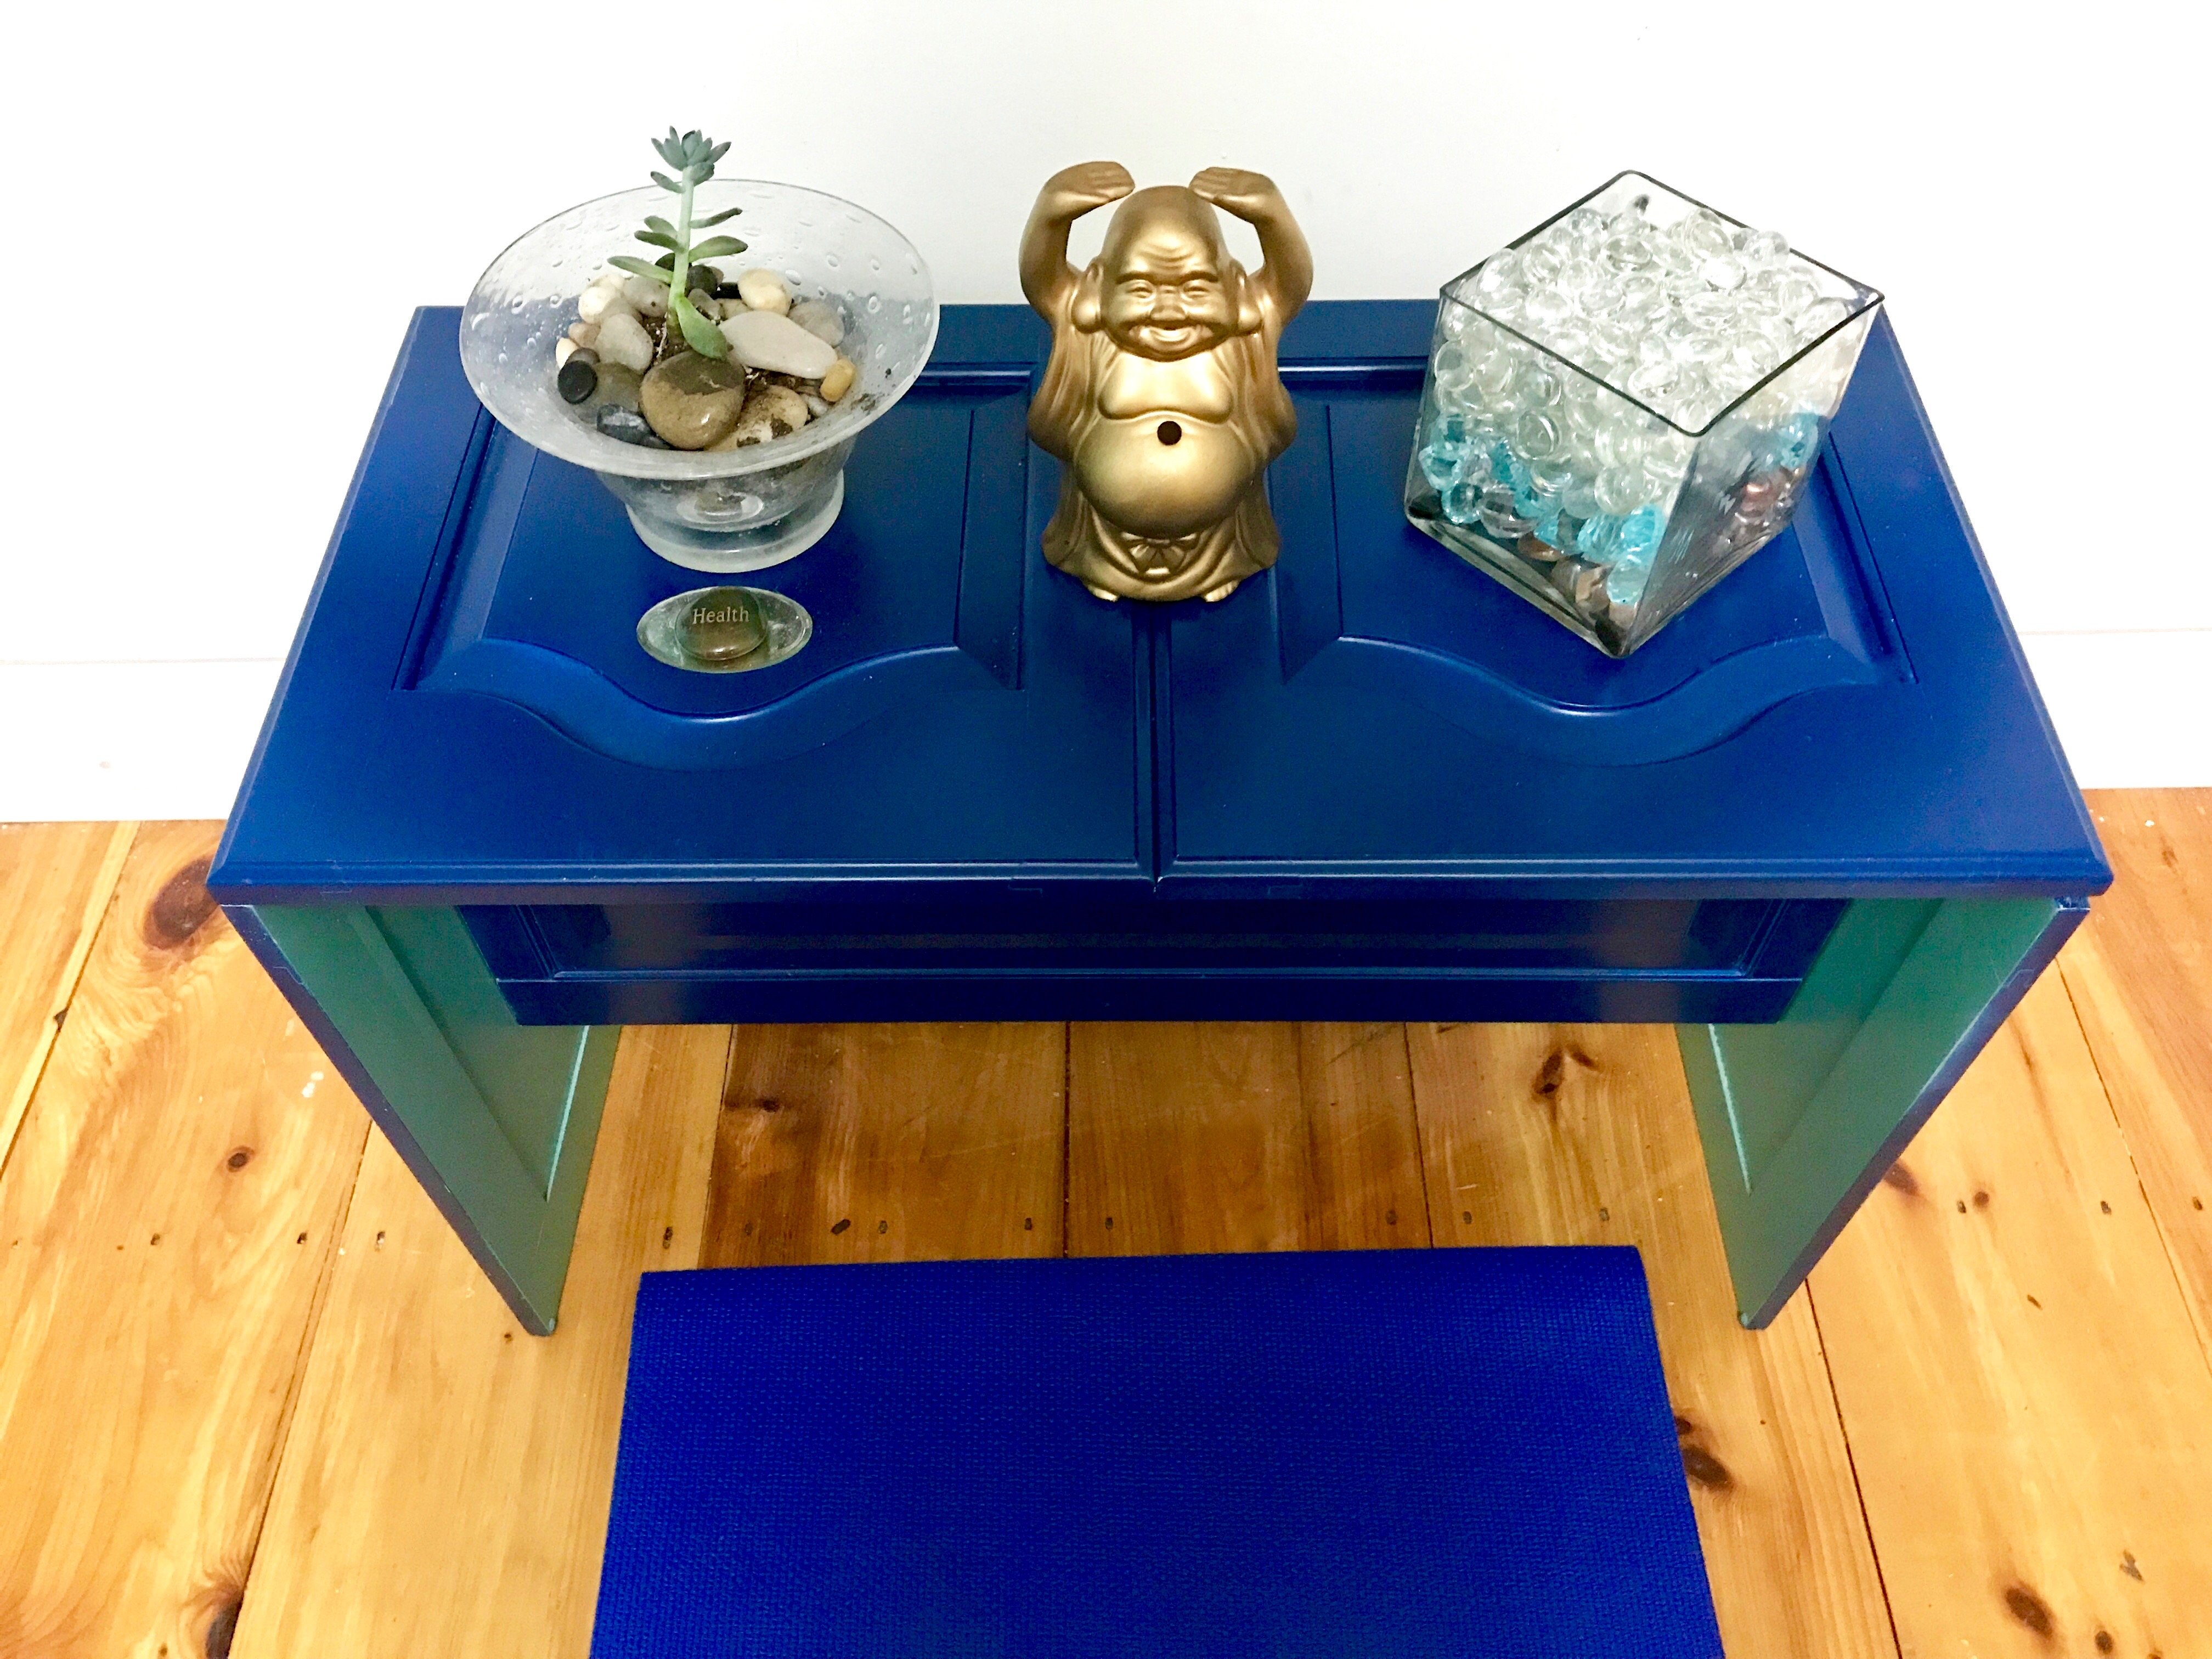


Now that the bench is complete, I need to add that touch of shine with the ColorMaster Paint +Primer -25% More in Brilliant Gold spray paint. Instead of using gold on the bench, I decided to add the color to the décor around the bench. The first step is adding a laughing Buddha that I had already spray painted gold. While I’m not a Buddhist, the energy of the little Buddha with his happy face and hands in the air makes me smile. And I do rub his belly every morning for good luck.
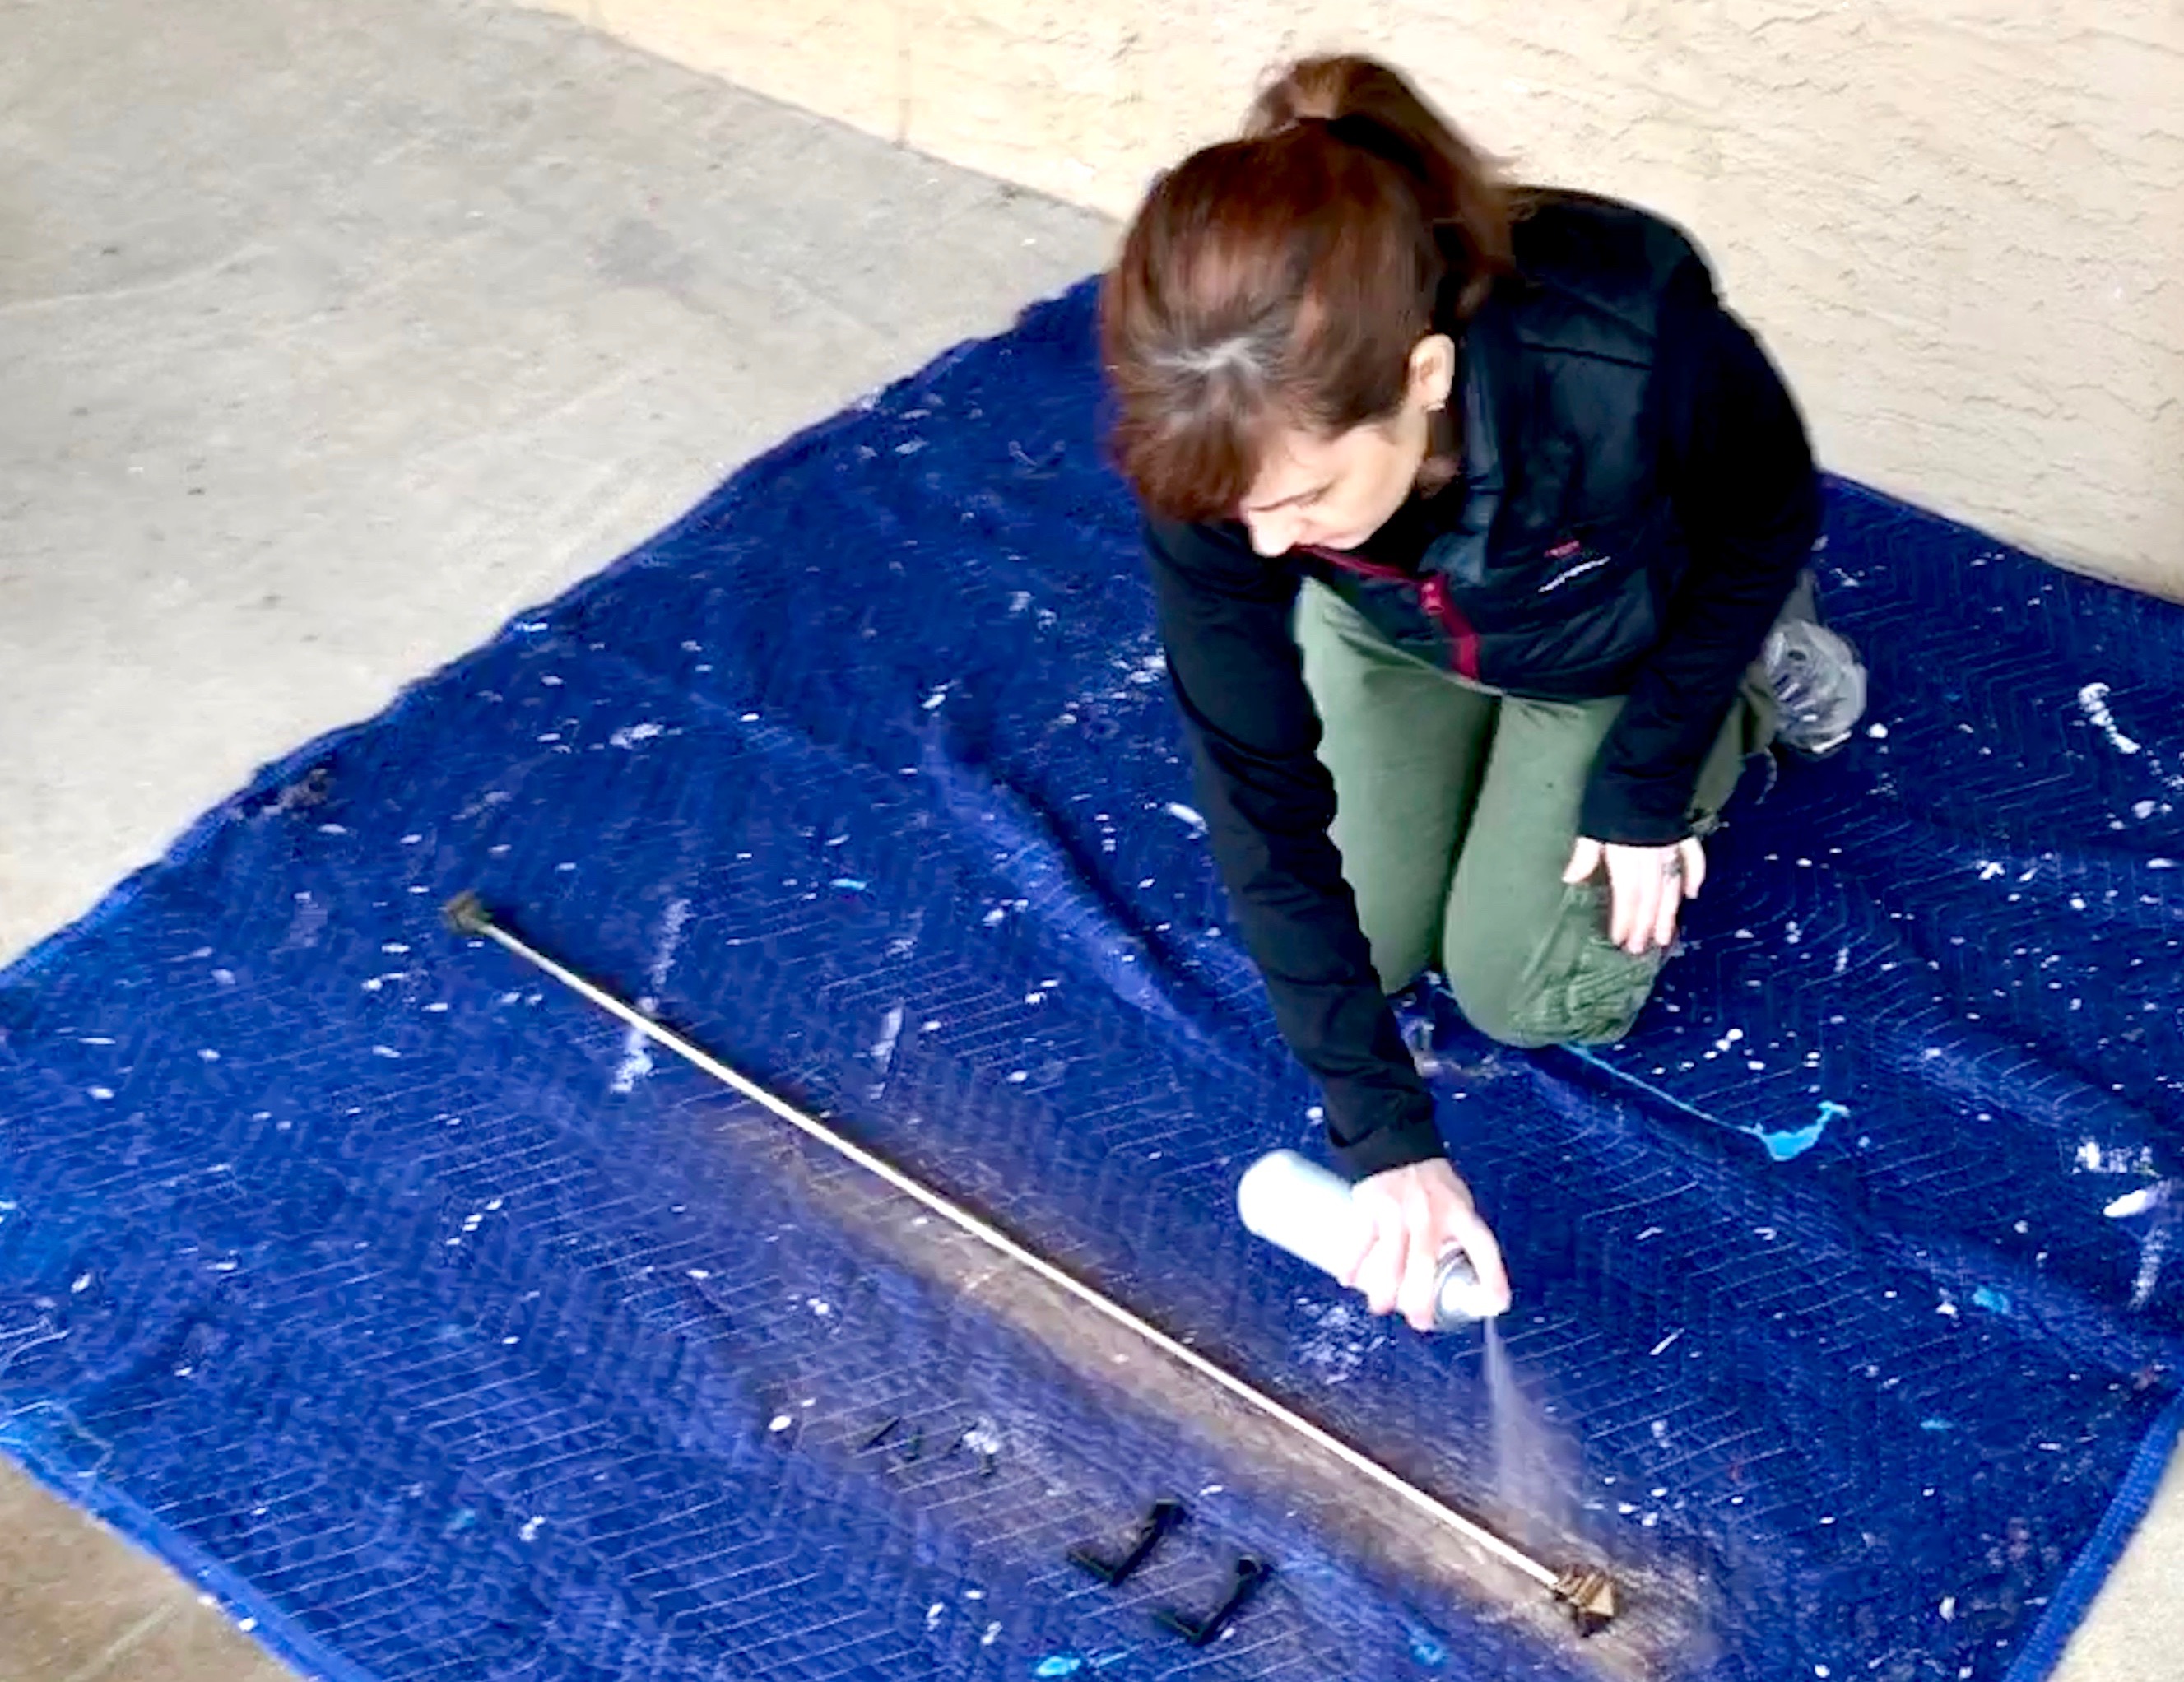


I need more gold, so I’m painting a curtain rod in Brilliant Gold. The shelf is below a window, which gets the warm tones of the morning sunrise. It will be perfect framed in gold.
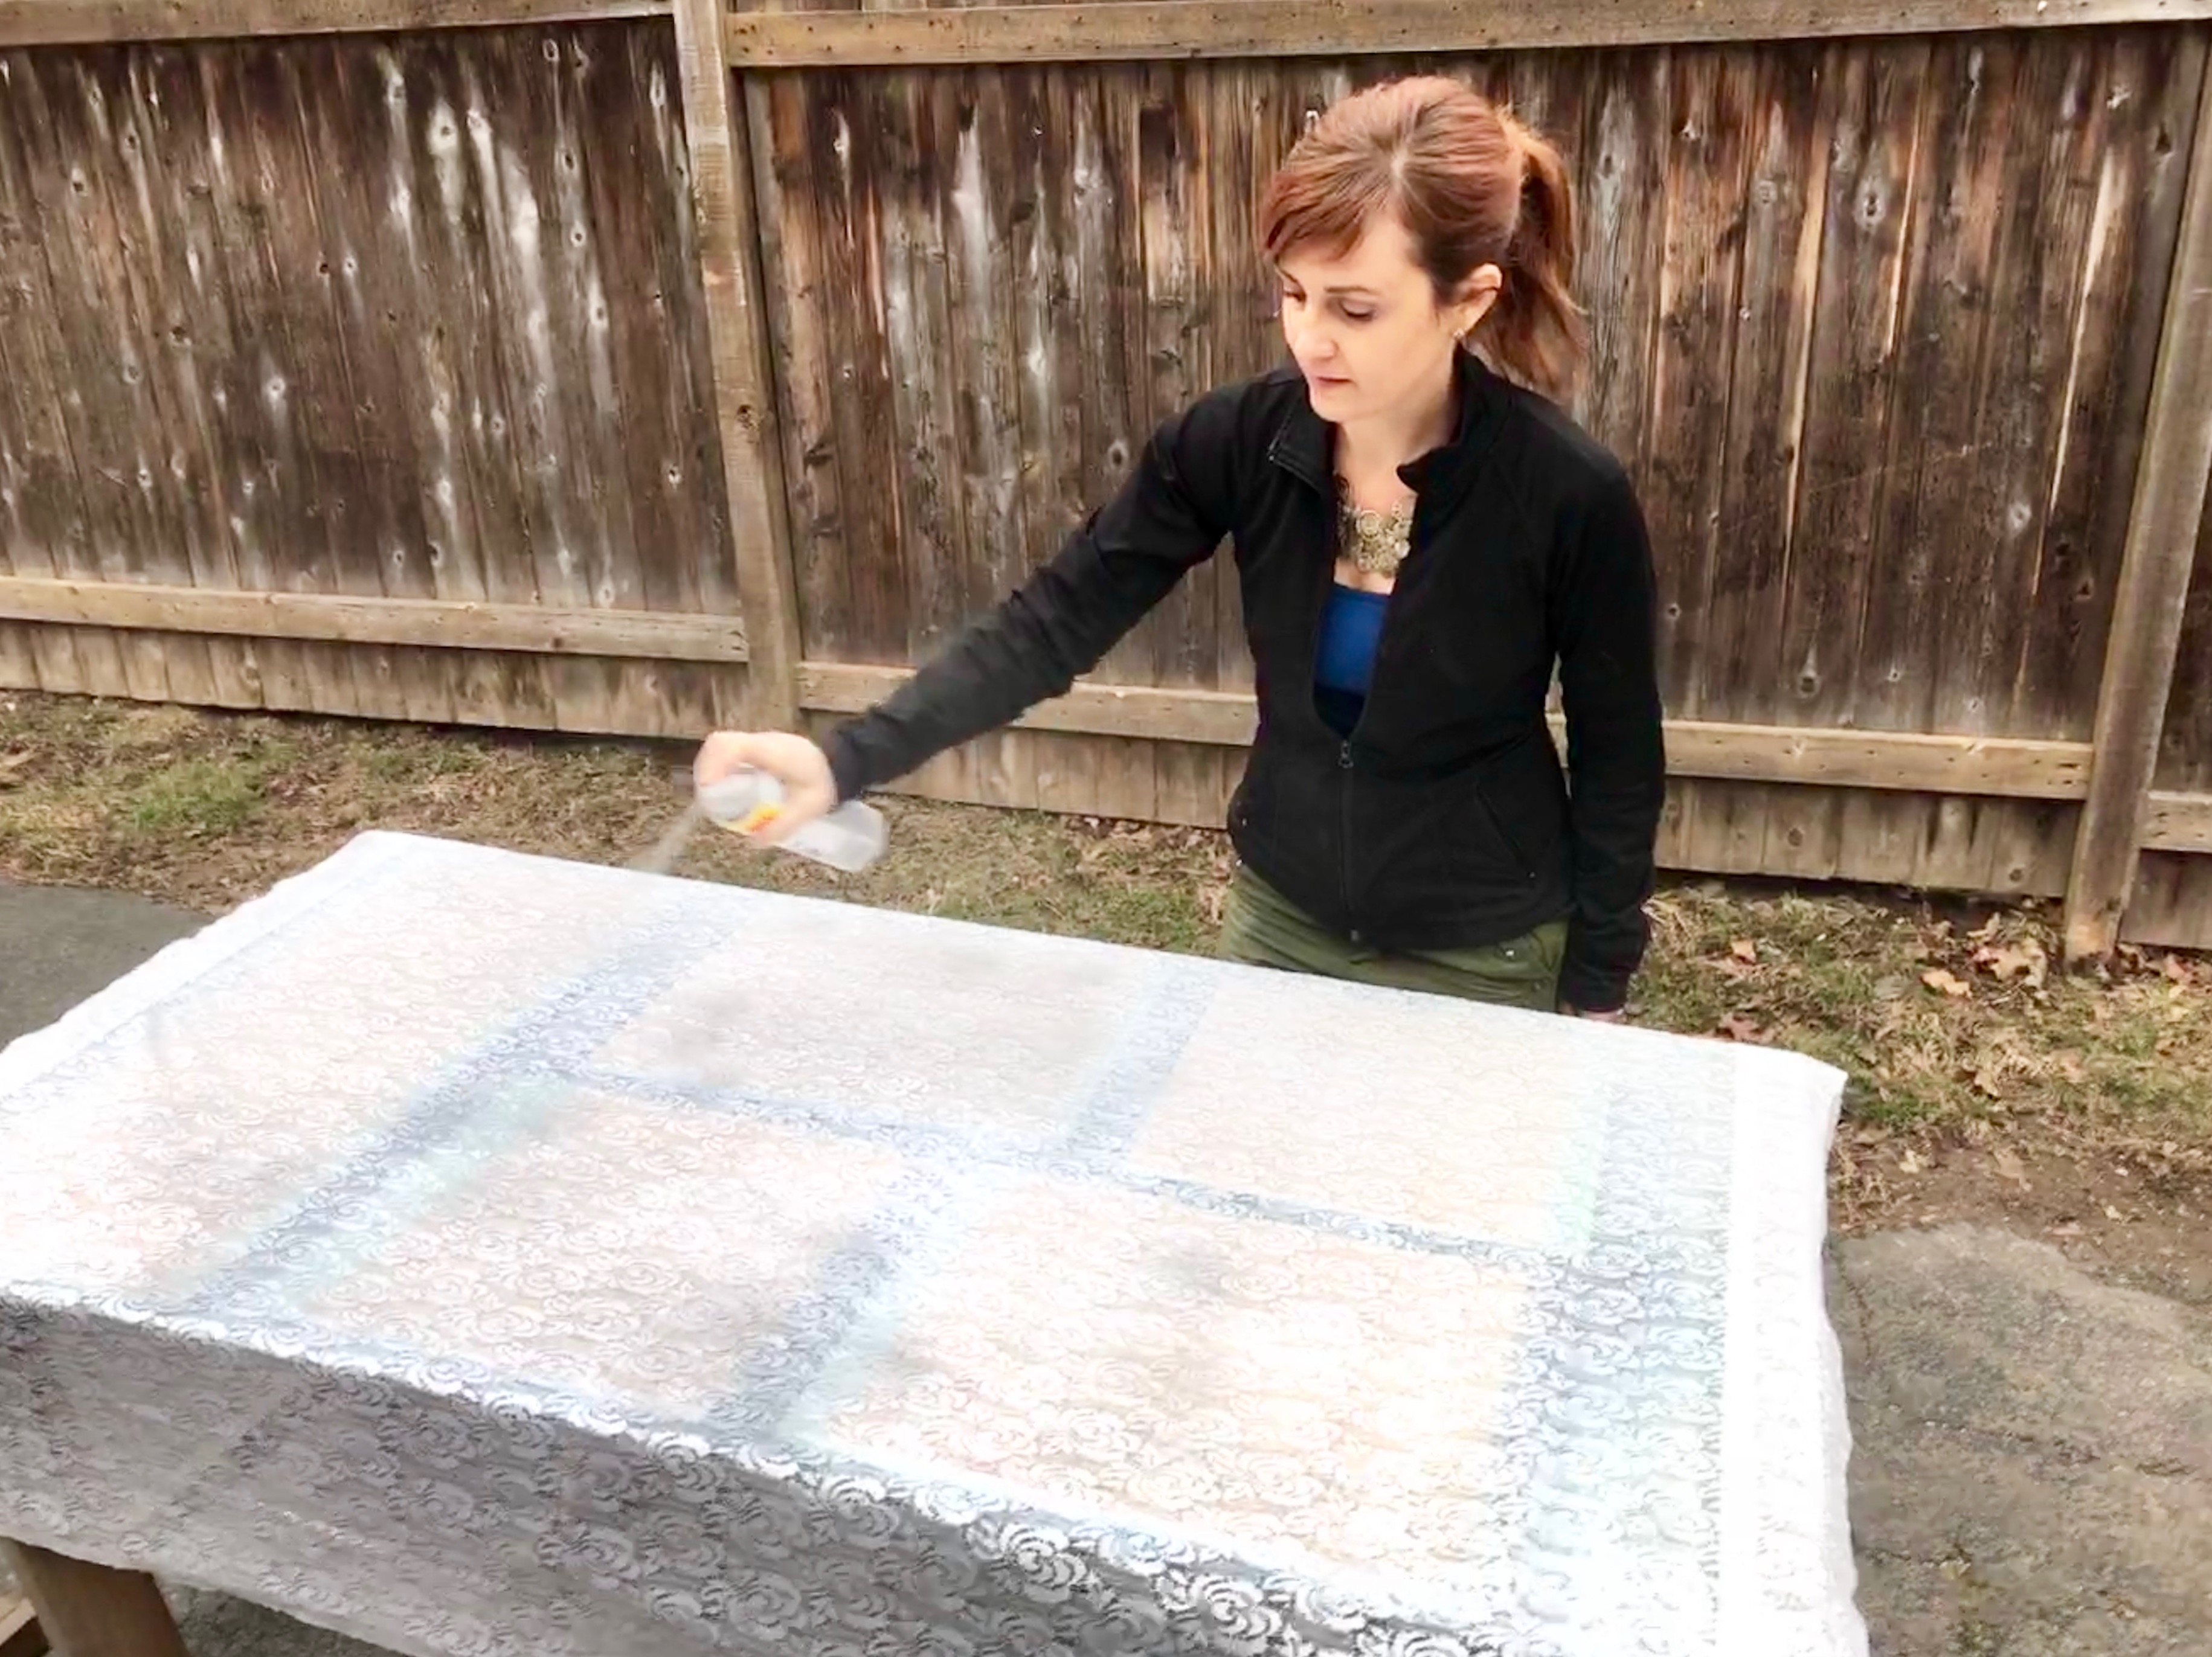


And I’m painting a set of lace curtains that were part of our home when we moved in. The previous owner of our home had several layers of curtains on every window, and I’ve since updated the windows to allow more light into the house. But I save some of the curtains for future projects like this one.
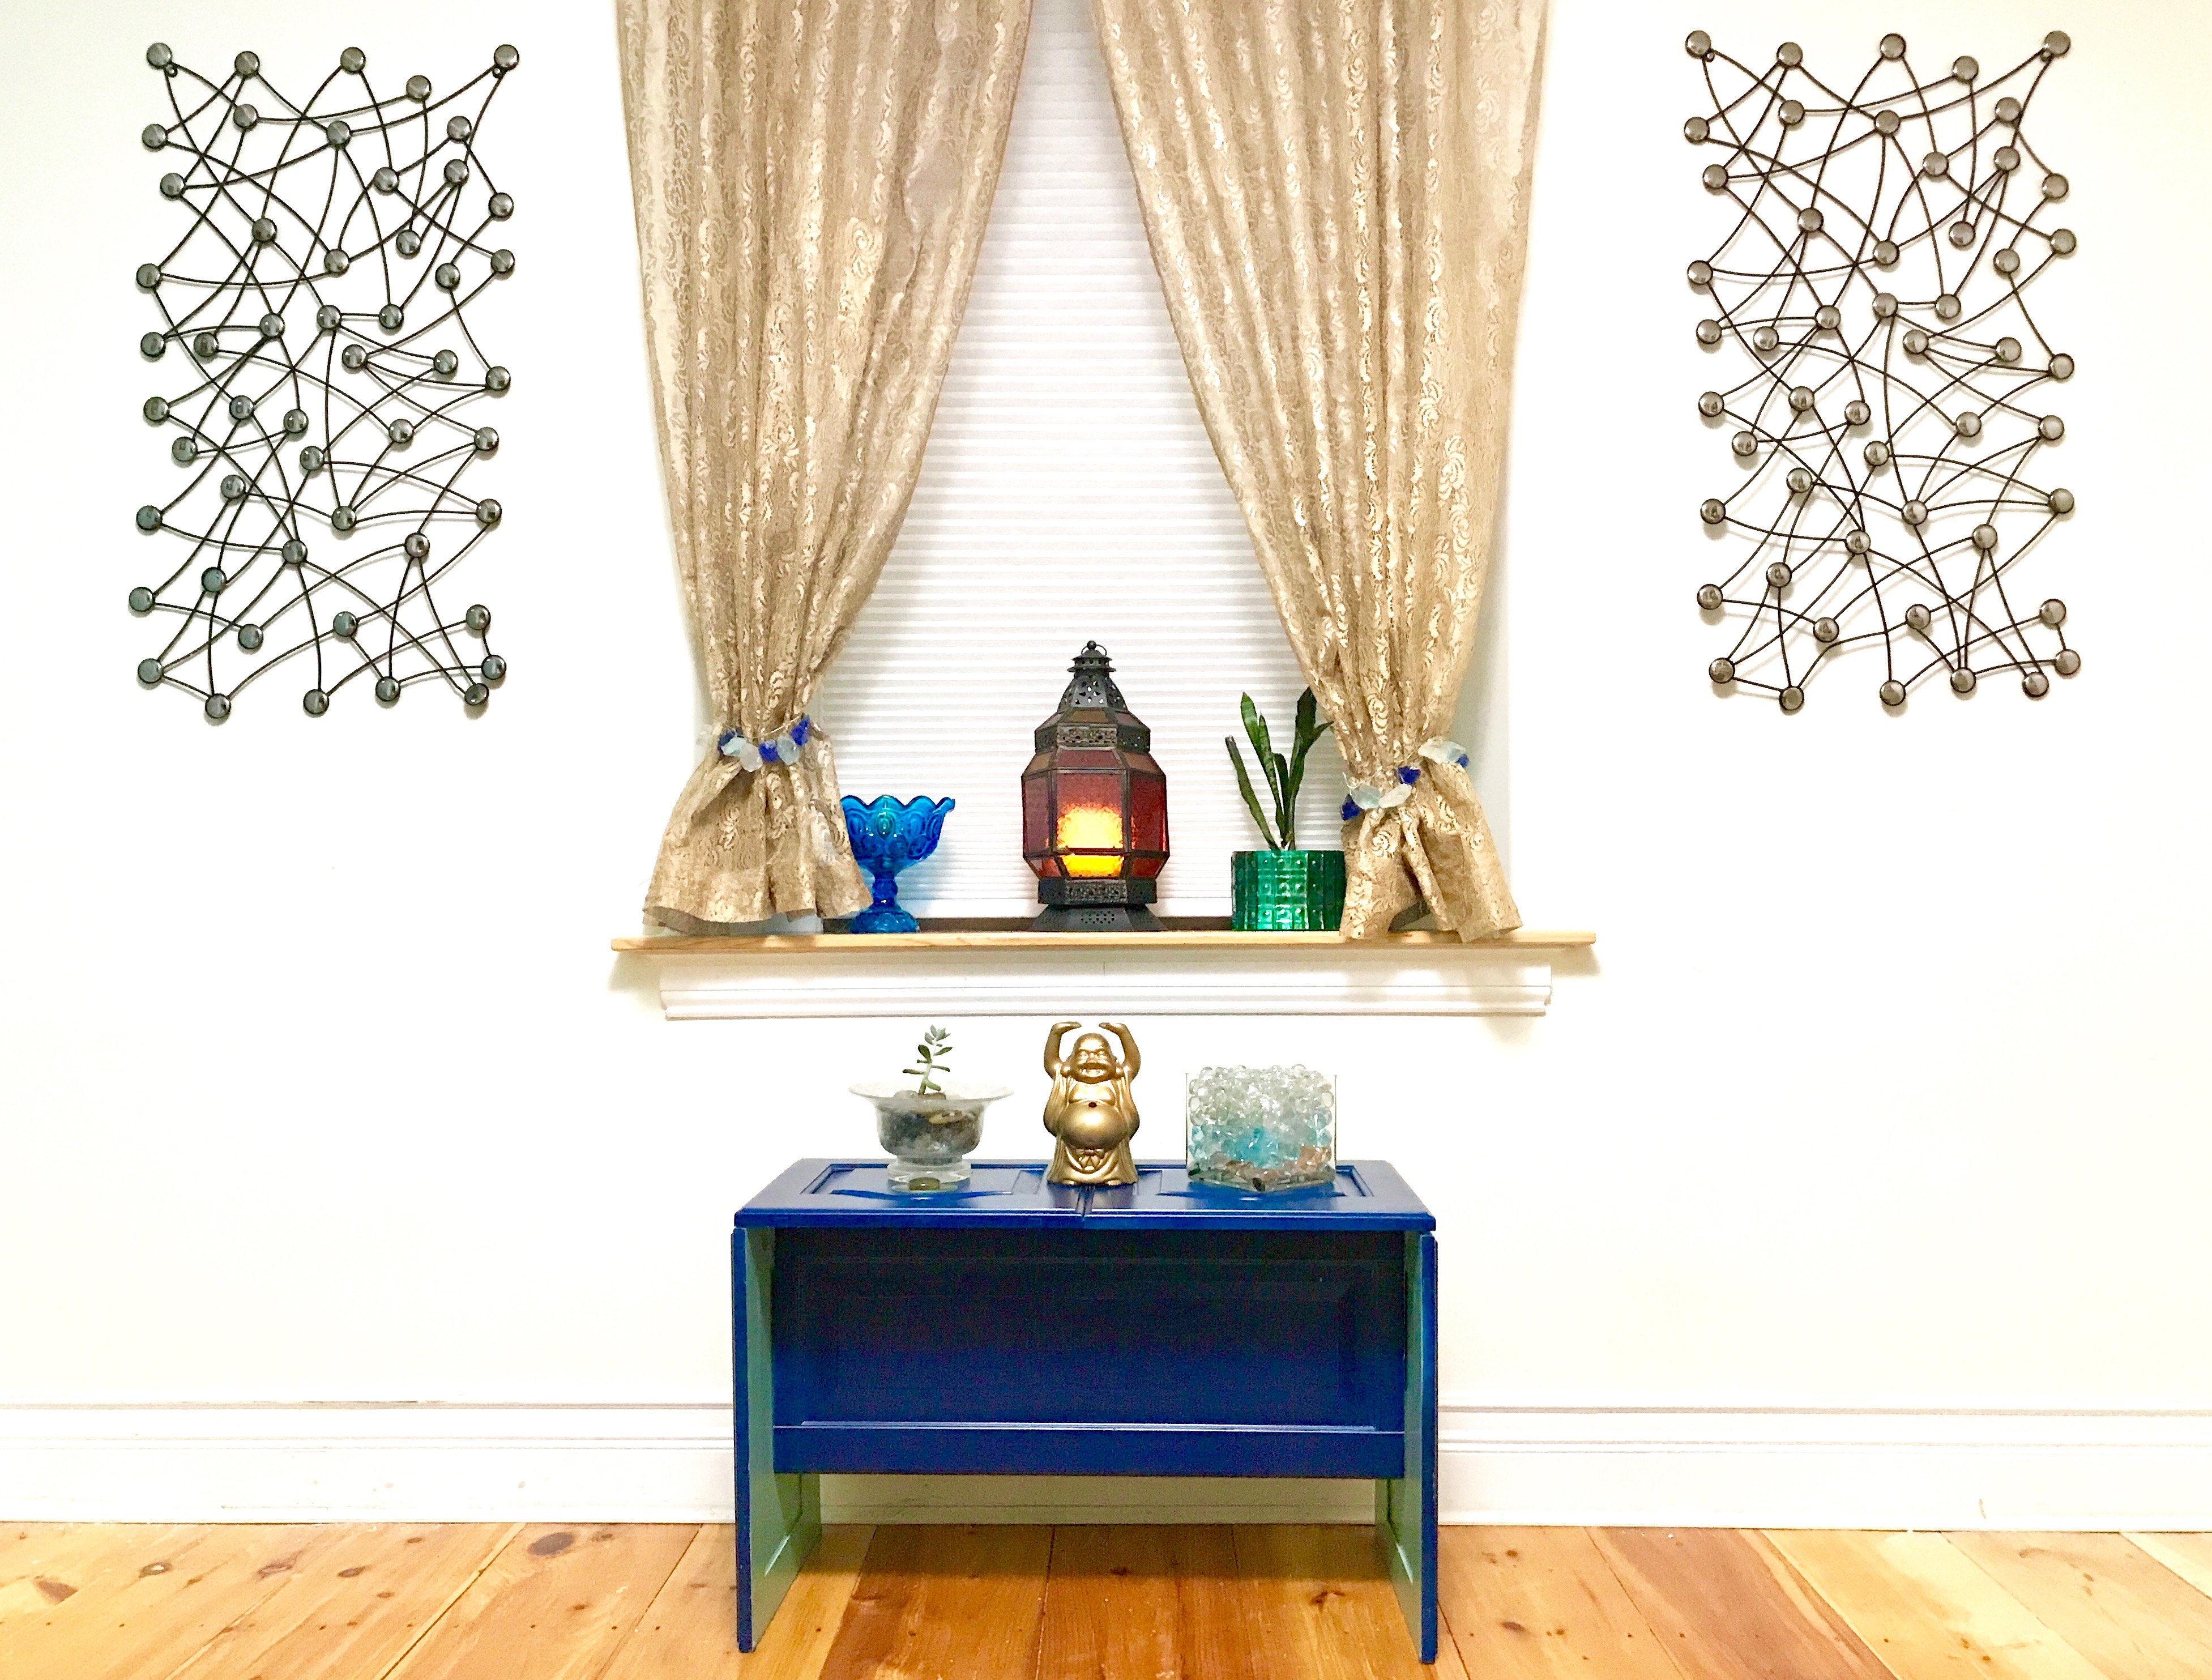


I used one can of ColorMaster Paint + Primer – 25% More in Metallic Brilliant Gold and two coats for each of the two panels of lace curtains.
With the gold lace curtains hung, I added a few more décor elements to add shine and meaningfulness. This was the perfect weekend project and now the little space is ready for my morning yoga, and my husband’s daily meditative intentions.


Note: Krylon has provided me with the spray paint products used in this project. I was also compensated for my time and this blog post. All opinions and positions expressed here are my own and do not necessarily reflect those of Krylon. For more information about DIY painting projects, please check out Krylon.com.






Only wanna comment that you have a very decent internet site, I like the pattern it actually stands out.
Some genuinely nice and useful information on this website , also I believe the design and style has got wonderful features.