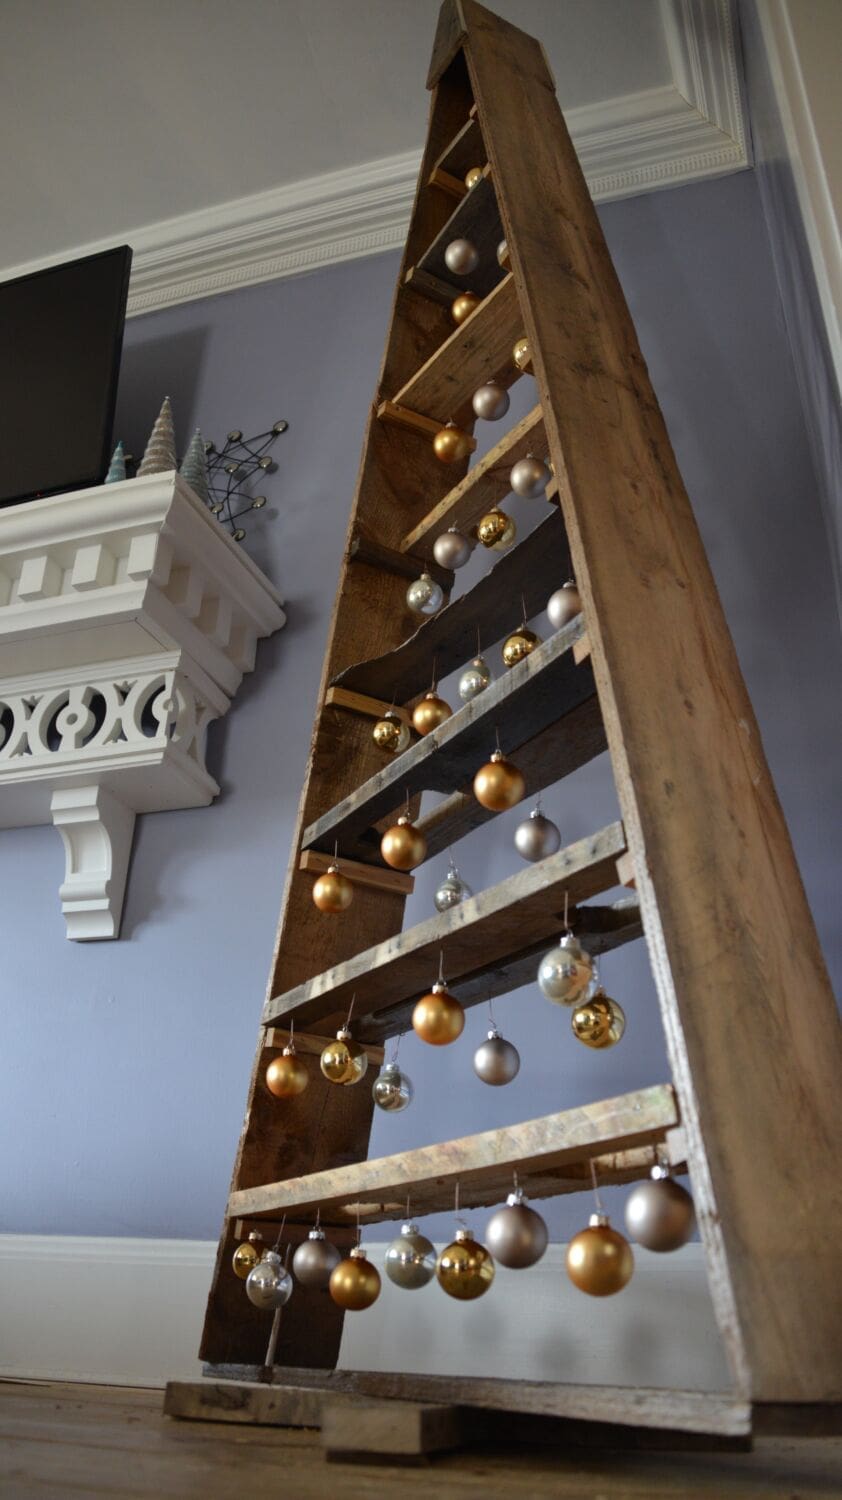
I love pallet projects. And I love my daughter, so I made this special pallet jewelry box just for her.
Keep reading to find out how I made it.
My daughter is growing up. Quickly. And, newsflash: I’m not perfect, despite having a DIY website. I know, seems hard to believe (it’s hard to believe, right?).
I’m divorced from my daughter’s mom (not Theresa). And if you’re a divorced dad, like me, you might know parts of this story and why making this for my not-so-little girl was one of those special moments for me.
Before guys in our club can hang out on sidelines, in the leisure time many of us don’t have, we spend lots of time working and writing checks. Alone.
It sucks. Not the work, not the checks. But with only 24-hours in each day, it’s easy to miss most of the fun.
And, I’ve made somewhere around ALL the divorced-dad mistakes there are to make, I think. At least it feels that way sometimes.
None of that is her fault. It’s mine. I’m in it for the long haul. Always have been.
So after a few texts she and I shared over the holidays I thought about things I could make her. A jewelry box came to mind. (I’d make her a health insurance box…but I digress…)
Also, since the world is apoplectic about pallet projects, I added that into the mix. Actually, I’m glad I did. I love this thing. So, divorced dads with an penchant for projects and children you love, here’s how I lit a little fire in the darkness.
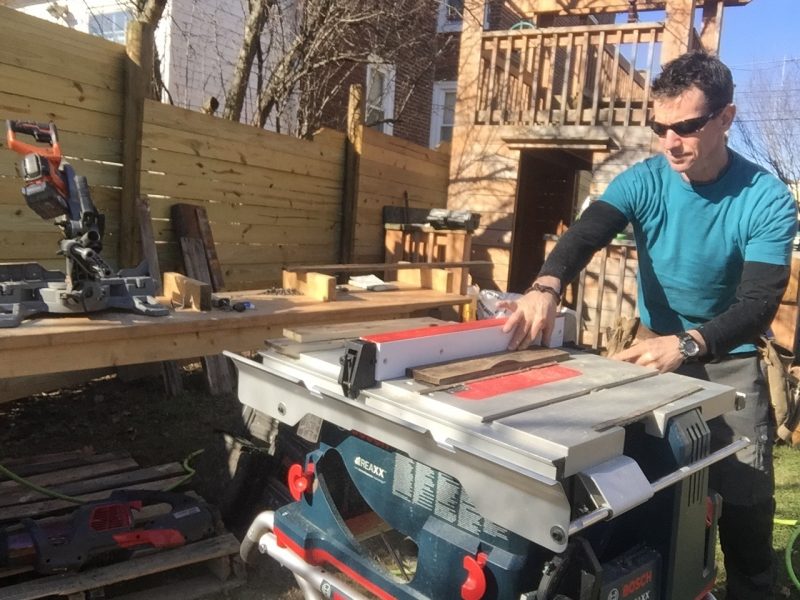
The lid and box bottom are glued-up panels of pallet wood. To make the edges reasonably straight, I cleaned-up them up on the table saw, just taking a sliver off any edges that would get glue.
Pallet projects tip: Squeeze the glued pieces together with clamps just enough to snug them and squish out some glue. Less is more here.
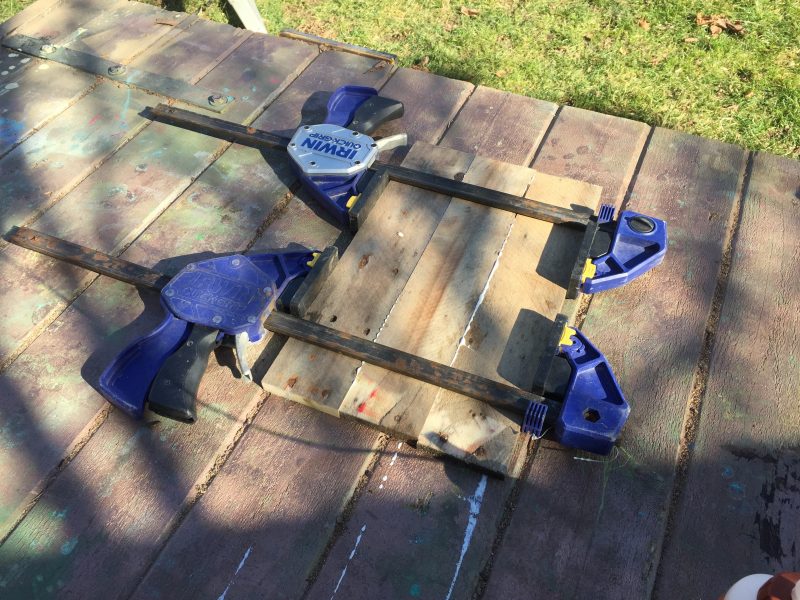
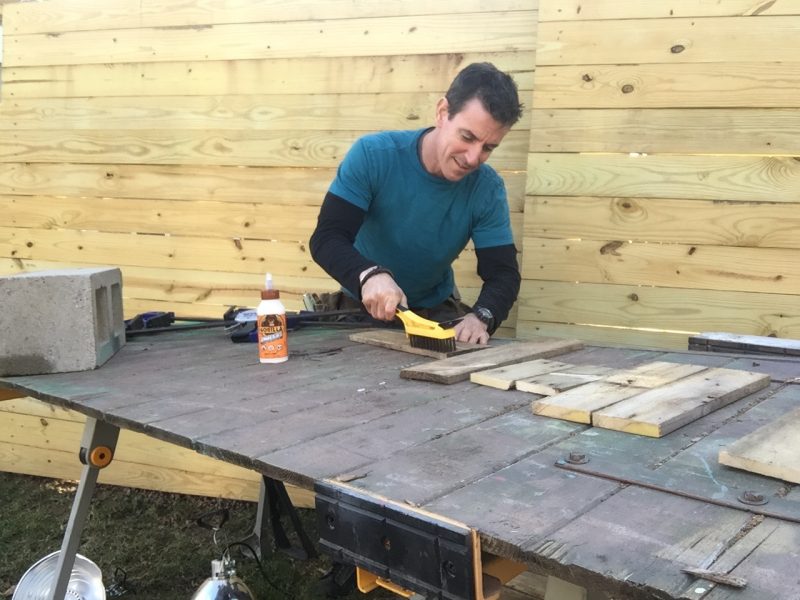
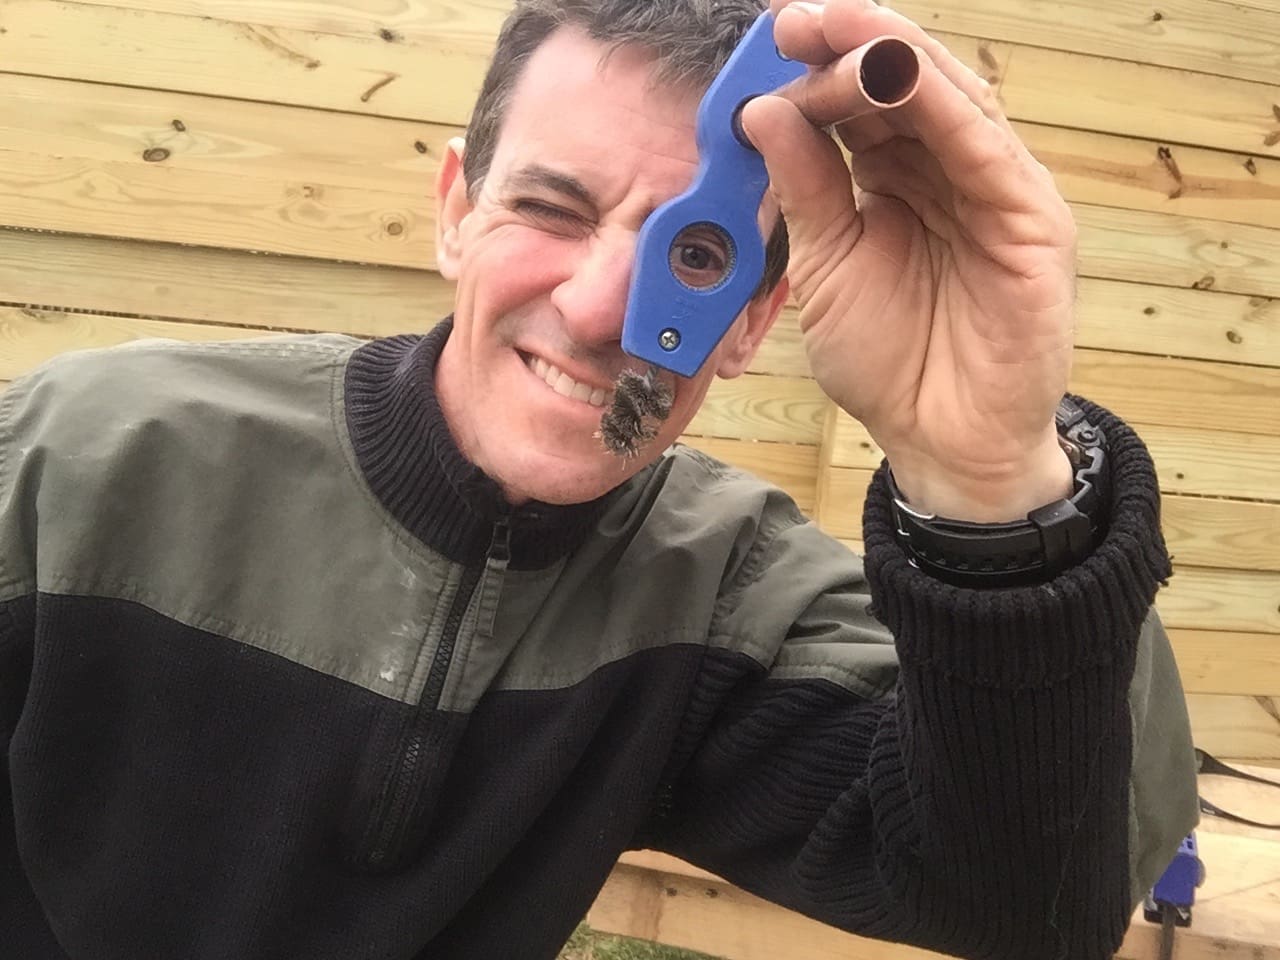
Like anything you’d find that lives on a truck or in a warehouse, pallets are dirty. Even if they look clean and new. I always use my Hyde wire brush to scuff and clean them. And because this is a box, it’s about 30,000 percent easier to do it when it’s parts of a box. Not an actual box.
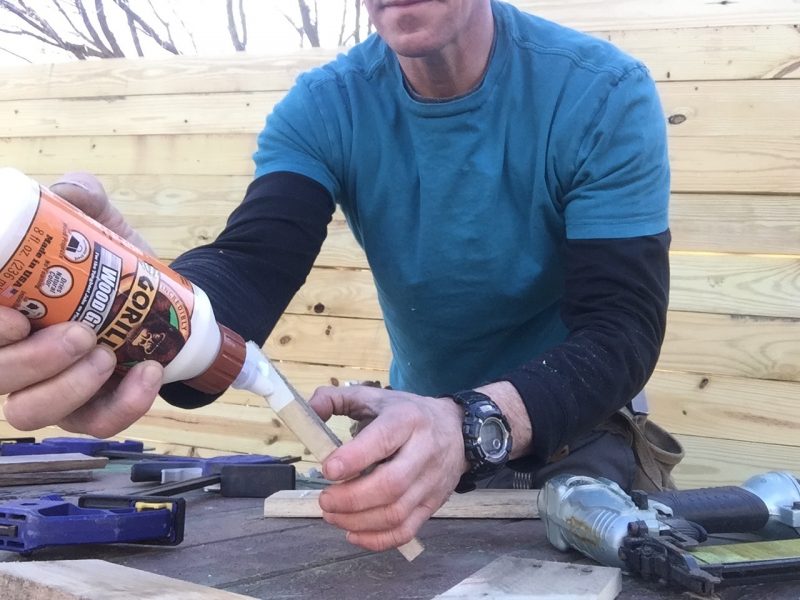
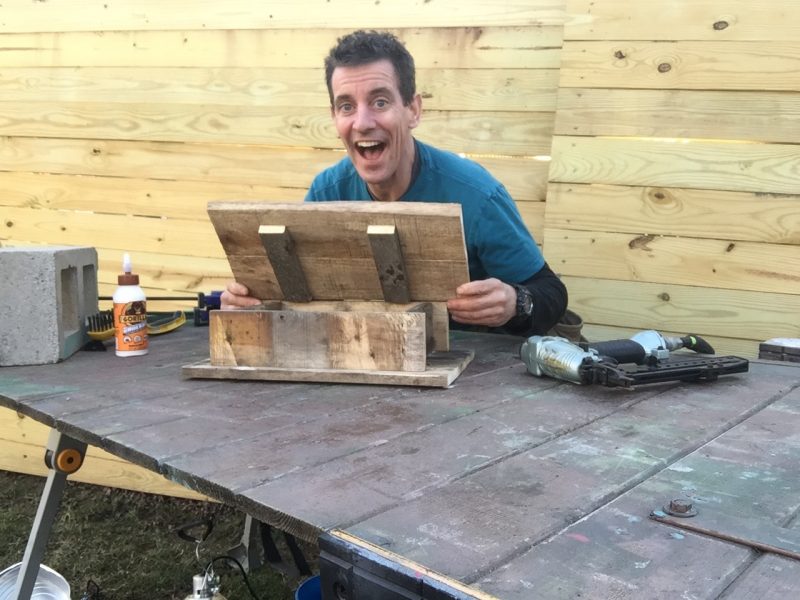
I used Gorilla Glue wood glue and my mighty pneumatic stapler for this project. Just a little glue on both surfaces does the trick.
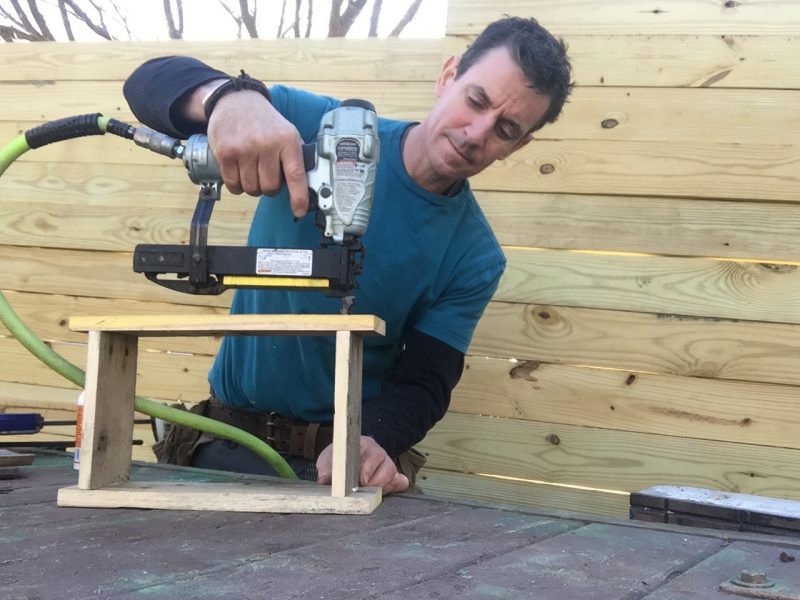
Attaching pieces at a right angle to each other can be frustrating. To make it a little (OK, a lot) easier, I snugged the pieces together with a clamp. Be careful to drive fasteners straight to prevent blow-outs.
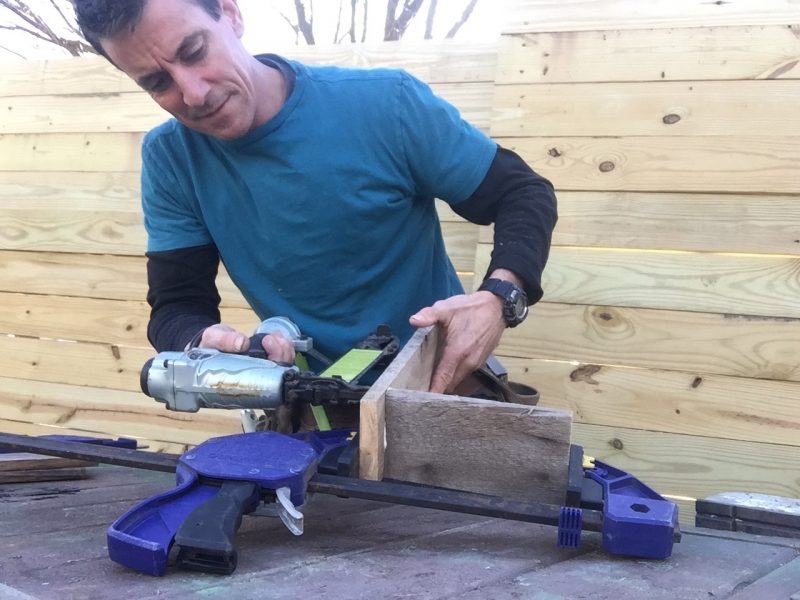
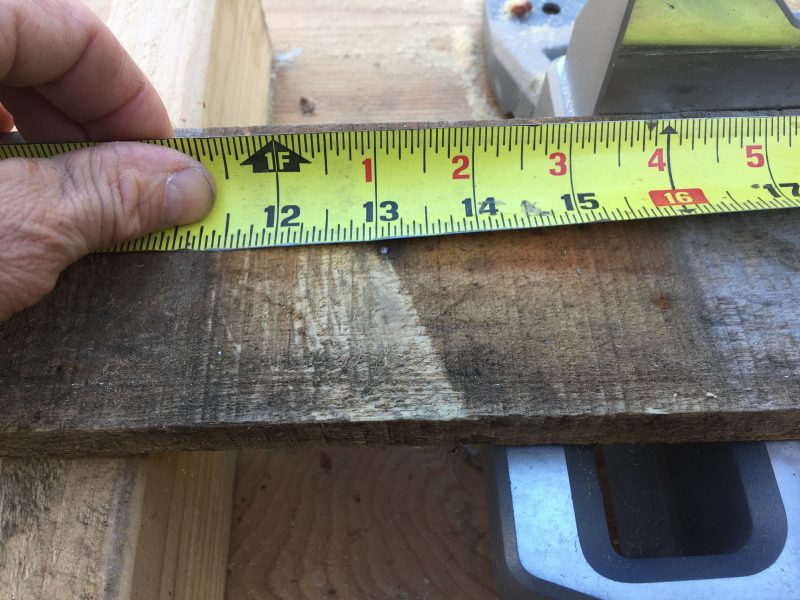
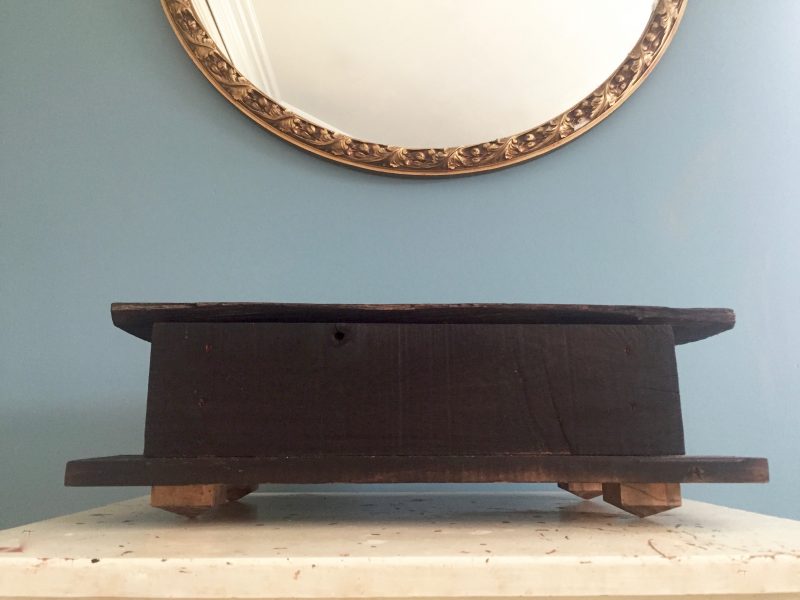
Here’s the body of the jewelry box. The front overlaps the sides 1-inch. This is more than just a design element, though I like it. I’ve found doing pallet projects that attempting miters like you would in actual woodworking is often a fool’s errand. Even short pieces like these are twisted and mangled, which makes closing miters and making things square near impossible.
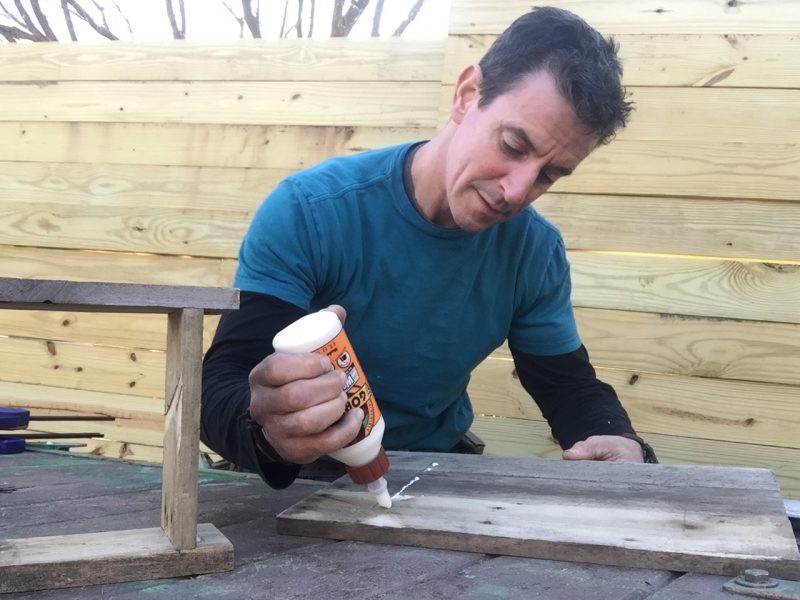
I place the jewelry box body on the bottom panel and trace where it goes. Then I remove it, add the glue on the trace line, and put it back.
The lid is a glue-up like the bottom. So it rests inside the box, I added two ribs on the inside and fastened them with staples. If you look closely—not at me, do yourself a favor—you can see the box lid has a live-edge.
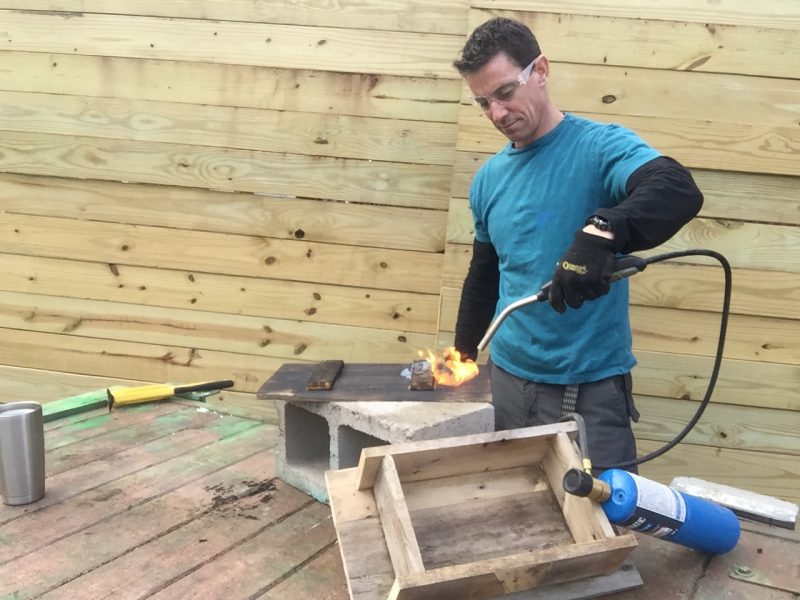
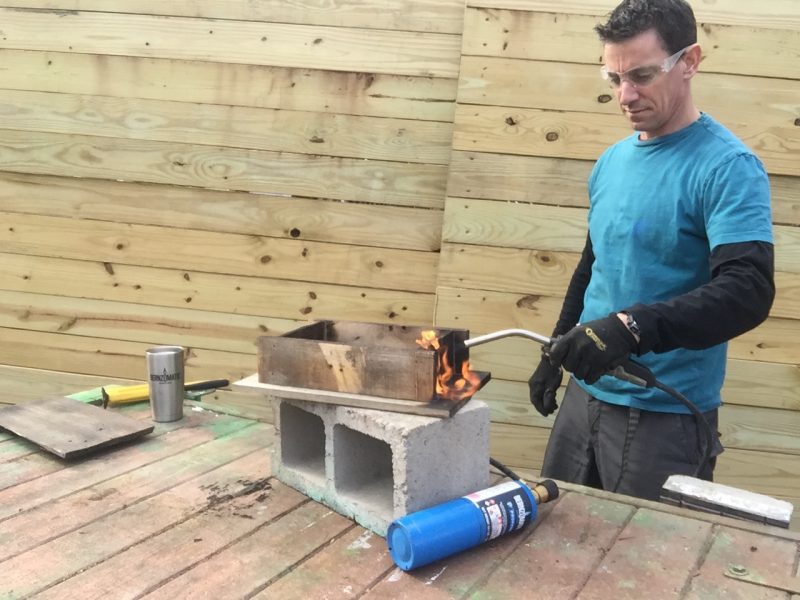
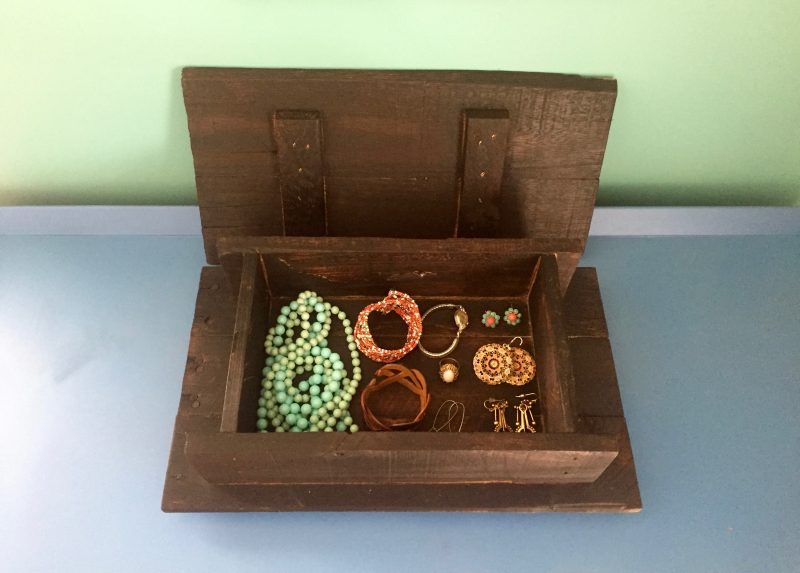
Pallet projects lend themselves to being finished with fire. I really charred this one using my Bernzomatic BX8250HT torch + hose combo and the wood turned near black. I can’t tell if it looks 1,000 years old or brand new. Either way, I love it.
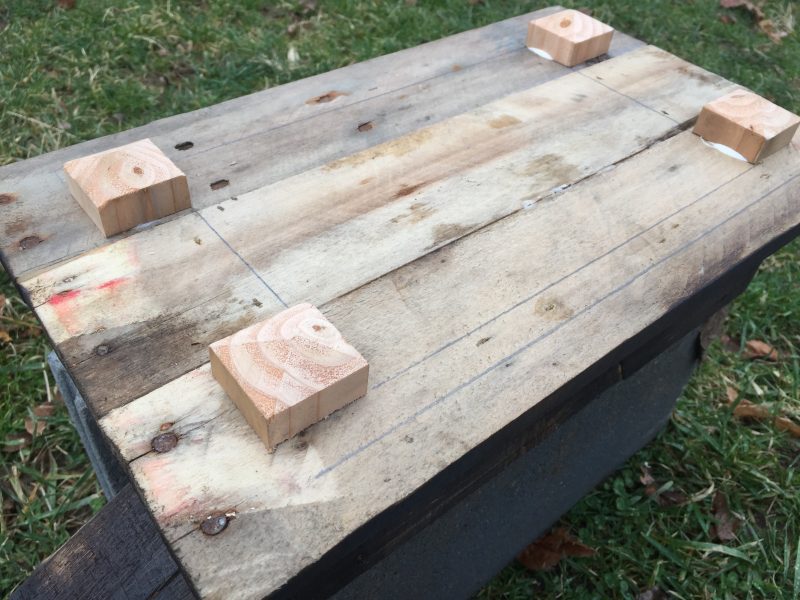
I’m in love with these pyramid feet I make on the table saw. Click the image or right here to see how I make them.
It’s small details that can make a project have an added depth. Here’s another look at the pyramid feet. Worried about furniture? Tap the points on a sander to flatten them a little.
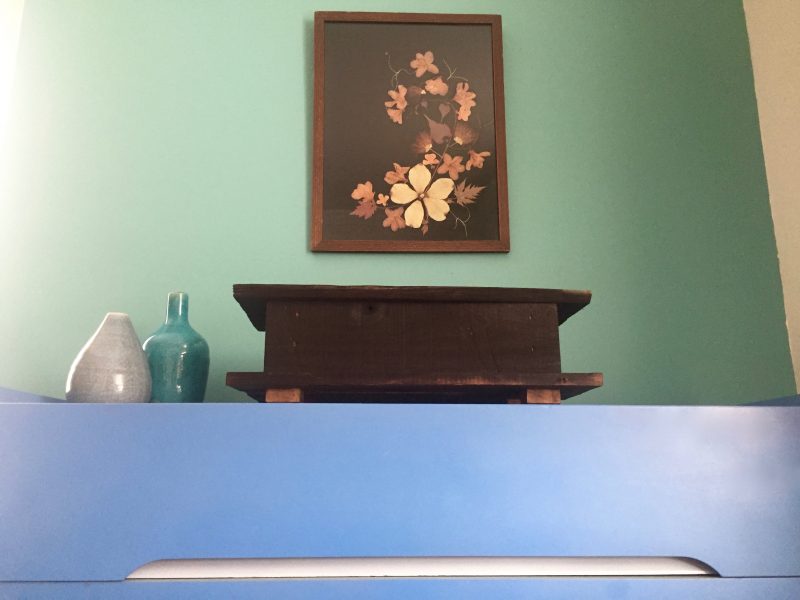
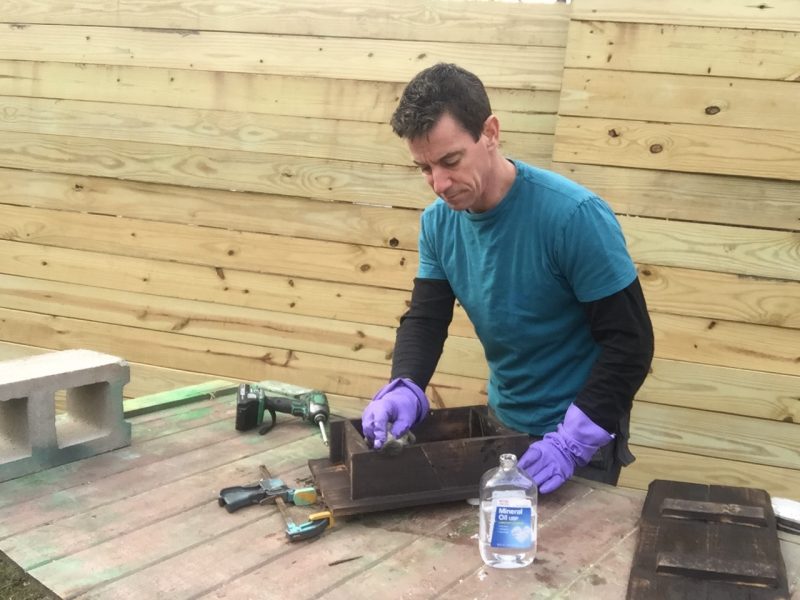
With everything assembled and all the glue dry, I wiped down the char, then added a hand-rubbed finish of mineral oil. I love this stuff. I let it dry, then wiped it down again with a paper towel.
Pallet projects tip: Always be mindful of nails. I check both sides of a piece before cutting it. Even if you don’t see a nail on the side you’re cutting, there is—often, I find—a bent nail or staple on the other that’ll knock carbide off your blade. Or worse.
