Need to remove a dog door and cover the opening? Here’s how it can be done in an afternoon.
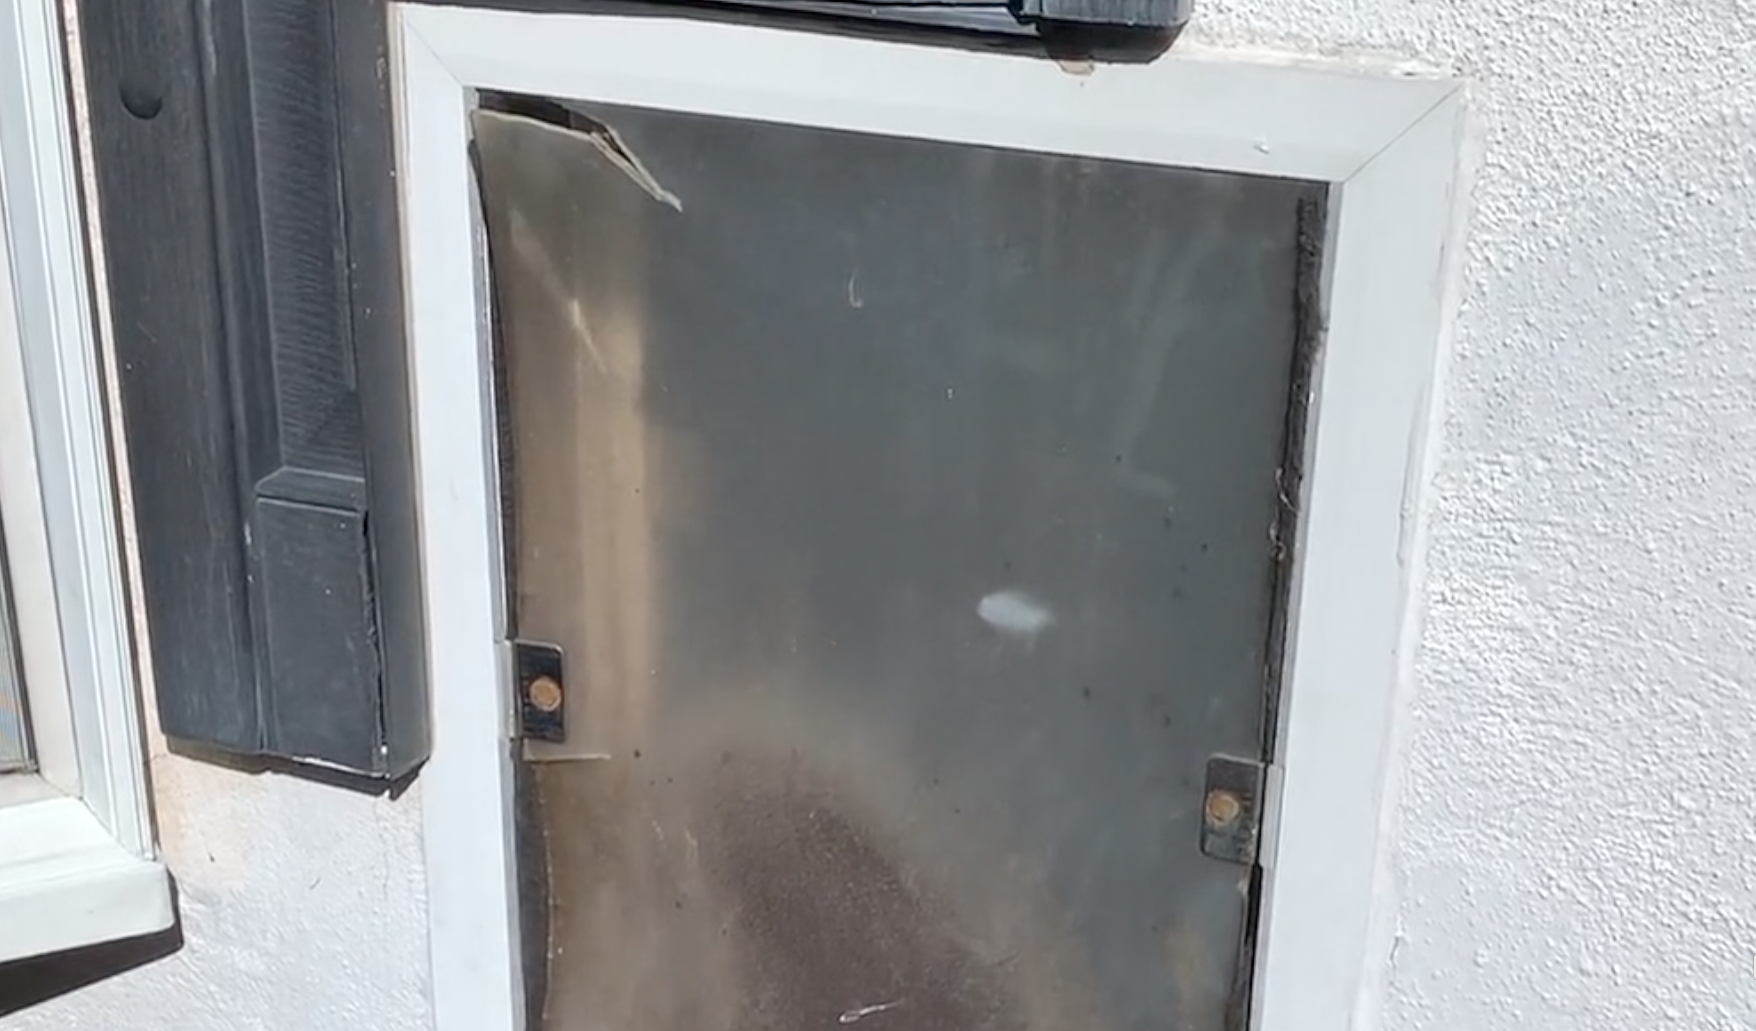
When you remove a dog door, there’s more to it than just taking it out. There’s a gaping hole where the door used to exist.
This means that the majority of work involved in this project is focused on replacing the door opening with a new secure material to cover the hole.
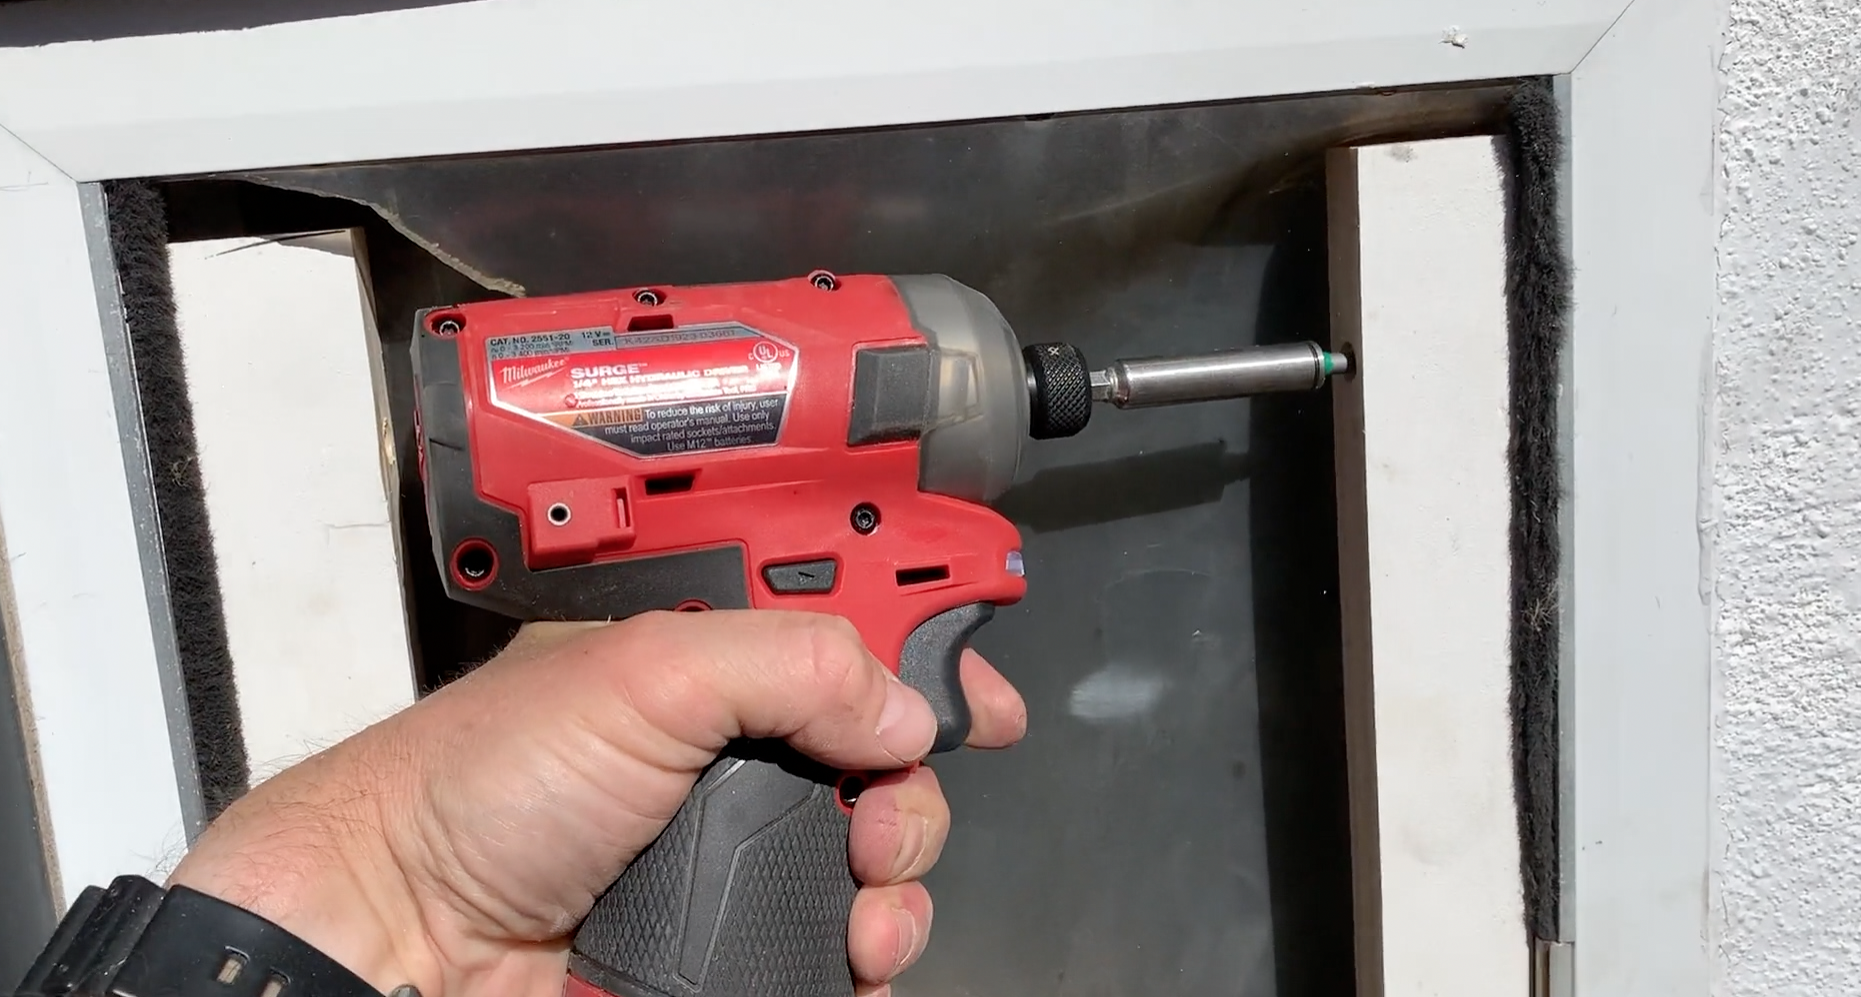
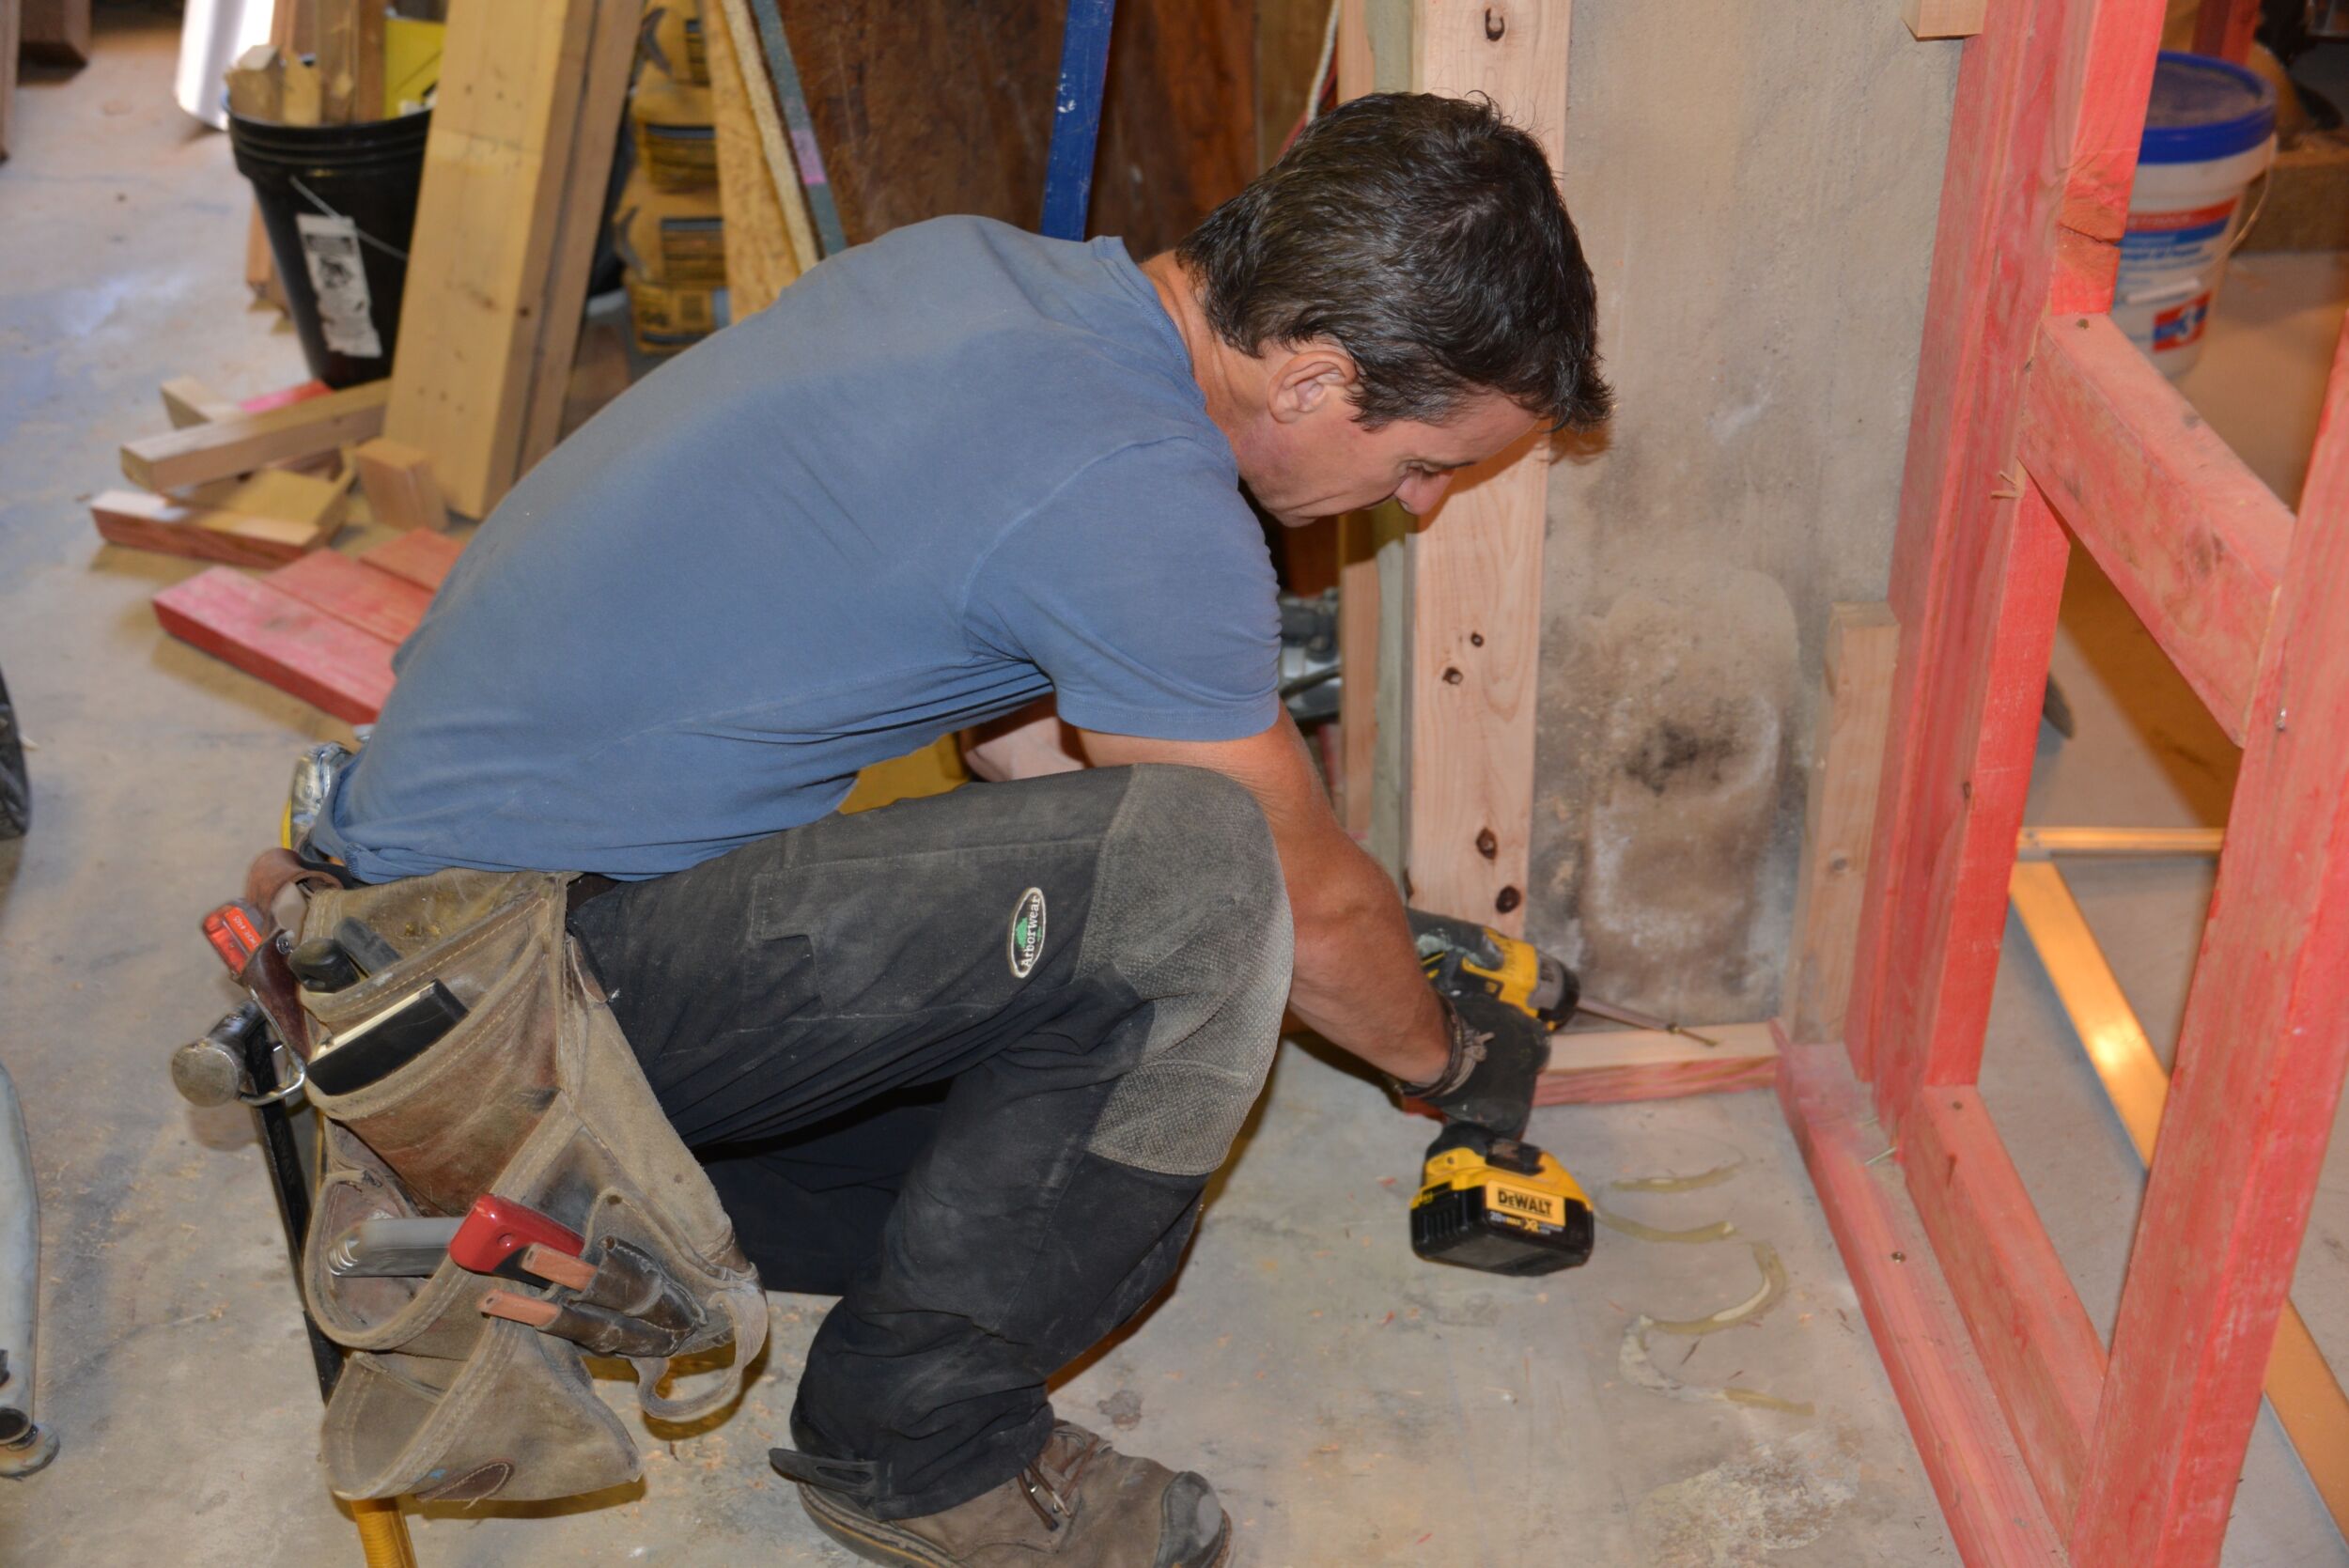
Before you begin taking out the dog door, make sure you have the materials and tools ready. And make sure you have enough time to complete the project.
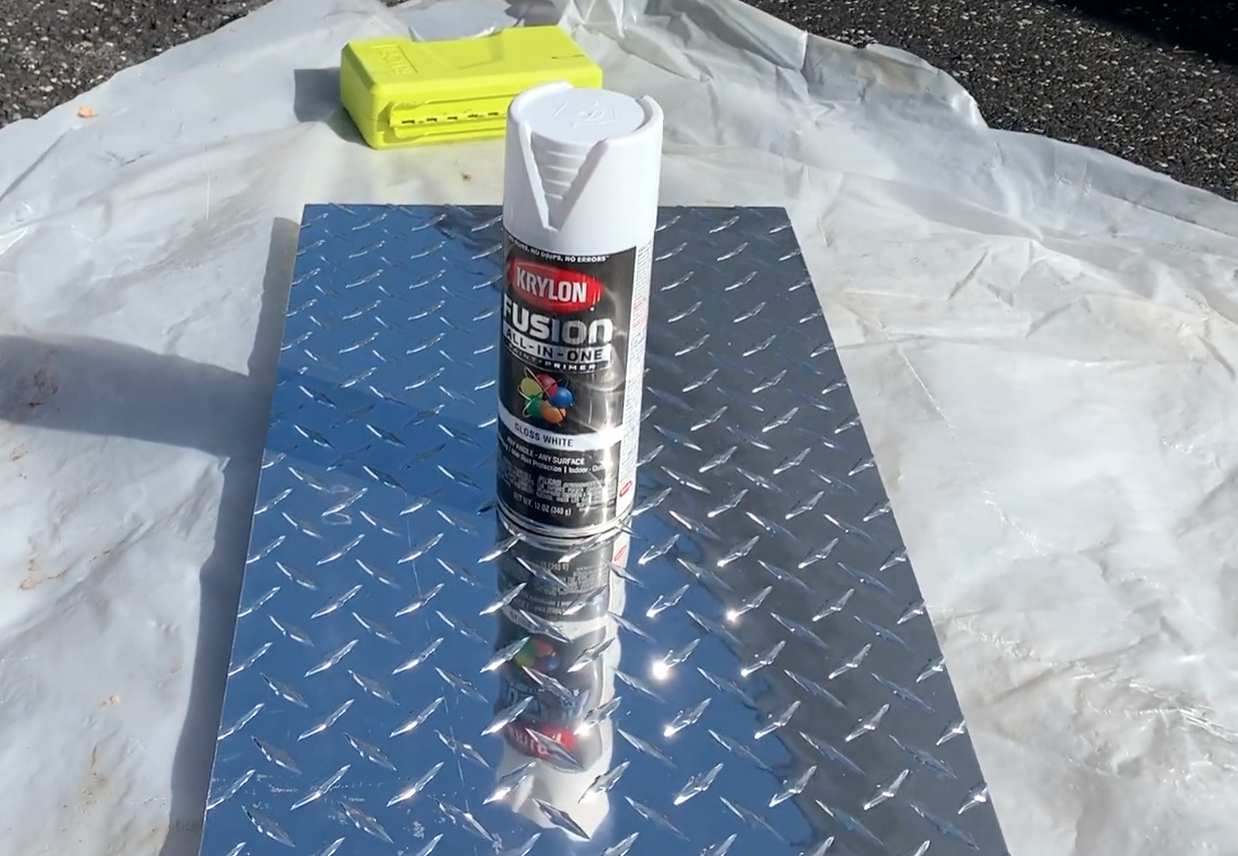
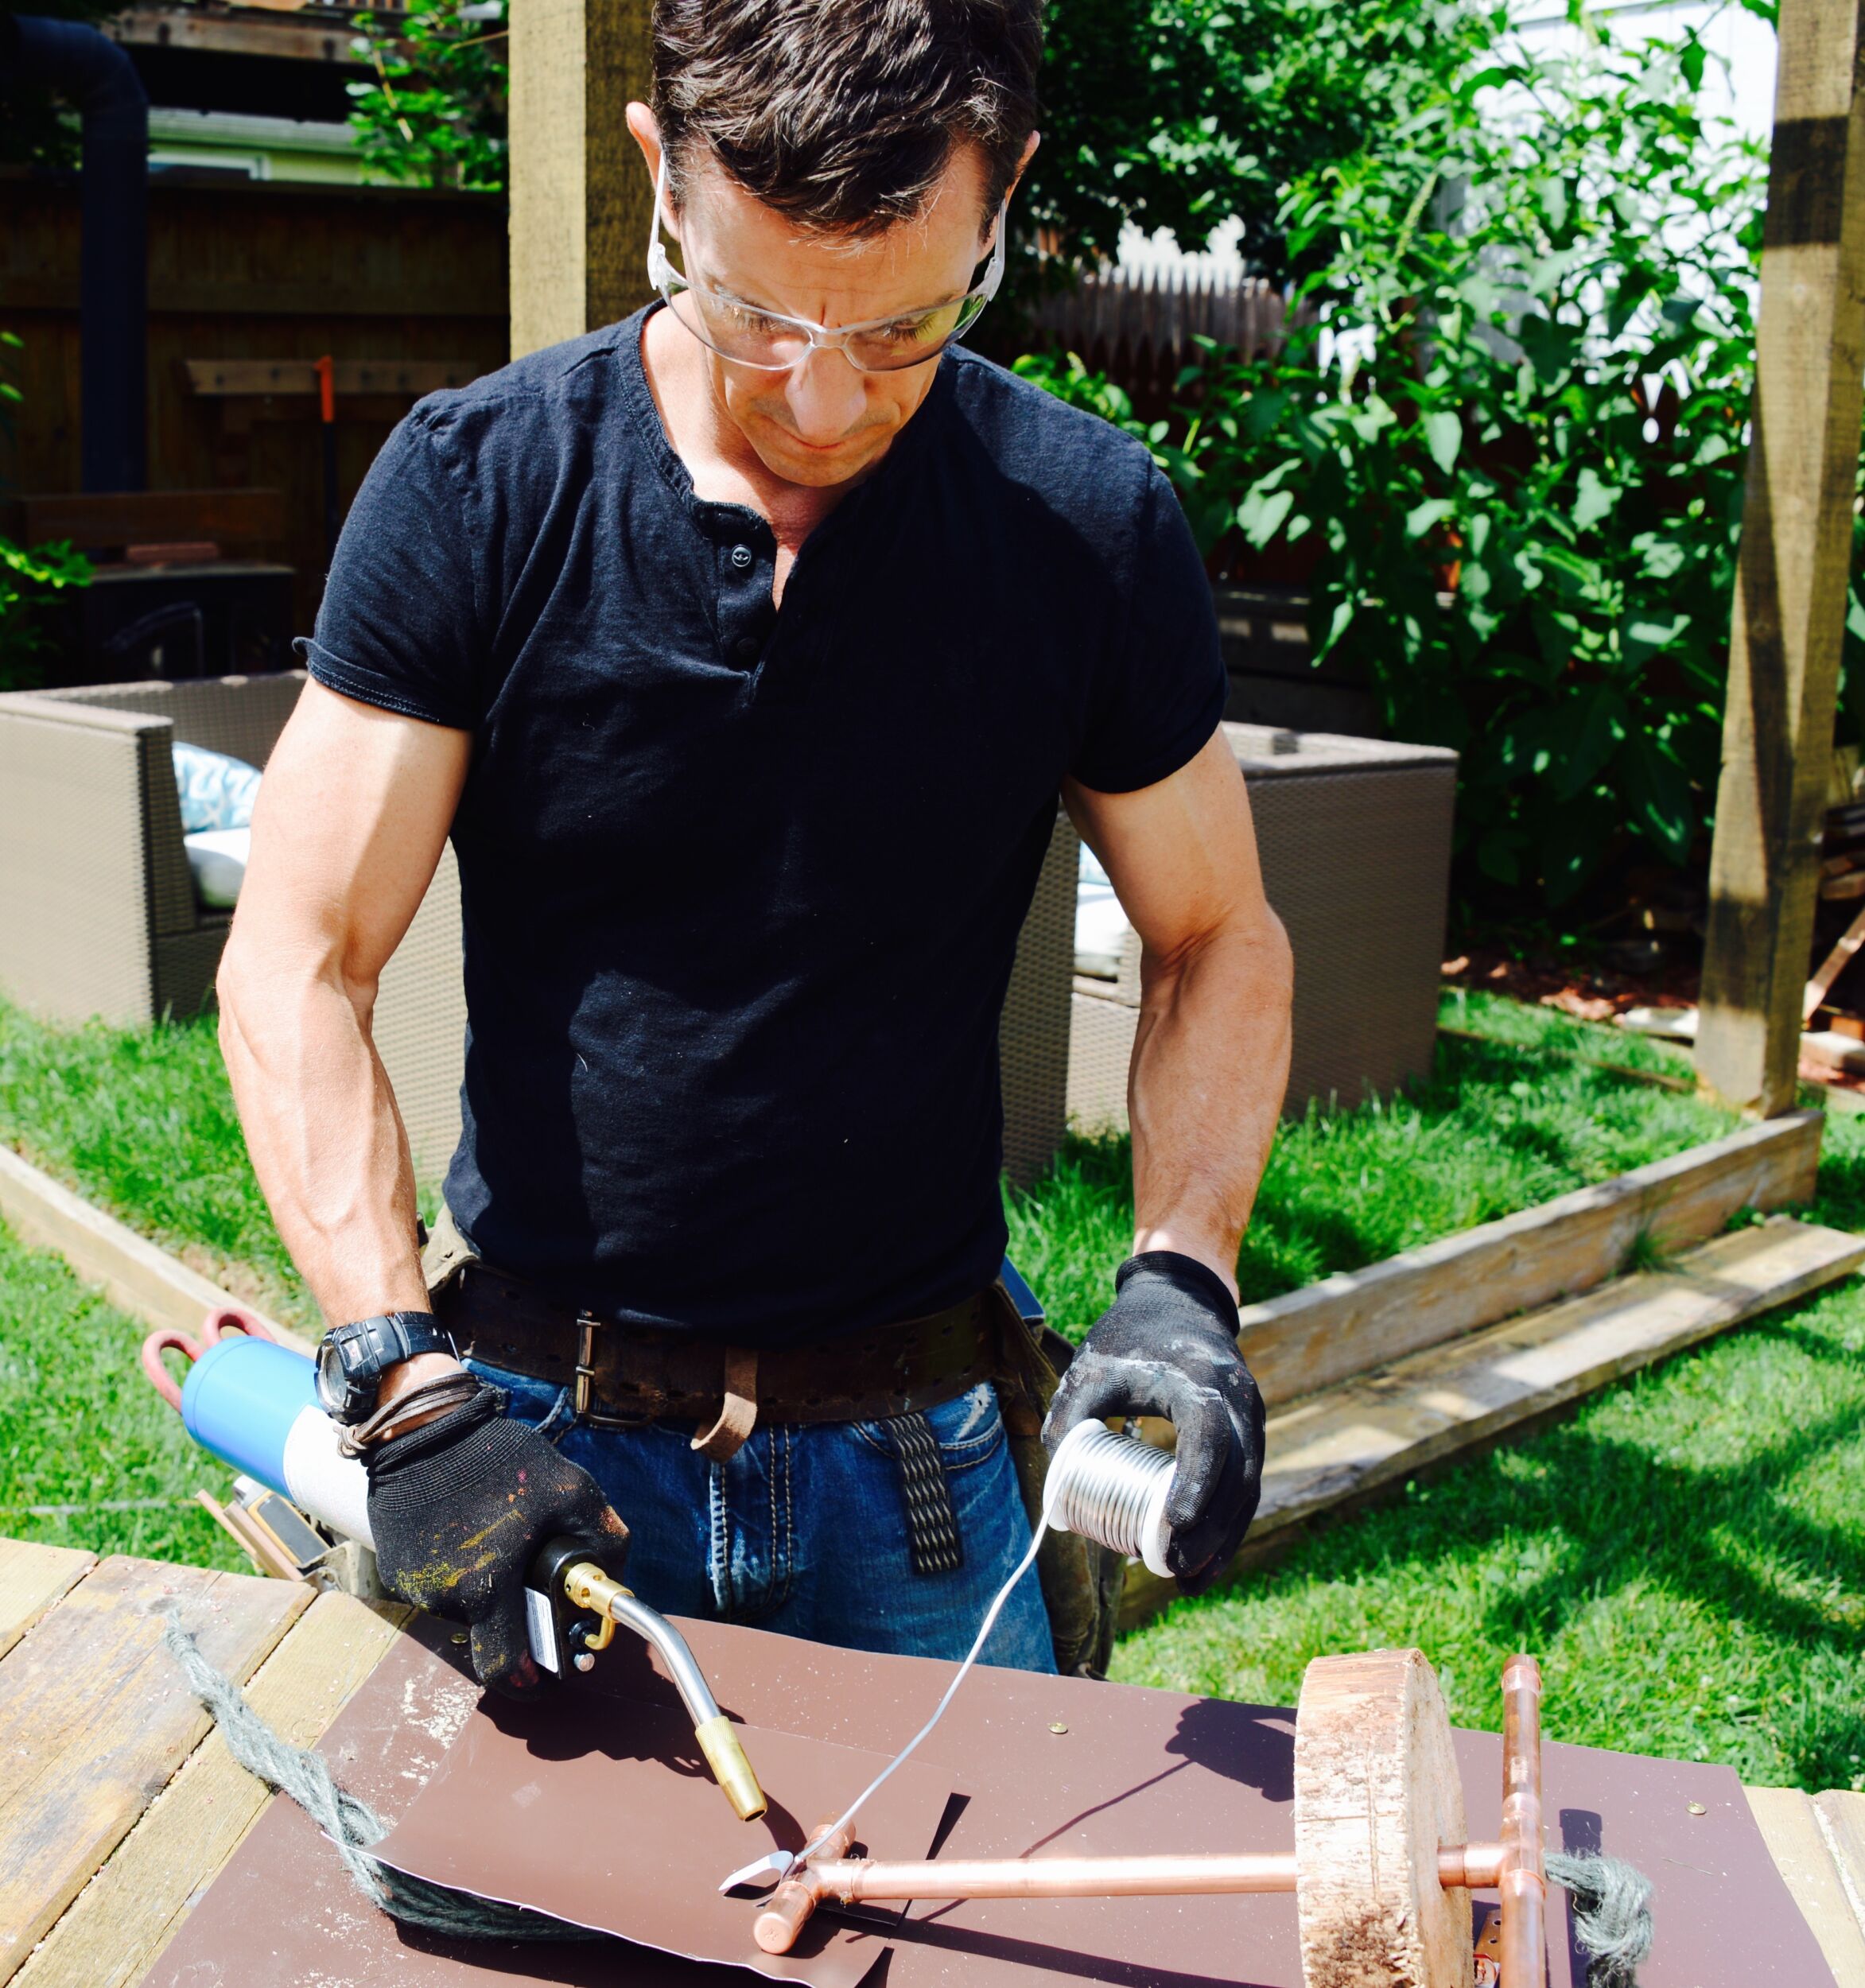
For this project, I chose diamond plate for the new material. Since the rest of the trim on the home is white, I spray painted the diamond plate and fasteners white for a more cohesive look.
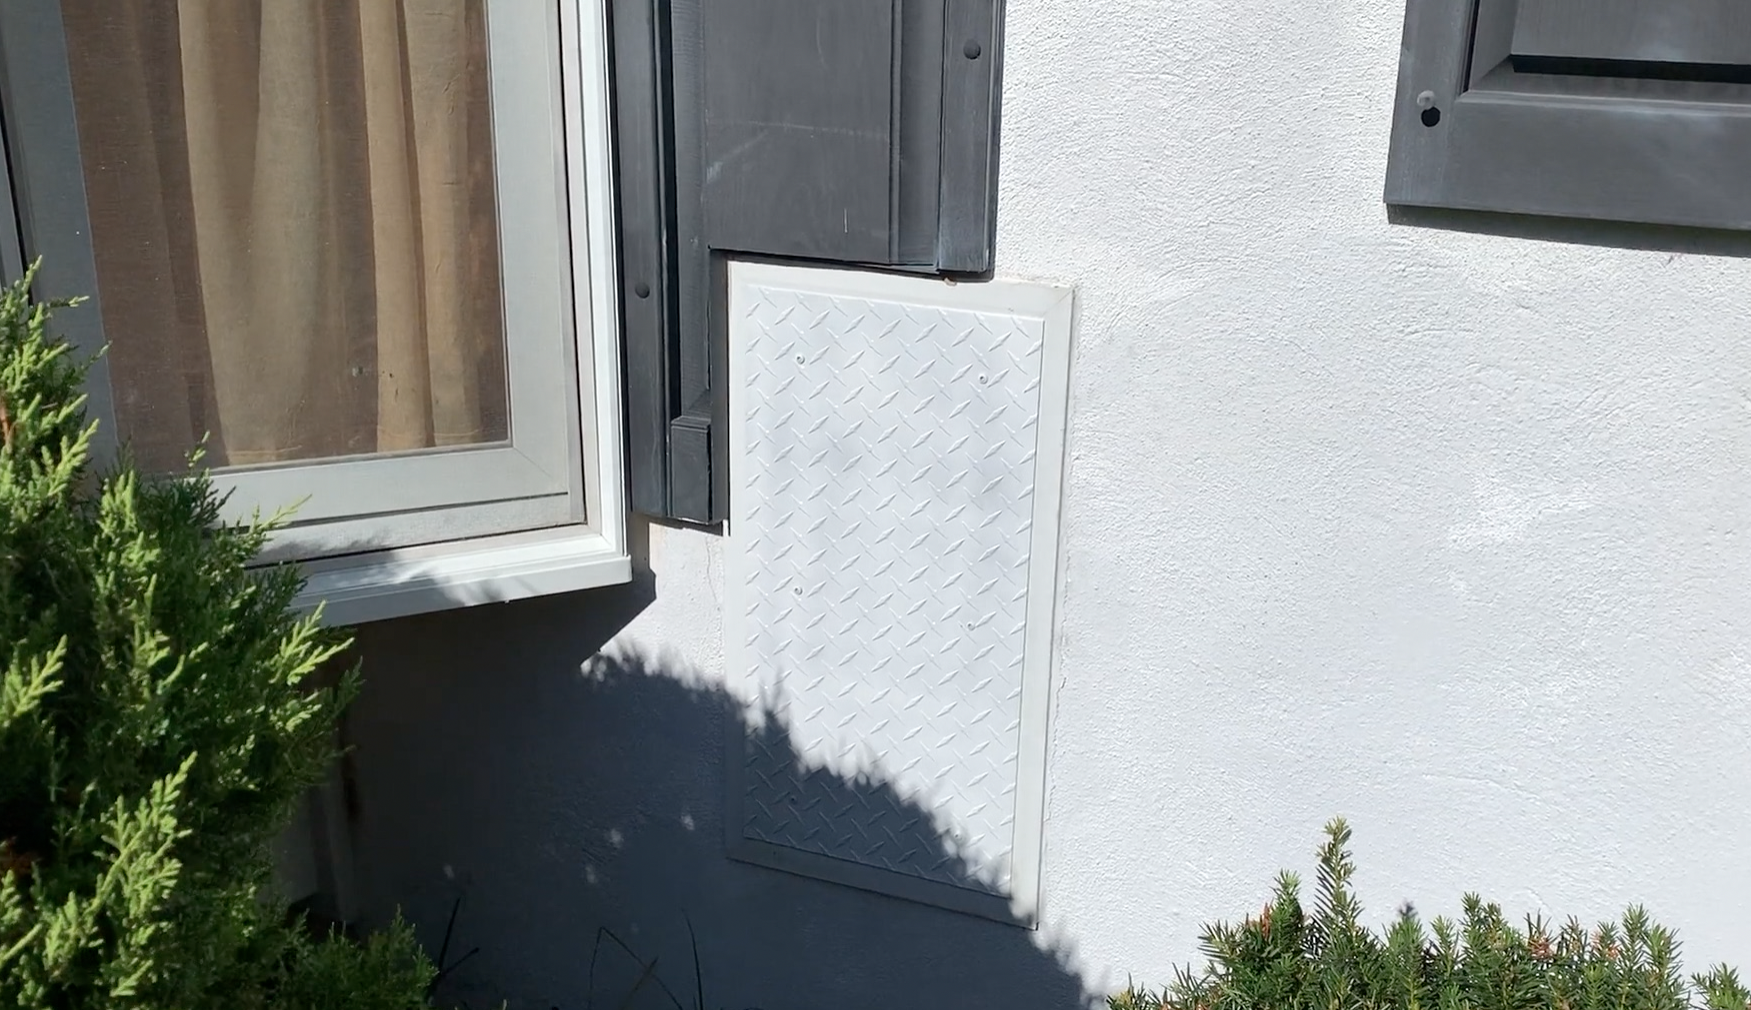
While this fix gets rid of the dog door and makes the house secure, you could spend more time to make the hole blend in even better with the house. But that’s a project that will take more than an afternoon.
Check out the video and the steps below for more details on how to remove a dog door.

About the Author


Why not caulk the bottom?