
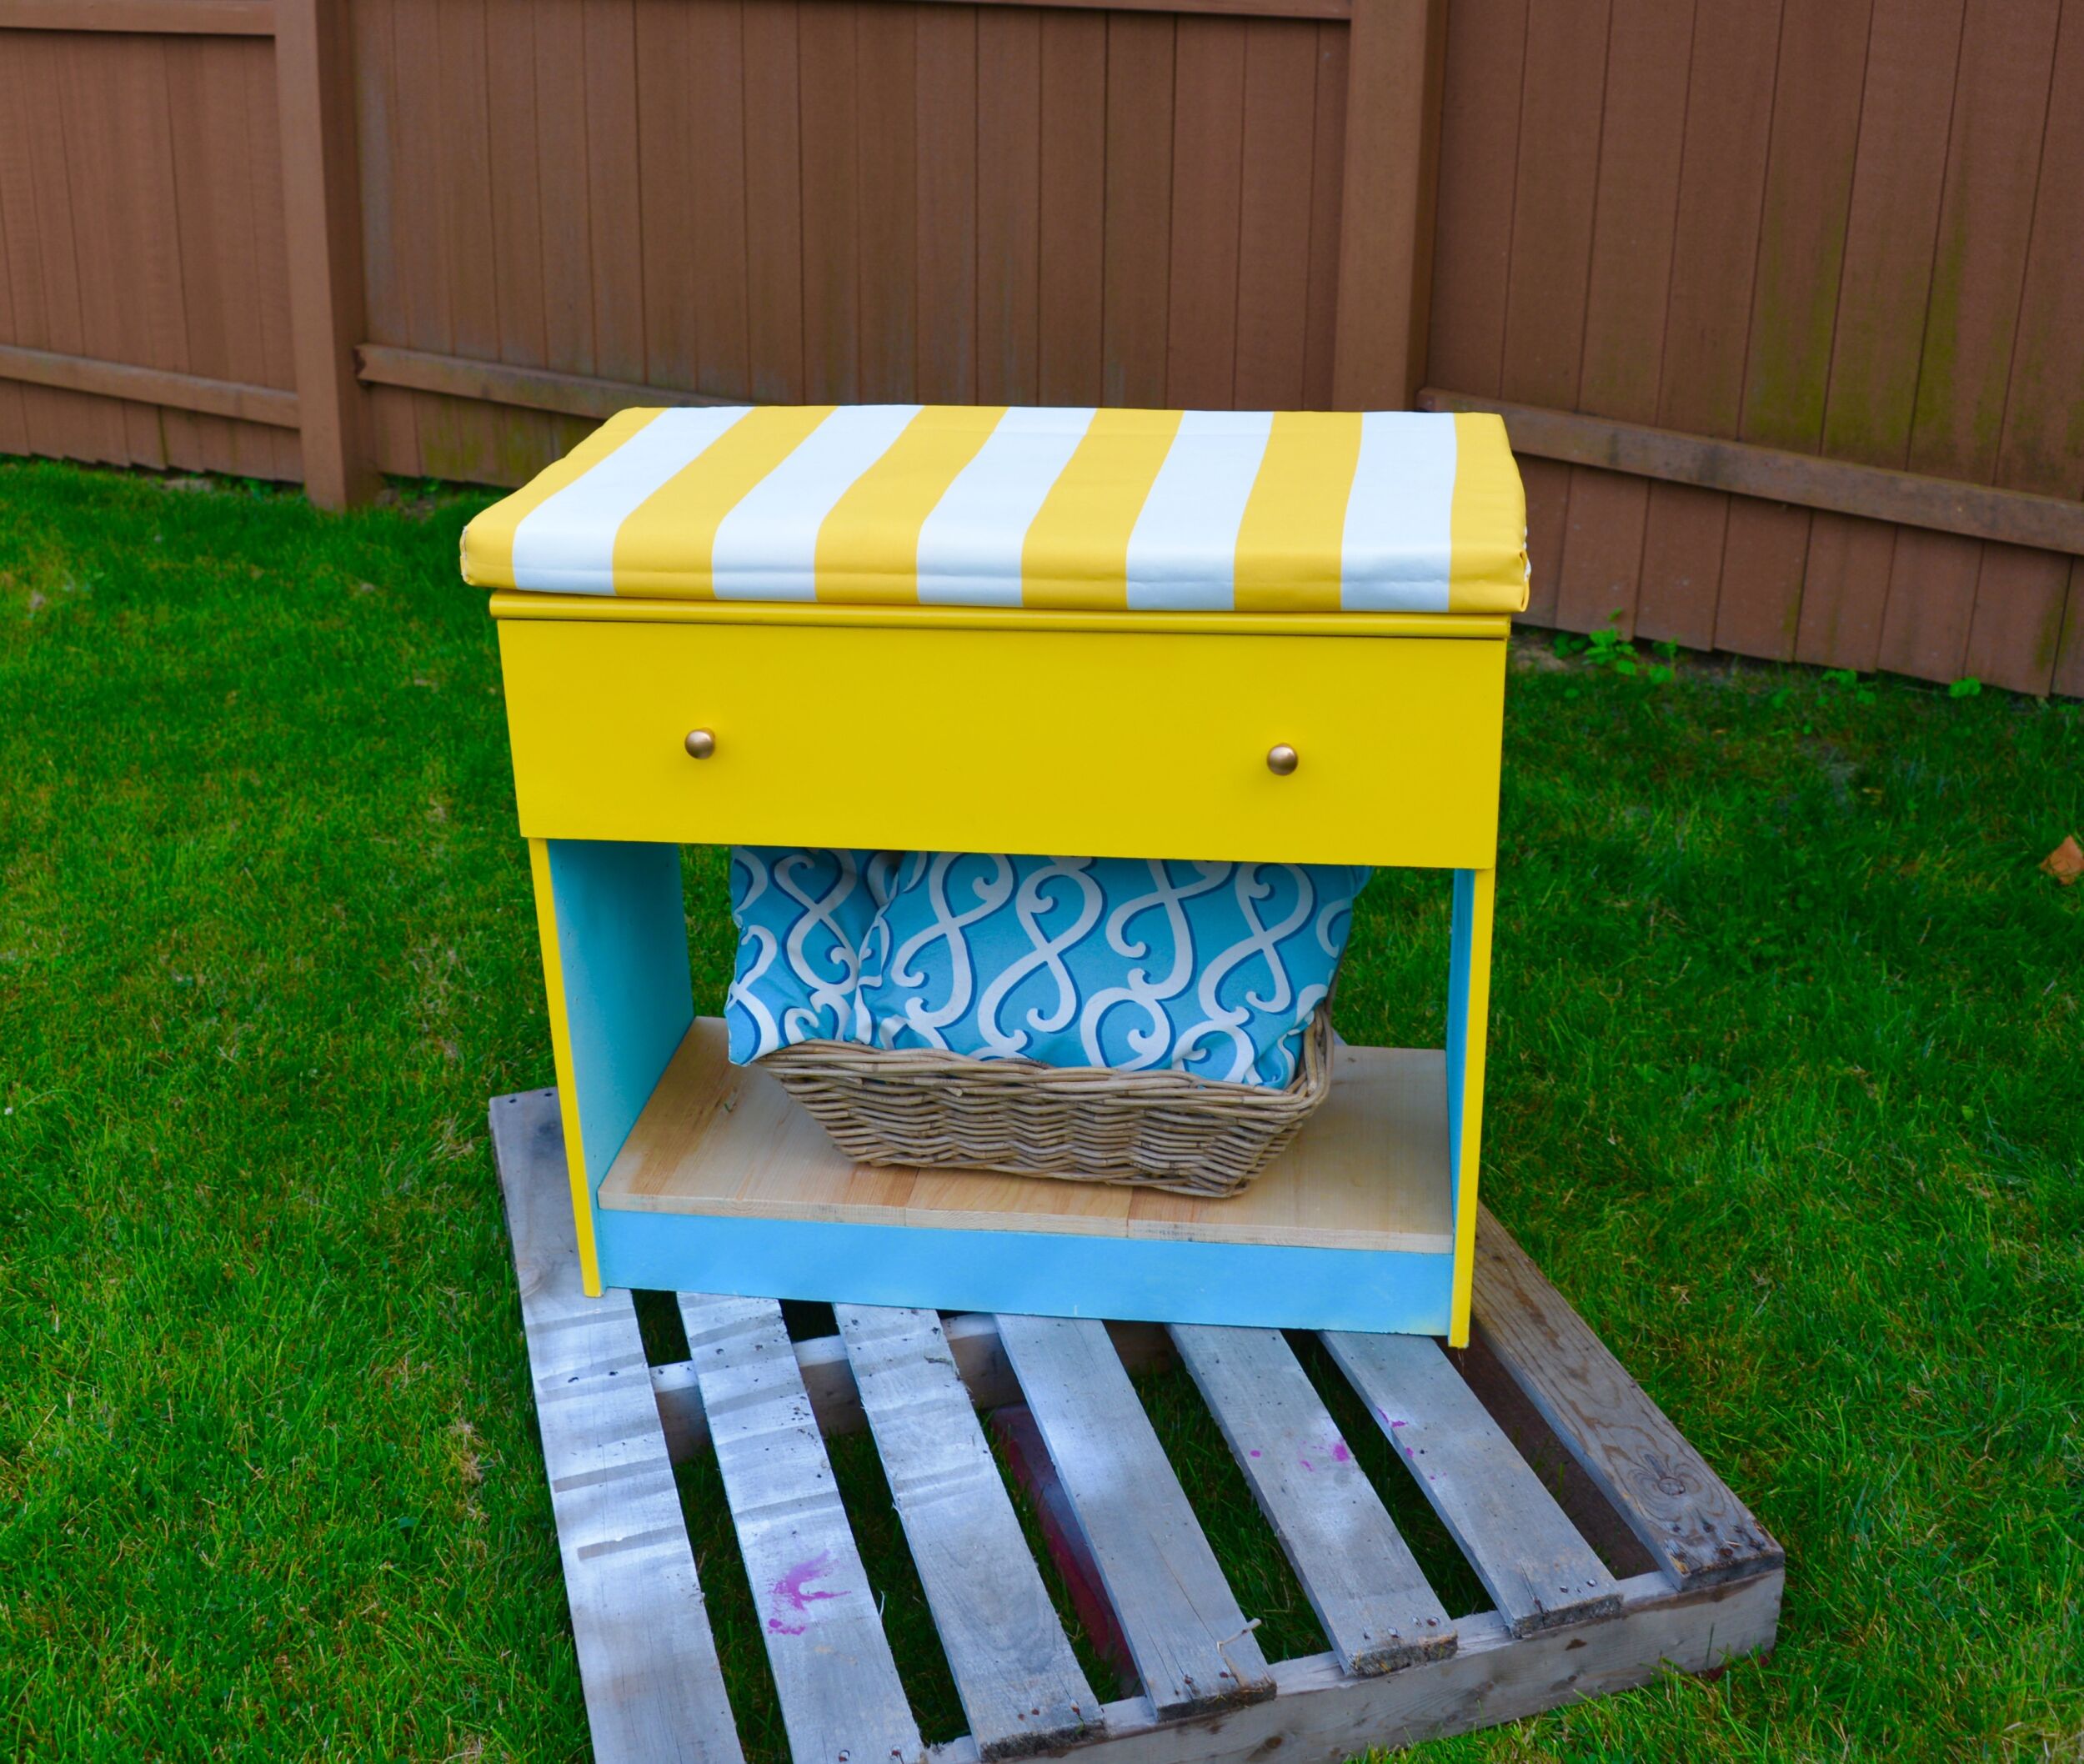
A perfect spray paint finish is easy if you follow a few simple steps, and practice patience, when spray painting furniture.
Watch this video makeover of a dresser into a storage bench
I’m kind of a perfectionist when it comes to painting.
Drips, blobs, runs, streaks, uneven color… all make me uncomfortable.
Especially when it’s easy to achieve a smooth ‘I-didn’t-know-it-came-in-that-color’ reaction from friends.
Here are my essential steps to achieve a more perfect paint finish.
Clean it.
If you are upcycling from your own home or from a Habitat for Humanity ReStore, clean it. Dust, dirt, and goo will never look smooth when painted.
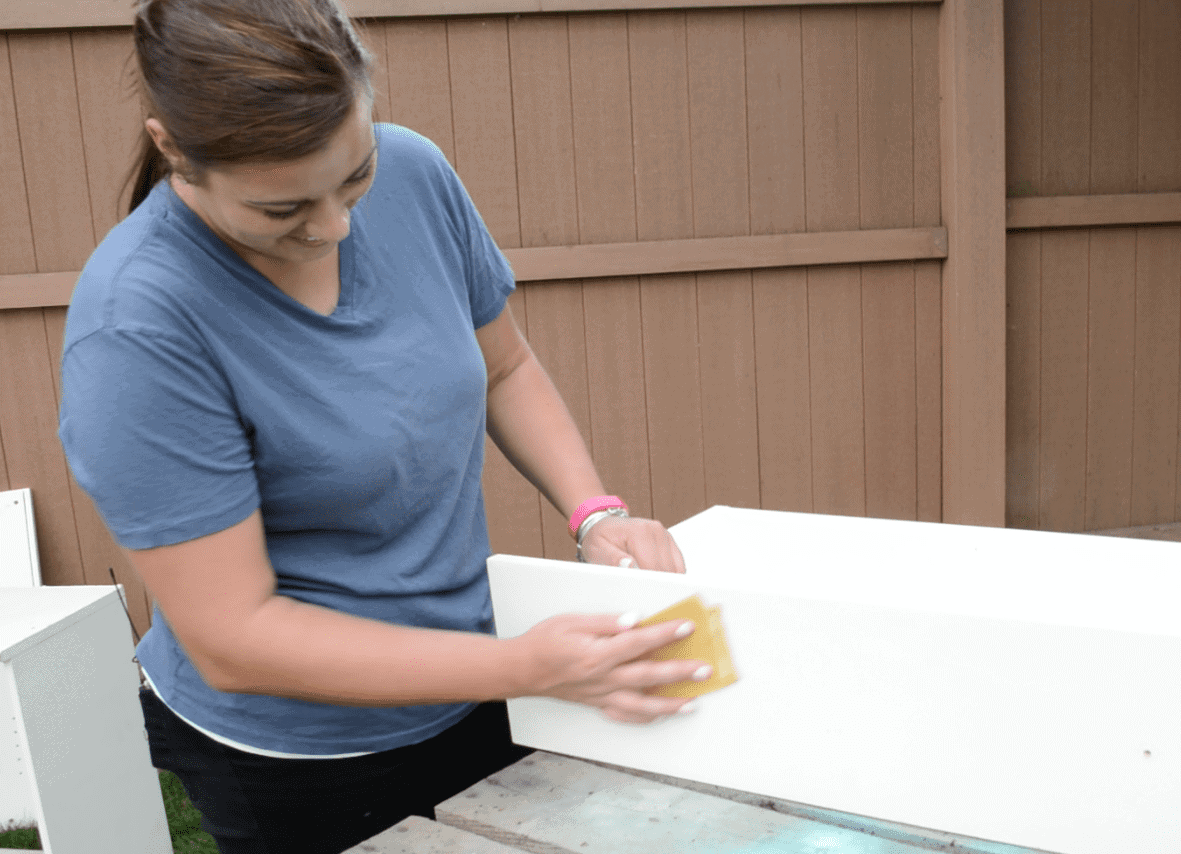
Lightly sand the surface.
Sanding wood removes a bit of the current finish and opens up the material so paint can adhere better. Some paints don’t require sanding, so read the fine print on the can.
Sanding also can be tricky, as not every material needs to be sanded. Instead of using the grittiest sandpaper to start, use a fine grit sandpaper on an inconspicuous spot. If you aren’t sure about the material you are working with, send me a note or ask in the comments below.
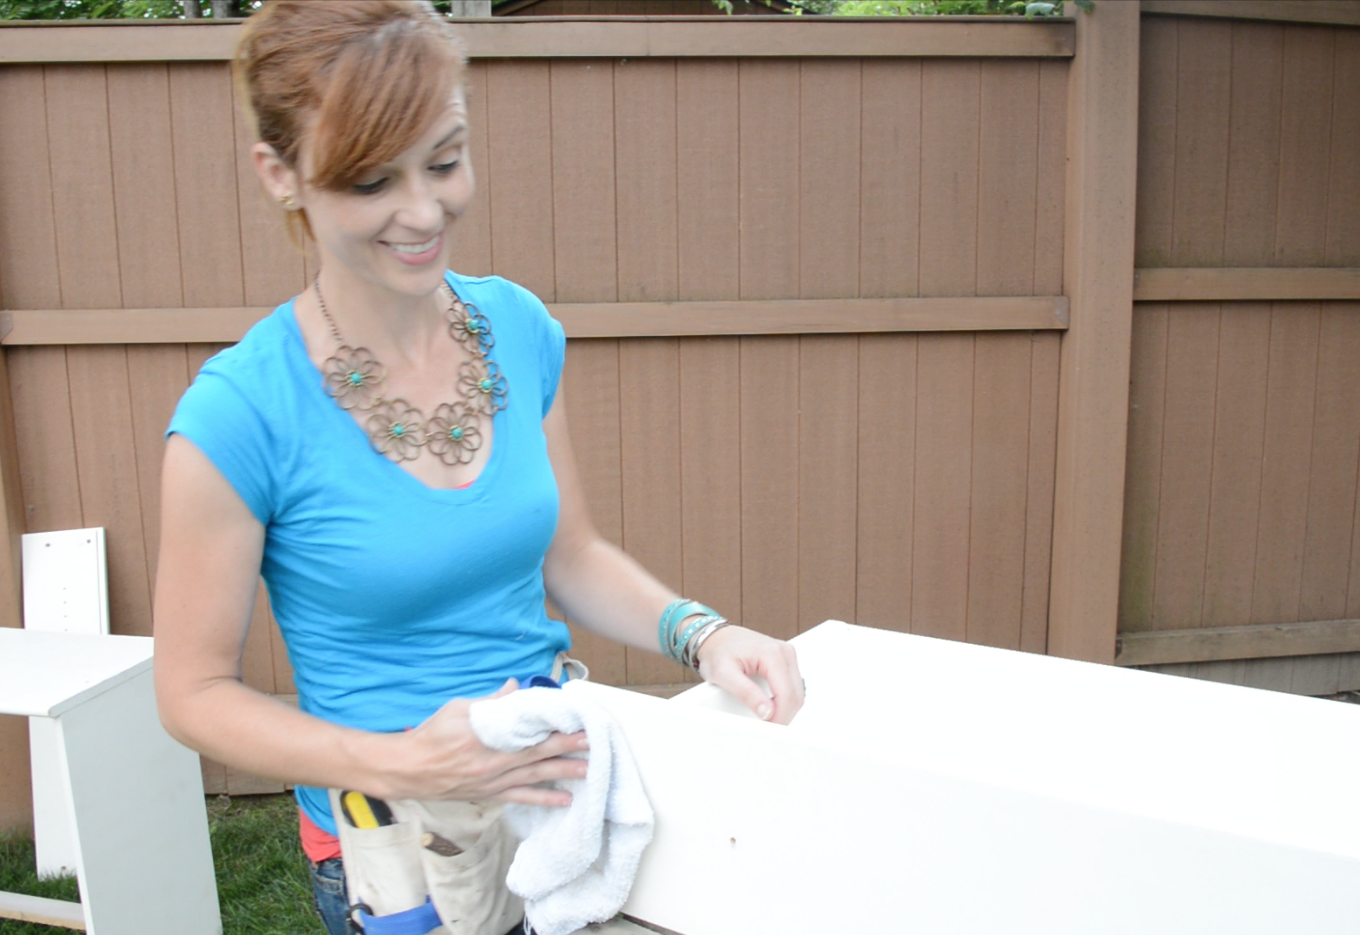
Wipe off the sanding dust and any other debris.
Wipe off all of the sanding dust with a soft cloth. If you use a paper towel or other kind of material, there could be little fuzzie particles left behind. Worse still, if you use something abrasive to wipe down the furniture, there could be little nicks that you’ll notice on the finished piece. Not worth it.
Lay a coat (or two) of primer.
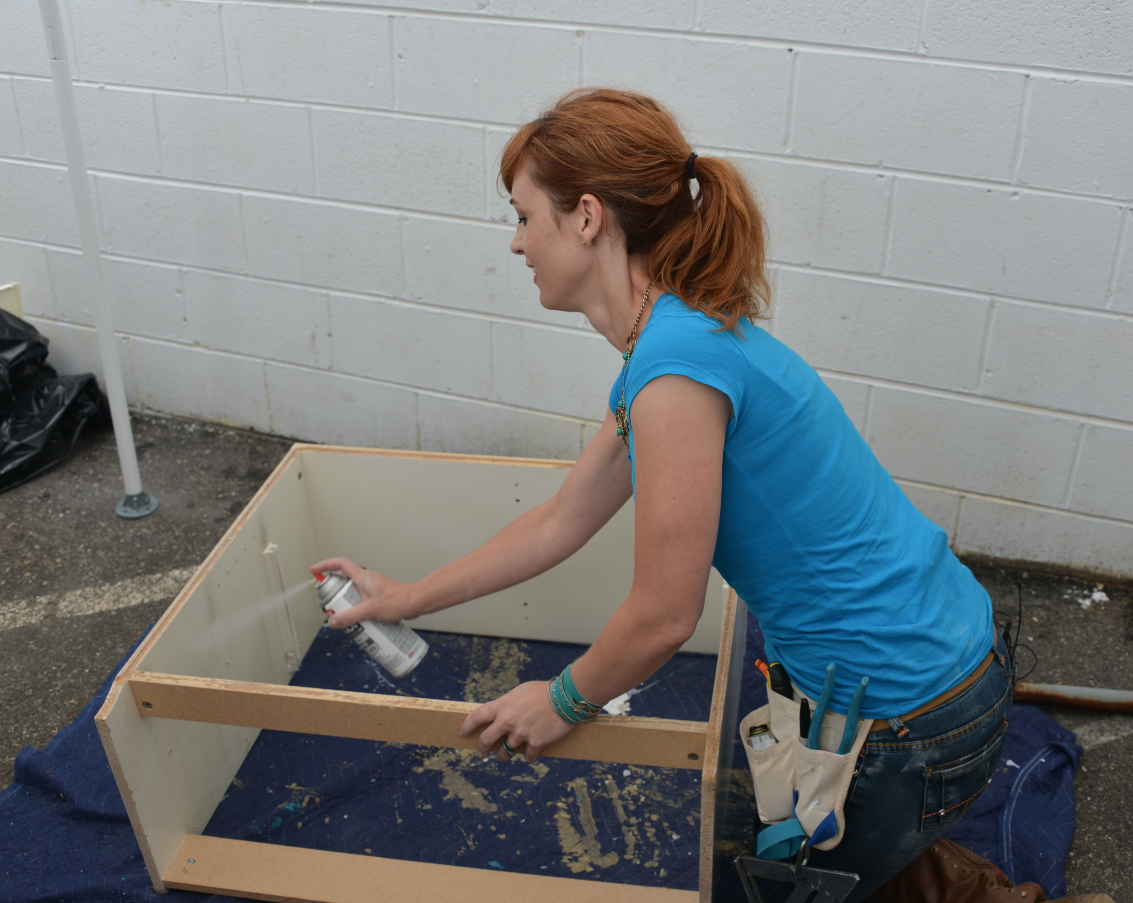


Priming is like insurance. It’s extra protection and helps make sure you have a perfect paint finish when you are done. Yes, you can skip this step, but here’s when to prime:
- If the paint can recommends it.
- When there are inconsistencies in the current color finish.
- Prime if you have primer, even if the spray paint can says you don’t need it. Not needing it, and the finish being a bit better because it was primed are two different things.
Dust the surface in a few light coats of primer.
Apply dusting coats of paint.
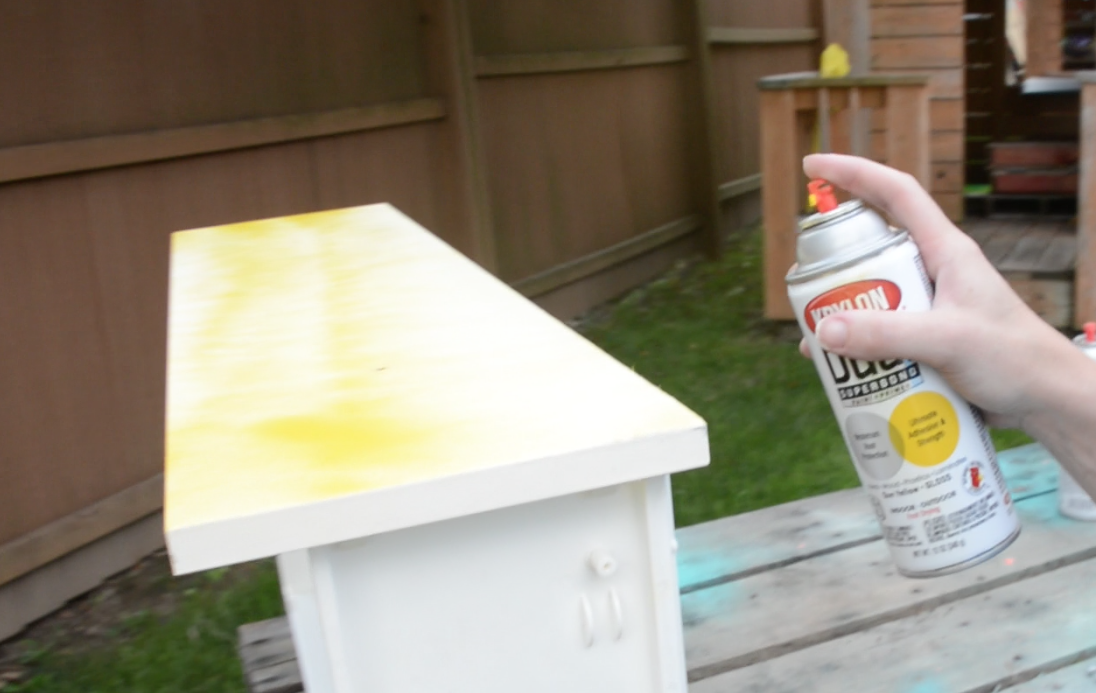


After the primer is dry to the touch, or when the can says it is ready, lightly dust the surface in that hue you’ve been waiting to use. Don’t go crazy. The first pass or two won’t look perfect. It might not be the exact color on the paint can lid yet.
Have patience. Keep dusting. You’ll see it, and the slower you apply the color, the better chance you have at that perfect spray paint finish. It will be that color on the paint lid. I’ve never not seen it.
Seal the color.
After that fun color is dry and ready (read the tiny print on the can, it usually says the recoat, and handling times), you may want to seal it with a gloss or other kind of finish. A clear coat can protect the color against those surprises in life. If this is a project that will live outside, I’d recommend coating it. Again, it’s a belt-and-suspenders. You don’t necessarily need it, but it could help.
What spray paint do I use? Why?
Yes, if you haven’t already guessed, Krylon has been a friend of MyFixitUpLife. I couldn’t have done what I designed for the Food Network series ‘Save My Bakery’ without their spray paint. When faced with a 48-hour project turnaround in thundersnow, dry times and perfect finishes are essential. We’ve had the pleasure to help share how-to through a few fun webisodes using Krylon products. And they have partnered with us for a series of makeovers using Habitat for Humanity ReStore items.


Mark and I never talk about a company’s products unless we truly believe in them. We want you to be successful with your DIY projects and stay inspired to keep reaching for your tools.
Share your spray painting finish tips or questions in the comments below, or head over to Facebook or Twitter right now and talk with us. You inspire us. -T


Hello, I check your blogs like every week. Your story-telling style
is awesome, keep doing what you’re doing!
[…] since I like a quick project, I updated the color of the light switches with spray paint from Krylon in a pretty shade of blue called Bahama […]
[…] The wood bowls got a few quick coats of green spray paint. […]