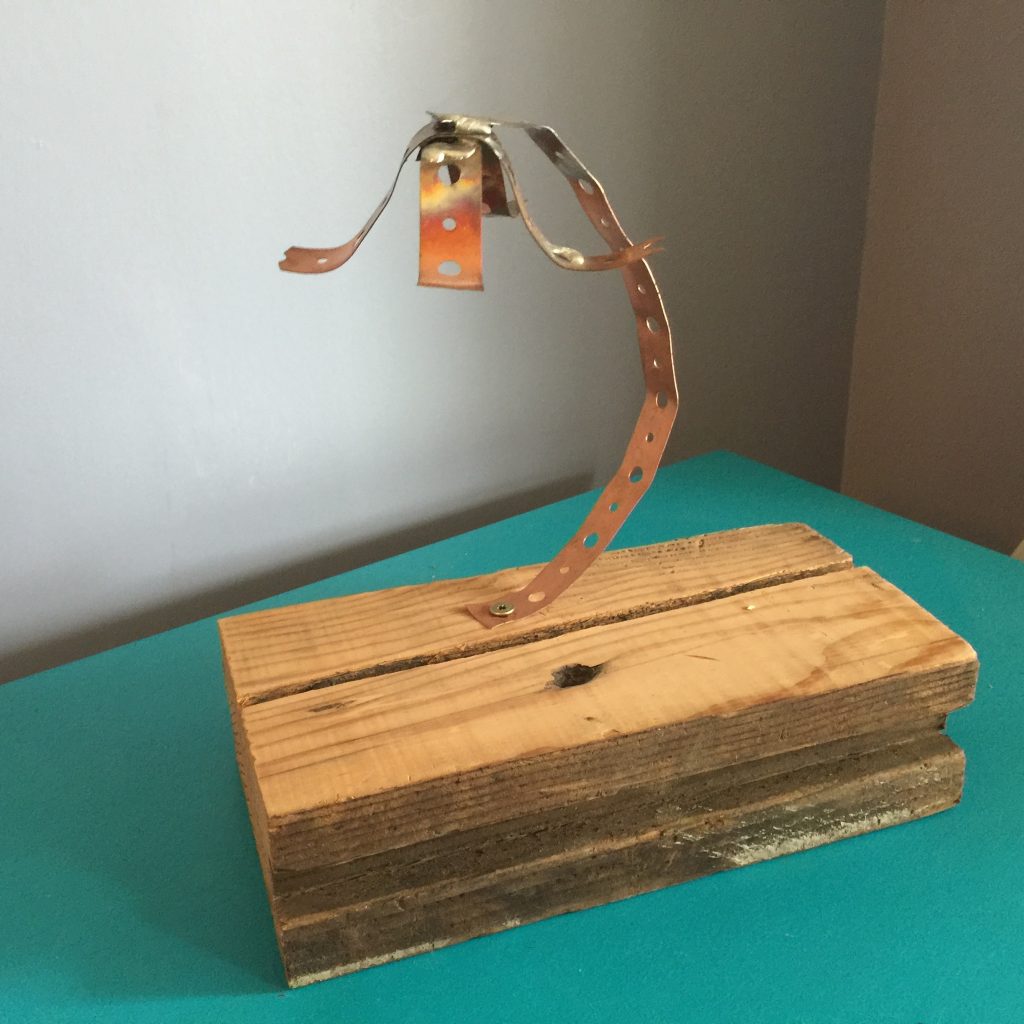
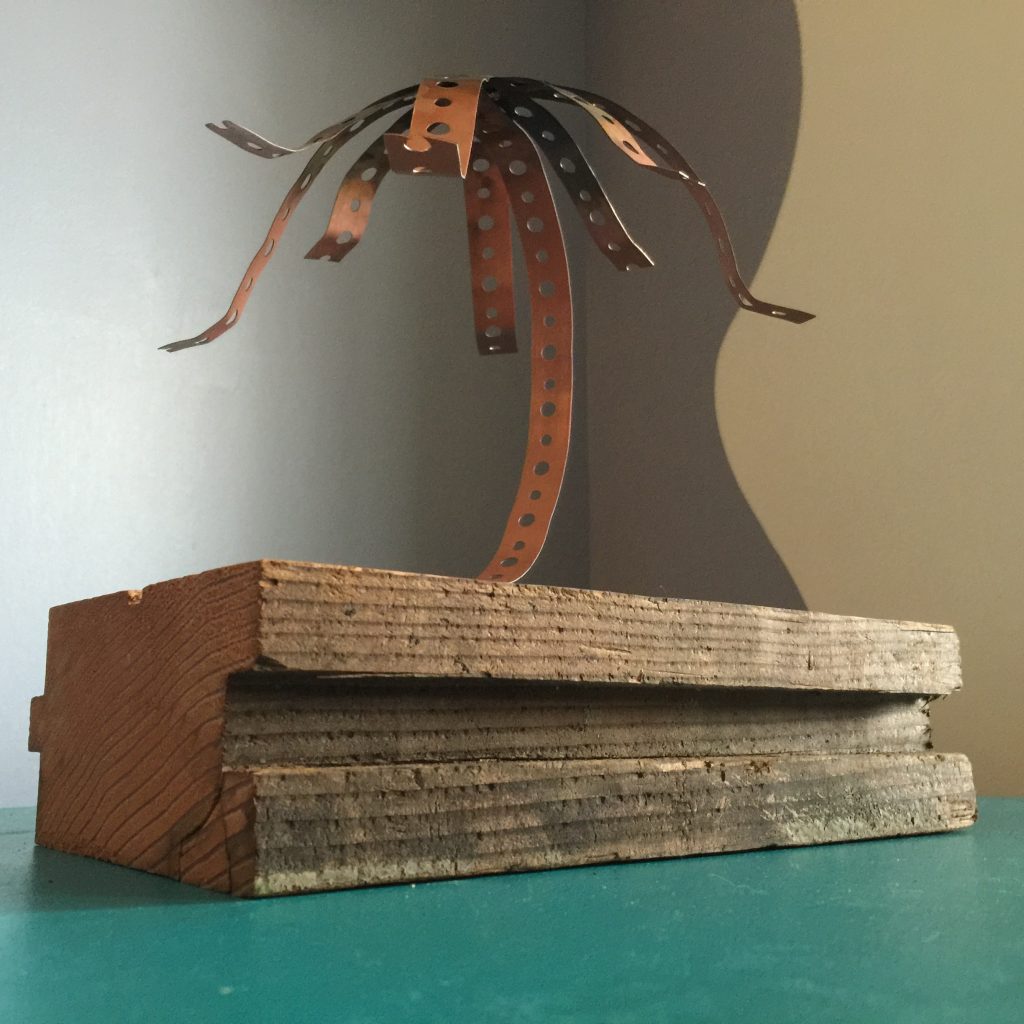
I made the first version of this table top DIY project almost by accident. I though it looked a little Charlie Brown Christmas until it started to create some memories, then I fell in love with it.
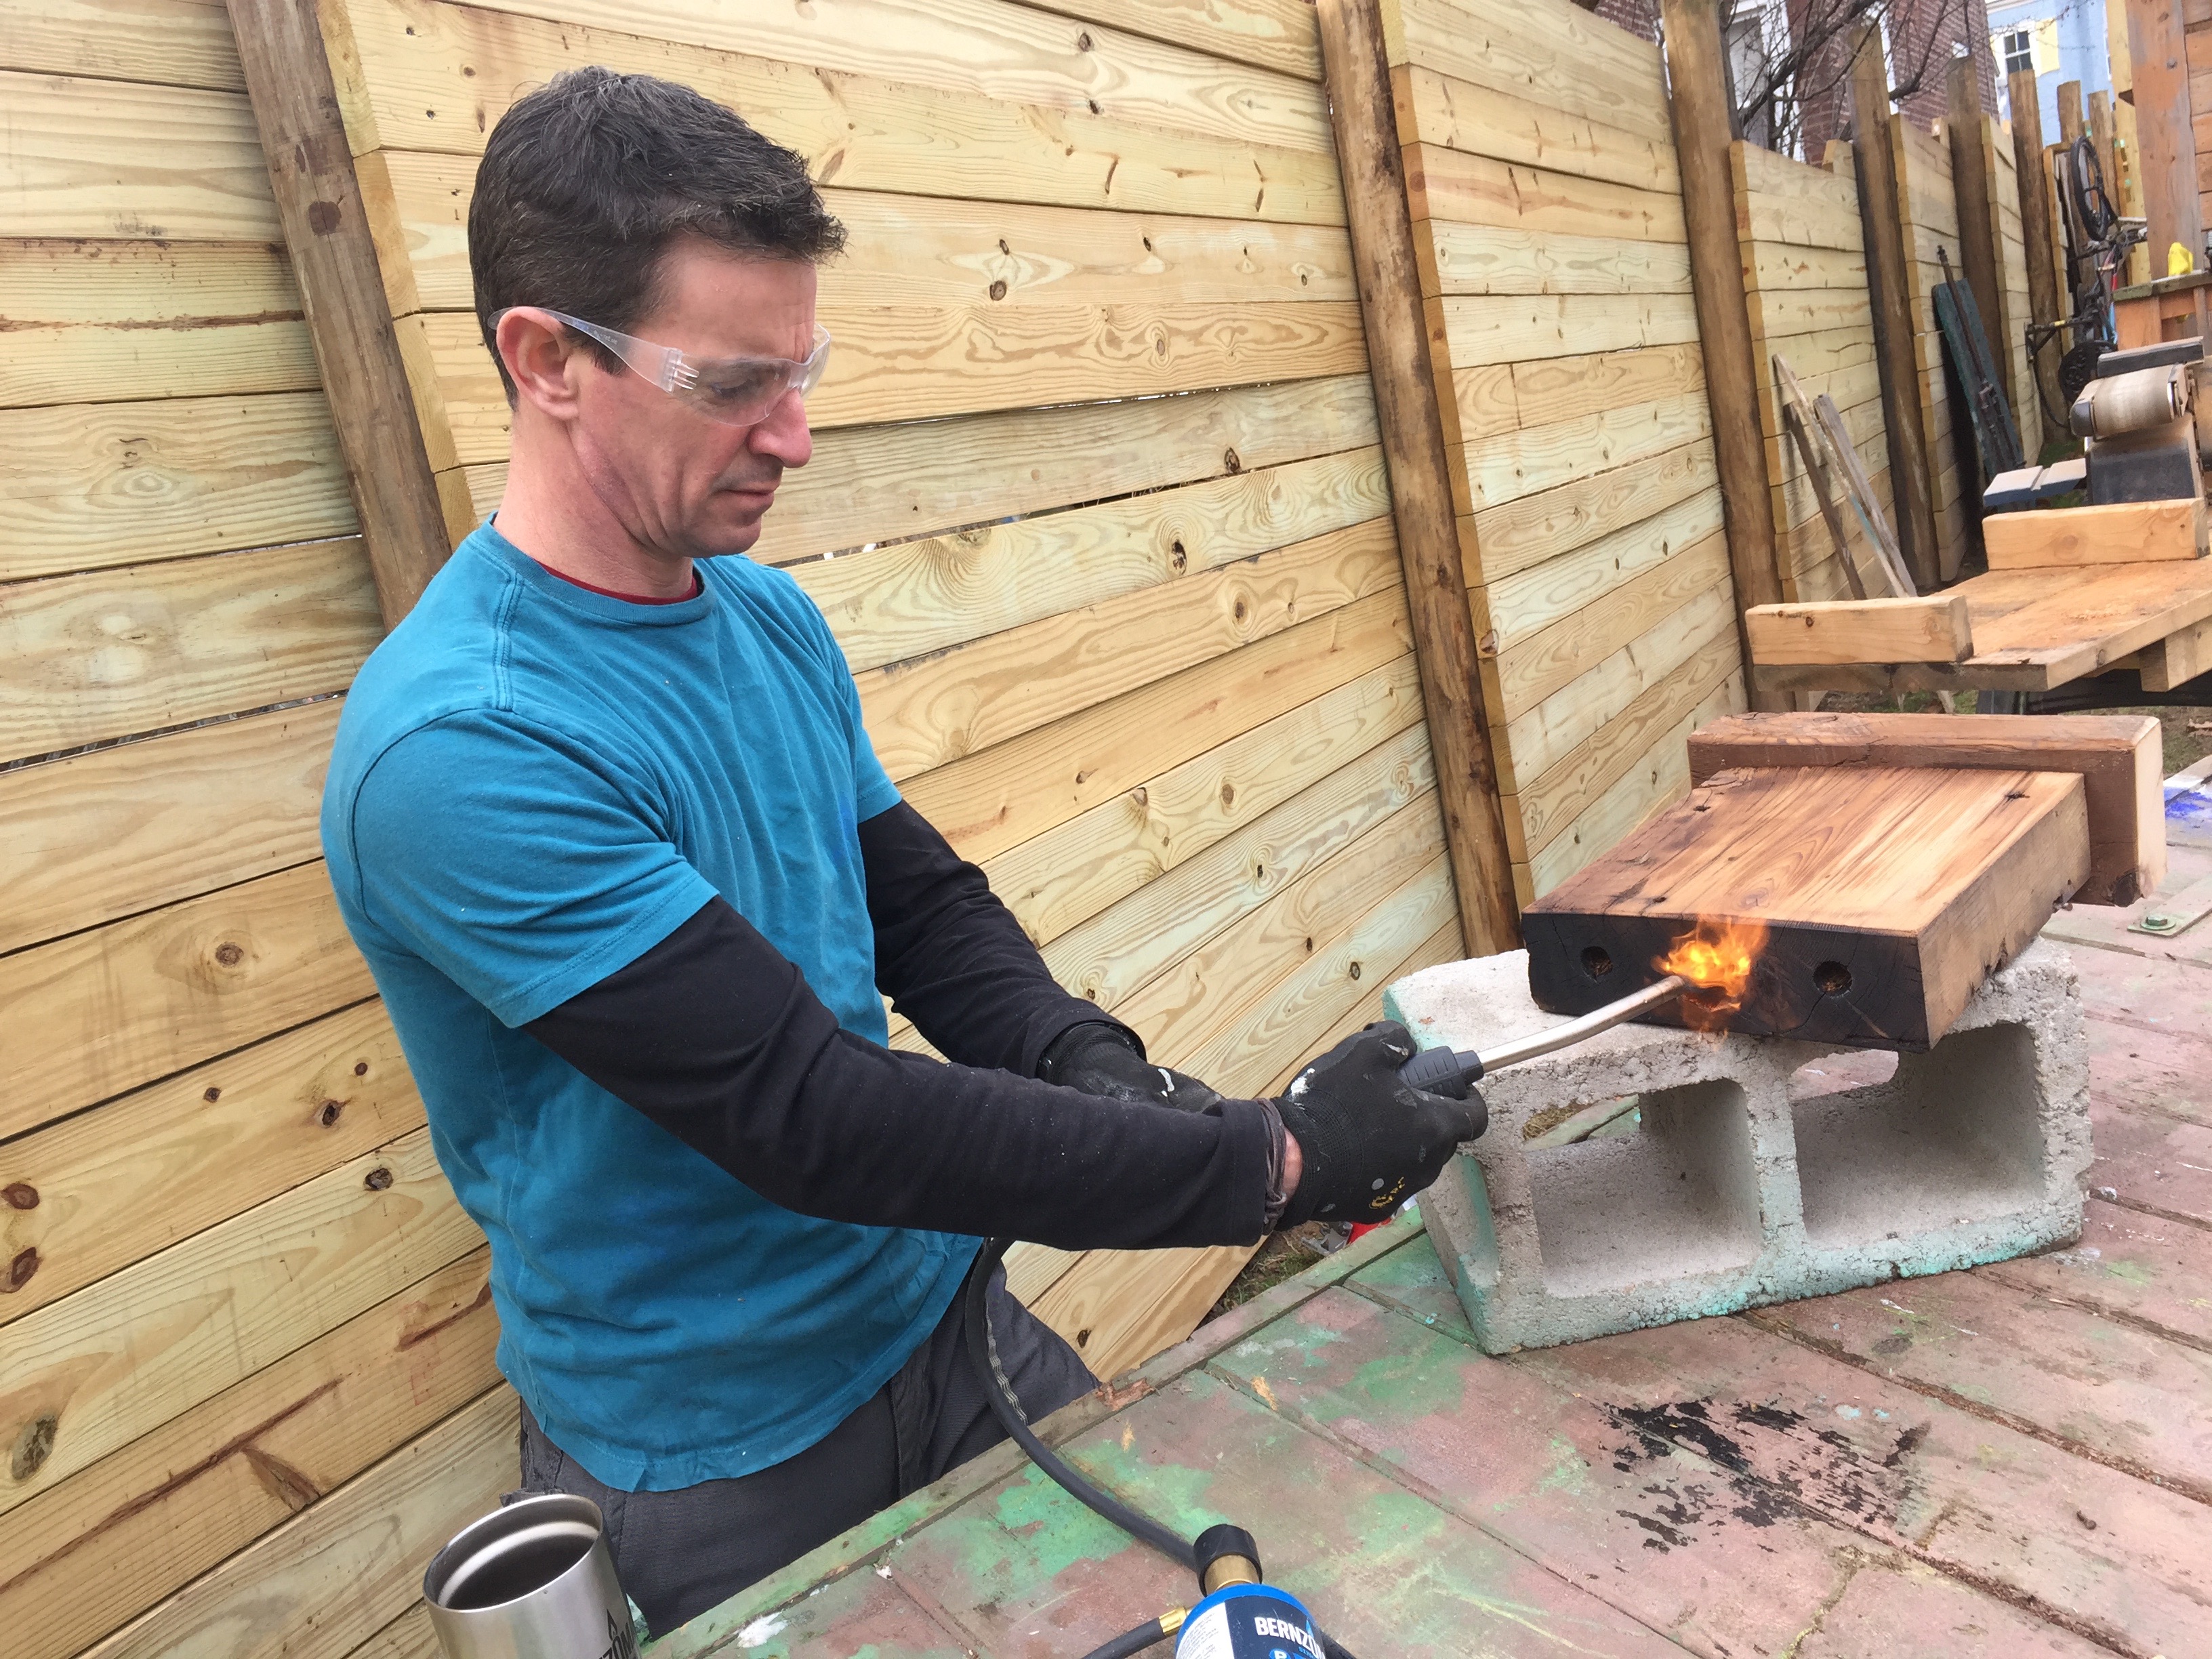
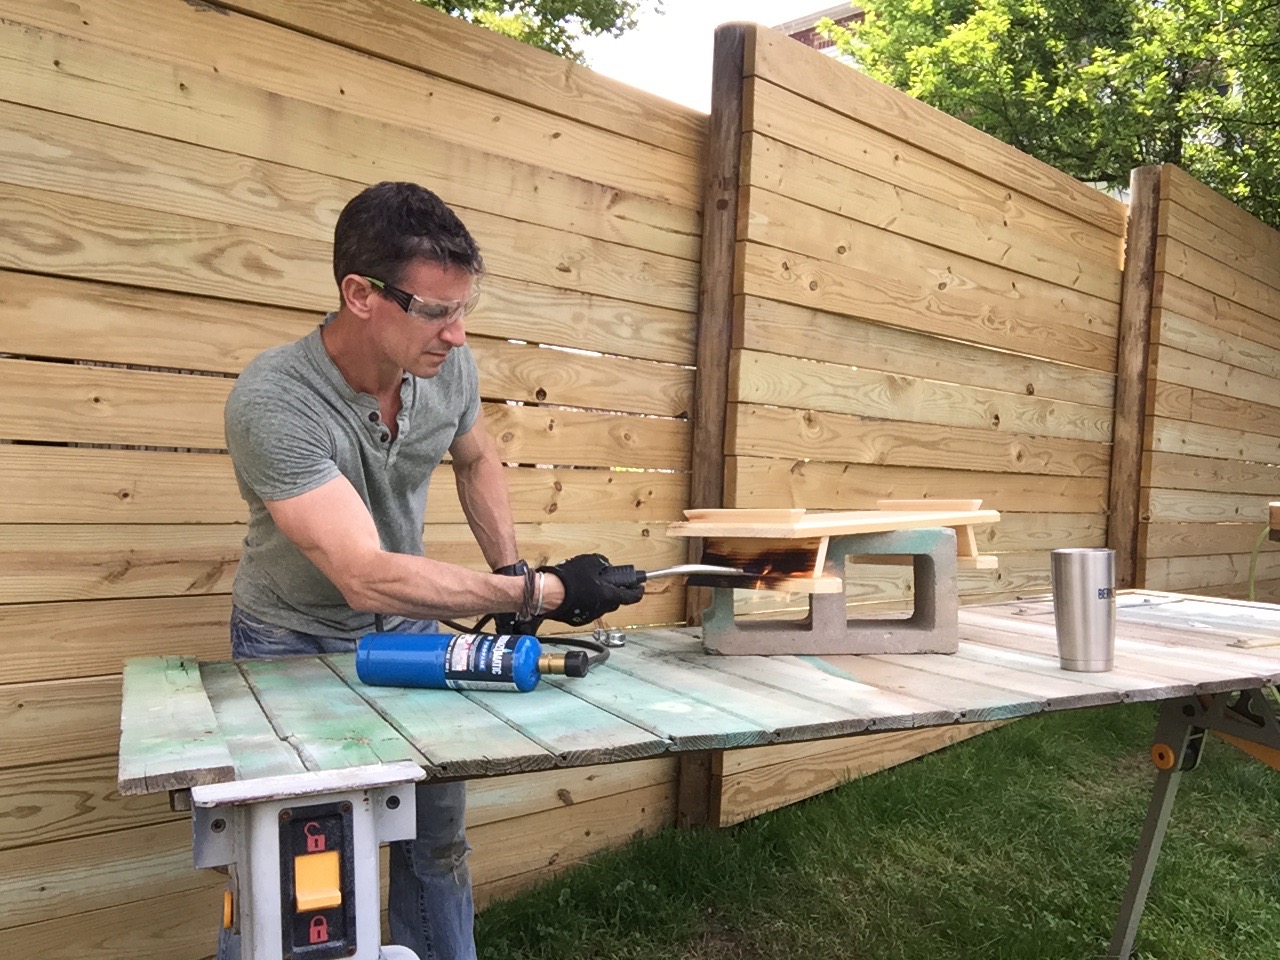
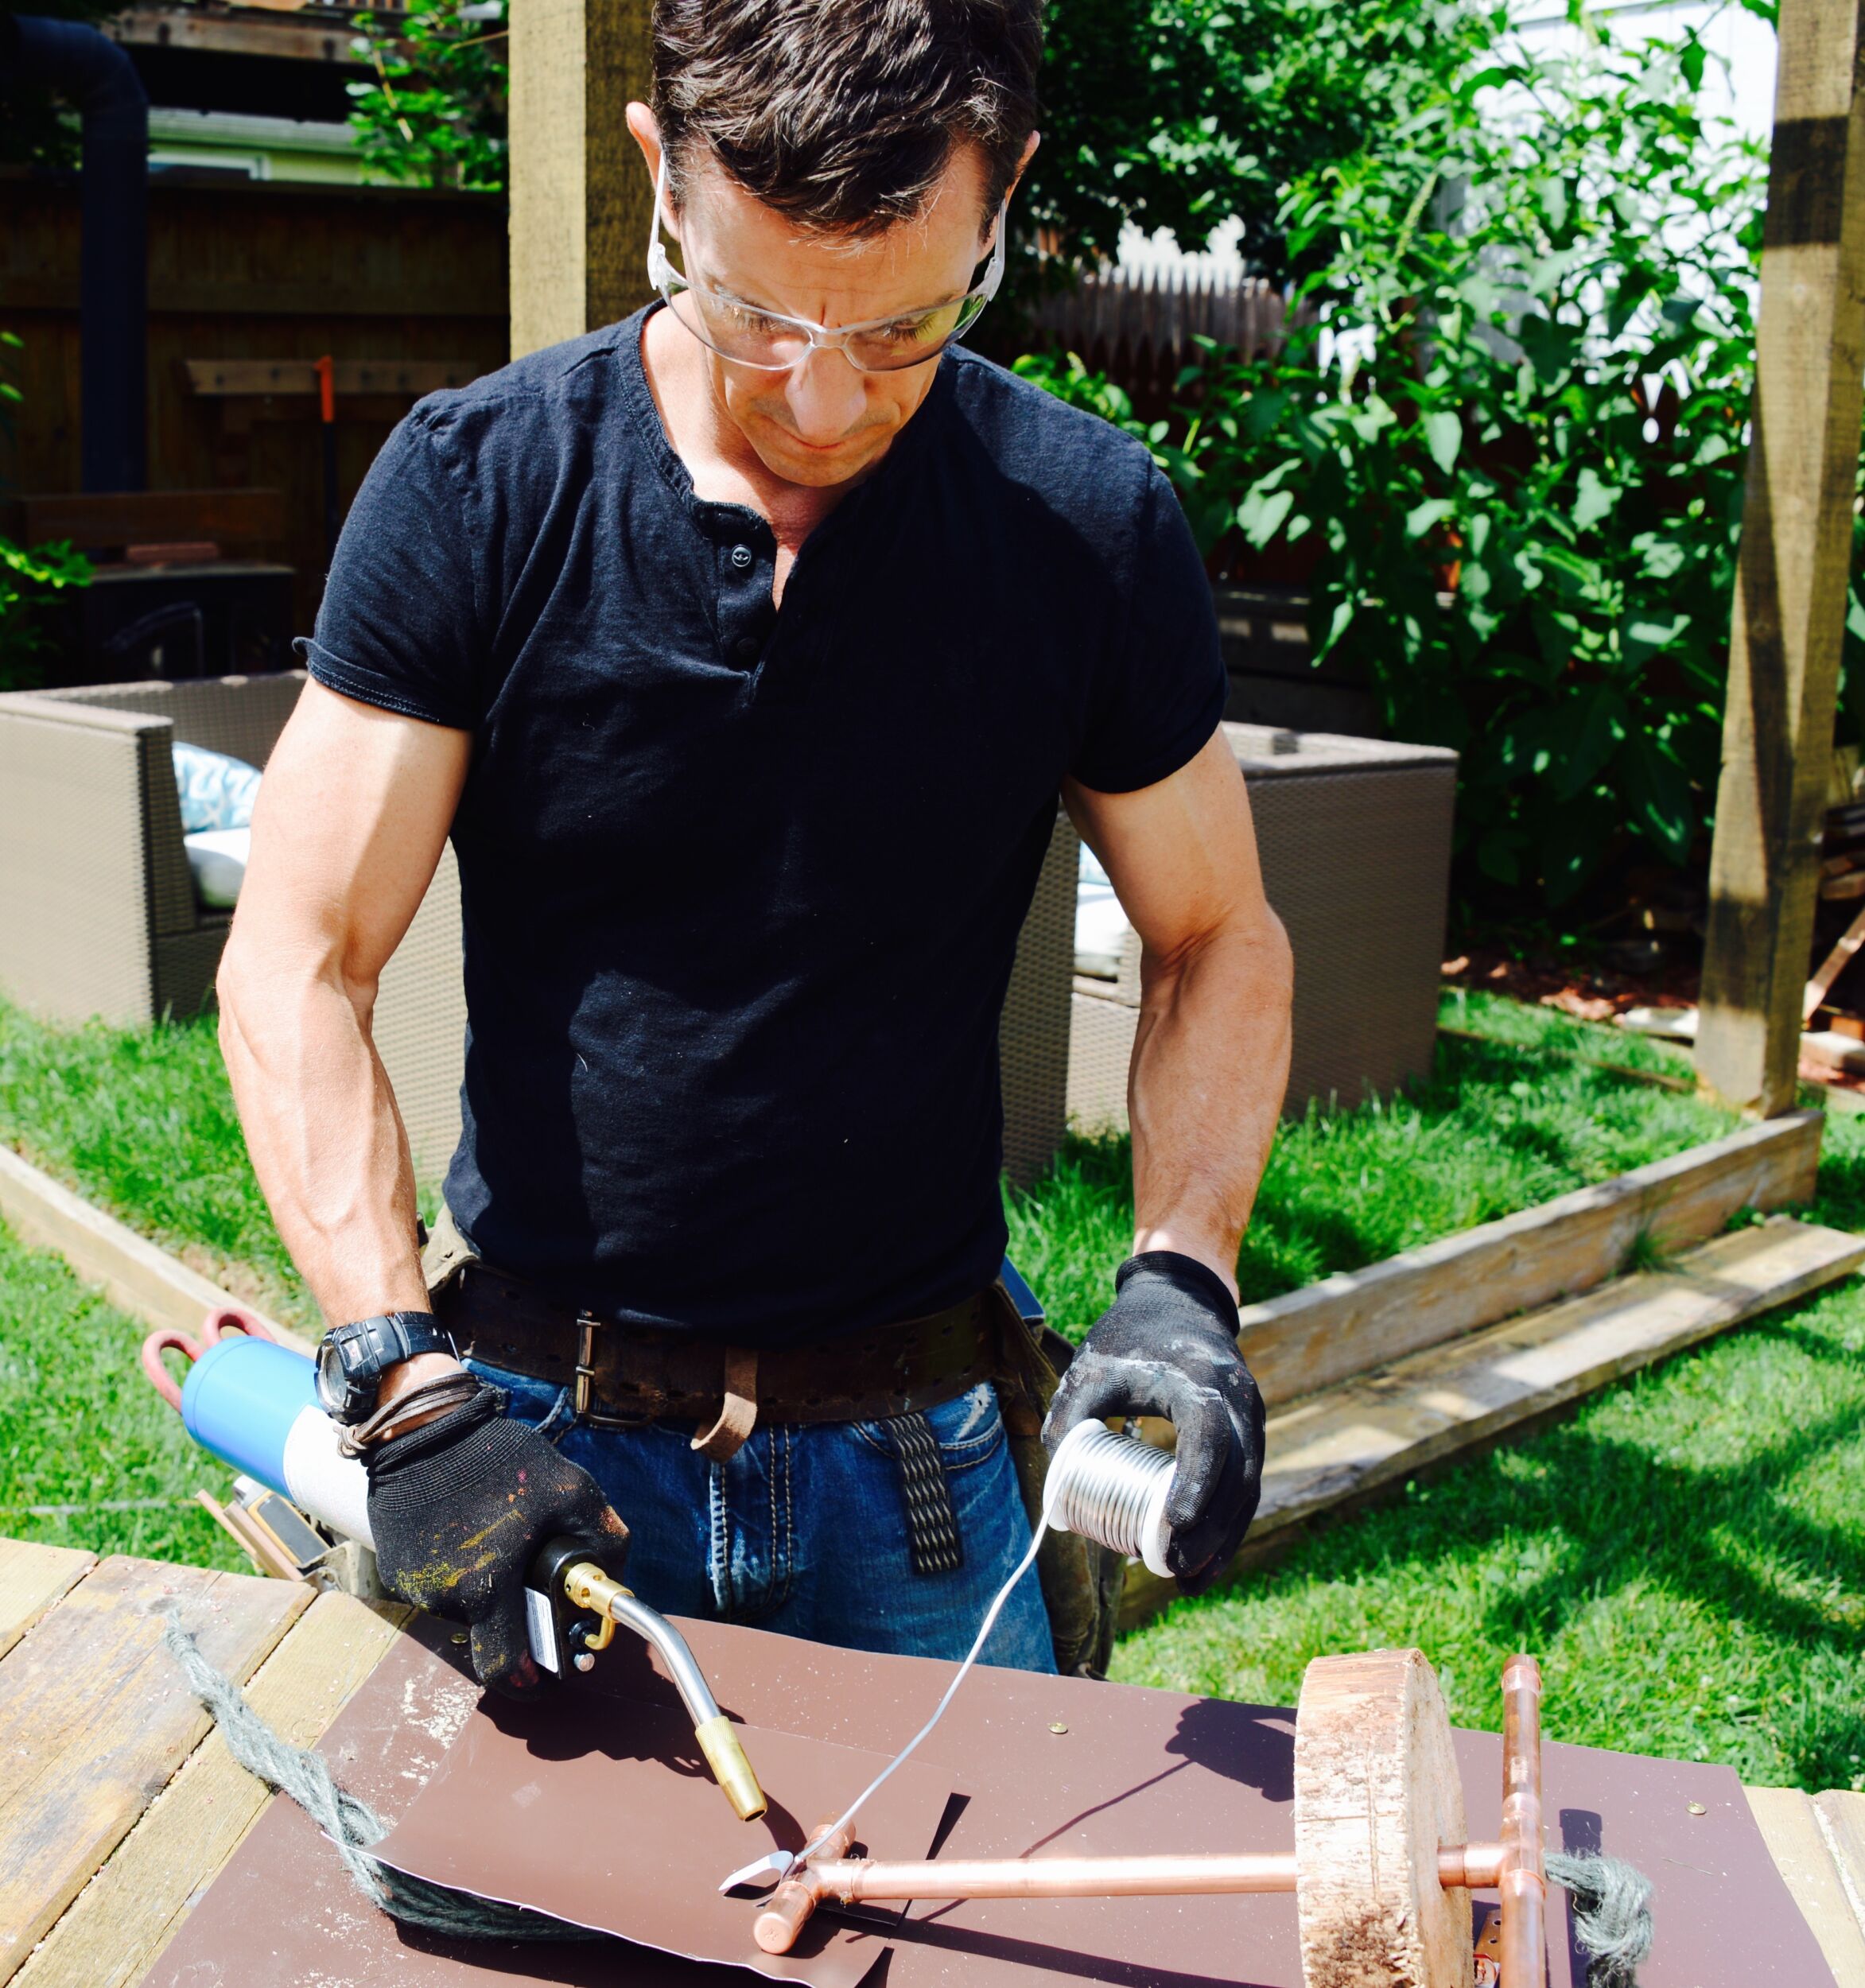
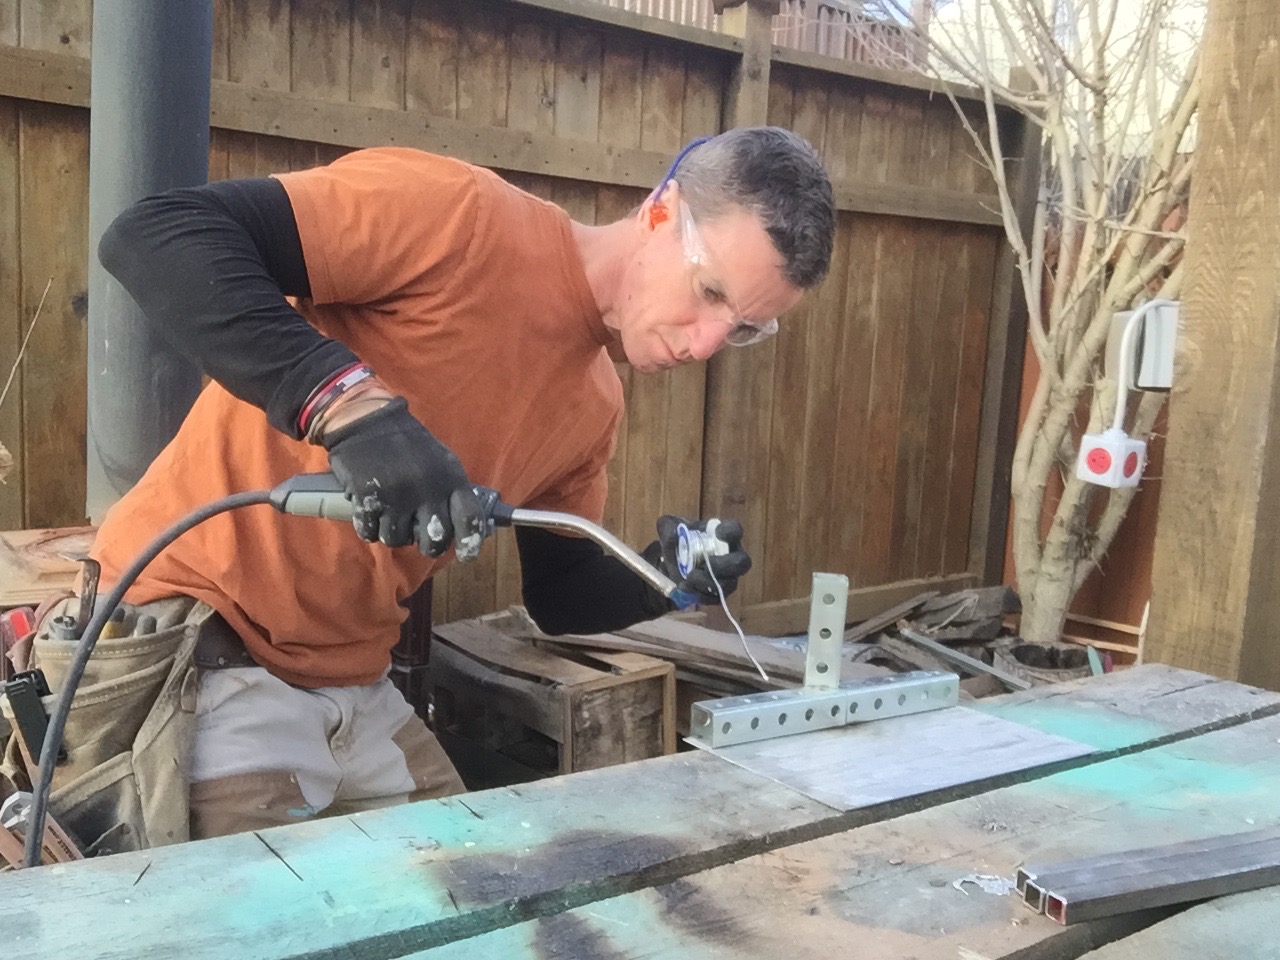
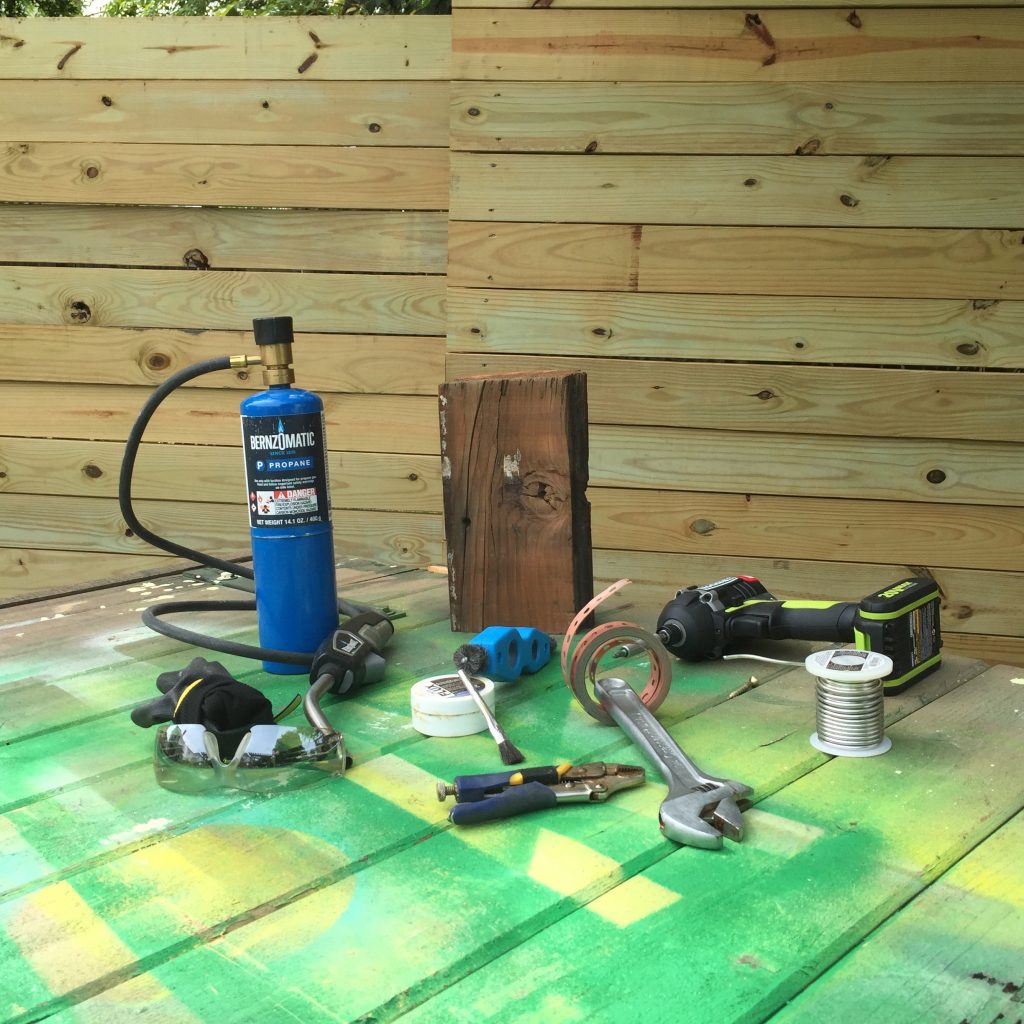
I used a Bernzomatic propane tank and BZ8250HT torch (which I love), copper pipe strap, an adjustable wrench, locking pliers and snips. Of course I also rocked gloves and safety glasses for the flux and solder pictured. The impact driver is for driving the one small screw that holds the tree to the base.


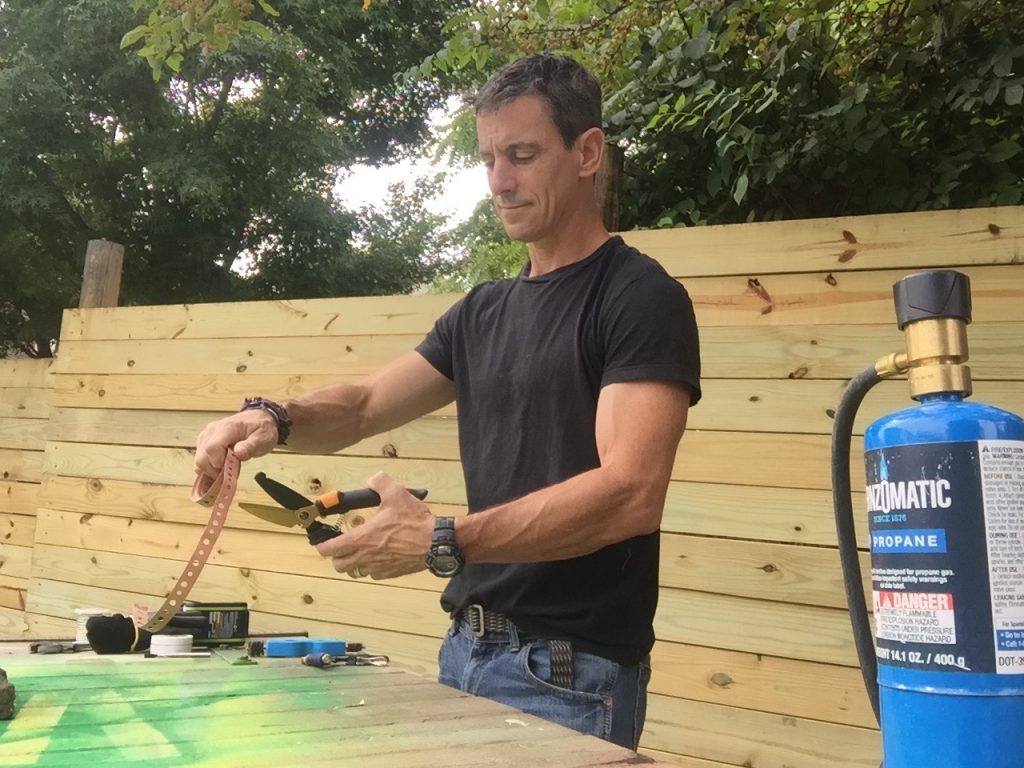
The ‘trunk’ is 12-inches long. I cut it with snips. I cut each ‘palm’ about 8-inches long.


Flux, solder and heat like a clean surface. I scuffed it with my wire brush. I did this for each surface where they made contact with each other.
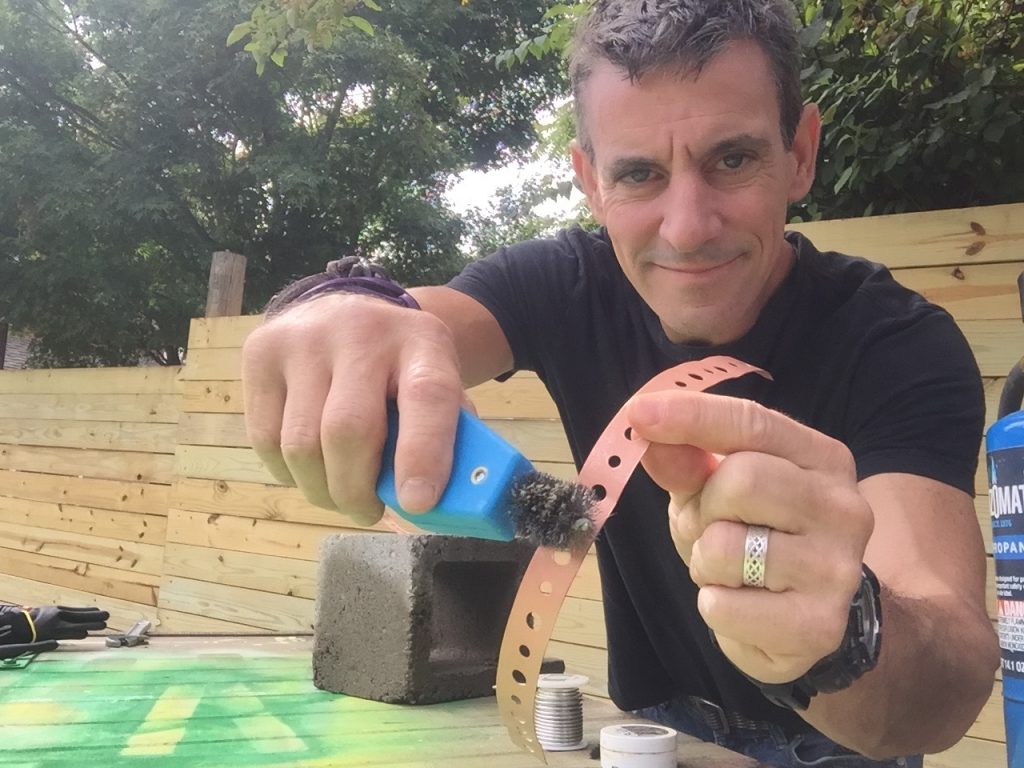


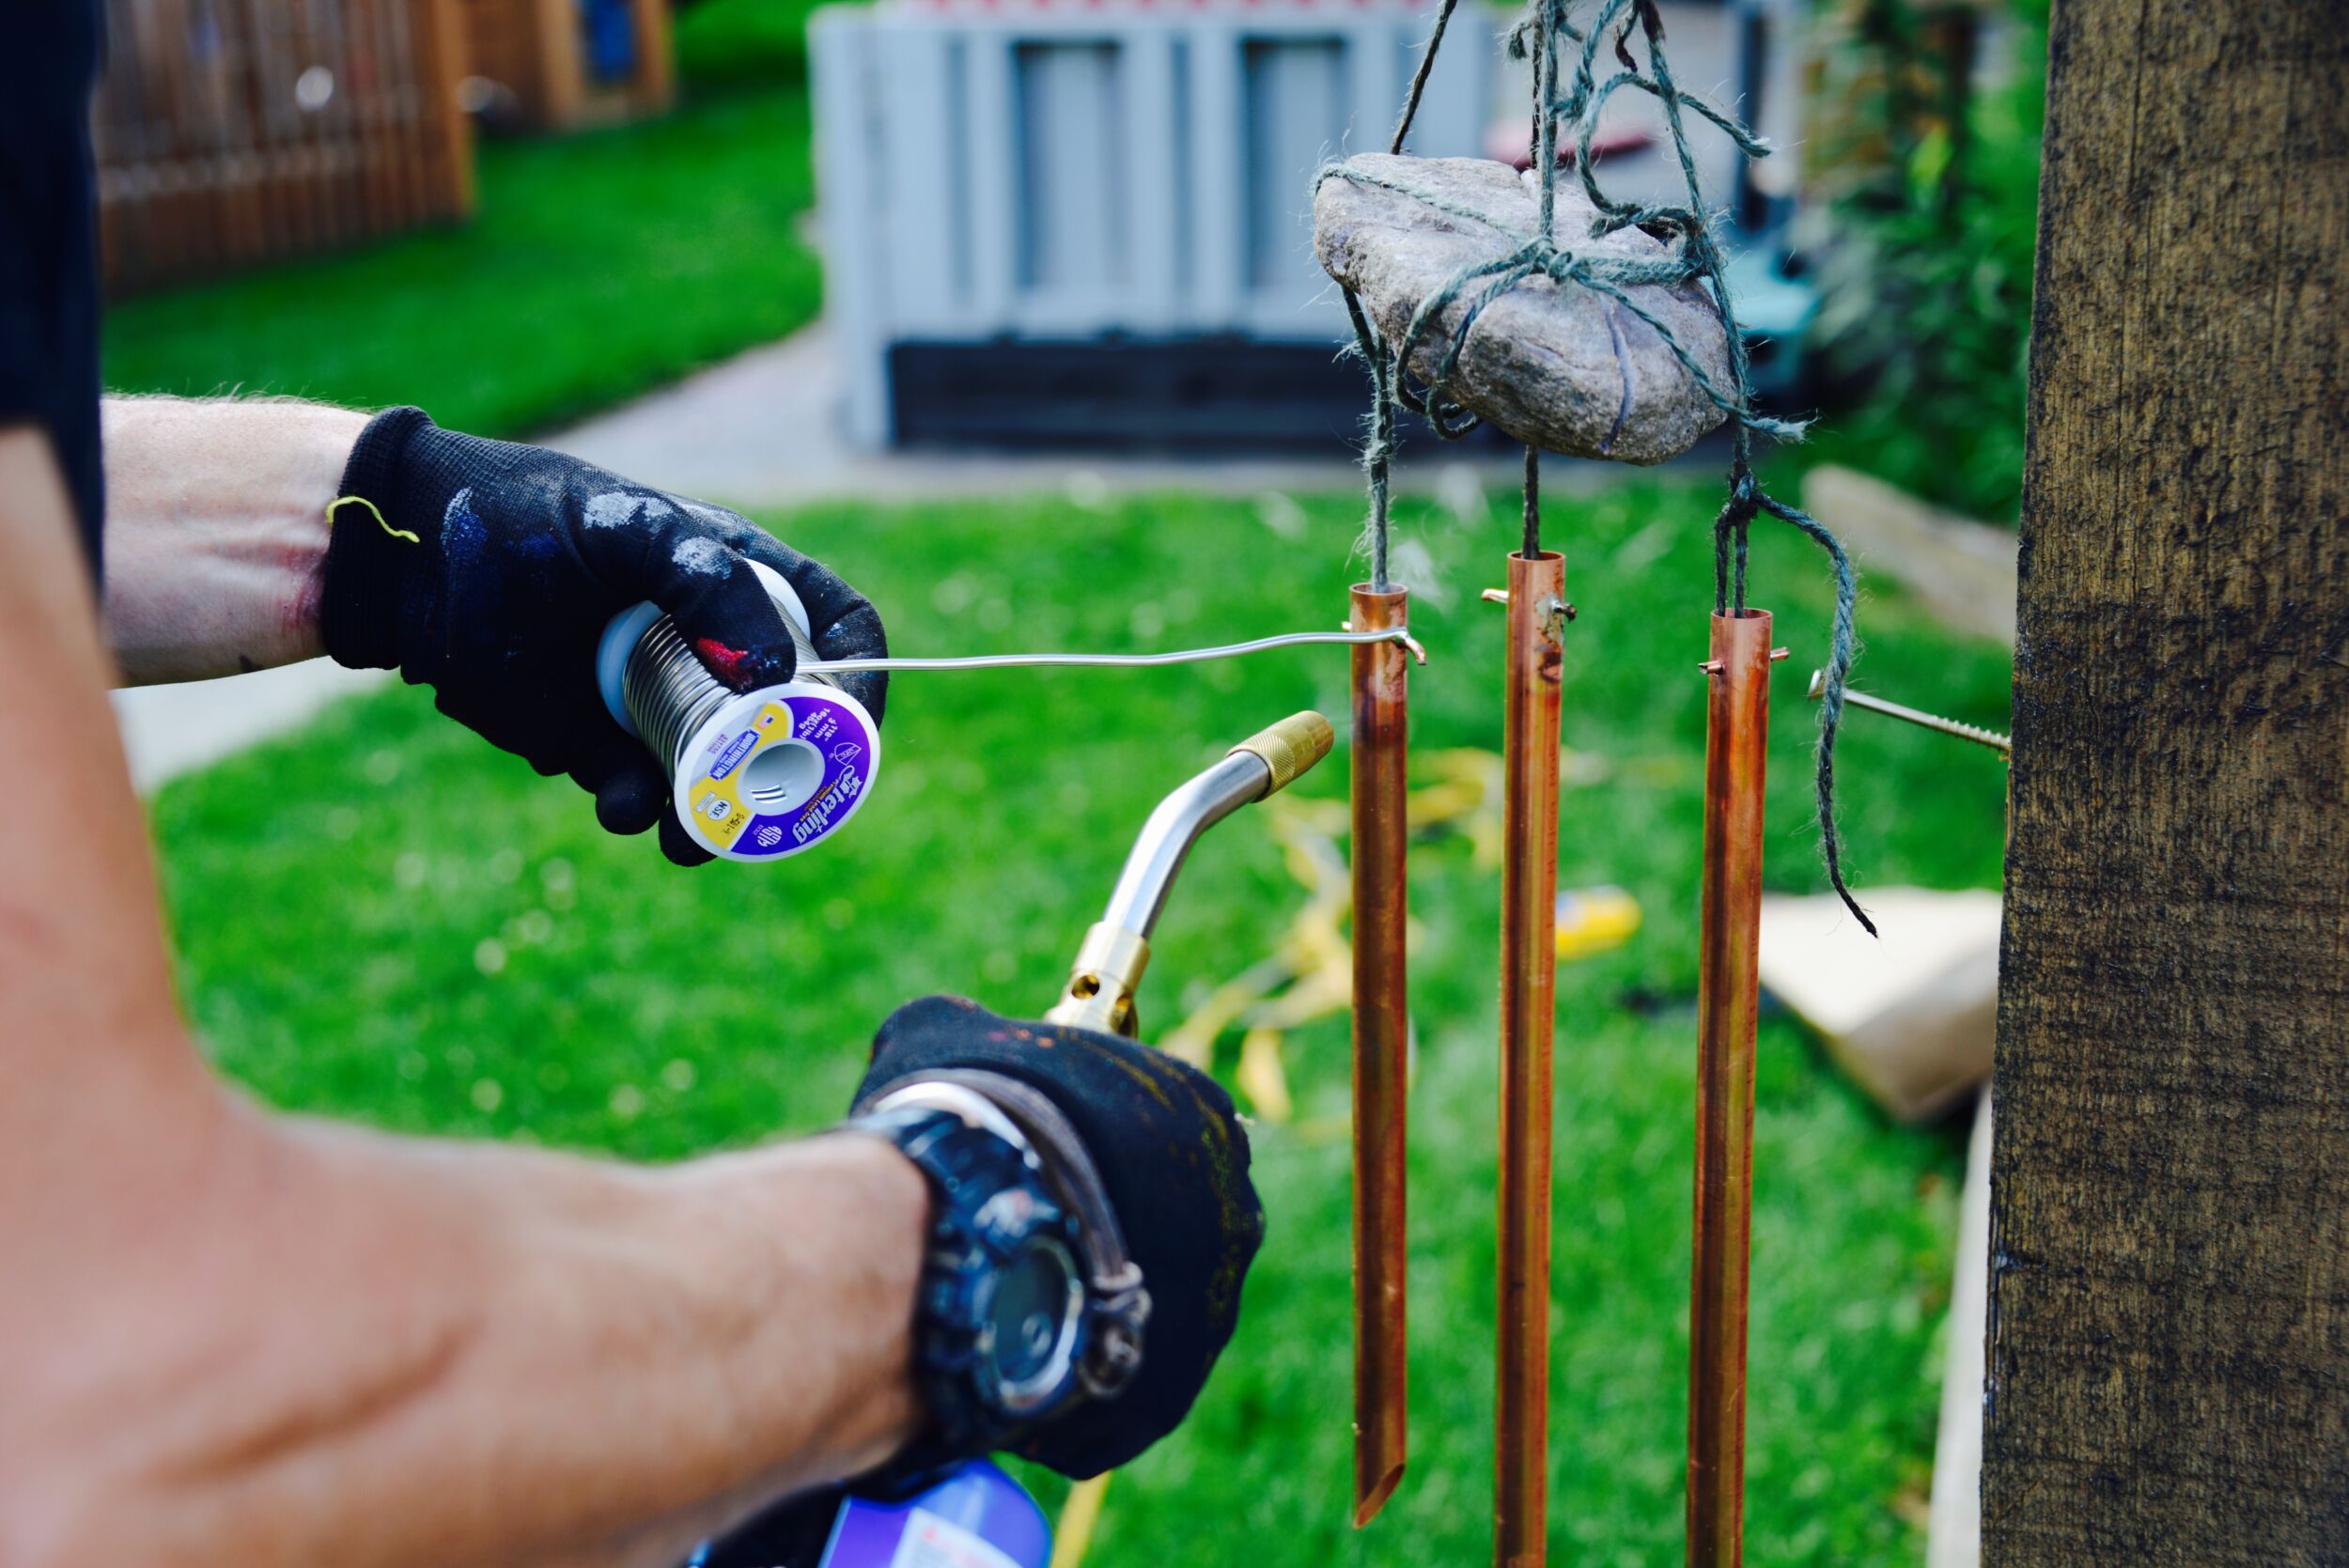
Brush on a little flux. It’s part of the awesome chemical magic that makes this happen. No joke, I really do love it.
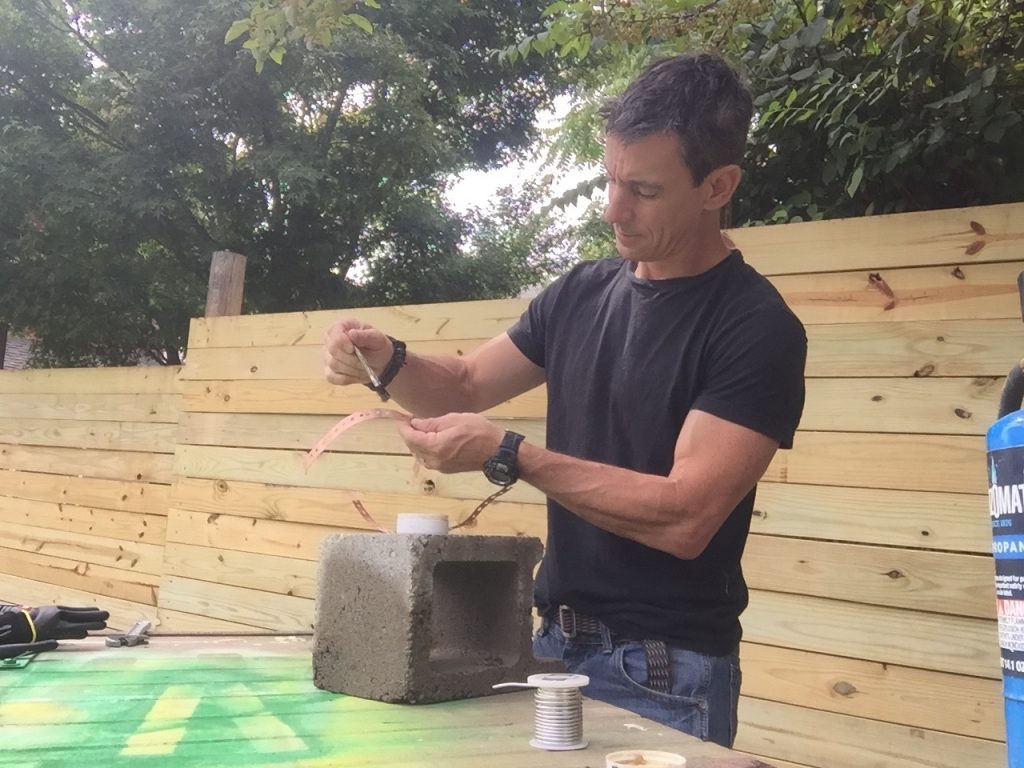


Any table top DIY that allows me to use an adjustable wrench, I love. I snugged the first two pieces together before applying heat and solder.
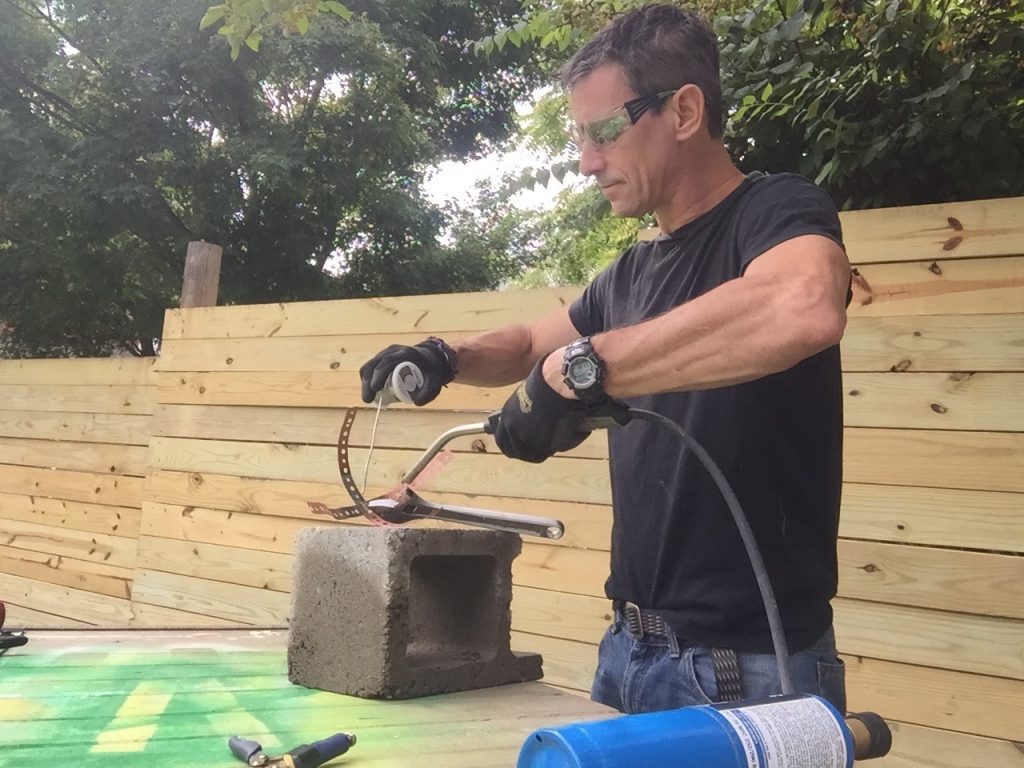


I assembled this DIY project in layers. The strap heats up fast, melting the solder applied previously sometimes (I may have used too much heat) can re-heat the previous layer. To keep everything still after I added the second layer of fronds and the trunk, I used small locking pliers to help.
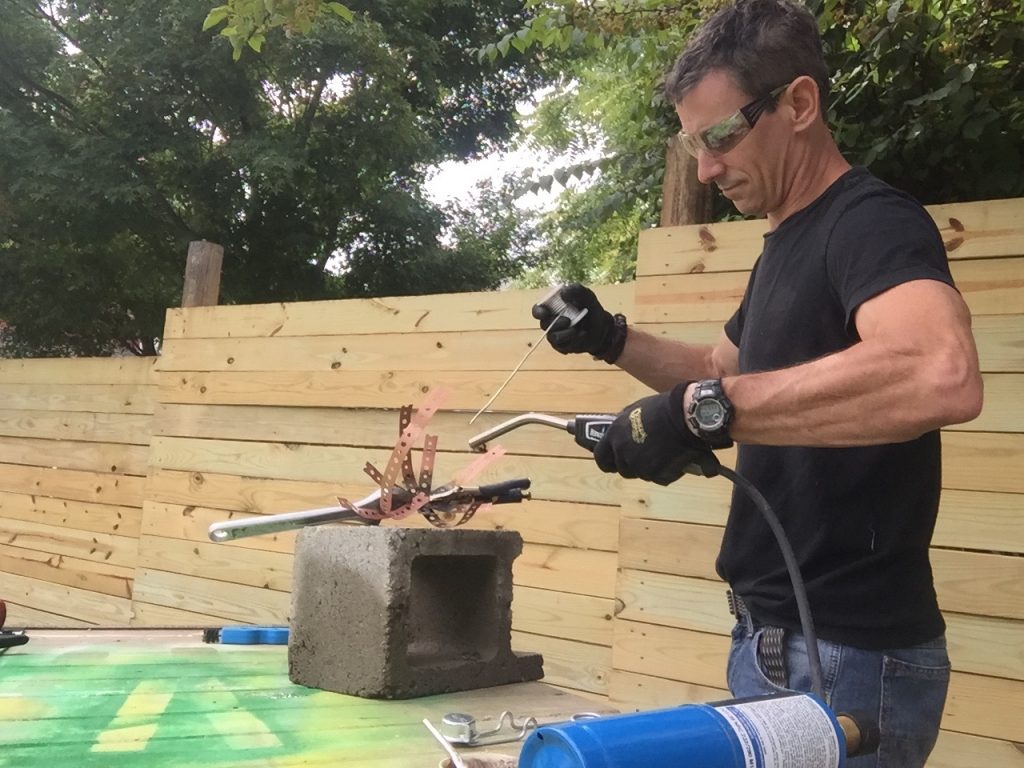


A cool thing about this project is that you can snip the fronds after they’re soldered in place if you want to. For me, I like the fronds kind of flared at the end, like an upside down flower. The solder is strong but not bullet proof so I bend them carefully.
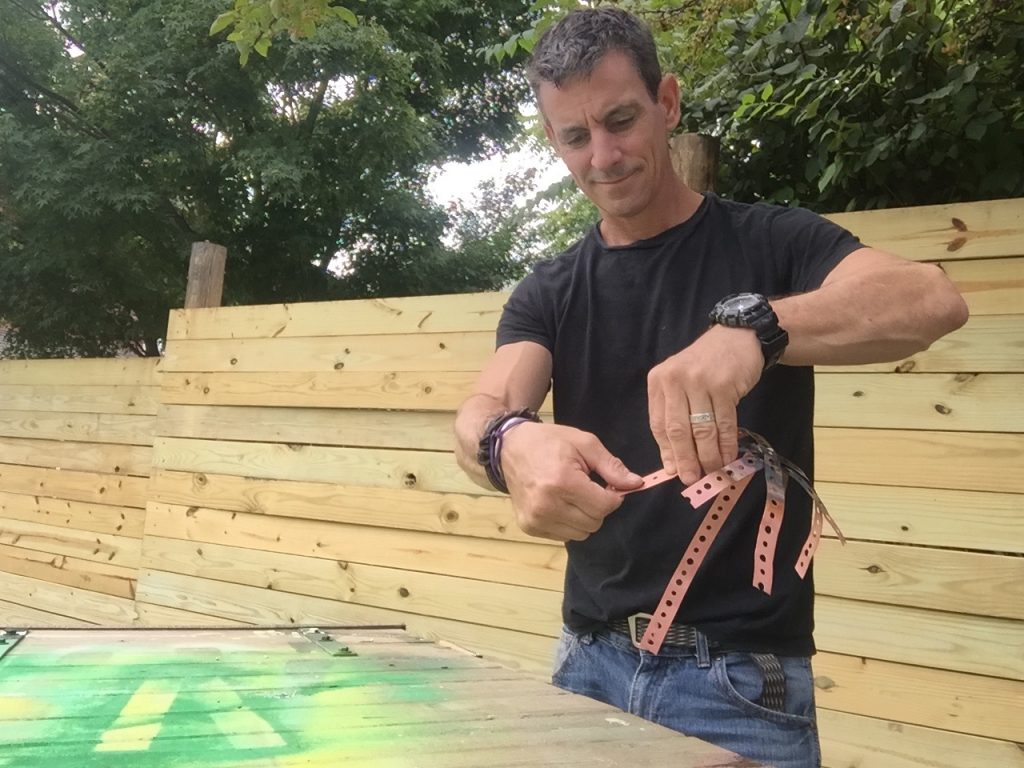


I instantly got excited once I made this and placed it on an outdoor table. I should not be this fired up. But I am a Bernzomatic Torchbearer and this how-to is part of that program. Still, happy is happy. Bad photos like this prove it.
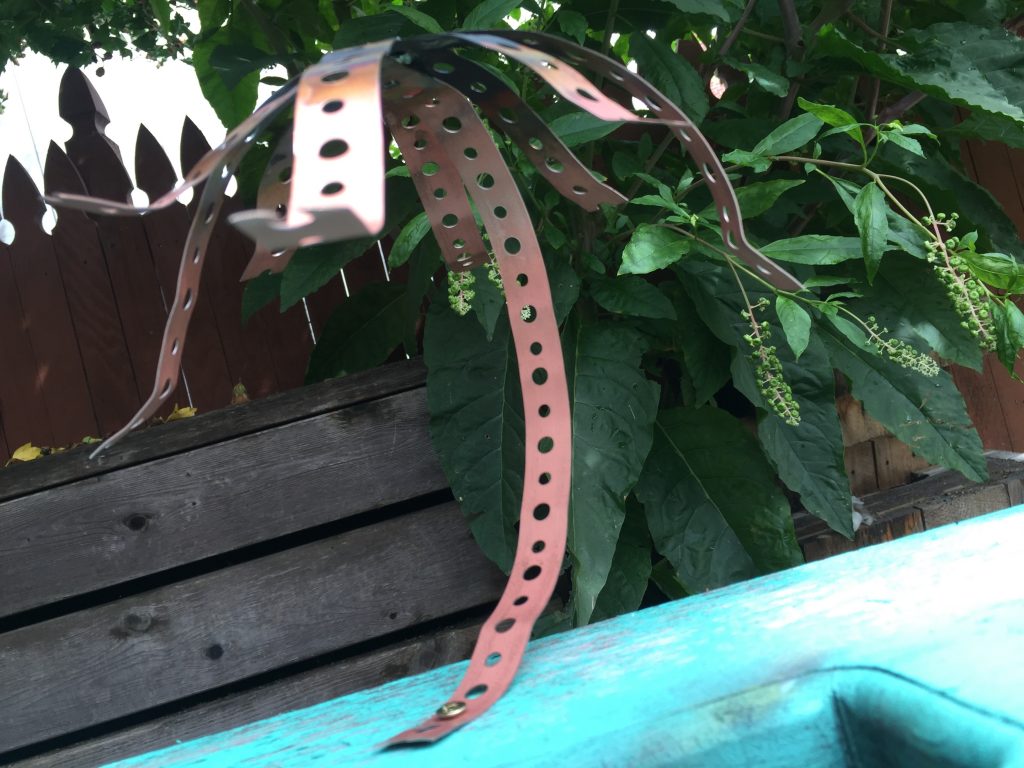


This table top DIY version of the palm tree is a bit simpler. It reminds me of my mom. It’s somewhere between a flower she loved called a Lady Slipper and a place she loved called Florida.
