Question: I’m having trouble with one of my DIY projects. I installed a tile floor (my first) but I didn’t cut the tiles close enough to the wall at the end of the run. Now there are gaps between one and 2-inches around the perimeter of the room. How can I fix this?
Answer: We’ve been there. Well, figuratively…those are some big gaps. There is no shortage of ways DIY projects can get out of hand. So, let’s fix it.
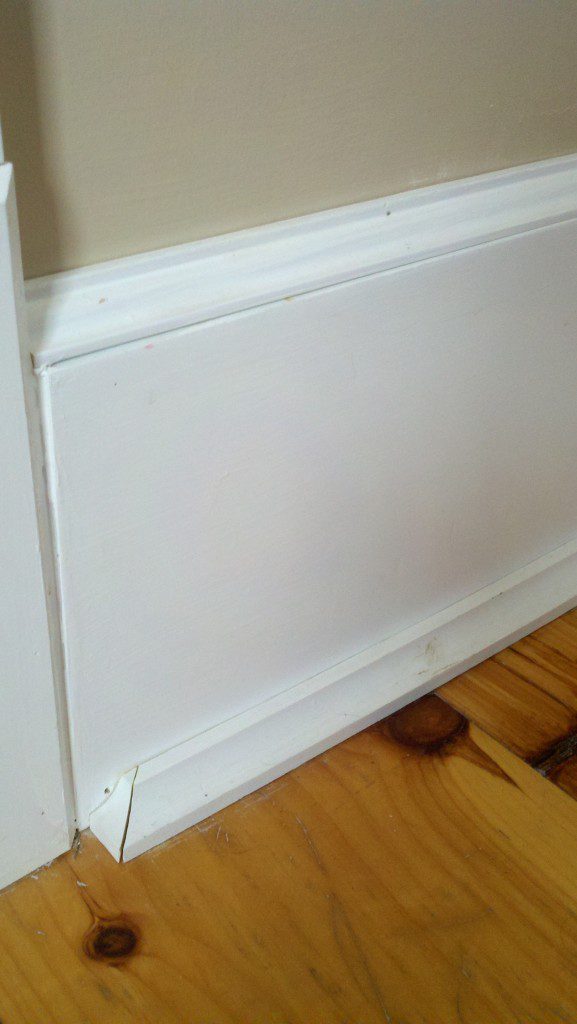
A typical baseboard assembly would cover a lot of it, but won’t do the job here. So, get creative with me. Also, I hope you’re good with a miter saw because what I’d do in this case is ‘build up’ the base molding so that it covers the 2-inch gap.
I’d use a 3/4-inch thick baseboard that’s 1×6 or taller (pre-milled base is often 5/8-inch). Install the 1-by as you would any baseboard. Next, add a base cap to make it look money–awesome sauce for DIY projects.
Then—and this is how we’ll really cover the gap—add two molding profiles to the bottom of the 1-by as shoe molding. I’d recommend the first one would be a ‘stop molding’ at least 1 1/2-inches tall. The second a ‘shoe molding’. We prefer to use 3/4 x 3/4-inch cove molding instead of typical shoe. I think it’ll look better in this application too. All of these items should be available in pre-primed paint-grade stock at home centers and lumber yards.
Oh, and because the base molding will be so boss, it might project past a modest door casing, so consider adding a beefier casing or plinth blocks to give the 1-by base something to ‘die’ into. Use returns on your shoe molding.
Don’t let DIY projects get you down. We’ve got your back.

