Traditional, highly skilled woodworking is an art and a science all to itself. I do more more of a blend of carpentry and woodworking, which I think is a little more accessible and yields some pretty cool stuff, like this cutting board / serving tray.
By the way, we are Bernzomatic Tochbearers. They sponsored this post (oh but I could do it for free). The design and how-to are MyFixitUpLife’s. OK, on with the show.
In a rare board shorts + cutlery moment, I fall in love with this cutting board cleaving up pineapple.
Once I knew what I was doing, this became a fairly straightforward project. Before then, however, it was pretty busy choosing what it wanted itself to be—without me knowing. I had intended it to be a cutting board that I could integrate with my sink. I drink a lot of plant-based drinks so I cut up a lot of stuff and put it in cups.
I figured even though we compost, this food prep would be easier and I could free up some counter space if the cutting board and sink were integrated. And while this accomplishes that, I ended up liking it so much, I think I’d rather use it as a serving tray for cookouts. More on that below.
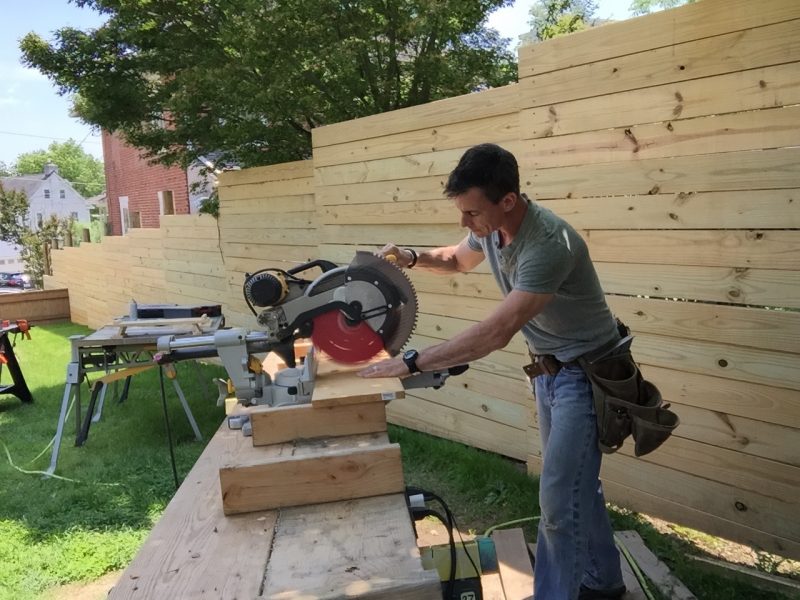


I know woodworking aficionados may be pulling their hair out because this isn’t maple or black walnut, but I’m a pine guy and this is made from a 1x10x8 white pine board. To integrate with and overlap my undermount sink, I made it 26 1/4-inches long.
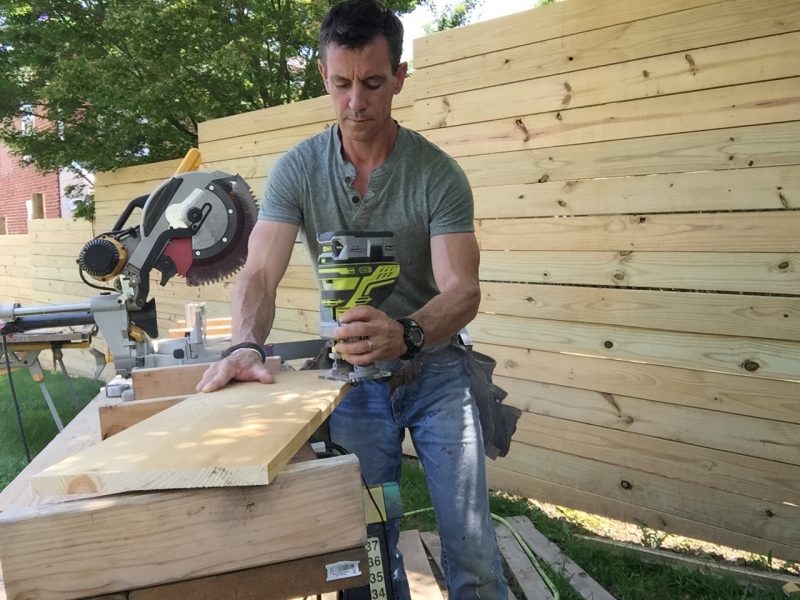


I love trim routers for projects like this where profiles are simple and you don’t need to remove a bunch of material. Also, while routing, it became clear to me that choosing a board that is flat and straight as is available will help while assembling this project.
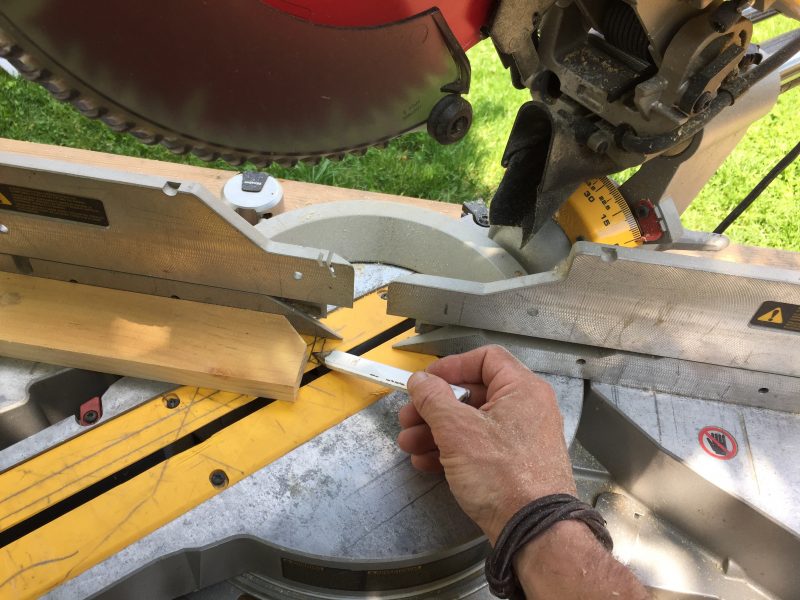


This project is taking on a 45-degree angle feel.
After routing a 45-degree angle on the top piece above, I clipped the corners of the cutting board’s feet. This serves a functional purpose too. In my test pieces—there were a few false starts before getting up to speed with this design—this miter nests into the front edge of the sink nicely.
Tip: Once you know the miter you want, just mark a line on the miter saw table. No need to measure. Slide the piece up to the line and cut. Flip over and cut the other sides and, poof, done. Like magic.
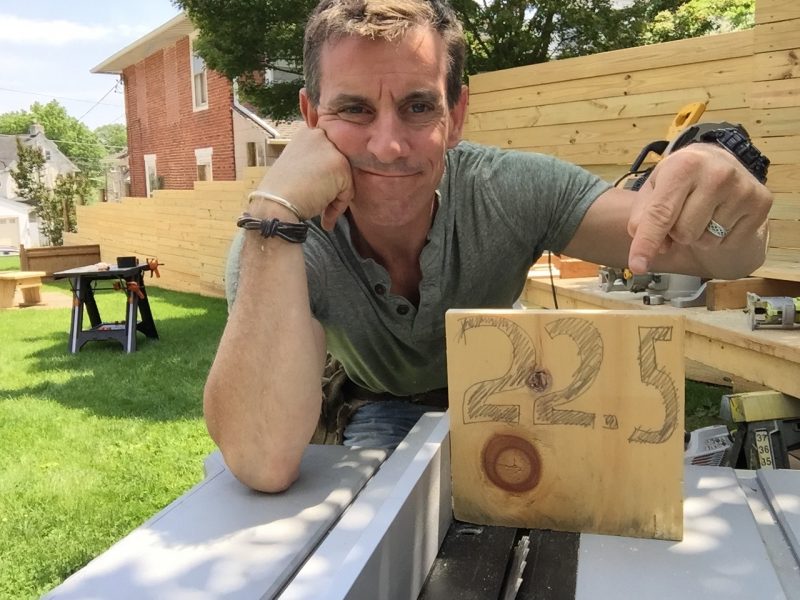


I posted a video on our Facebook page that takes a deeper dive into how I cut shapes like this. There are some mental gymnastics that can be frustrating. Long story short, the ‘legs’ are 2 1/2-inches wide and 8 1/4-inches long with parallel bevels. A parallelogram in pine.
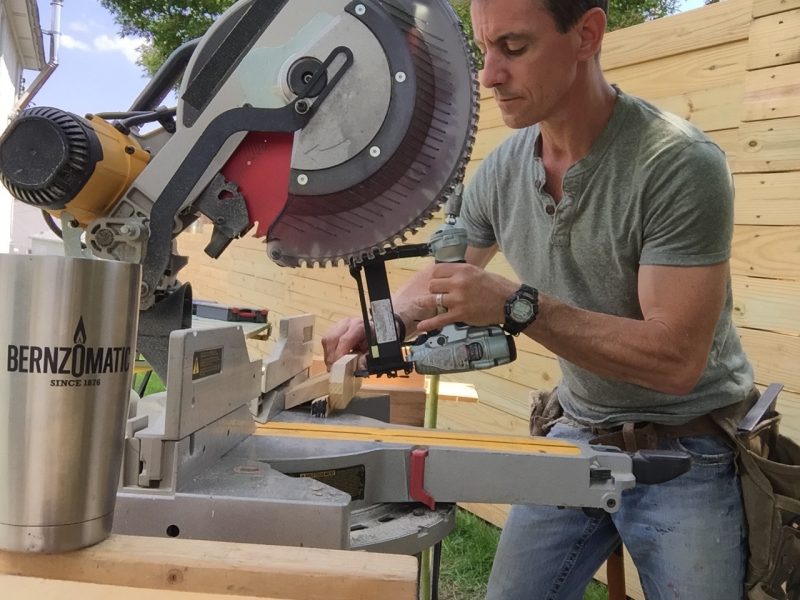


For the 9.3 people that read this blog, thank you. Also, you may know that I love using my miter saw fence as a backstop for assembling things—like this foot/leg assembly that is hard to hold and nail all at the same time. There are three things happening I’d like you to see:
1 – Look closely and you’ll see I Sharpied a stabilizer block black. Its under the leg and props it up at the correct angle. It’s 1-inch tall, to the long point of the 22.5-degree angle. I made it on the table saw.
2 – The leg is centered in the foot and because of the block I can hold it in place.
3 – I use the old upside down stapler trick so I can send the staple at the same angle as the leg (I didn’t quite get it for the photo, but I got it in real life).
4 – Coffee.
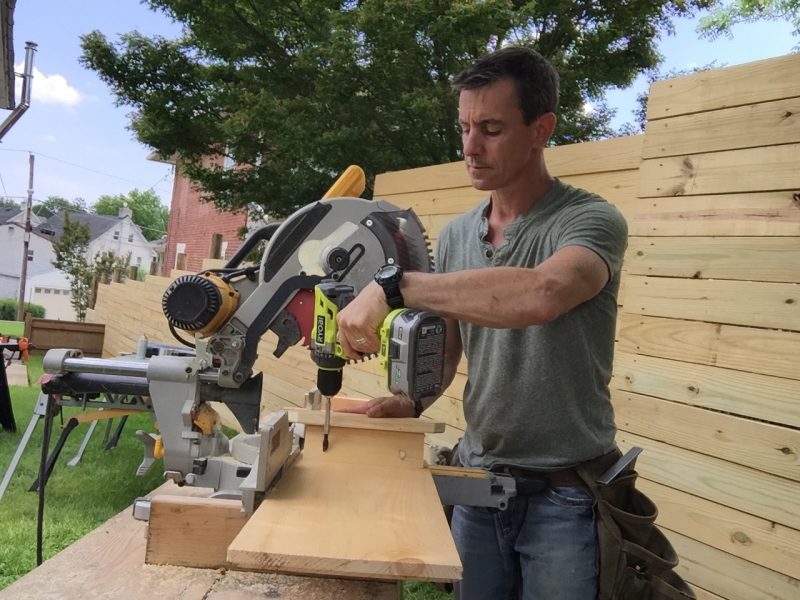


This was not my favorite connection on this piece. While it works, it’s a little too carpentry and not enough woodworking. With the piece flipped over I pre-drilled and countersunk pilot holes with my Ryobi cordless drill/driver. I was very careful to not drill through the board or drive screws through the face of it. With 1 1/4-inch screws it worked but there was not a lot of room to spare. The good news is that top is the easiest piece to remake if you blow through.
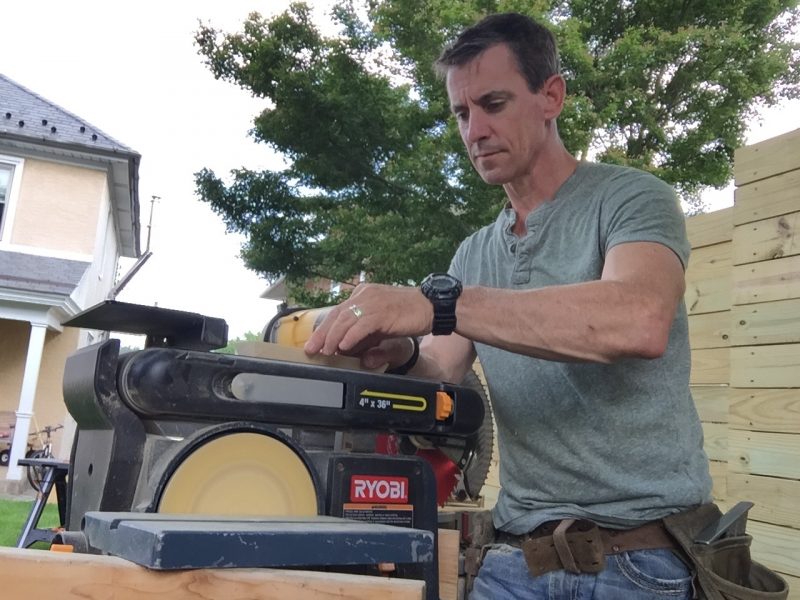


I’ll show you what these little parts are for below. In the meantime, let me tell you how much I love a bench sander for tuning up small parts like these. Little parts, big sander.
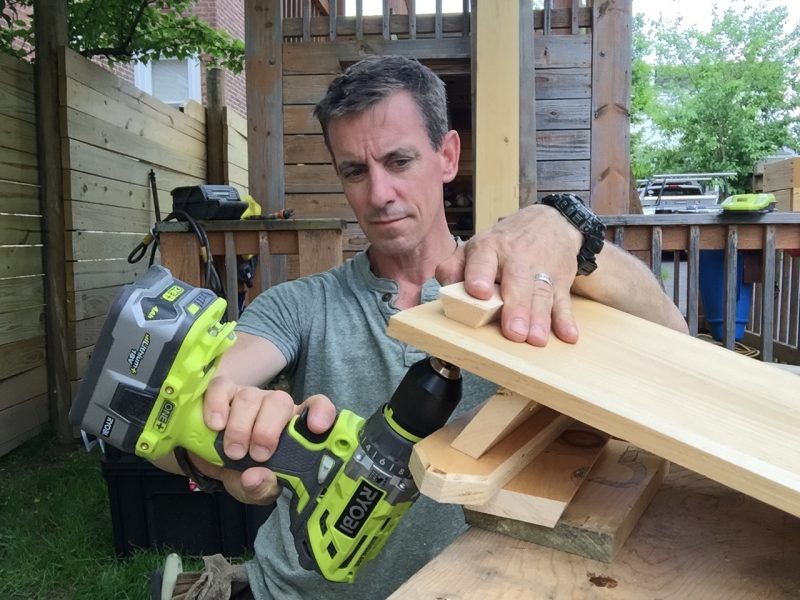


The top looked incomplete without…something. So I added these, um, things. Turns out they serve a purpose. There’s a 22.5-degree angle on all four sides. Long ones cut on the table saw. Shorties clipped on the miter saw.
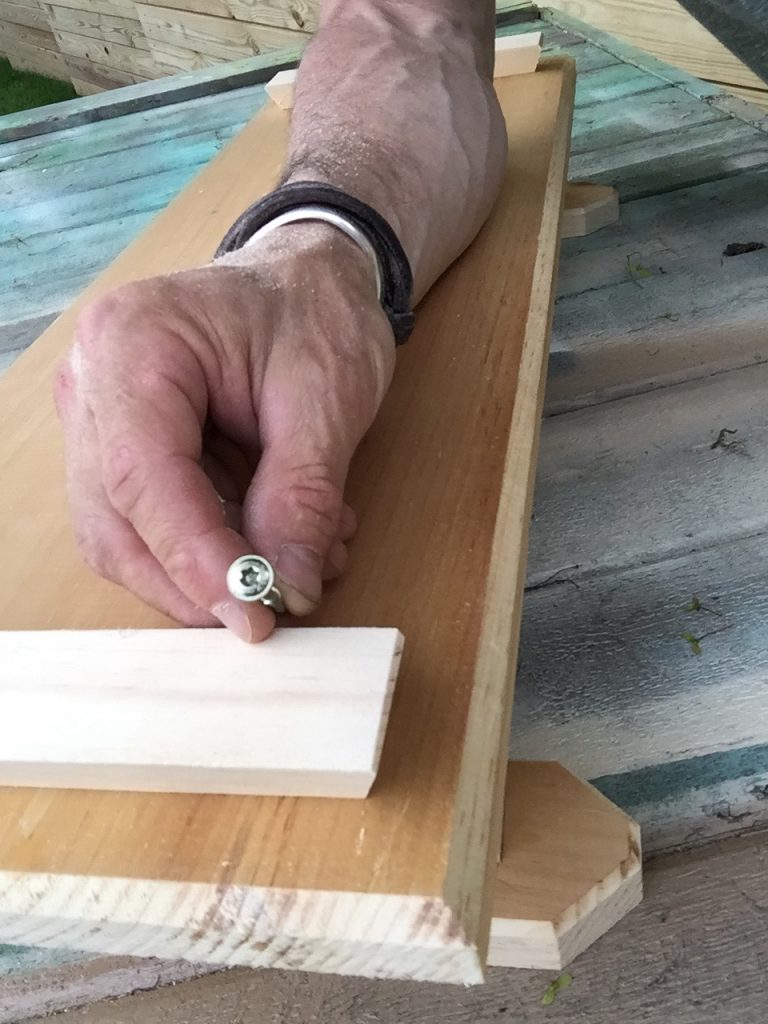


Alternatively, I could have highlight the doodad connection and used a pan-head screw. I didn’t. But I could have. I also could have screwed the leg assembly through the top of the table and used the doodad to cover the screws. I wouldn’t have like the look as much, but it was an option.
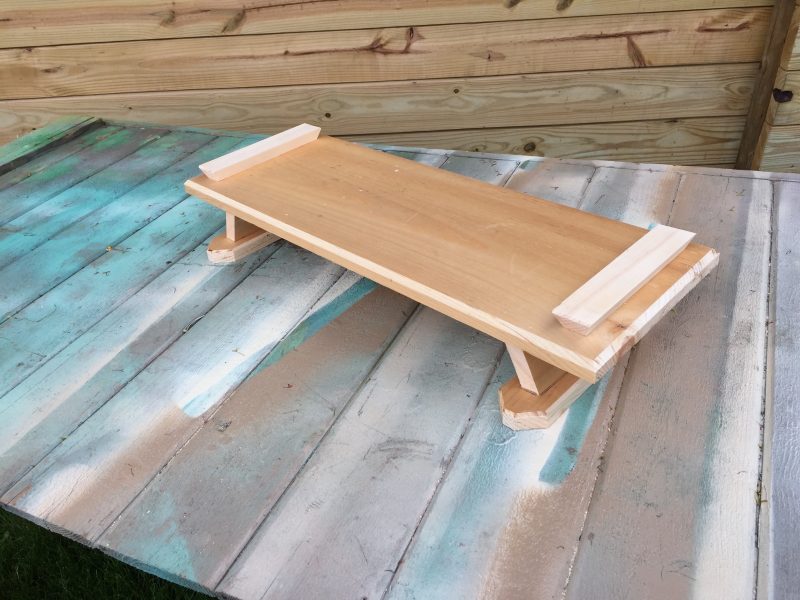


A nice look at all the parts, routed edges and pieces’ relationships to other pieces. My woodworking love affair with this cutting board / serving tray / cookout helper has only just begun to blossom at this point in the story. I don’t know I’m in love yet, but I’m thinking about it.
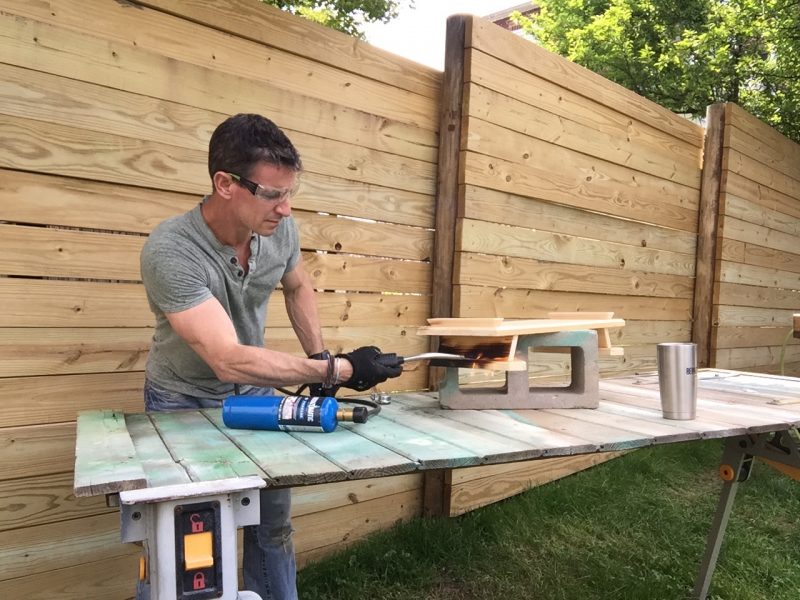


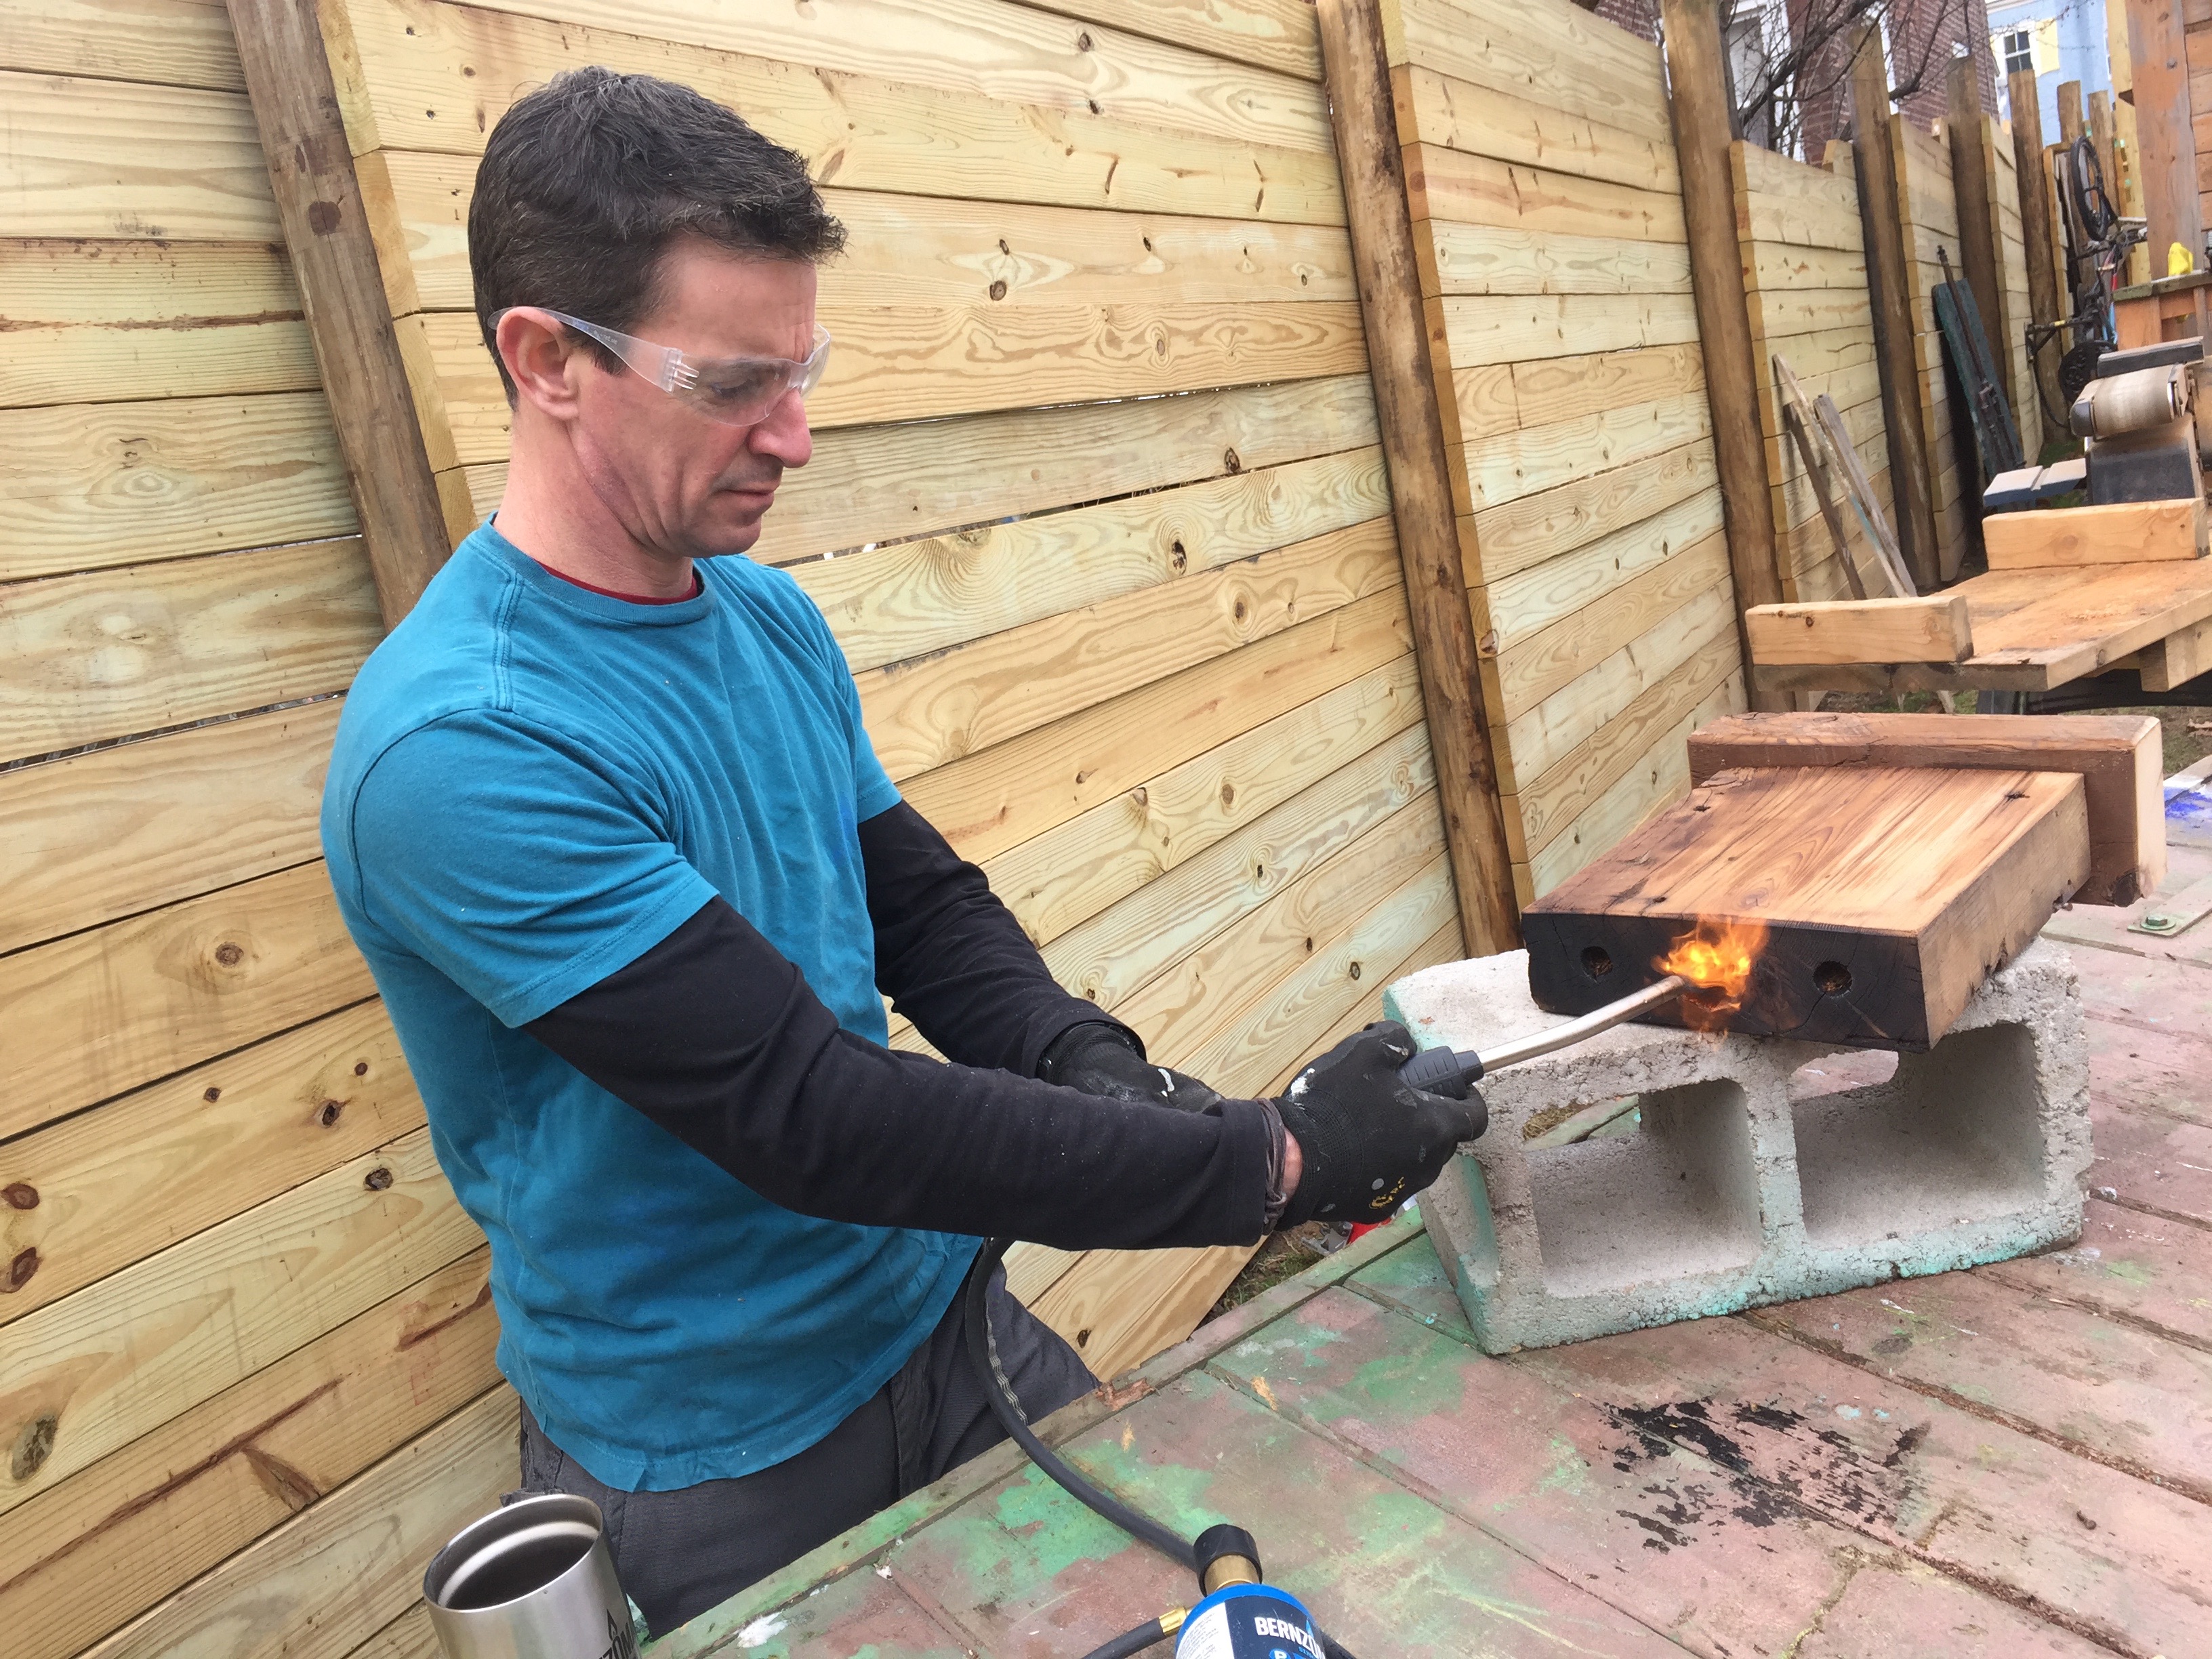
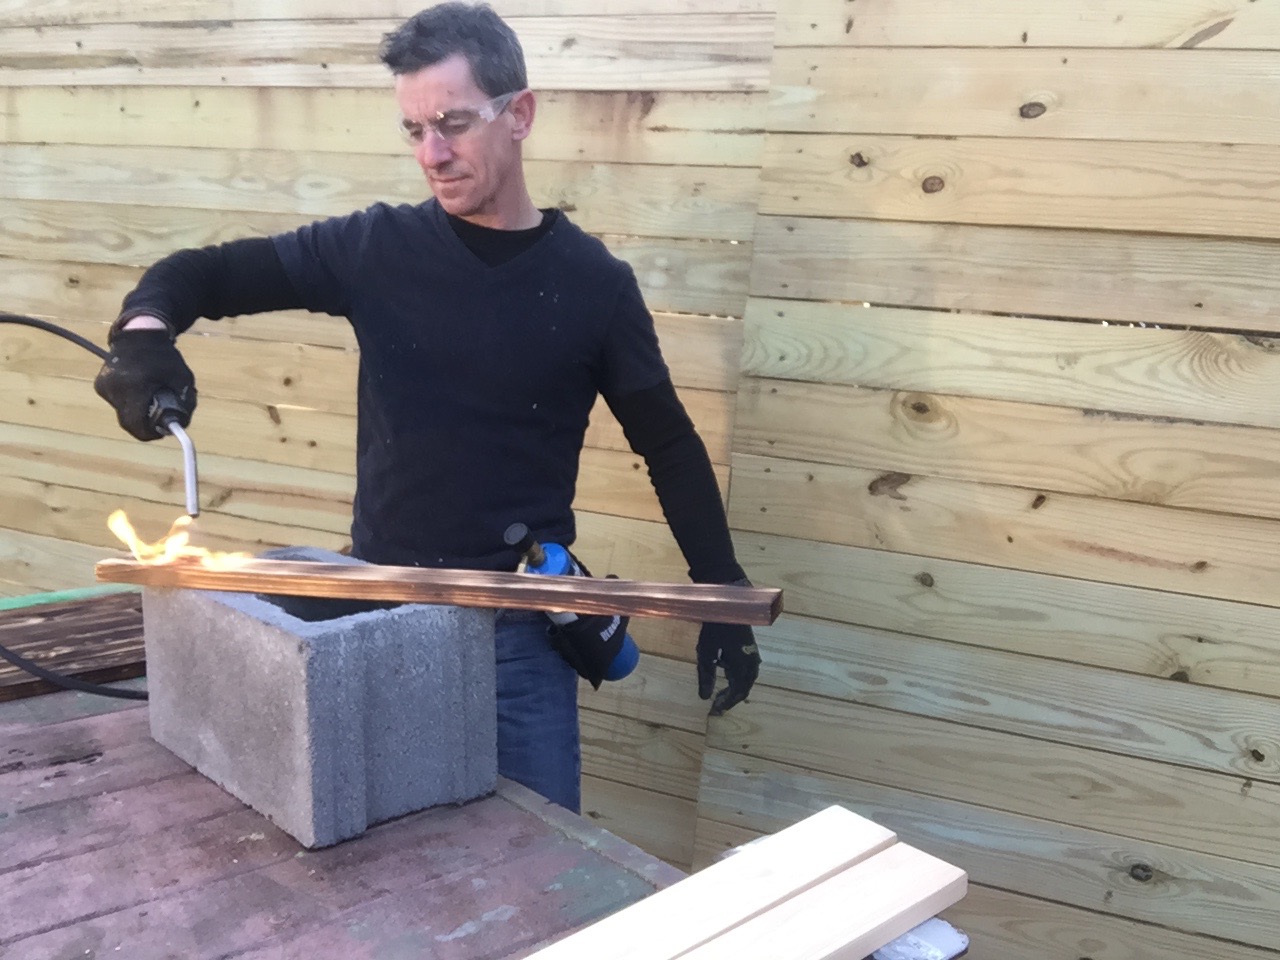
Full tilt flame-over with my favorite Bernzomatic torch. Not only does it add color and character, it dries out the wood fiber making it less absorbent and integrating the color with the wood so there’s no problem later cutting food.
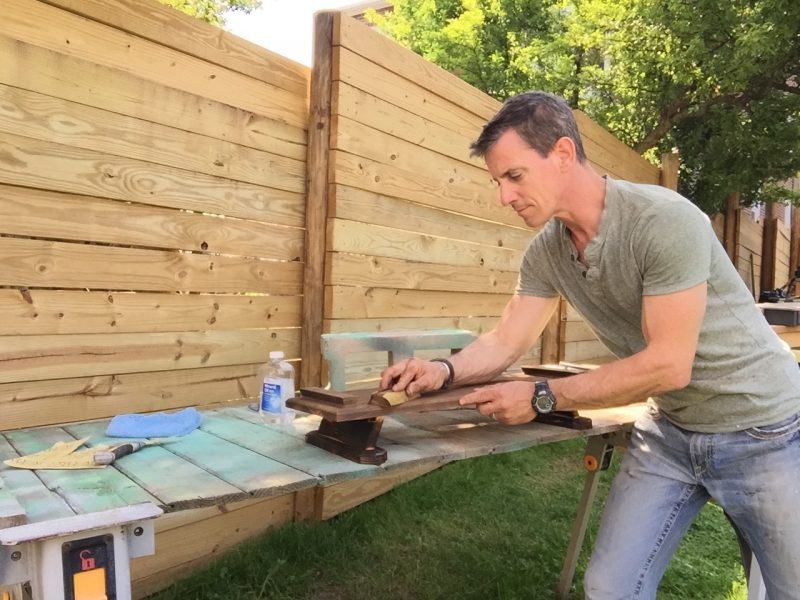


I love mineral oil. So it could really soak in and to bring out the world’s most chocolatey color, I hit the top of the cutting board / tray / helper with 180 grit sandpaper. Tip: Always, whenever possible, sand in the direction of the grain.
After this, two coats of mineral oil—making sure to really soak any fastener penetration—works. About 37-coats turns the wood into an heirloom. (I might be exaggerating.)
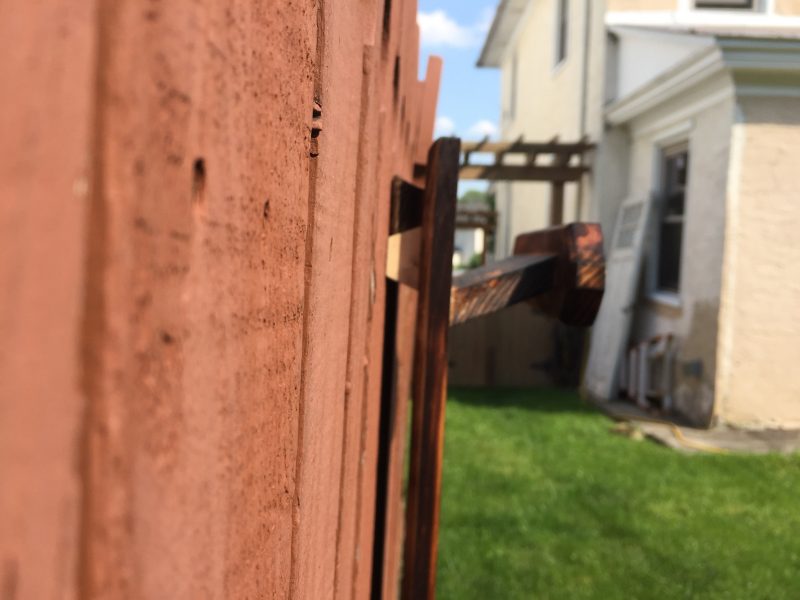


What, what? Is that a French cleat? Yes, why yes it is. The perfect place to store my cookout serving tray.


What’s that behind me? Yup, my cookout buddy. And yes, me neighbors are about 500 years old. I think they came over with Columbus and they have a clothes line.
