Workshop storage is both a many tentacled beast and a source of successful DIY. One of my many mantras is: Looking for a tool isn’t working. It’s looking for a tool.
But there’s some stuff you never lose—because you can’t get rid of it. An air compressor. Those bags of concrete you’re saving. The stacks of flooring you’ll put in neeeeext weekend.
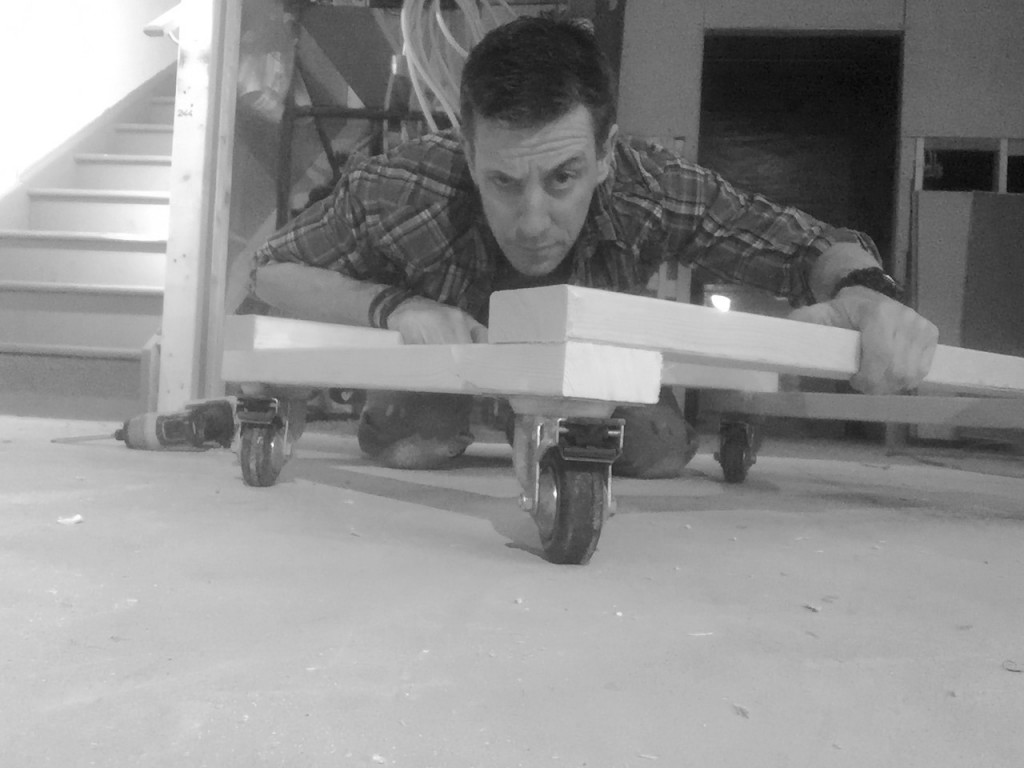
You need a workshop storage plan for those too. One I like is pure DIY and works great. We call it a carpenter’s cart. It works equally well in the shop as it does on a project site, whether it’s rolling the compressor around to where it’s needed or transporting floor tiles around the room. Making it is super easy. No, really. Unlike those crap blogs that say it’s easy when it’s not or skip steps so they can say it’s easy, this actually is. I’ll tell you where booby traps are. That’s what I do.
Shopping List
- One 2x4x8 (for larger carts, get another 2-by)
- Four 3-inch swiveling, locking casters
Workshop storage: How-to
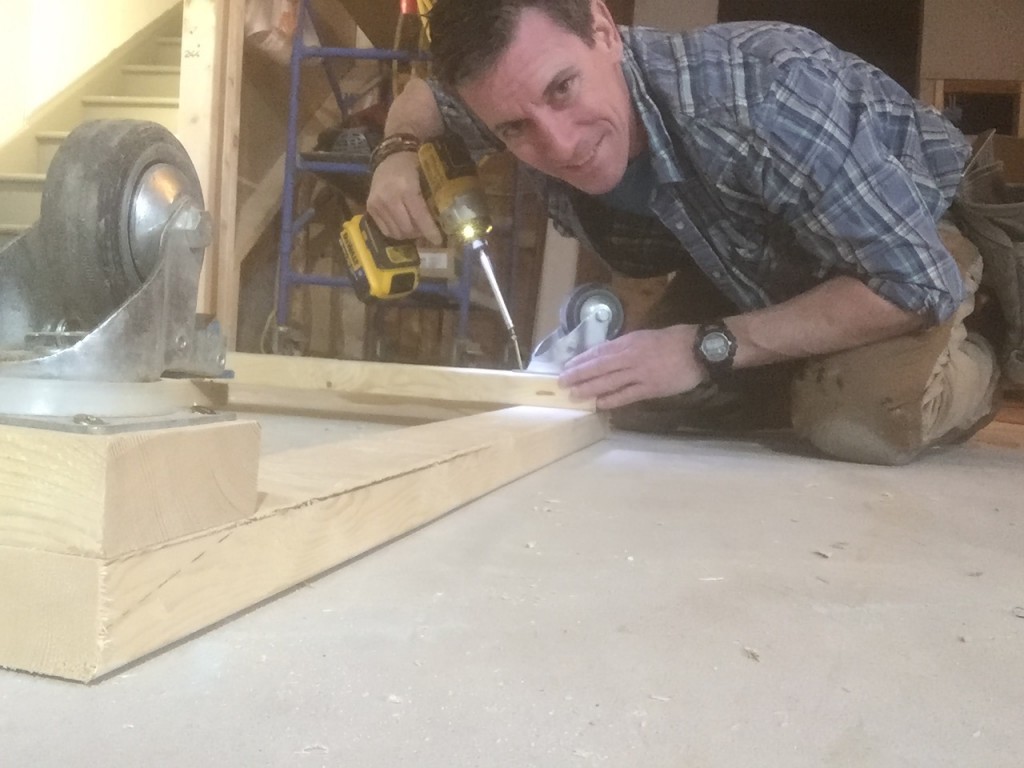
A 2-foot by 2-foot cart can be made with a single 2x4x8. Set one piece square to the other and connect with 3-inch screws.
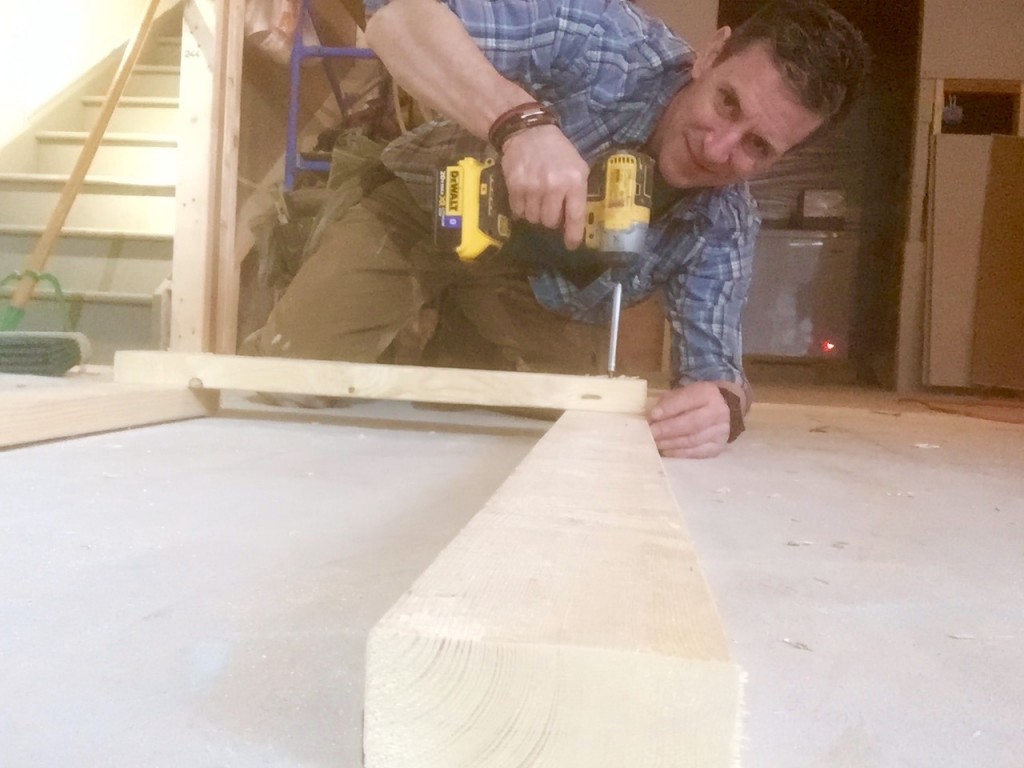


Repeat on the opposite end. Two screws locks the corners tight.
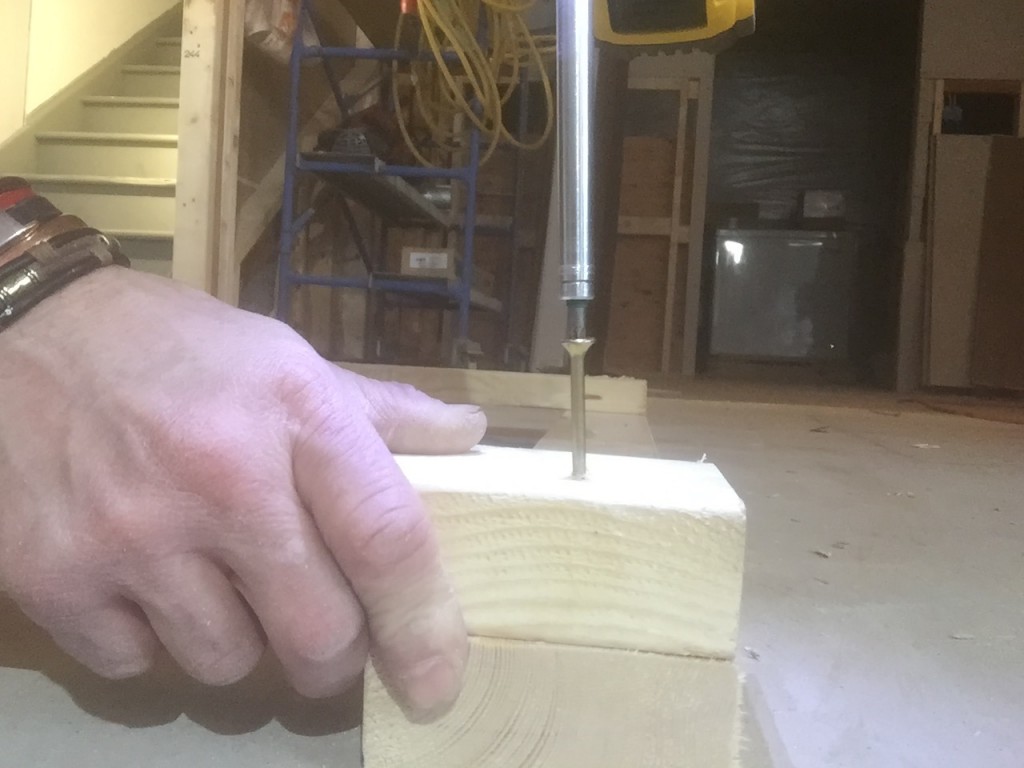


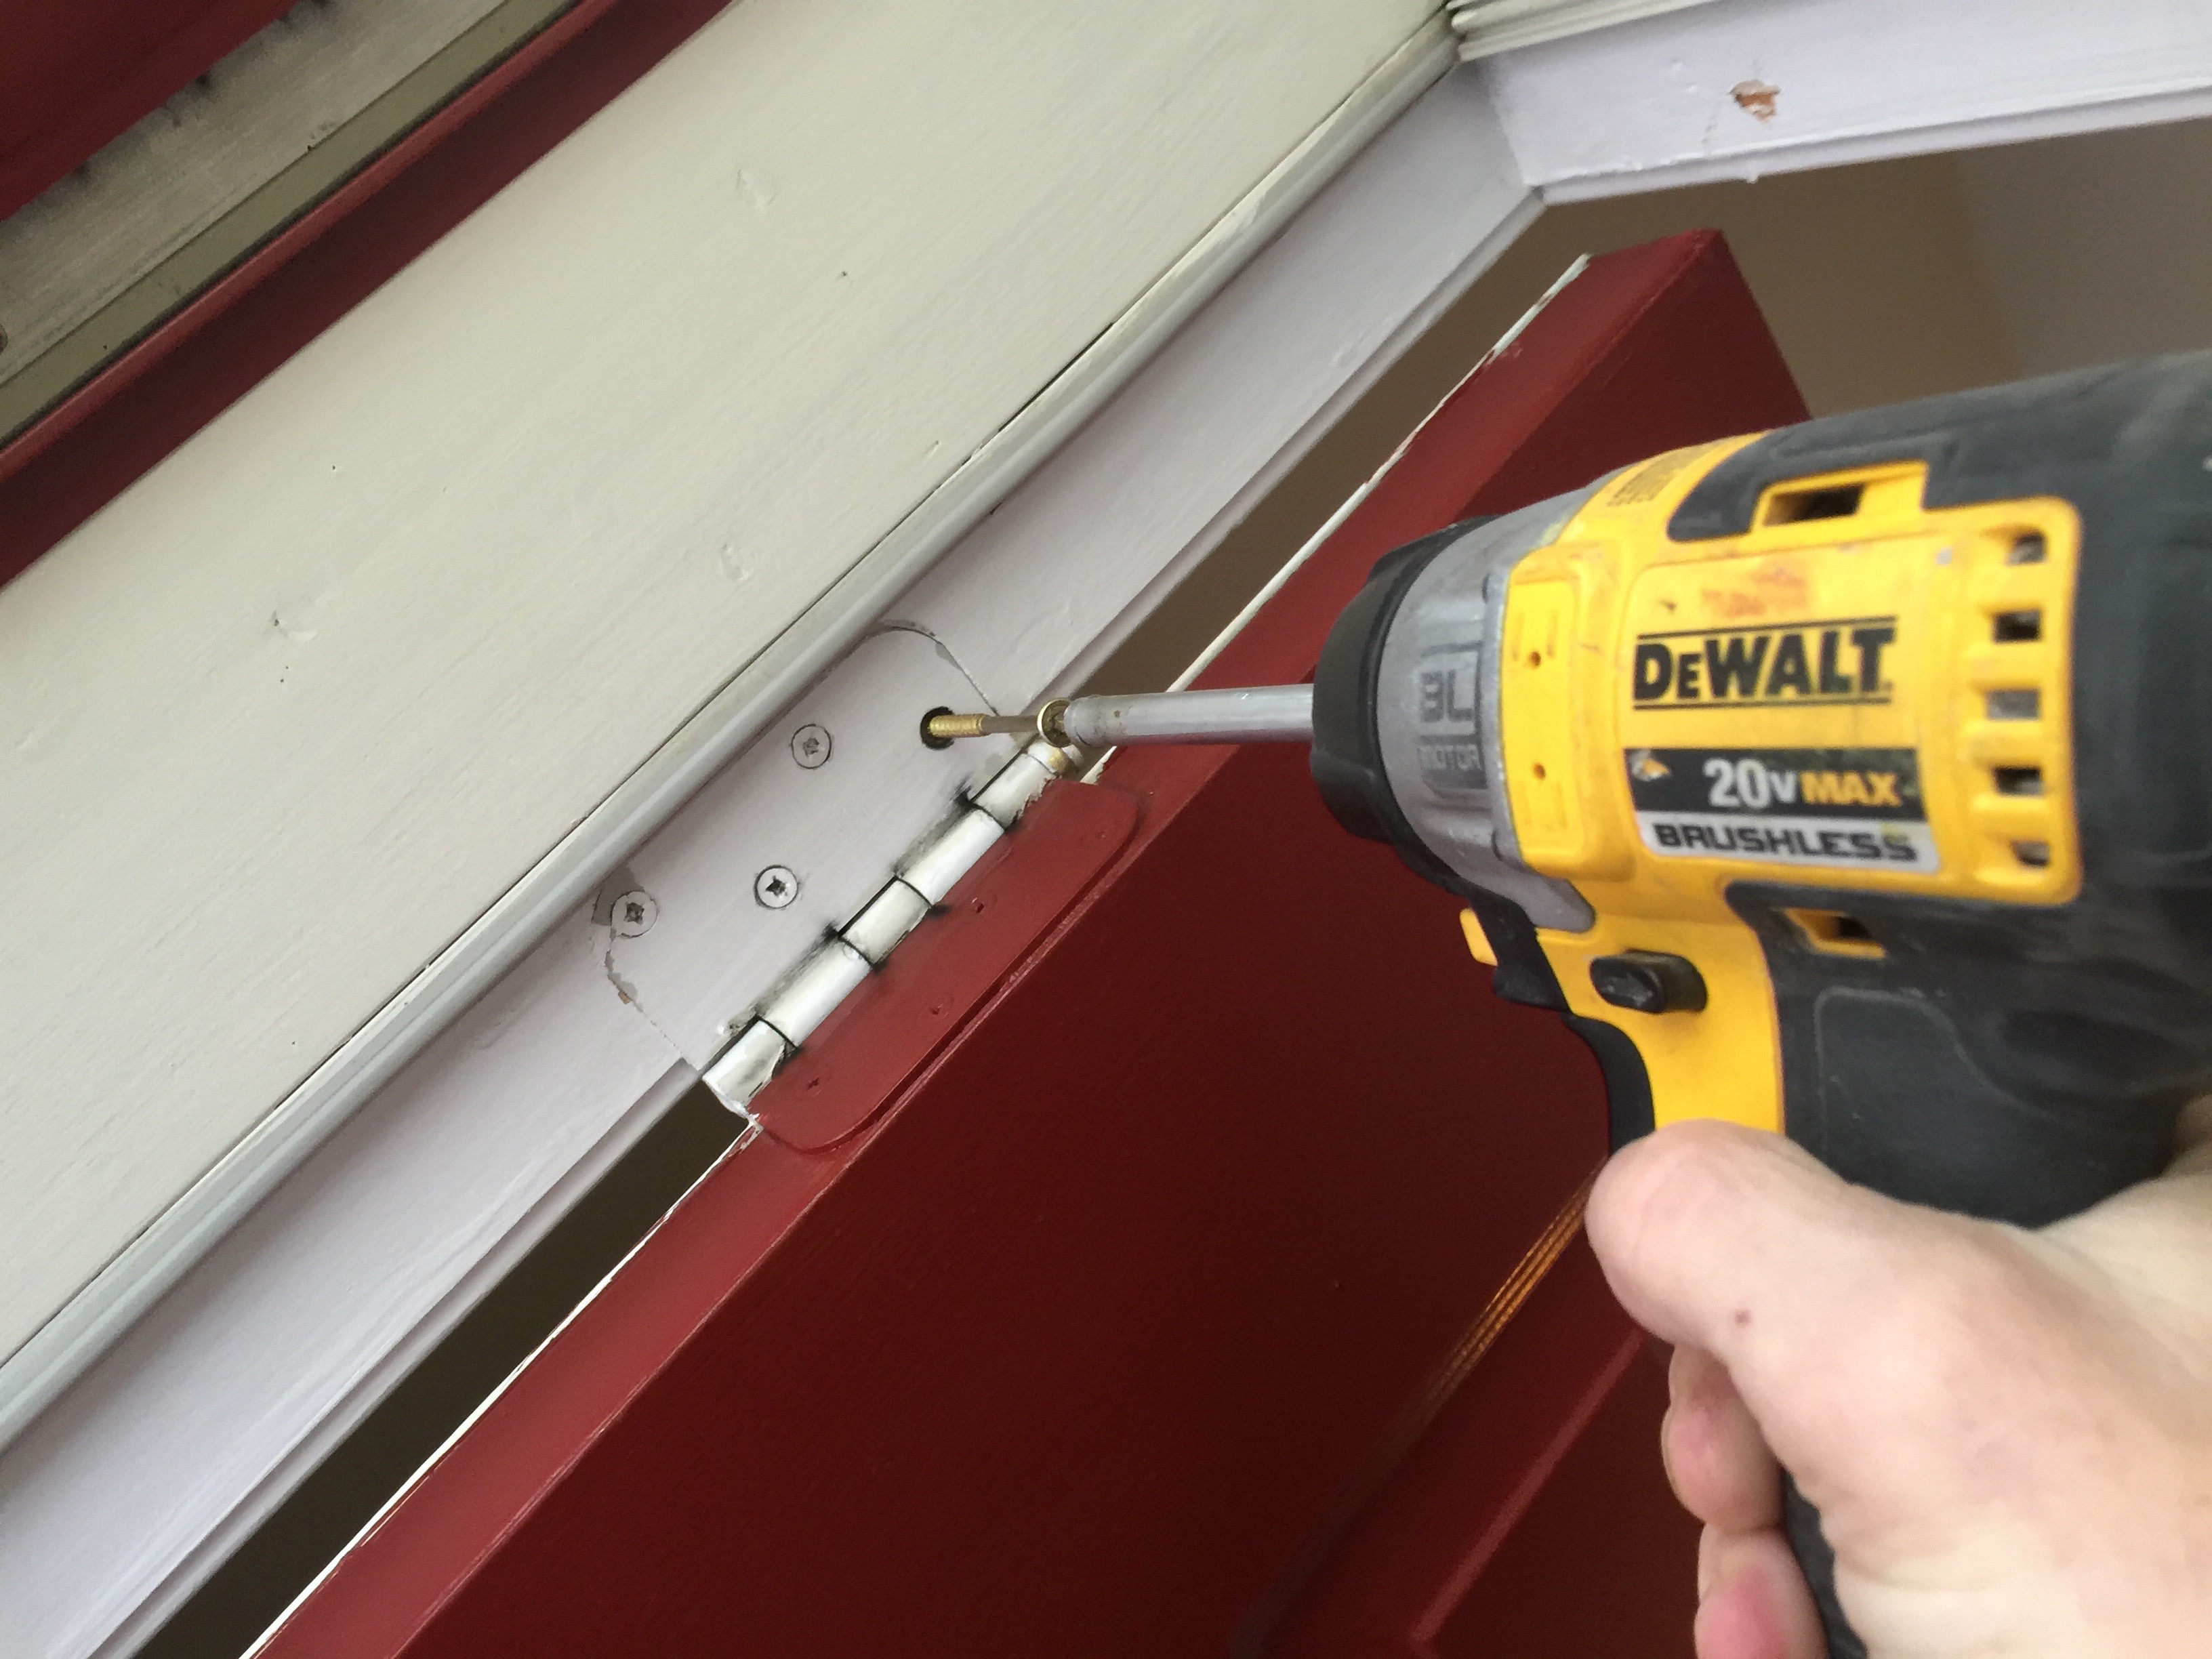
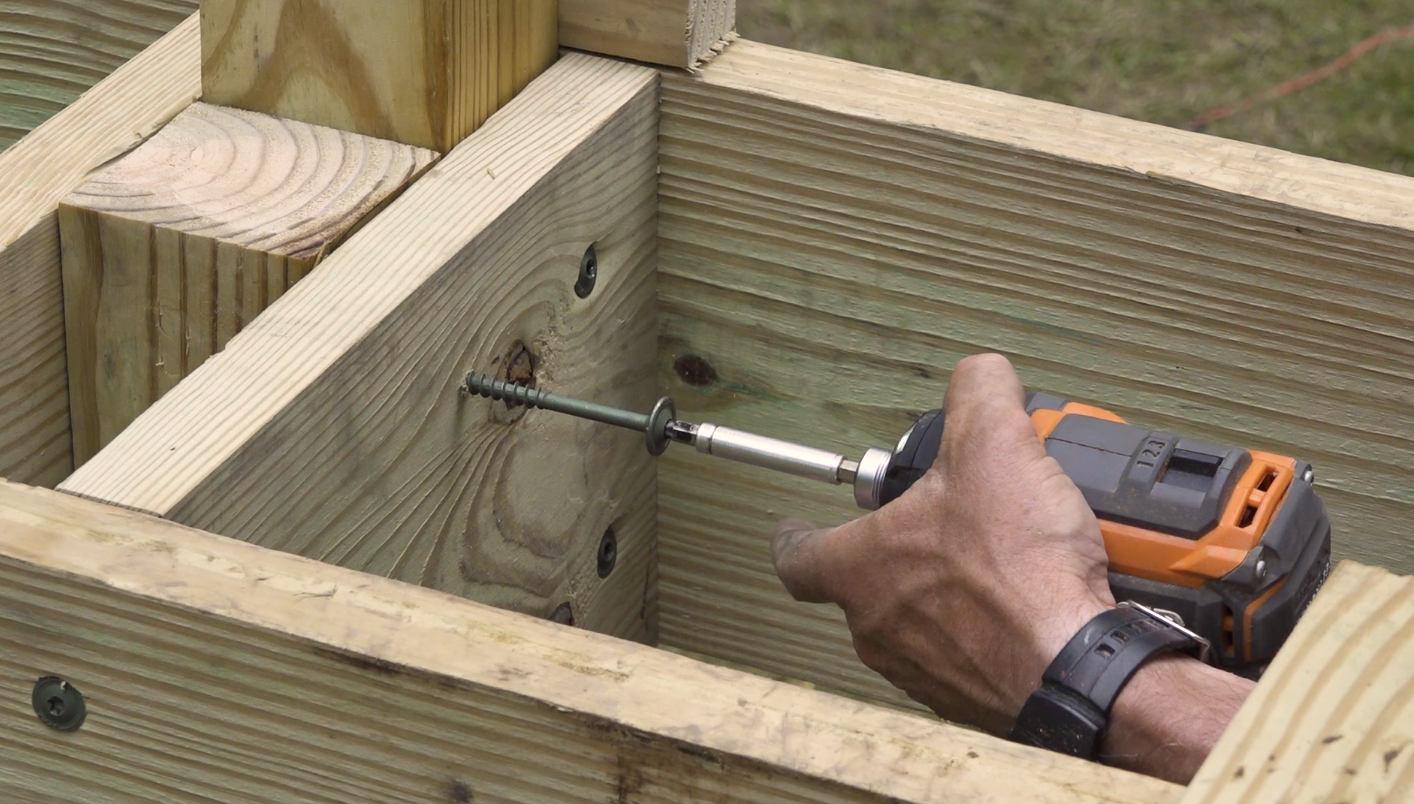
#10 screw heads seat in the caster holes. I’ve also used washer-head screws. Angle them so you catch lumber in both layers of the cart.
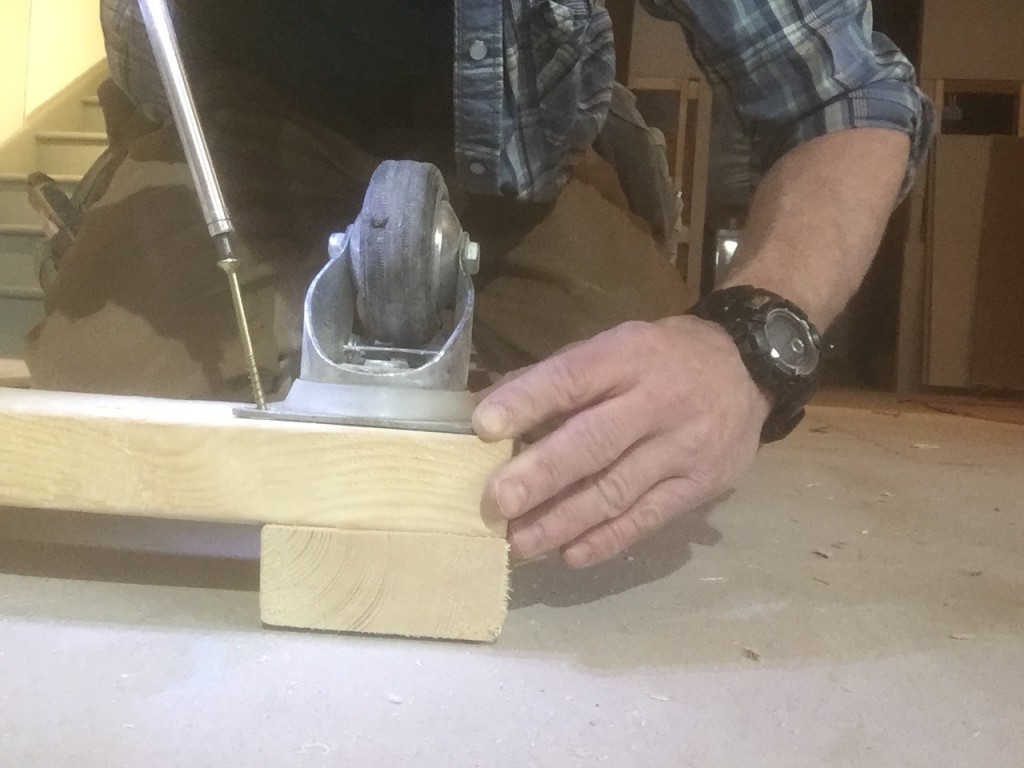


Cheaper, hard-plastic casters are more trouble than they’re worth. I pony up for the rubber wheels and they’re worth it. I usually add a plywood deck to the top so I can place anything I want on there. I built this one for 36-inch long floor tiles so I didn’t need it. But if it were for a compressor or buckets of joint compound, it’s a workshop storage no-brainer.
