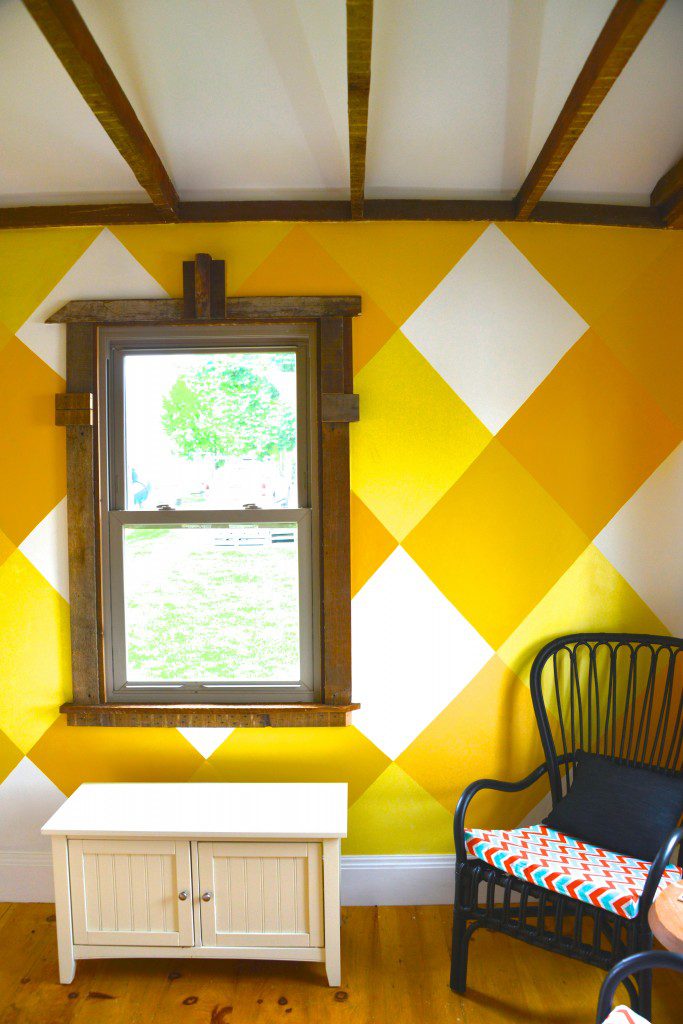
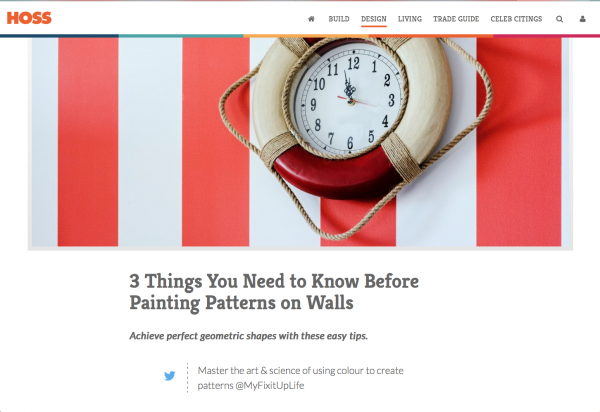
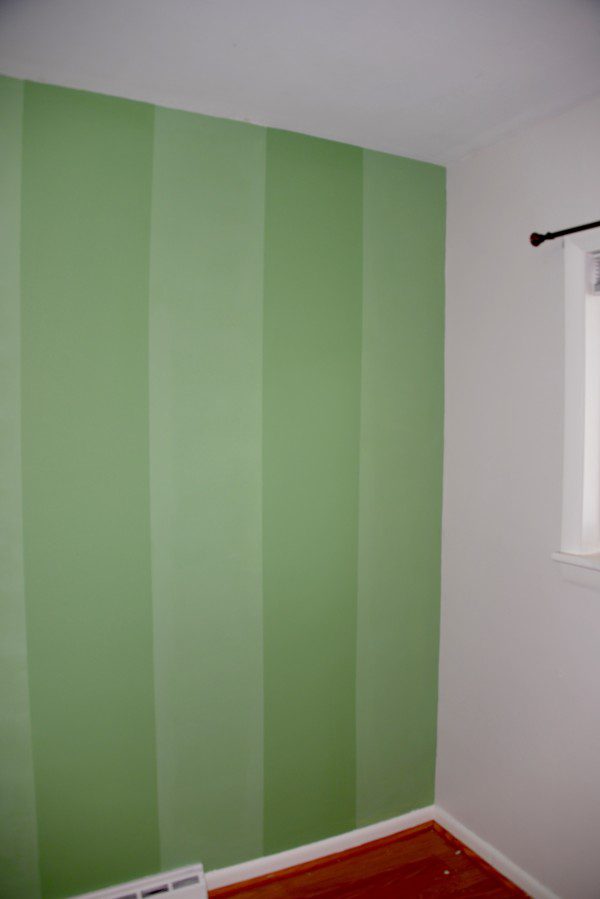
Painting patterns? Achieve perfect geometric shapes with these easy tips.
The paint pattern’s best friend is painter’s tape.
If you haven’t been successful with painter’s tape, I have a few tips that can make you a Zen master in no time.
If you’ve ever successfully used painter’s tape, you are well on your way to mastering the art and science of using colour to create patterns and shapes on an accent wall in your home.
Here are a few easy tips to get those perfect patterns, stripes and shapes on your walls.
Tools. Gathering the right tools that are known to work well can make your painting project much easier and more successful.
- Choose painter’s tape that has the paint block technology. My favorite is FrogTape.
- Use a quality paint brand. Inexpensive paint usually has more water in it, which causes those unfortunate drips to happen.
- Gather a level, pencil, tape measure and your smartphone for its calculator app.
- Select a paintbrush that’s made for a DIYer, like Shur-Line. Professional paintbrushes tend to hold more paint in them, which makes it tougher to control if you are a DIYer.
- Layout. Deciding on the size of the pattern and the layout of the pattern involves measuring and a bit of math.
- Decide on the overall layout. You may want your pattern to be centred on the wall, so that the pattern ends perfectly at the sides of the wall, or you may want to centre it above the window or door.
- Measure the wall, height and width, and mark those centre points from the previous step.
- Deciding on the size of the pattern can be as easy as subdividing each subdivided section until you have a width and length that looks pleasing. For example, mark the centre of the length of the wall near the floor. Then mark the centerpoint between that mark and the wall. Then mark the centerpoint of the next mark and the wall. The space will decrease by half each time.
- After you decide on the size of the pattern, make those same marks near the ceiling and a midpoint on the wall.
Prep. If you’ve never painted a pattern, this step is for you. Testing the pattern can help you hone your paint skills and be confident about the pattern you choose.
- Before you start laying out tape and painting, test it on a blank canvas.
- This is a mini version of your wall, so try to ‘scale’ the canvas to your wall, so that the canvas is in the same orientation and is a ratio, like ¼-inch = 1 foot. If this steps makes your eyes squint, it’s not necessary to success.
- Mark the canvas the way you marked the wall from the layout section.
- Outline the sections in painter’s tape, making sure to rub your finger along the edges to seal the paint block technology.
- Now it’s time to paint.
- As you paint, you’ll find out a best strategy to taping the pattern, which will maximize the amount of paint that goes on the wall for each taping step.
- Remove the tape after the paint is set, but not fully dry. If you wait until it’s dry, the tape may remove some of the paint.
- If you still swoon over the pattern, you are ready to paint the wall and now you have wall art to hang in an adjacent room.
Technique After you are confident with the pattern and have a taping strategy, it’s time to paint that feature wall.
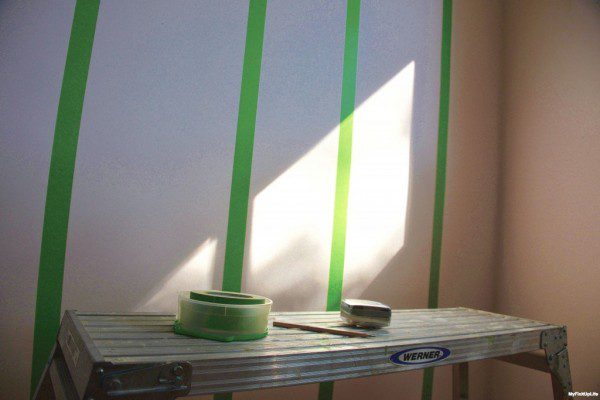
- It’s time to connect those marks on the wall from the layout section above. Don’t use a pencil. You can use your painter’s tape and gravity to connect those marks vertically and horizontally. Gravity is your friend here.
- Remove the tape after the paint is set, but not fully dry. If you wait until it’s dry, the tape may remove some of the paint.
See more here!
Join us every Wednesday at 1pE for HossColor!
