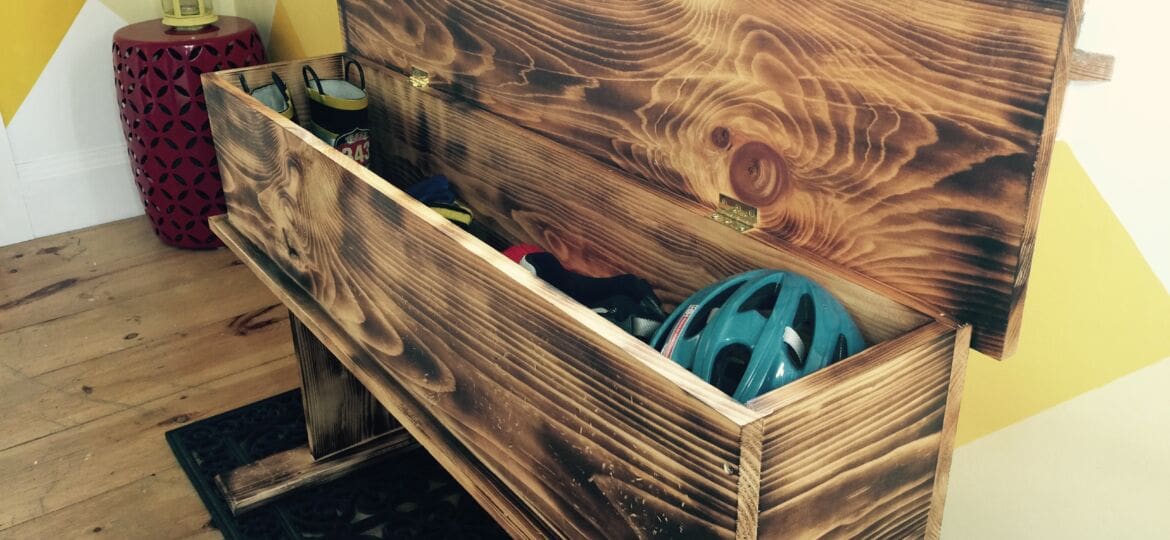
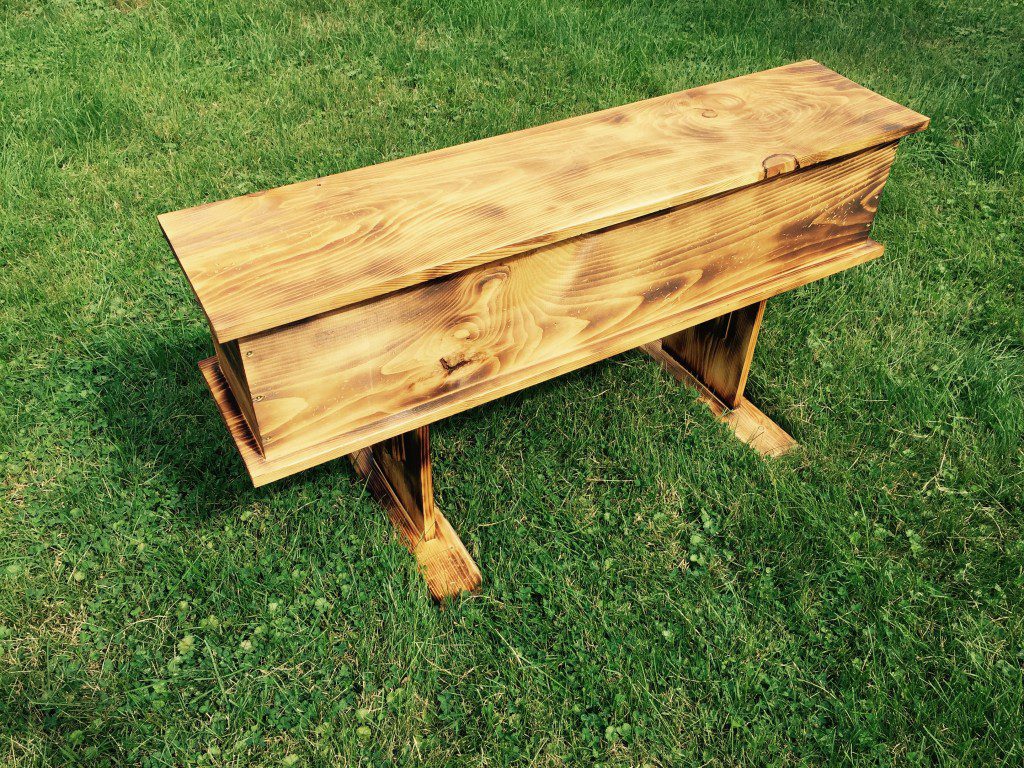
I love this storage bench. I really do. And I hope you do too. Here’s how I made this fired up bad boy.
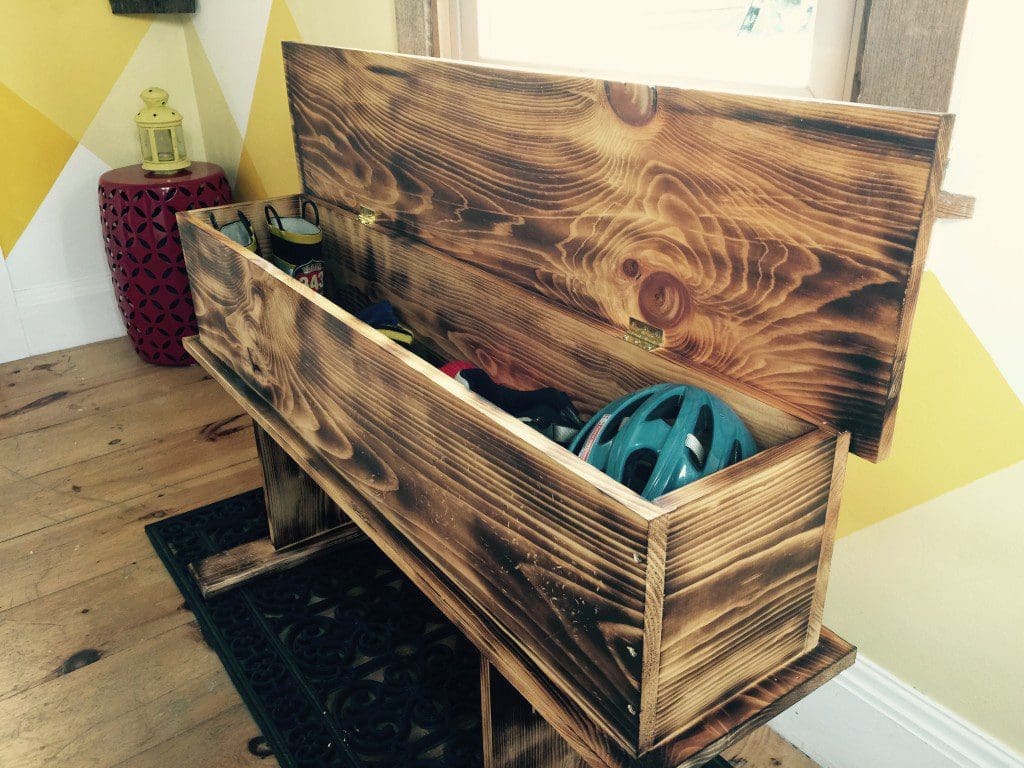
One of the things I love about it the most is that it’s big enough that you can store a reasonable amount of stuff in there, whether that’s electronics and their Kraken-tantalced charger cables (see tip below) or hats and gloves or backpacks and homework folders. Or cat food.
In other words, if you make it—and I hope you do and show us how yours turned out—your storage bench, your stuff. OK, here’s the DIY detail.
Materials
(4) 1x12x8 #2 pine boards
(4) 1x10x8 #2 pine boards
2-inch Spax Multi-Material Screws
1 1/4-inch Spax wafer head Multi-Material Screws
2-inch hinges
Tools
Miter saw, table saw, cordless driver, general hand tools, and Bernzomatic propane torch.
Note: This project is kindly sponsored by Bernzomatic. The design and DIY are all MyFixitUpLife action.
Storage Bench How-To | Cut the pieces
– Cut the top/bottom (1×12) 48-inches
-Cut the legs (1×10) 12-inches
-Cut the sides (1×10) 46-inches (see below for why)
-Cut the feet 20-inches
-Cut the trim pieces for the legs and trestles 4 1/2-inches wide by 6-inches tall. Since I am the carpenter I am, I literally had to rout a bevel on the feet and trim pieces to keep the world from spinning off its axis. I do not believe you need to do this for galactic safety, but why risk it?
-We’ll cut the end pieces after we get a few of the items above cobbled together. Now, scintillating assembly detail!
Assembly
Assembly for this storage bench can be a bit tricky for a first timer. It’s mostly because you have to do things kind of upside down and from underneath. And then there’s some flipping the project around. Still, if you have a decent work table and proceed carefully, you can do it. I mean, if I can do it…
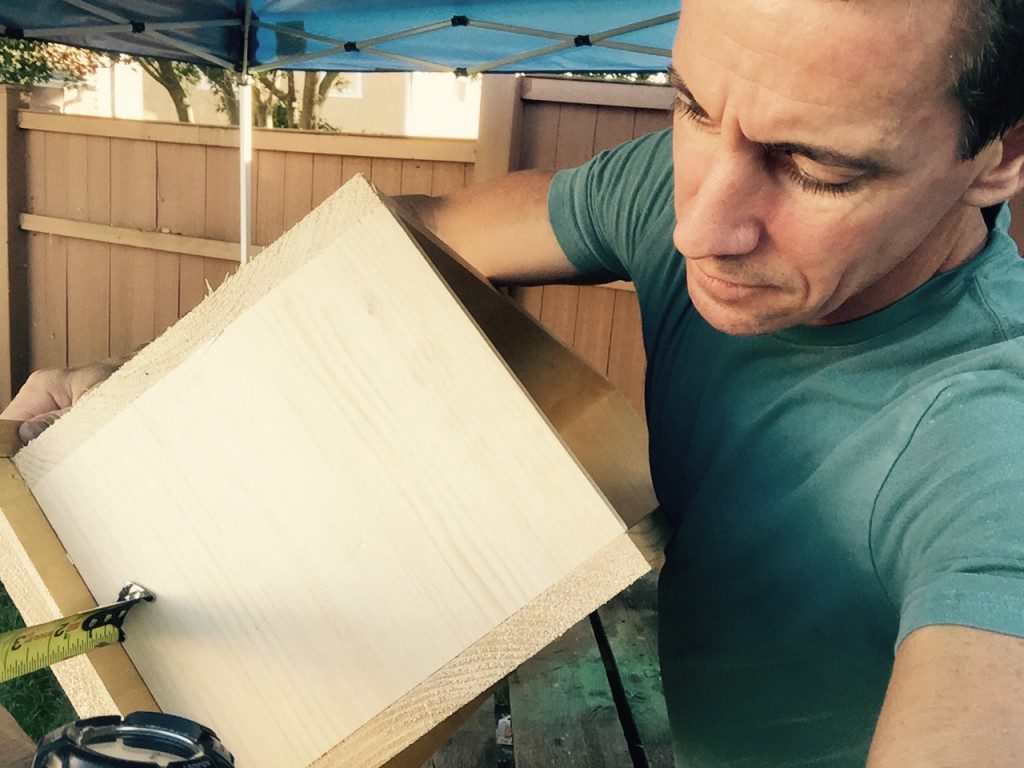
One other thing: I off-set the sides and ends from the top 1-inch. That’s why the sides are 46-inches and the top and bottom are 48-inches. More on this in the photos. This makes it cooler. Just trust me. Or, try to line everything up and see how it goes. Your call.
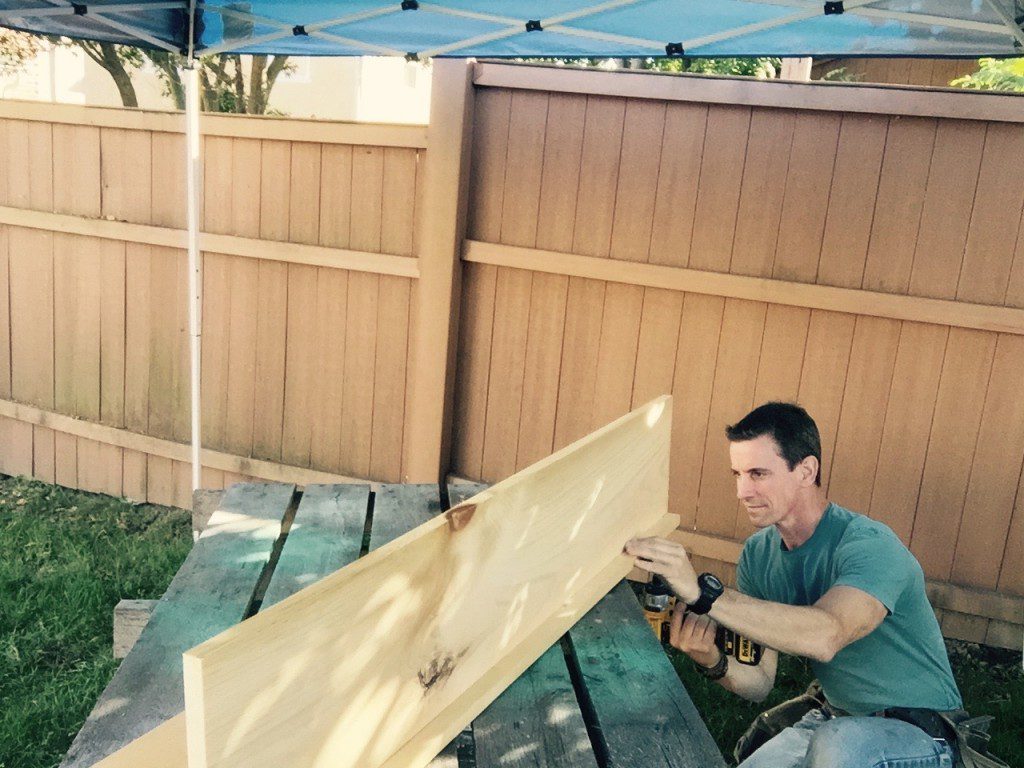
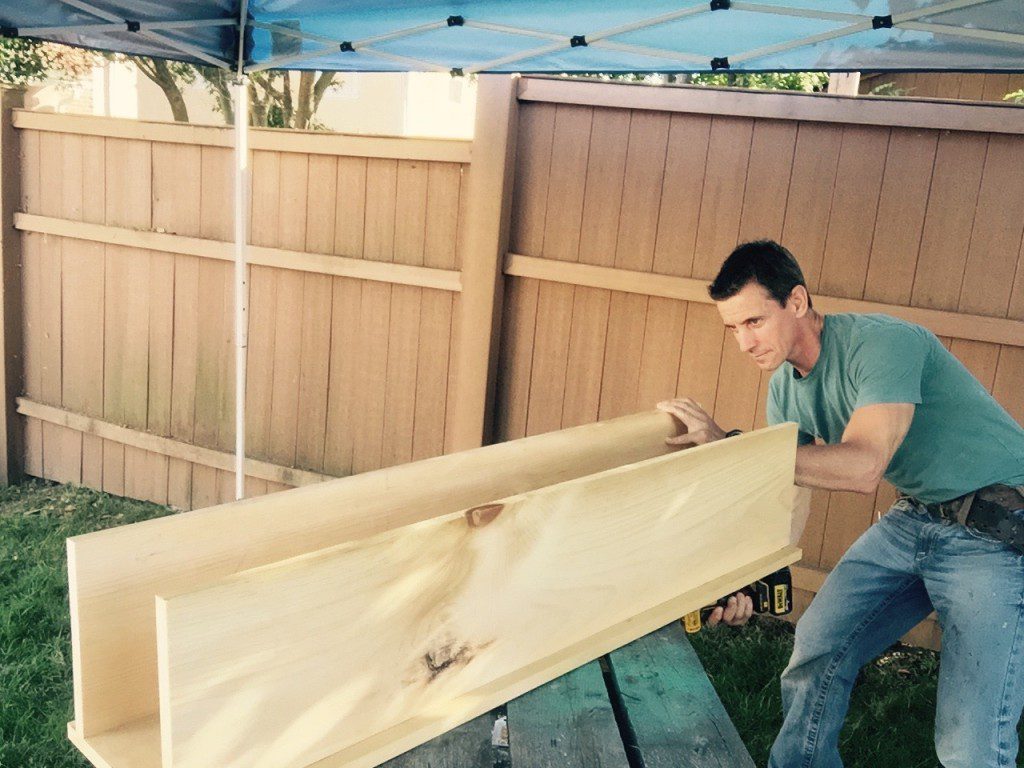
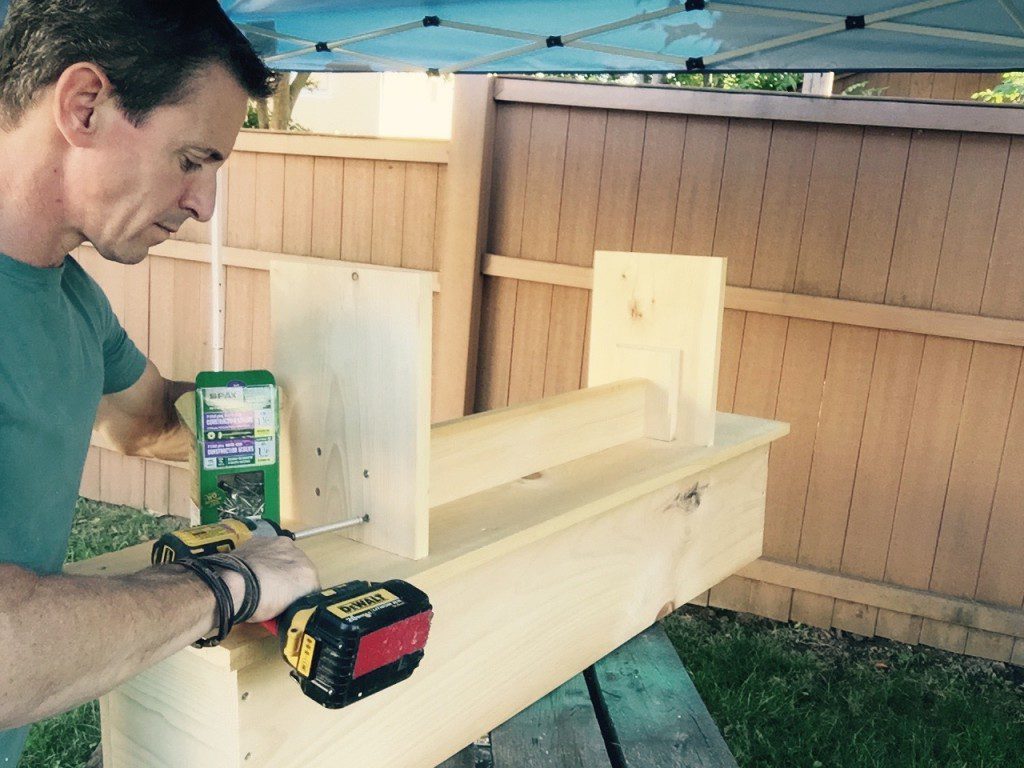
-Assemble the bottom piece and one side piece to make an L. The side is set back 1-inch from the edge of the bottom. While Spax screws don’t require pre-drilling and countersinking, doing so here makes lining the pieces up easier because you can start your screw in the pre-drilled pilot hole, line everything up, then gently set the screw.
-Install the second side, forming kind of a U-shape. Just screw each end where you can see what you’re doing.
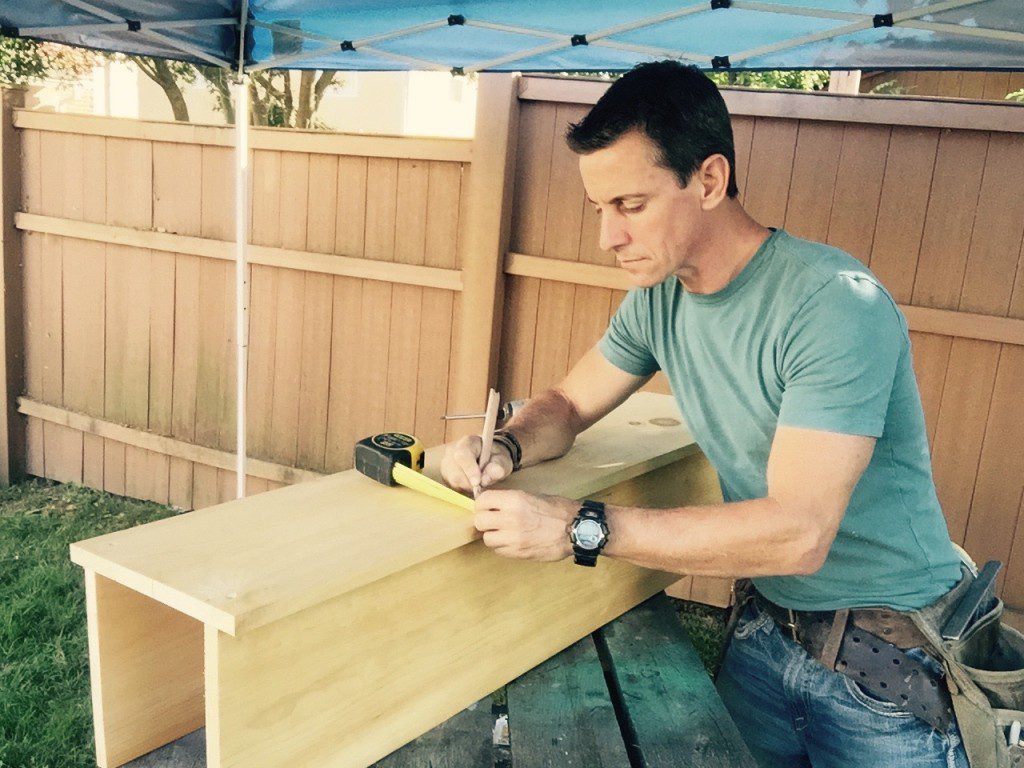
-Tip: Flip the assembly over, measure the next two screw locations (they’re easy to miss) and set the screws through the bottom into the sides.
-Cut and install the end pieces. I like to measure these after I install the sides because things can change just slightly between ‘should be’ and ‘what’s really there’. Ends are inset 1-inch to match the sides.
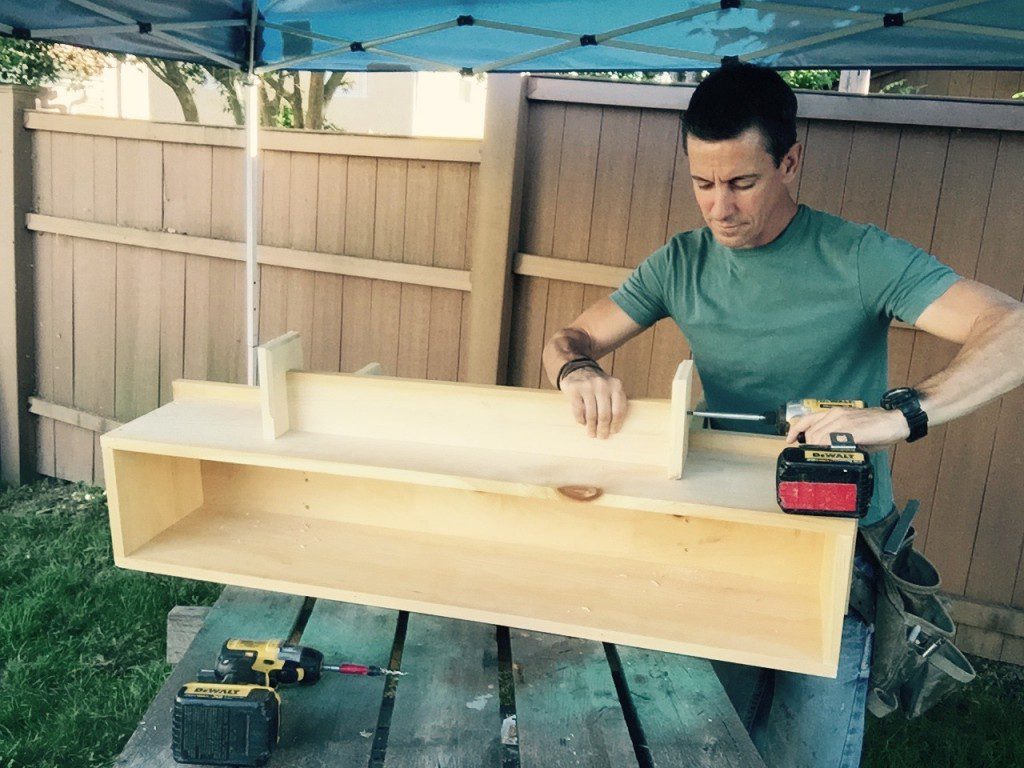
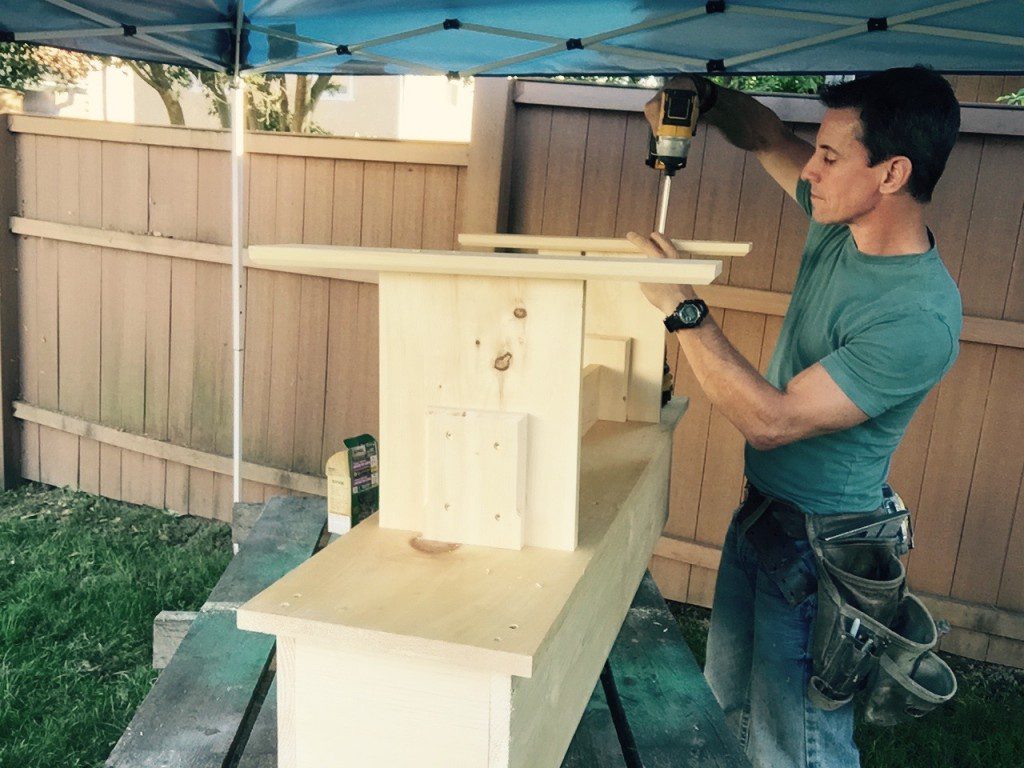
-Make the ‘trestle’. Center a 1×4 (I ripped mine on the table saw out of my second 1×10, see materials above) between two trim pieces and fasten. I used 1 ¼-inch wafer head Spax Multi-Material Screws and made sure the head sunk into the wood a little so the legs could go on easily. Next, center the trestle on the bottom of the storage bench and fasten through the inside of the storage bench. You have to measure this on the outside and inside of the bench to hit it.
-Install the legs on the storage bench
-Install the feet.
-Install this DIY storage solution’s small trim pieces on the outside of the trestle
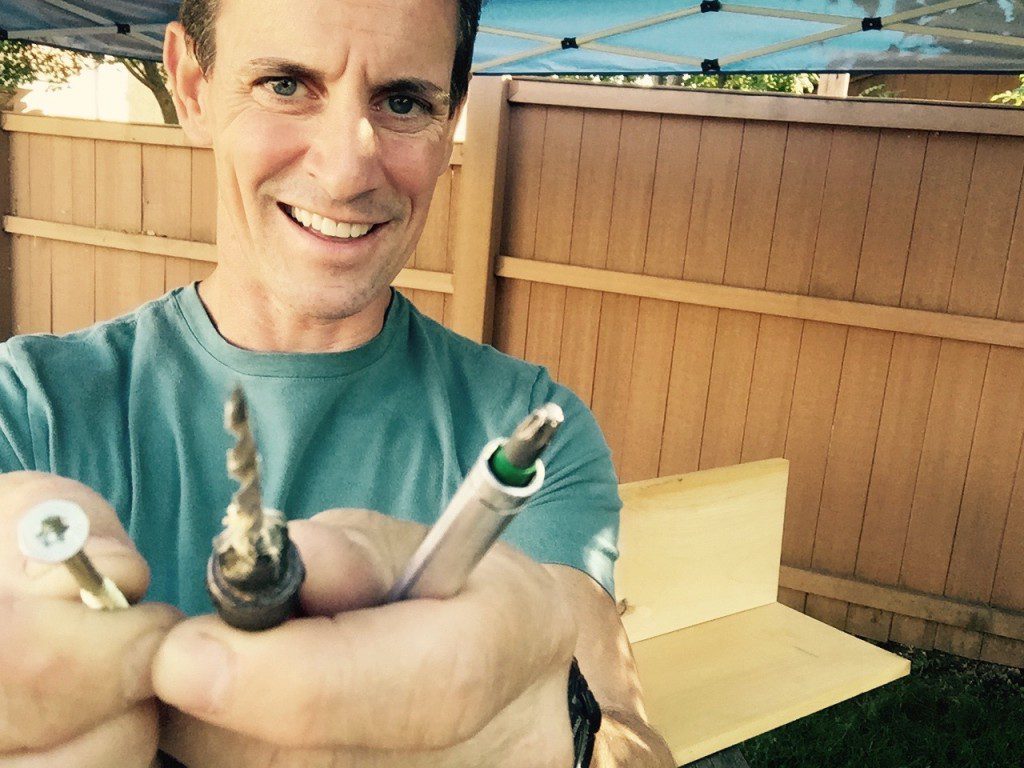
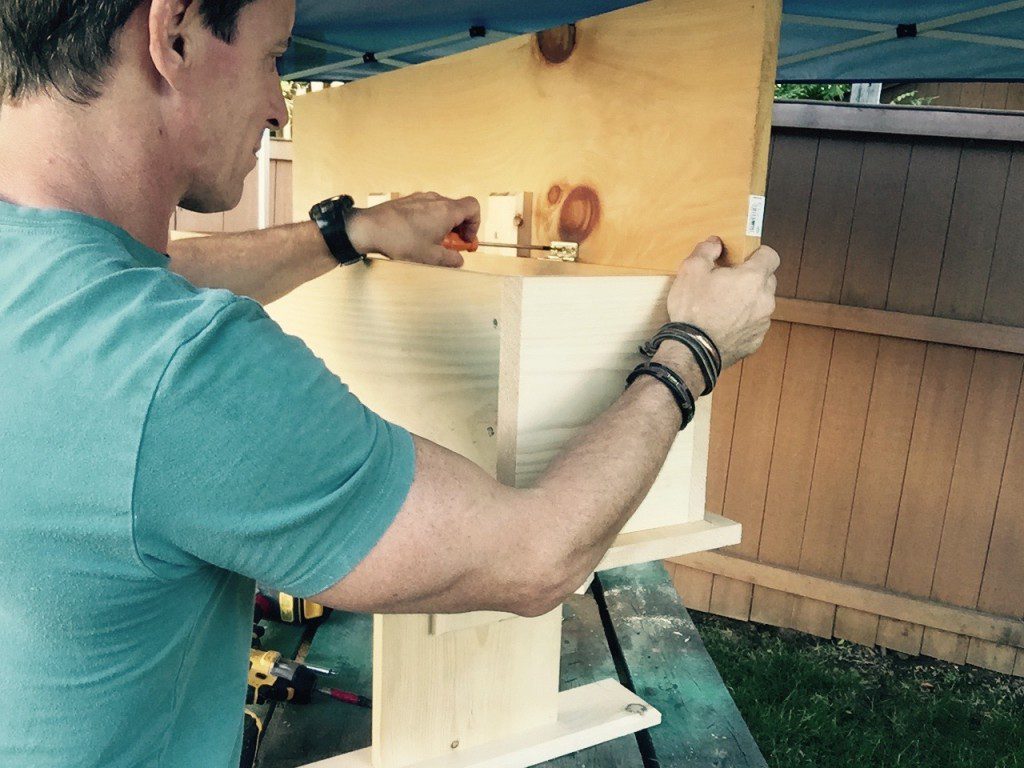
-Install the hinges and the lid. The screws that came with my hinges were so small I had to use this strange apparatus to install the lid screws. For the hinge leaf on the bench, I just used Spax.
Finish
Yeah, this is where the project goes from bench to Bench-O-Rama.
If you want to use this project to house electronics—or put something else in there that requires a power, like a small cordless vacuum, flashlight, etc—then I suggest drilling a hole in the bottom on the back side of the trestle. Use a 1 ½-inch drill bit. That way the hole is big enough for a plug to pass through.
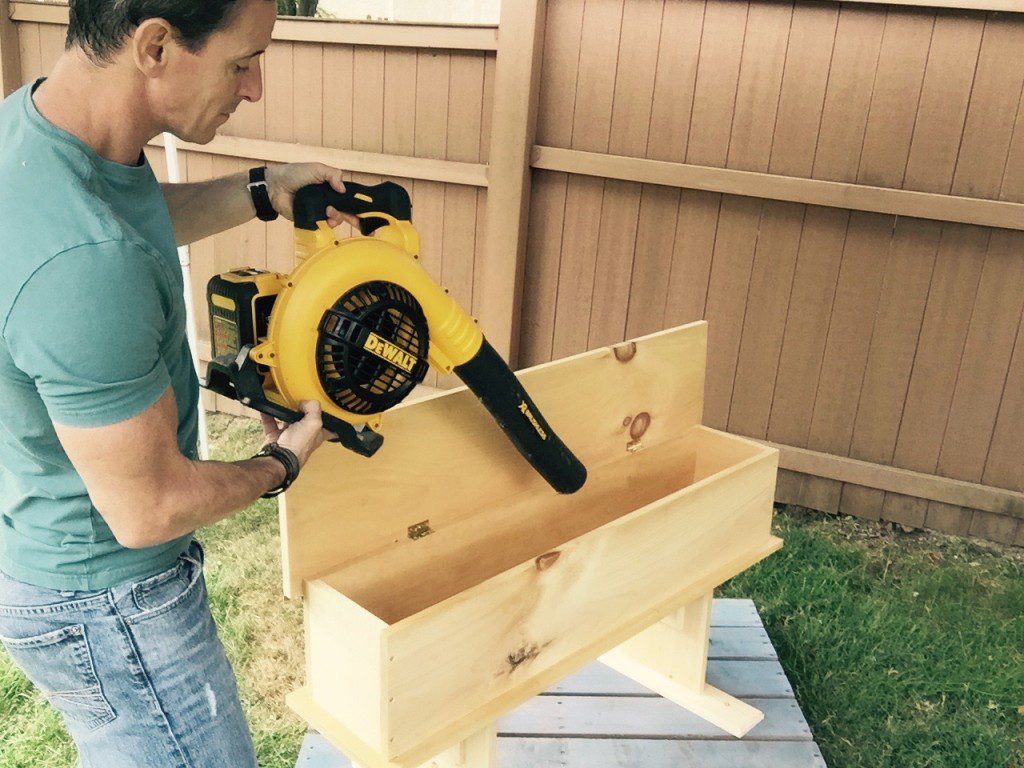
Next, get all the dust and chips out of there. I think a leaf blower is effective.
Then, rustic-ize it to make it look and feel super lived-in. I’ve seen people use chains and hammers and all kinds of stuff to ‘age’ a piece of furniture. Yeah, I don’t have that kind of time, so I packed a wicked robust trash bag (called a DemoBag) with about 3-pounds of screws and a hunk of chain, then set to dropping it all over the storage bench. Instant age. Movin’ on.
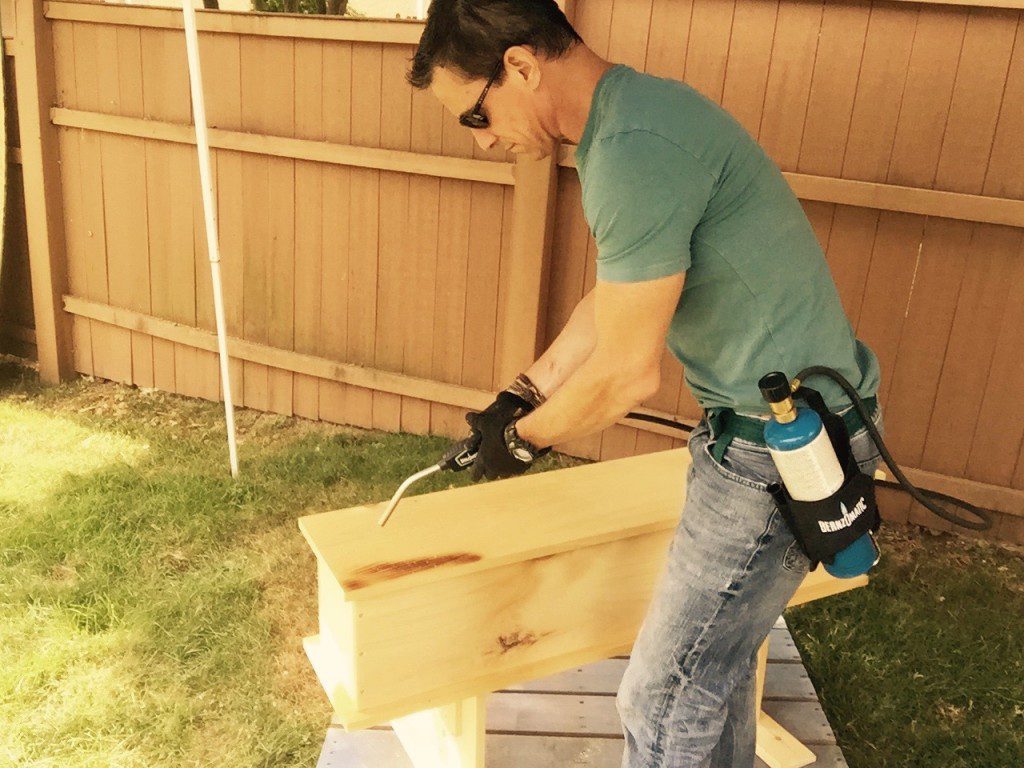
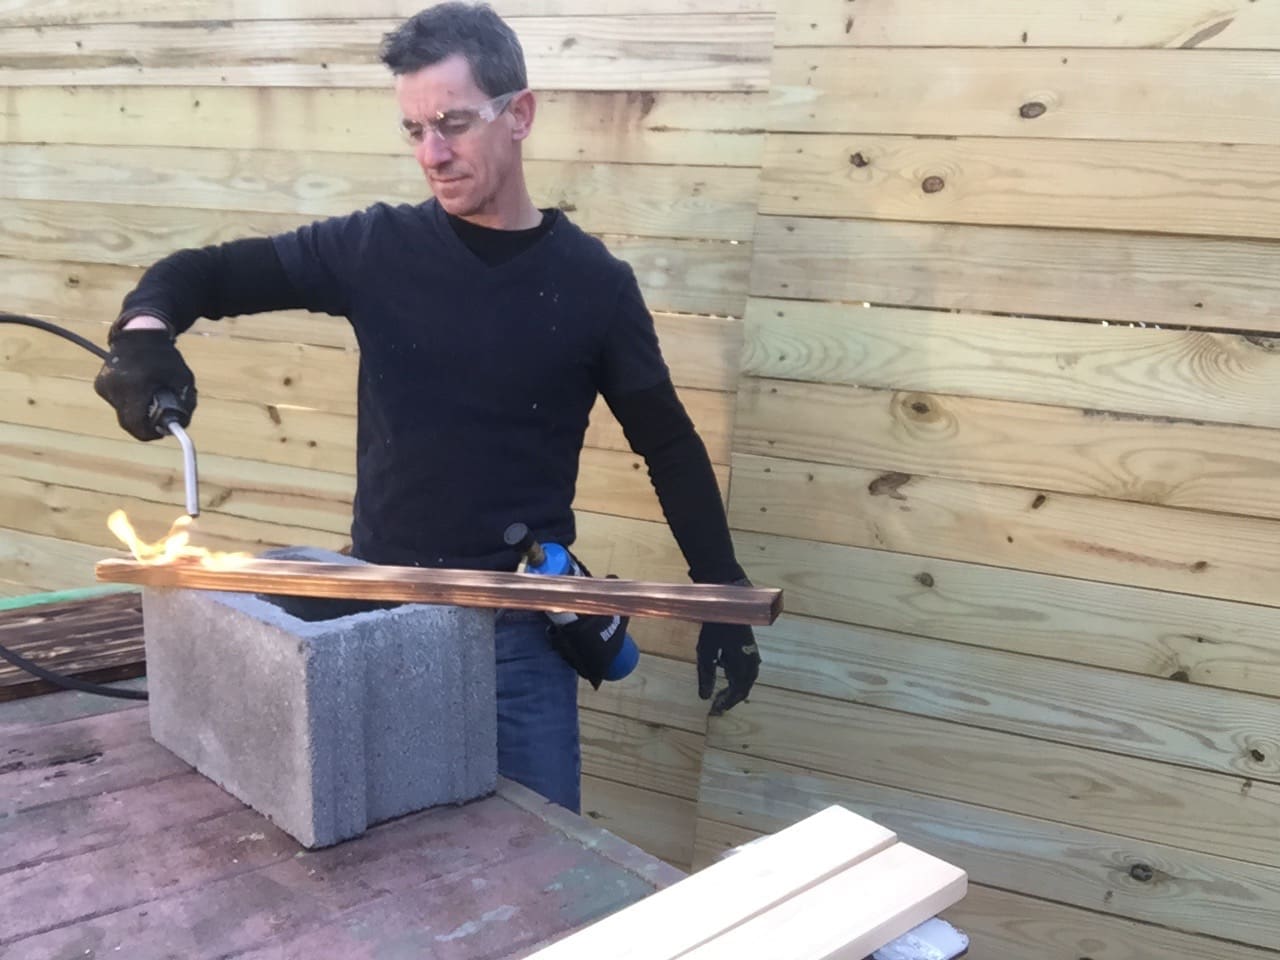
Finally, flame-on and power up the patina with Bernzomatic propane and torch. I used the BZ8250HT with the hose and holster and it was awesome for this. I could reach everything, change positions and keep one hand free.
I had the best burn keeping the nozzle of the BZ8250HT about 3-inches away from the wood surface. Moving slowly and evenly is the name of the game. The wood density varies so the length of time you hold the flame in any one area varies until you get the look you love. One thing is for sure, longer is darker so go easy. You can always take another pass.
After adding an instant heirloom look to my storage bench, I did some artsy hand sanding (Theresa’s idea) to give the piece some instant wear and tear. I knocked the char off a few corners and the feet, sanded out a few of the dings I put in it. And then added some new dings with my DemoBag of hardware.
Staging
I love the color and texture in the sun-room Theresa designed and painted so I wanted this wooden store-more in here. I think the patina works with the yellows and whites. However, we have pine floors and the pine-on-pine made the bench kind of blend in. To pop it out, Theresa grabbed a cool doormat for some final touches.
Now pictures!







Thanks a million Woodworkguide. Let us know what you come up with.
This is really awesome tutorial. As a wood worker i am always looking for this types of tutorial.I also want to build this types of project and this tutorial help me a lot.
[…] the backer, I distressed a piece of wood with a Bernzomatic torch, hammer, and sand paper. Then attached the painted light switches to the wood with my favorite […]
[…] Love rustic? How to make a burnt wood storage bench | DIY […]