One of the most important connections when you build a deck is the ledger board. Check out the steps to install a deck ledger board to house correctly so your deck is secure and safe for your family and friends.
Watch How to Attach a Deck Ledger Board
What’s in this deck ledger how-to:
Tools & Materials
Compact saw (I prefer corded)
Chalk reel (string line)
Watch the ‘How to Build a Deck’ video series
Step 1. Remove the siding. Expose the band joist.
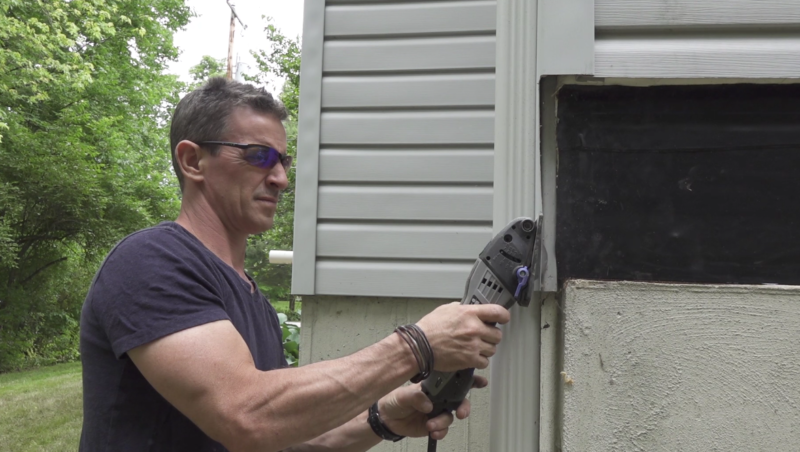
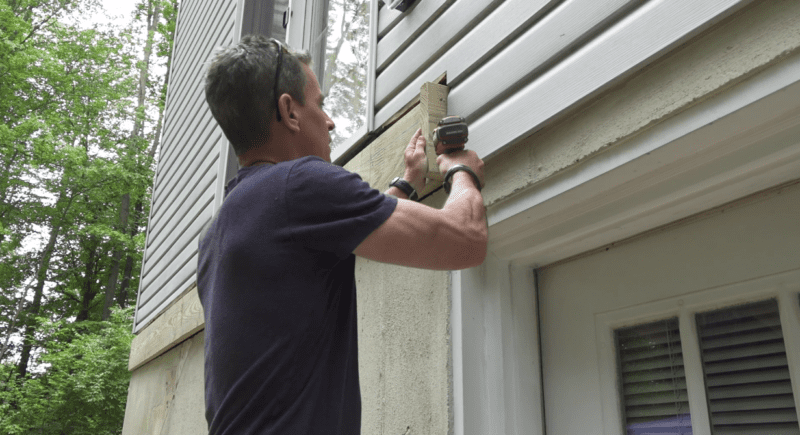
Remove the siding or cladding and then expose the home’s band joist. Connecting through siding—even if it’s brick veneer or stucco—is a no-no. By the way, I use this little Dremel saw more often than I ever would have thought. It was excellent for cutting vinyl.
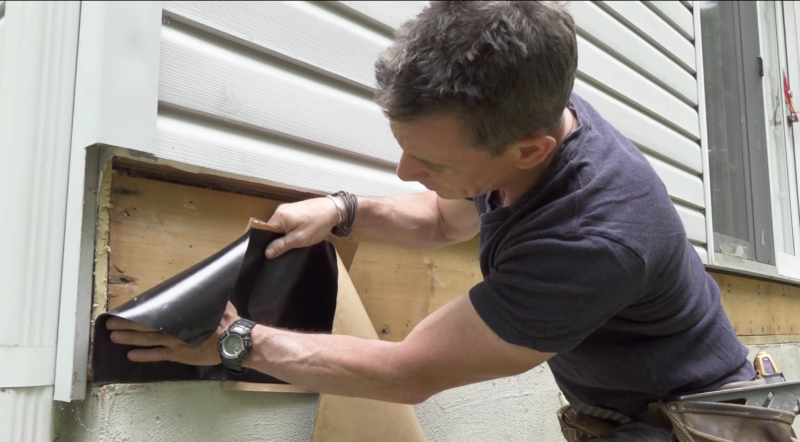
Step 2. Apply peel and stick membrane to the band joist.
Even though I’ll add rigid metal flashing later in the process, I want there to be a 0.0% change water can get to the house’s band joist. So, I add a flexible flashing. In this case a rubberized peel and stick membrane.
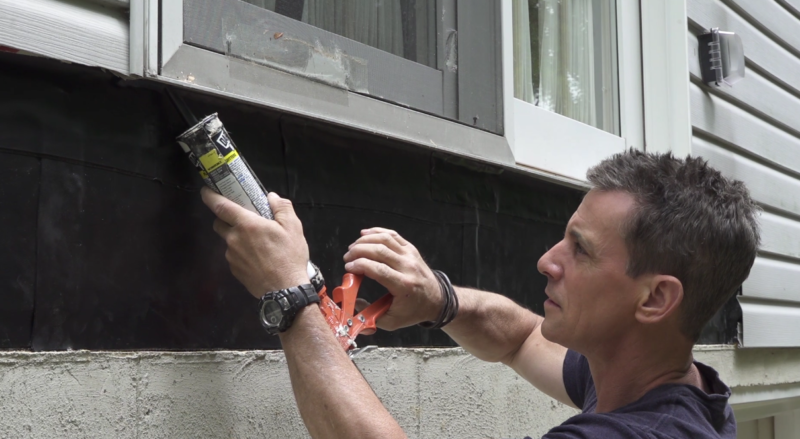
Step 3. Caulk under the door and over the flashing to seal it all together.
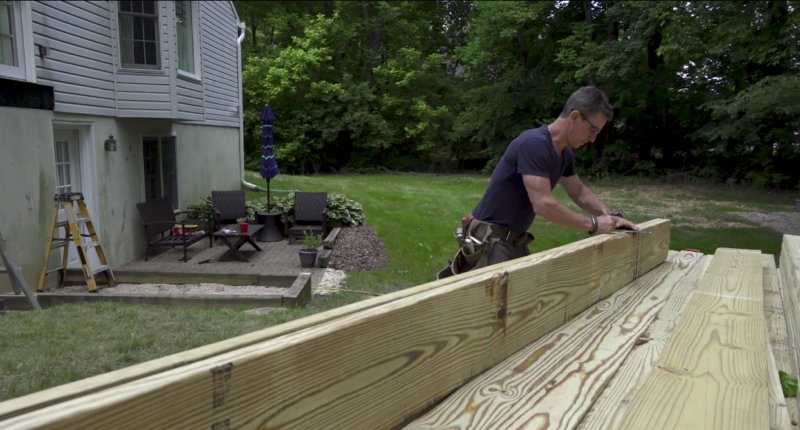
Step 4. Mark joist locations on the ledger and beam together.
When I build a deck, I cut the deck ledger board and beam to the deck’s overall width first. Then, I mark the joist locations on the ledger board and the beam at the same time. This saves a potential mistake later.
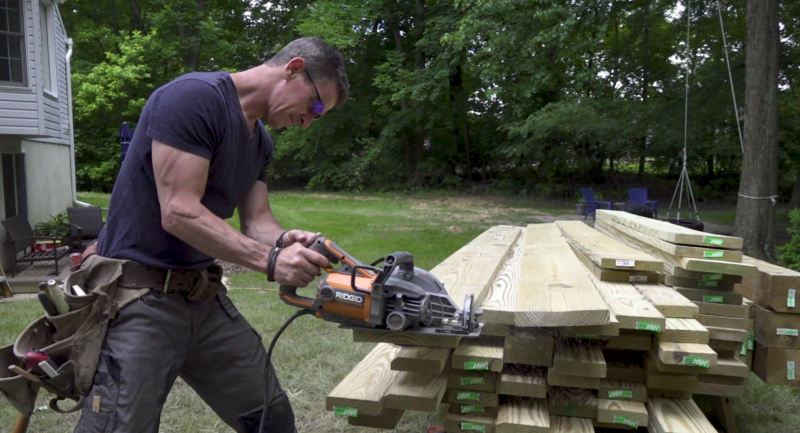
Step 5. Cut 1 1/2-inches off each end of the ledger.
Then, in order to accommodate band joists to be installed later I cut 1 1/2-inches off each end of the ledger. Cutting 3-inches off one end shifts the layout. This is pretty important, so go through all the steps.
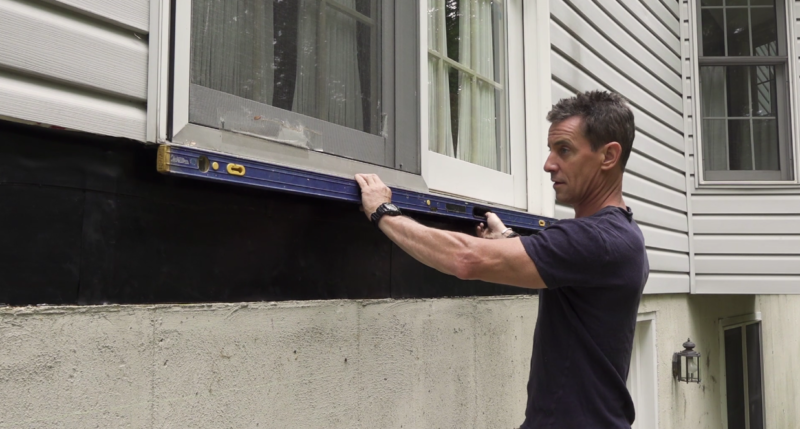
Step 6. Check the door for level
I use two levels when I build a deck—a spirit level for determining if the door is level or not and a laser level to establish the overall level line for the deck ledger board.
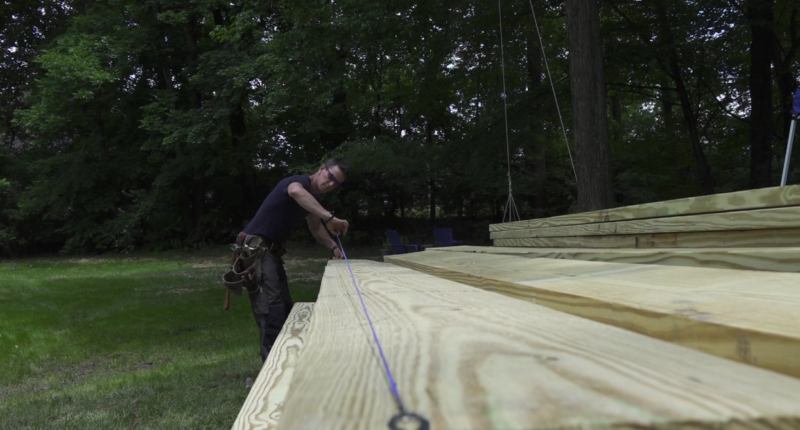
Step 7. Snap a line 2 inches in from each edge of the ledger.
Code requires the fasteners to be installed in an up-down pattern, usually two in each joist bay. Code also wants fasteners 2 inches in from each edge of the board.
To minimize measuring and the risk of overlapping metal hardware with screw locations, I then snap a line on the ledger and mark fastener placement.
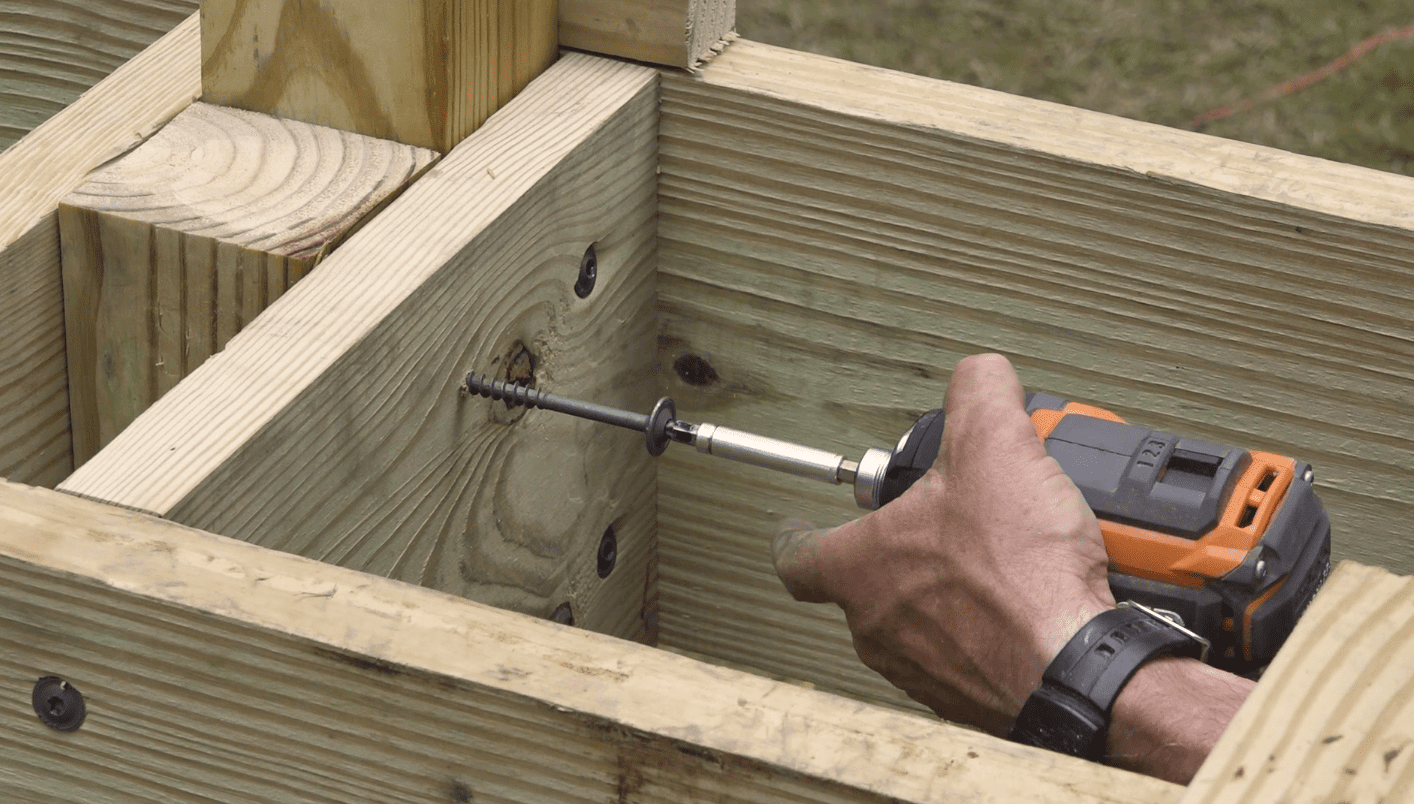
I use 5/16 x 5-inch Spax Power Lags. With serrated tips and unbelievably strong pull-out power. With their washer head, they’re my go-to fastener for ledger boards, pergolas, and other structural connections.
Step 8. Use Power Lags as cleats
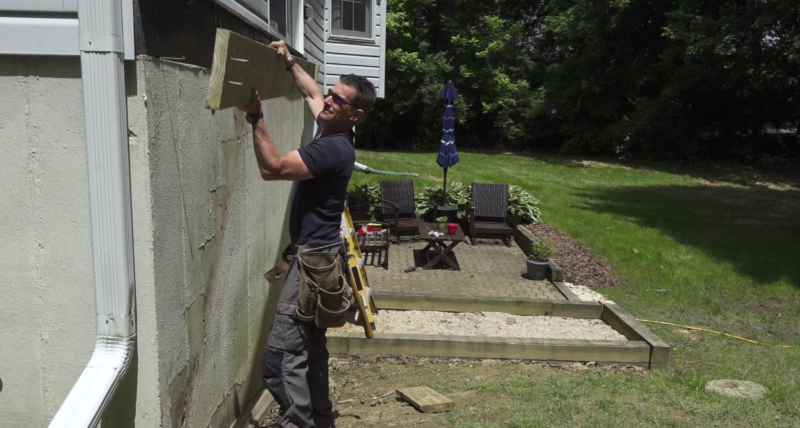
I use Power Lags as cleats to help me install the ledger board to house accurately. Snug one about 2 inches deep on each end of the ledger location between the mudsill of the house and the foundation. I lift and rest the ledger board on them.
Then, once placed, I can adjust it to proper location and fasten. This is a huge help in positioning the ledger accurately on the layout line.
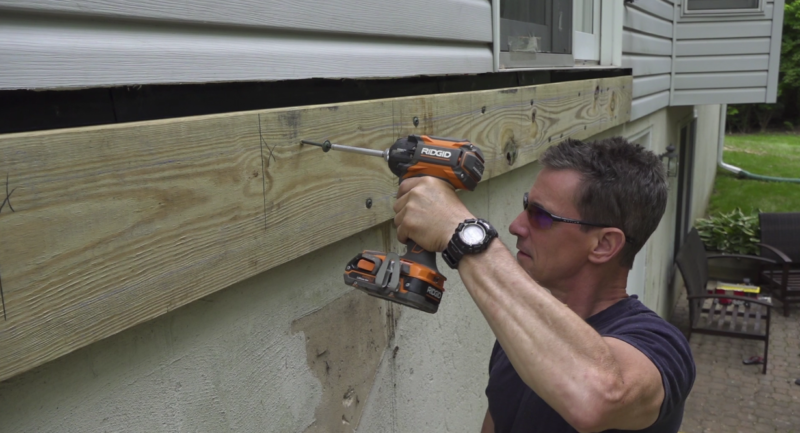
No pre-drilling and no washers or ratchet sets. Just full-tilt boogie getting these installed. I used the uber-awesome Spax Power Lag as my primary fastener for installing the ledger board to house. I use two per joist bay and zing them in with the impact driver I’m using to install everything else.
Step 9. Metal flashing goes above the ledger
Rigid metal flashing above the ledger and below the first deck board—extending out past the the deck board edge—is required, too.
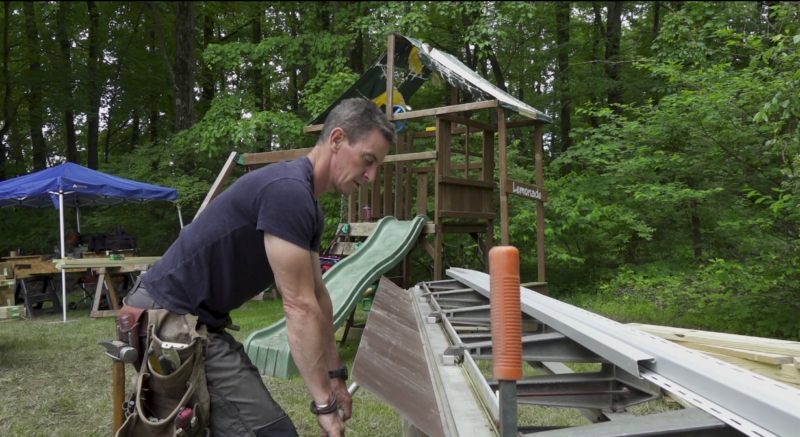
While there are various flashing items for sale, I make mine on the sheet metal brake, because, well, I have a sheet metal brake.
One more thing…
Quick carpentry tip.
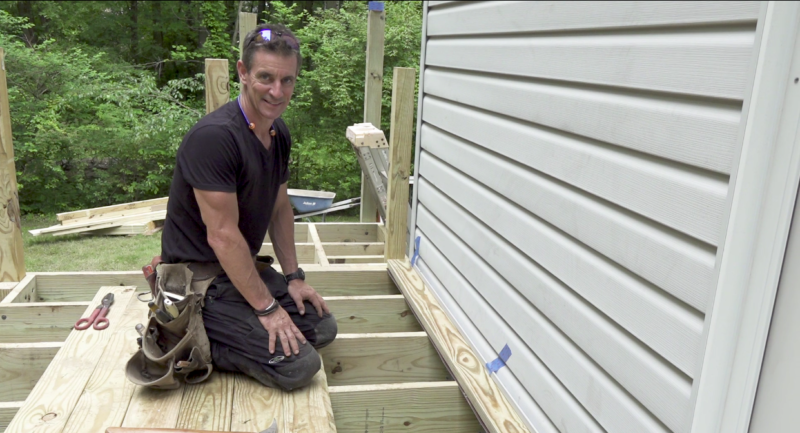
When I build a deck I often use blocks, cleats, site-made gauges or some other means of placement other than a tape measure. In this case, I screwed a block to the end of the ledger before installation. Now I know that when I install the band joist—made of the same material—it’ll fit in the opening created by the block.
If you haven’t watched the video, here it is. Good luck. If you have more questions about attaching the ledger board, send me a note or share a comment below.
Watch the ‘How to Build a Deck’ video series


